Good morning & welcome to 2016! We can hardly believe that the holidays are behind us, and now it’s time to dive into January head first. Because it’s the new year, we’re both ready to get our places in tip-top shape to start 2016 off right. And today we’re doing just that!
As you guys know, each month we participate in the Michaels Makers challenge. And this month it’s all about ORGANIZATION (yay!). Because we live in small spaces we do our best to keep them organized year-round, but let’s be honest…there’s always room for improvement and we are feeling extra motivated to tackle some of the things on our organization to-do lists now that it’s January.
Creative Storage Solutions
We each decided to take 1 small nuisance in our homes and try to make it better using the exact same item.
That one lucky item?
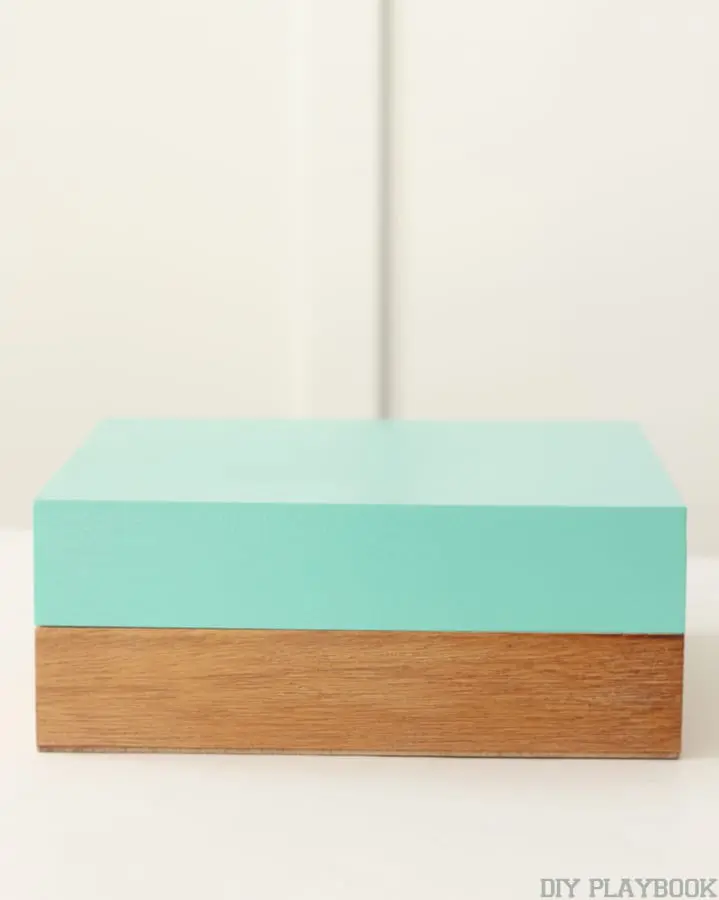
This adorable two-toned box from Michaels’ new Cre8ted Spaces organization line. Pretty cute right?
Here’s a look at the inside.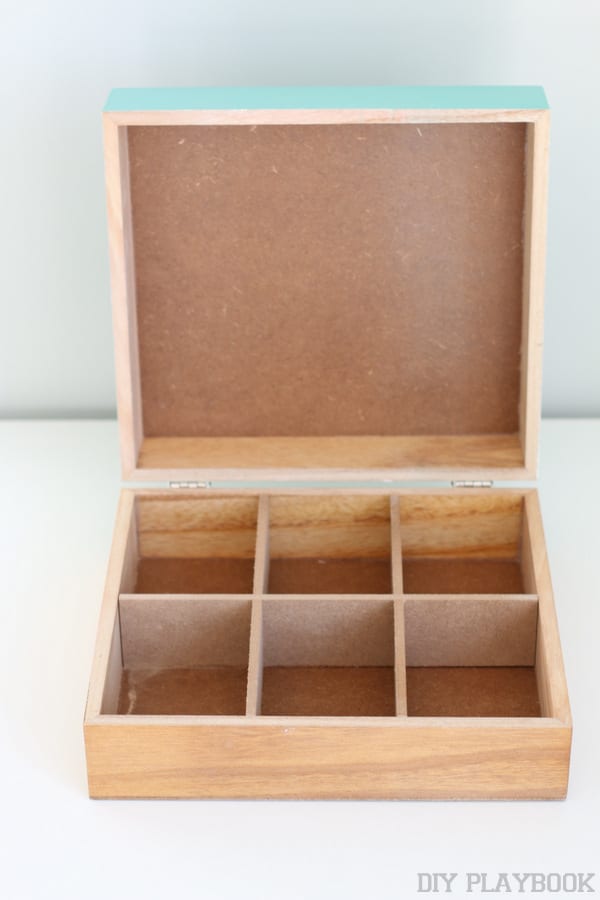 Armed with the same box, we each decided to use it to make our lives a little easier and a little less disorganized.
Casey – How to Make a DIY Charging Station
A few weeks back, I showed you guys our dreamy new nightstands . Well, I’m still as obsessed with them as I was back in December. But there was 1 little thing cramping their style. My iPhone charger was always in a heap on the floor next to them, and it kinda cluttered the look. I’ve always loved Bridget’s charging station , but I could never find a box like hers (she got hers from Goodwill)…so I could never make one for myself. But with my new box, I knew I could somehow turn it into my own version of her charging station.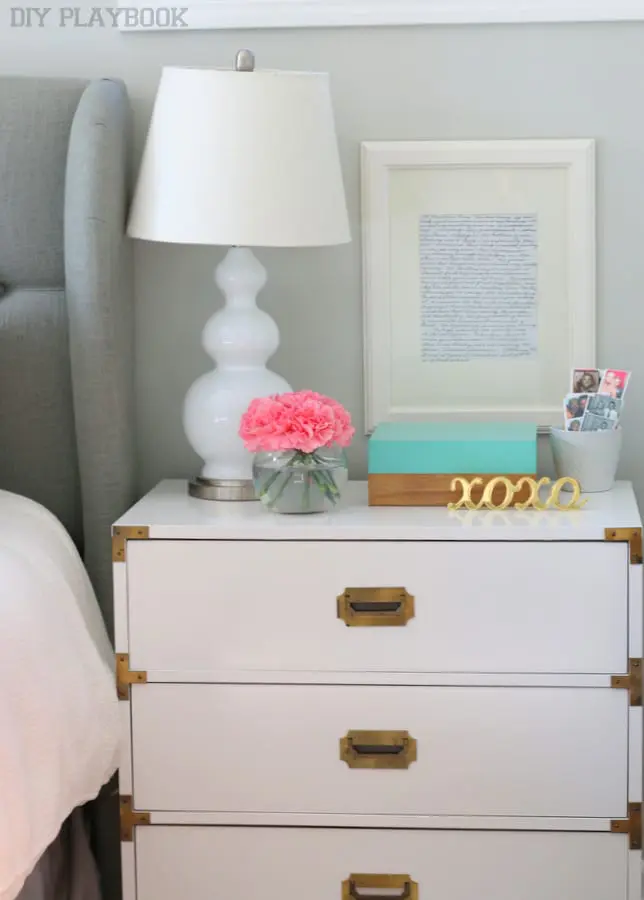
And that’s exactly what I did!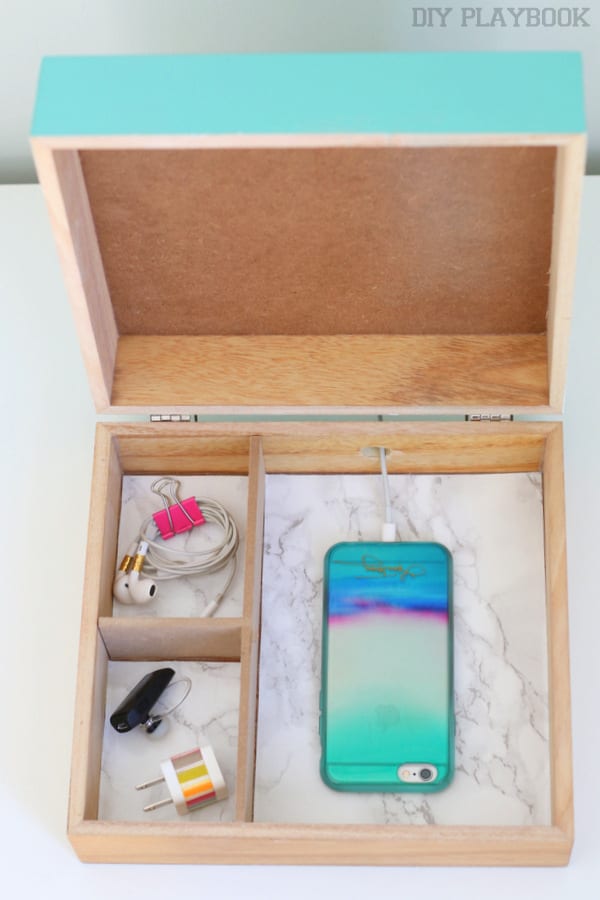
Here’s how I created my own mini charging station for our bedroom. 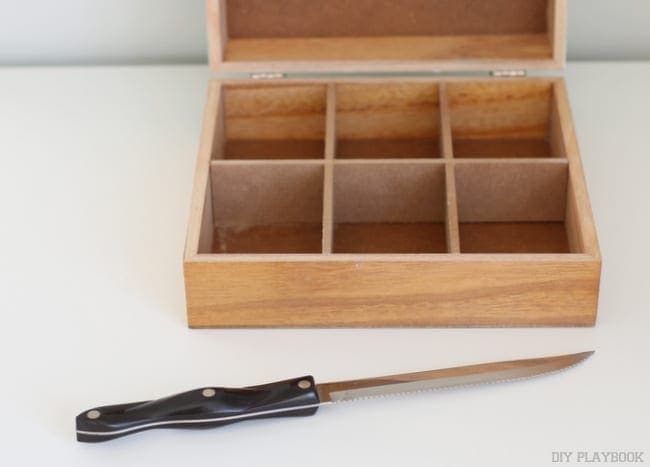
The original box had 6 compartments. Which is nice for organizing lots of small items, but it definitely wasn’t going to fit my iPhone. So I knew I had to alter the box slightly to make it work for me. I decided to take 4 of the dividers out, and leave 2 to house small odds & ends. I grabbed a sharp serrated knife and some work gloves (safety first!). Then I slowly & CAREFULLY sawed the edges of each divider to loosen it up. Once it was loose, I gently wiggled the dividers to break it off of the box. It took some time, but eventually, I was able to get all of them loosened and out of the box. Again, be CAREFUL! Wear gloves & go slow with the knife.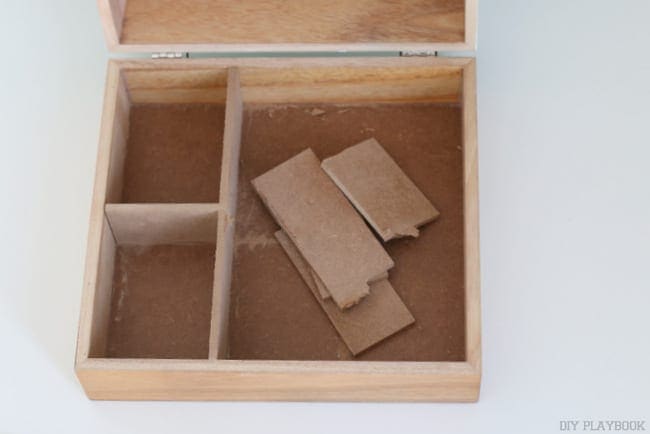
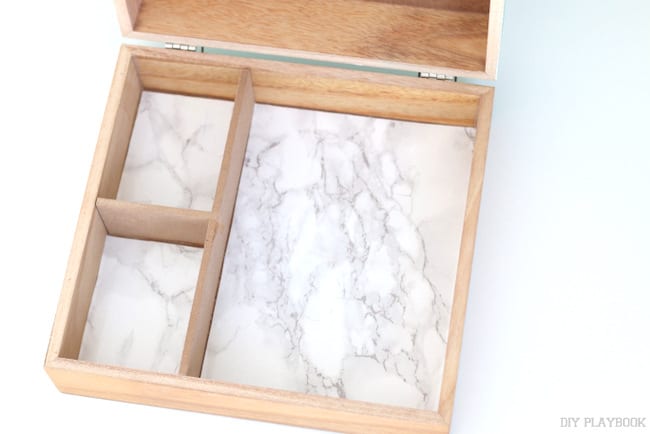
With the wood dividers off, the base of the box was now exposed and I figured it could use a little sprucing up. I got out my favorite marble contact paper (used in this project & this one !) and got to work measuring it for the base of my box.

Make sure you measure precisely and smooth out the contact paper as you go.
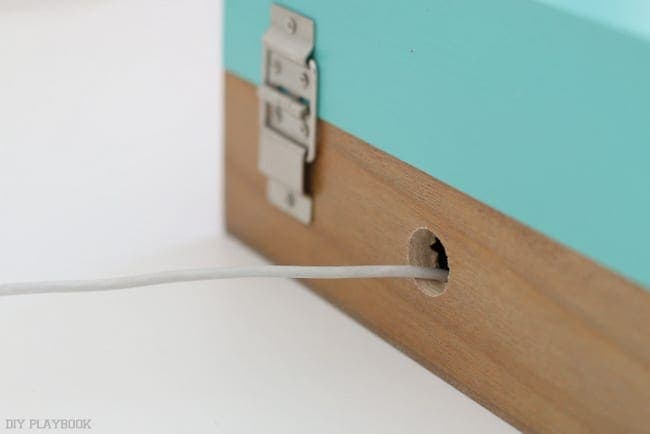
With the base of the box done, it was time to create a hole for the iPhone cord. 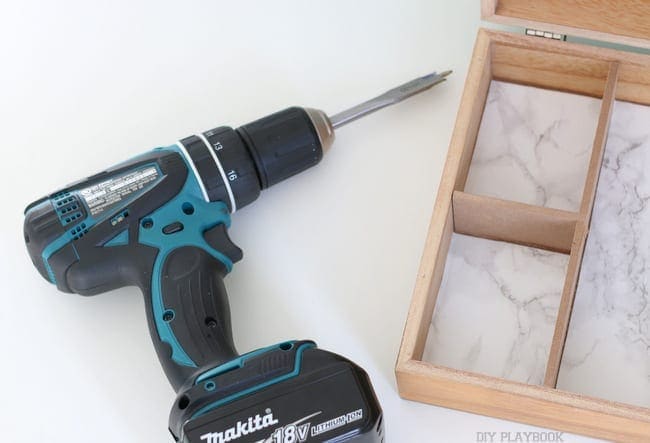
I used a 5/8″ paddle bit on my power drill and drilled a hole into the back of the wooden box. 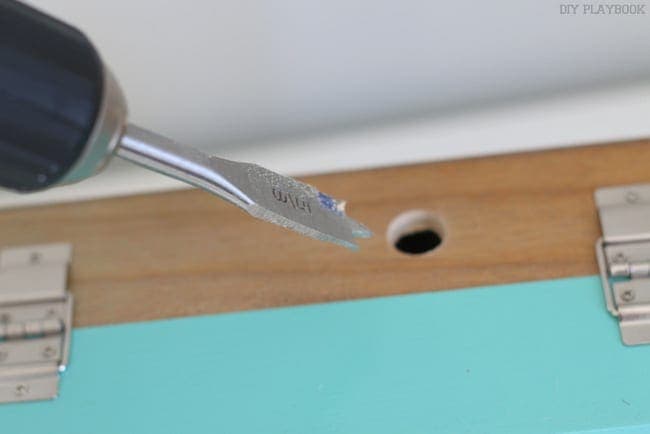
Rookie Tip:Slow & steady wins the race when it comes to using a paddle bit. You don’t want the wood to chip, instead you want to create a nice clean hole. So go slow and know that eventually you’ll get through to the other side! 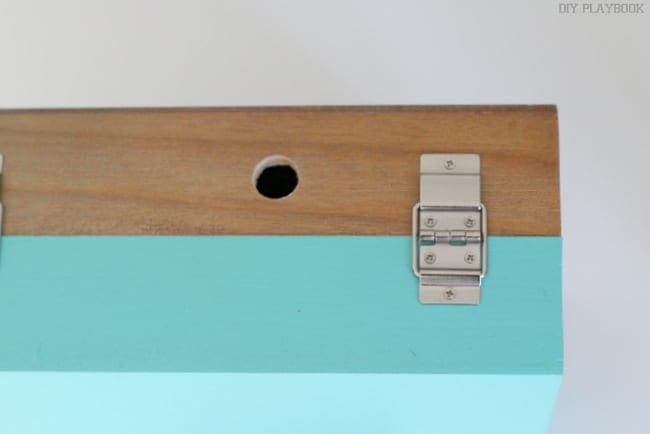
With the box done, I set out to organize a few of the items I would be putting into the box. 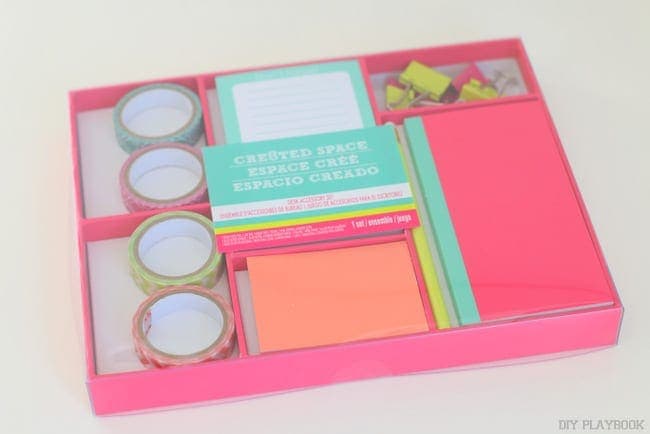
I picked up this colorful office supply kit from the same Cre8ted space line at Michaels, and used some of the items to get my cords organized. 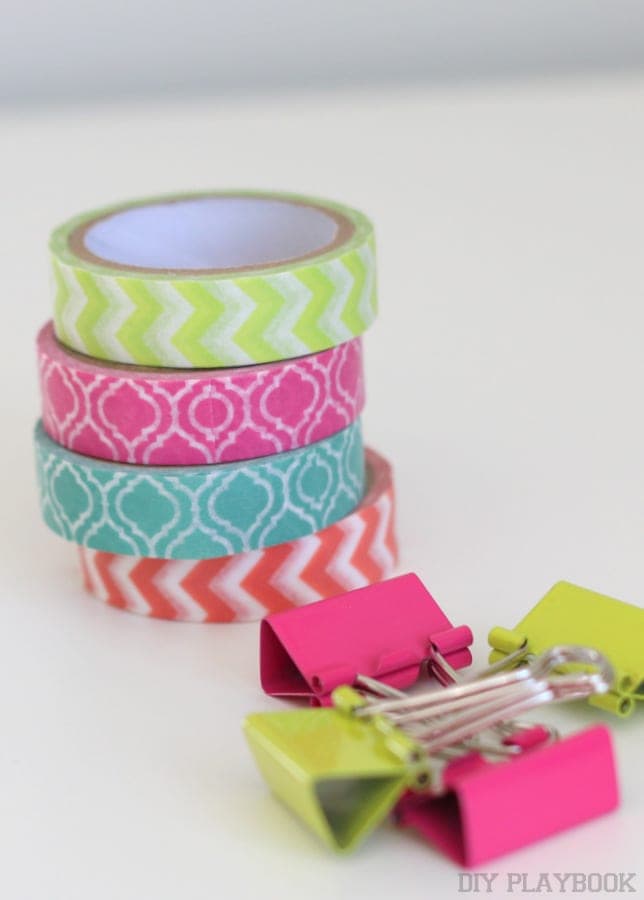
In past posts, I’ve shown you guys how to organize your cords using clothespins and washi tape . Binder clips work well too, and these colorful ones were just what the doctor ordered!
 (Details about my favorite phone case here )
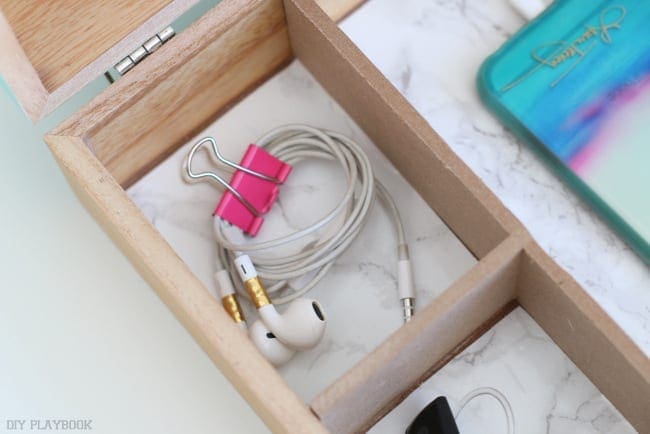
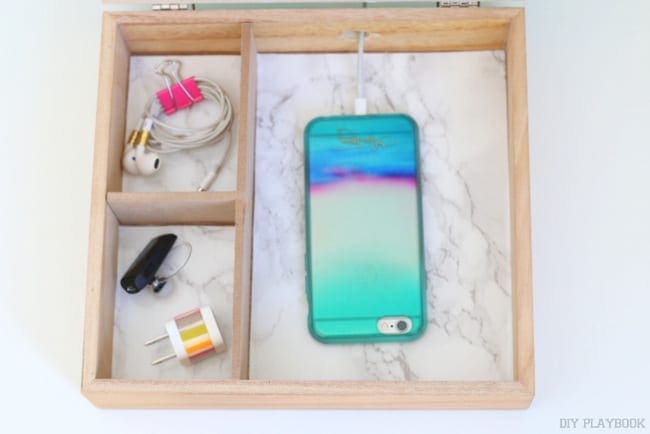
My headphones are now neatly tucked away in a compartment, as well as my bluetooth and an extra charger. 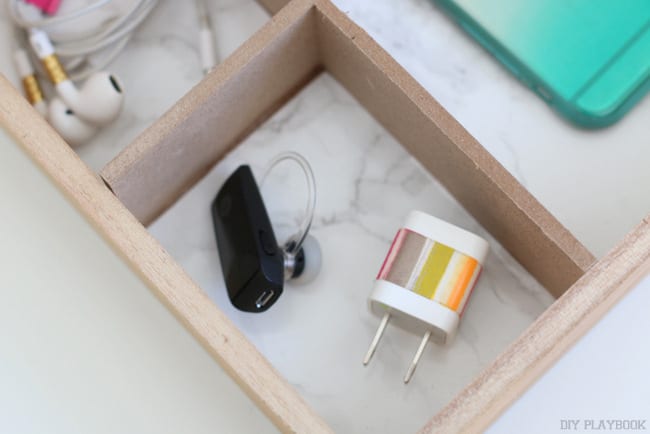
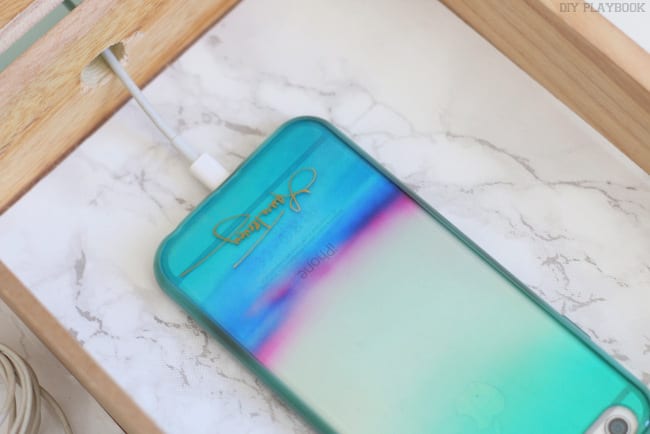
And my phone fits perfectly into the large compartment. 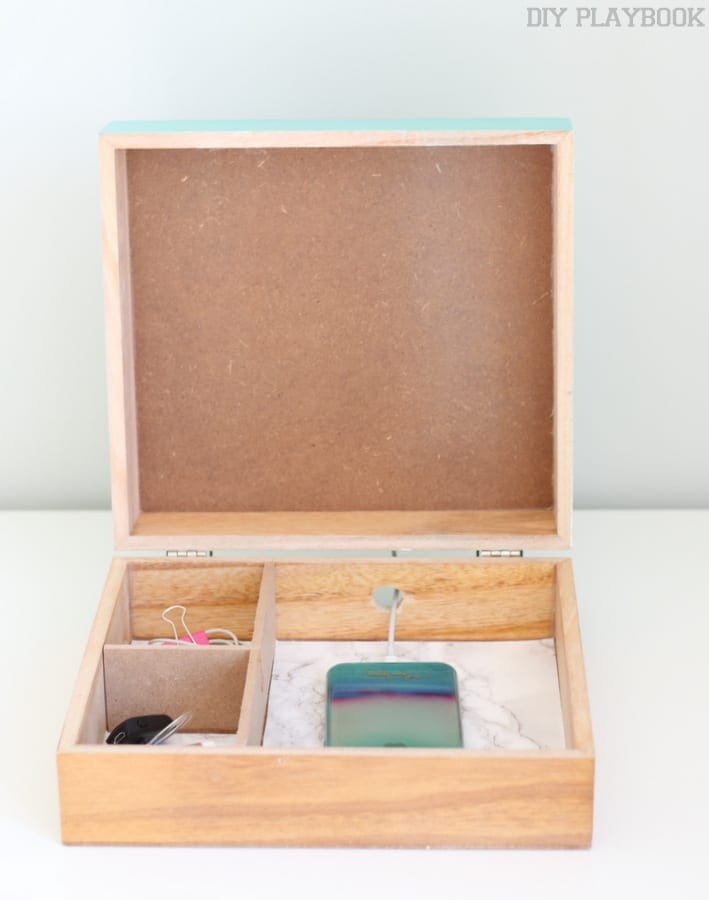
My new charging station sits pretty atop our campaign style nightstand. No more tripping over tangled cords on the ground on the way to bed, or digging behind the nightstand to grab the fallen cord #theworst
Instead, now I can easily open the box and plug my phone right in! Functional & fashionable. Oh, how I love projects that work double duty. 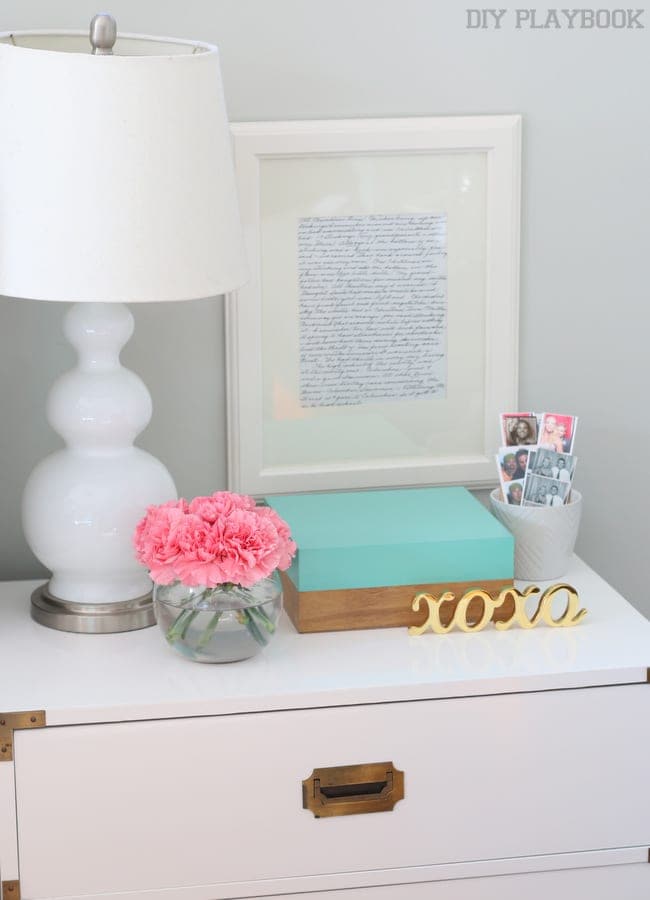
Bridget – Organized Mail Essentials
I am seriously obsessed with my $3 charging station I scored at Goodwill a few years ago. Literally, it’s probably one of the only DIY projects that I use every.single.day and I’m so happy that Casey finally has one. Knowing Casey like I think I do, I’m pretty darn confident that bedside charger will change her life. Haha, well…. maybe not that dramatic, but I’m pretty pumped that she has finally found a box that is AVAILABLE for readers to snatch up and re-create. I promise you’ll love it and your newly organized nightstand will love you for it too.
Anyways… let’s chat about how I took that exact same box and created a stylish solution to a minor organizing problem we were having in our house. I like to think my house is pretty darn organized but for some reason, I just couldn’t get a handle on my snail mail accessories. I still use this DIY greeting card organizer for all of my stationary/greeting card stock…. but I was having a hard time keeping my stamps, stamper, ink pad, washi tape and general snail mail essentials in one place. #hatewhenthathappens
Initially, I kept all of those items in my office. While some of those are still in the office, some of the items have made their way into my business/junk/everyday crap drawer in our kitchen. So when I would go to send bills or mail, I would find half of what I needed in the kitchen drawer and then I would have to head to the office to locate the other half. <– obviously this is not the worst problem in the world, but having to go to (at least) two different locations for such simple task like sending mail was annoying to me…. and quite frankly, something I could easily fix but never actually tackled it. Until now.
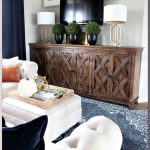
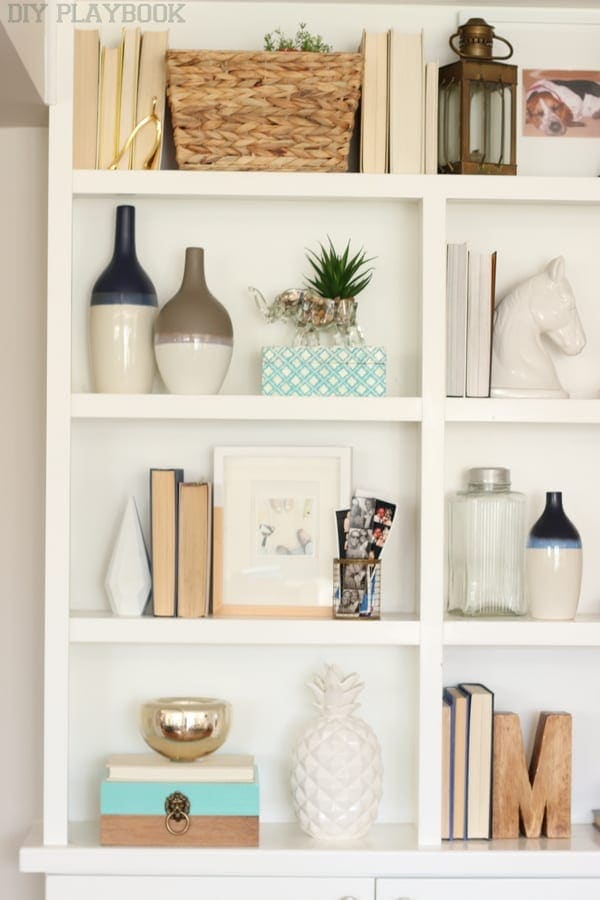
See that familiar box that I recently added to my built-ins? 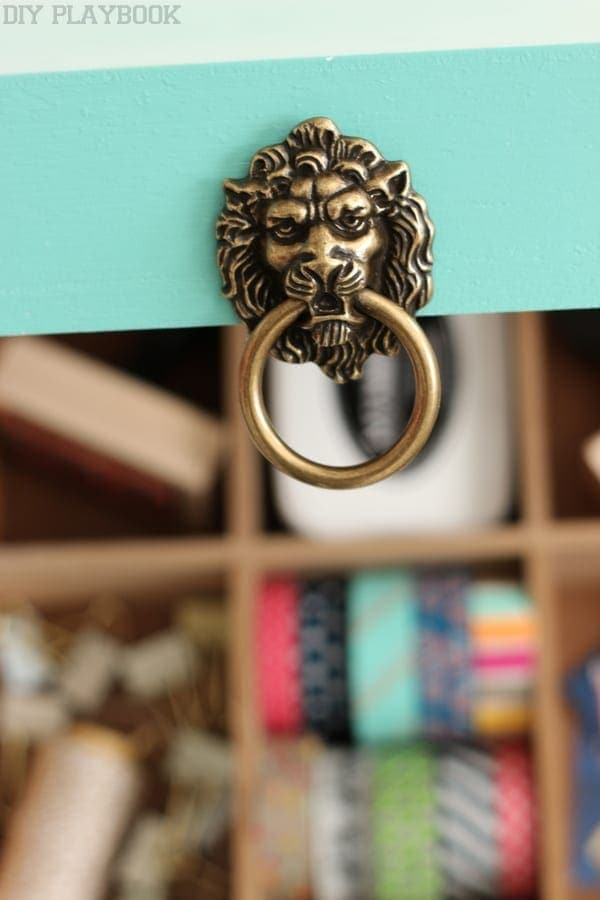 Well, well, well … when you peek inside (past that adorable lion knocker), you will instantly find ONE-STOP-SHOPPING box for ALL of my mailing essentials. <— And no, I’m not yelling at you, I’m just that excited about this super easy organizing solution.


One little, two-toned box now is home to:
- Forever Stamps
- Extra Envelopes
- Blank Notes/Envelopes that I need in a pinch (I store my other cards here )
- Stamper (for both DIY Playbook & our house)
- Ink Pads (Black + Navy)
- Washi Tape (instant way to dress up your mail on the cheap)
- Clips, odds & ends
So let’s chat about how easy this little Mail Box is to recreate, shall we?
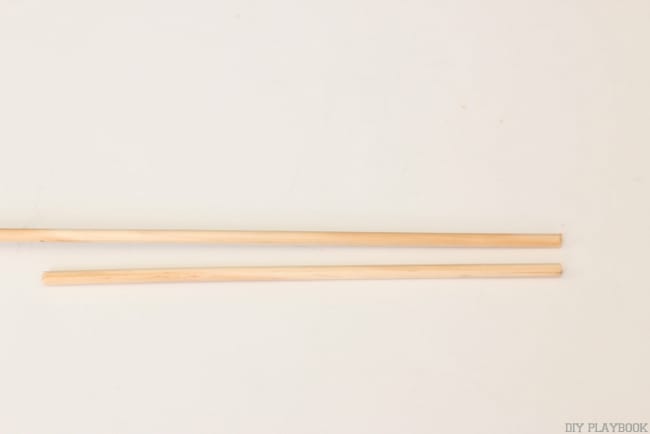 I used these dowels (which cost less than 50 CENTS (!!)… total) from Michael’s to create the area to hold envelopes inside of the box’s lid. I held the dowel up to the box’s lid and made a little pencil mark to indicate where I should cut the dowel in order for it to fit inside of the lid.
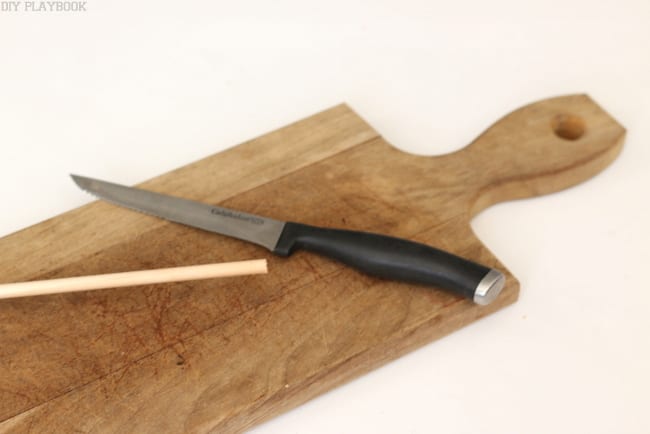 Then I grabbed a cutting board from my kitchen and a knife to cut at the pencil mark. This took a little muscle, so be careful. But the cutting of both dowels took me less than 3 minutes so it isn’t hard or time-consuming, just be careful using that knife. #eek
Rookie Tip: You want the dowel to fit VERY snug in the lid, so don’t cut the dowel too short. If you buy a long enough dowel though, you’ll be able to get at least 2 cuts if not more from the rod. If you mess up on the measurements, you should have some wiggle room to cut another one from the original rod. And if not, the long dowel cost less than a dollar so it’s not like this step is going to break the bank if you need to re-cut. 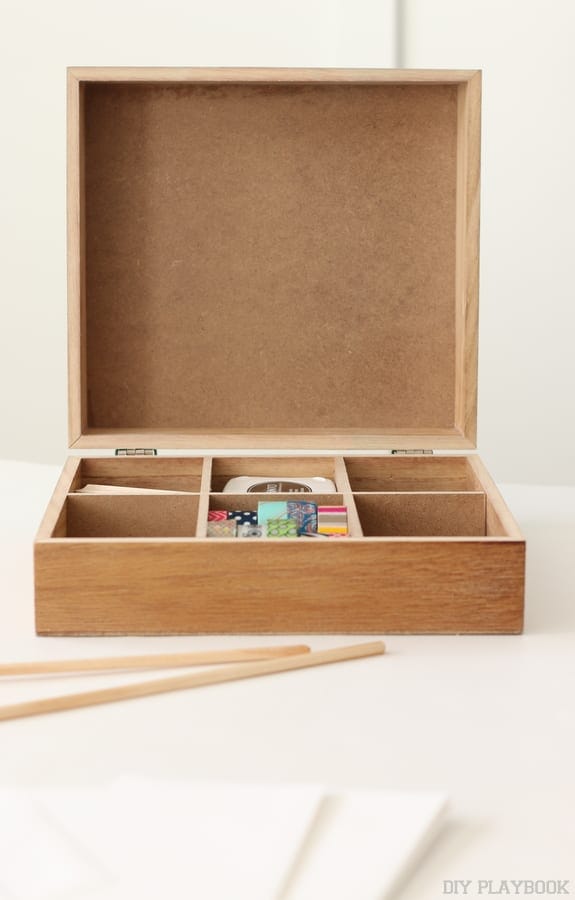 Once you have both dowels cut to size, simply place them diagonally into the lid… approximately where you want them to end up. Because they will fit snug-ly, force them from the diagonal position to fit into the lid horizontally. Repeat this same step with the second dowel.
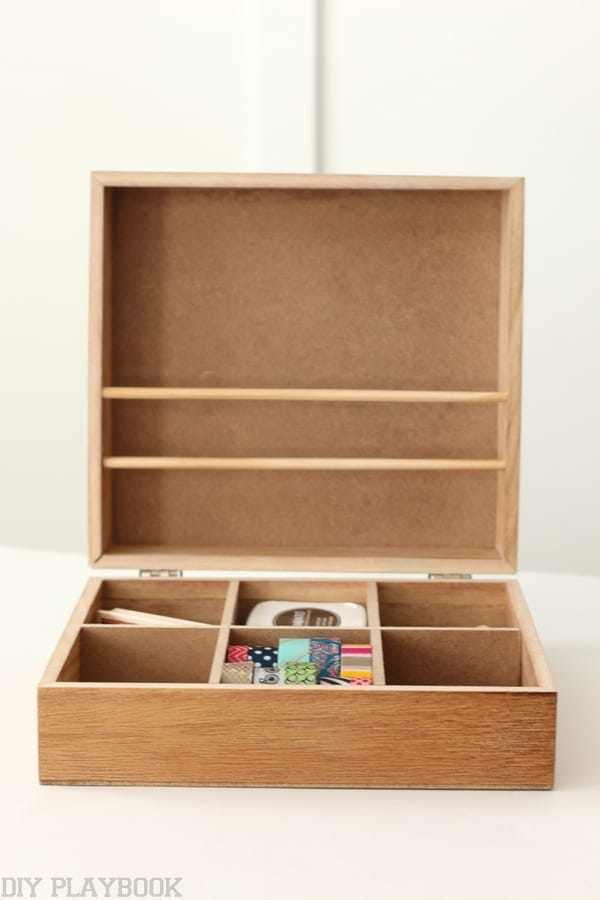
You may have to go back to the cutting board and shave off a little of the rod in order to even the edge out so it’s snug, but that should not be a big deal at all. 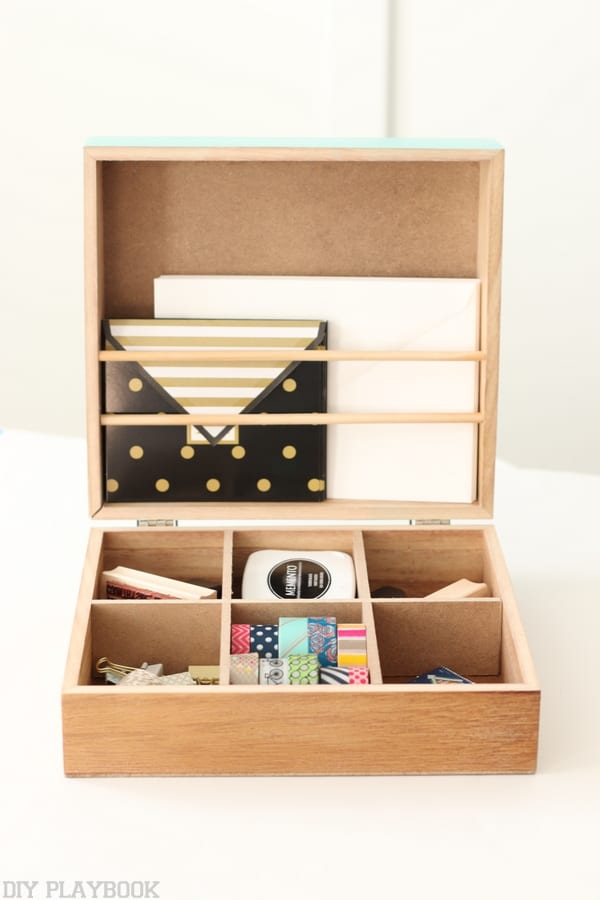 Once the dowels are secure in the box, you can place your extra cards or envelopes in the box’s lid… or even slide in a small address book. As long as whatever you are storing in the lid isn’t too heavy, you should be able to open and close the box with the dowels moving. I’ve been opening/closing mine for a few weeks now and haven’t had any problems with it (I’m storing about 10+ large envelopes and about 5 mini cards behind my dowels).
 I filled my box after I added my dowels, but if I were doing this again, I’d probably save this until last and tackle this next step first.
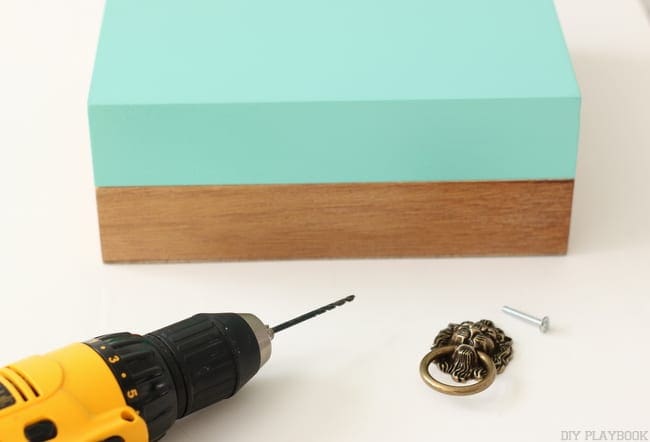 Adding some hardware to dress up the box (do this first). Of course, this step is completely optional as this box is super stylish by itself. I just thought adding a hardware pull would be a fun touch to make it my own.
 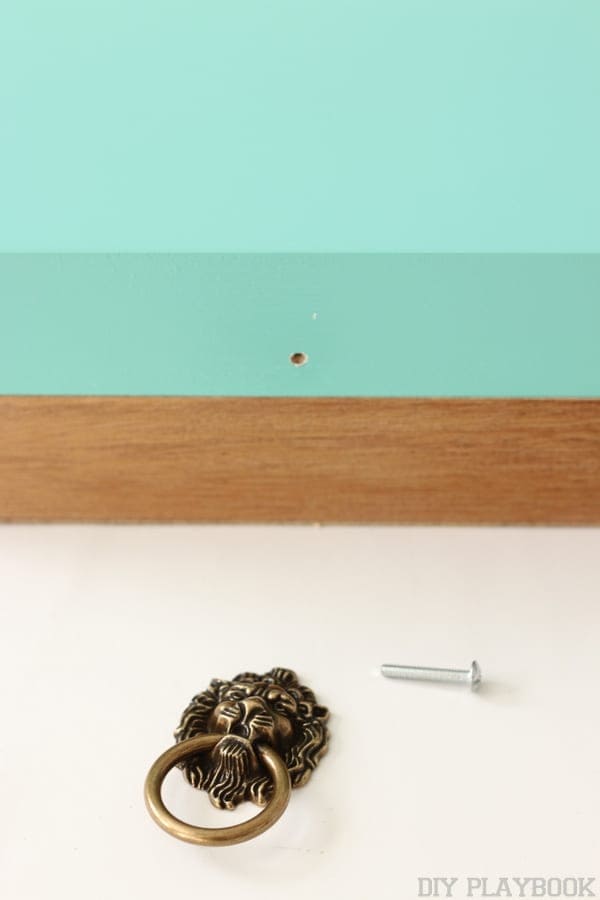 I scored this lion knob at Menard’s for $3. Just like installing any knob, all you really need is a pilot hole and a screw.
 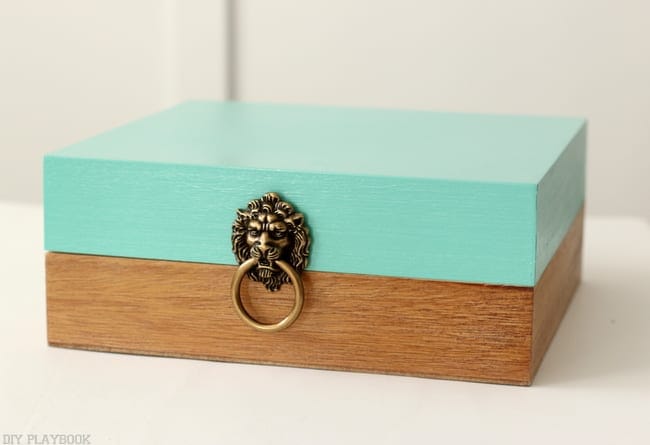 I carefully added the pilot hole and used the screw that came with the lion knob to screw it on the front of the box. Easy enough, right?
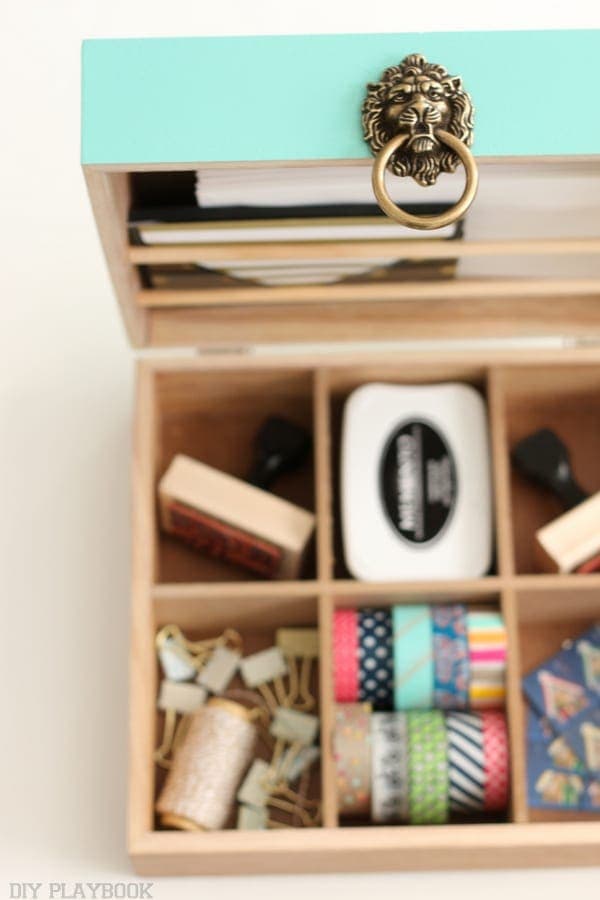 This whole project probably took me about twenty minutes… maybe less without having to stop to take the photos.I added this secret storage to my built-ins and now have ONE place where I can find ALL of my snail mail essentials. Plus, my junk drawer is a little less of a hot mess…. which is a step in the right direction since it’s only January 1st!
So there you have it…1 box, organized 2 very different ways! Anyone else feeling just a little more motivated to get moving on some serious O-R-G-A-N-I-Z-A-T-I-O-N?
Article source: http://thediyplaybook.com/2016/01/easy-stylish-organizing-1-box-2-ways.html