I’ve been trying to convince my husband on a laundry room makeover for a while. He wasn’t convinced at first that anything needed to be done in a room that no one really sees. Here’s the thing about my husband though. Once I do work my magic and I get him on board with something… he his all in. And once he decides he’s doing a project he doesn’t want to stop until it is done. This works out great for me because I am SO impatient!
We woke up this past Saturday morning and it was a random snowy March day. All of our days activities got cancelled, so we decided it was a great day to dive into a project. A somewhat impulsive decision like most of our projects are. Even though we had dreamed it up and talked it out, we had no idea going into the weekend that we would be doing it so soon.
PIN THIS BELOW!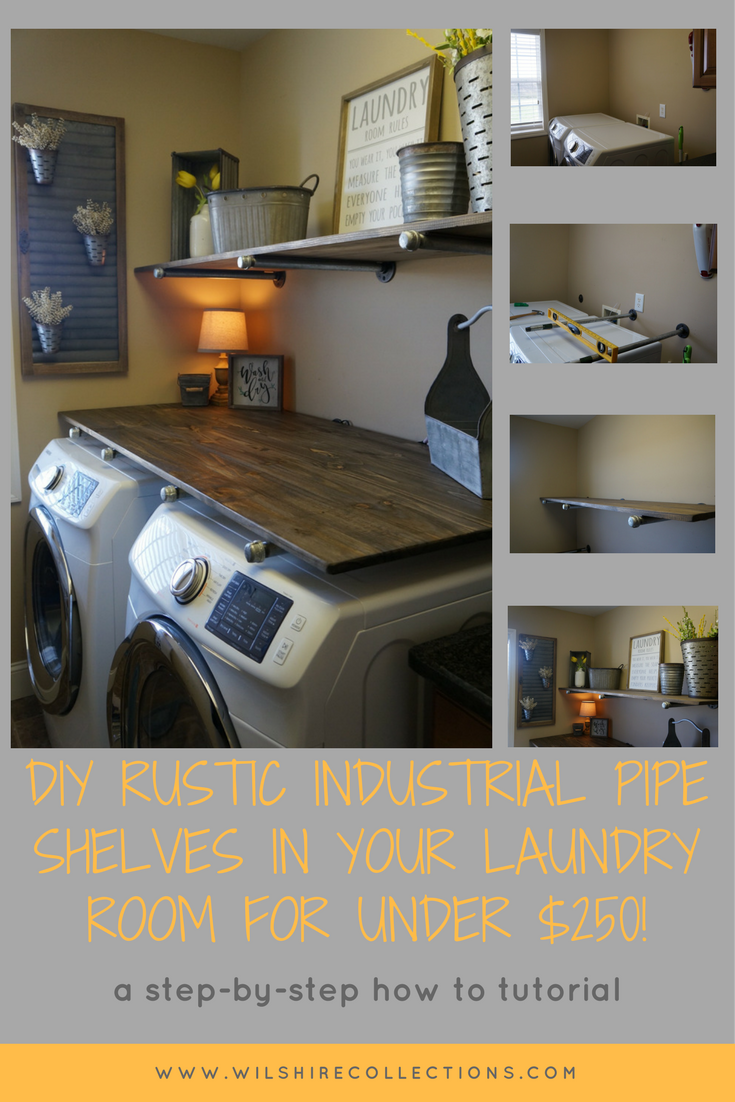
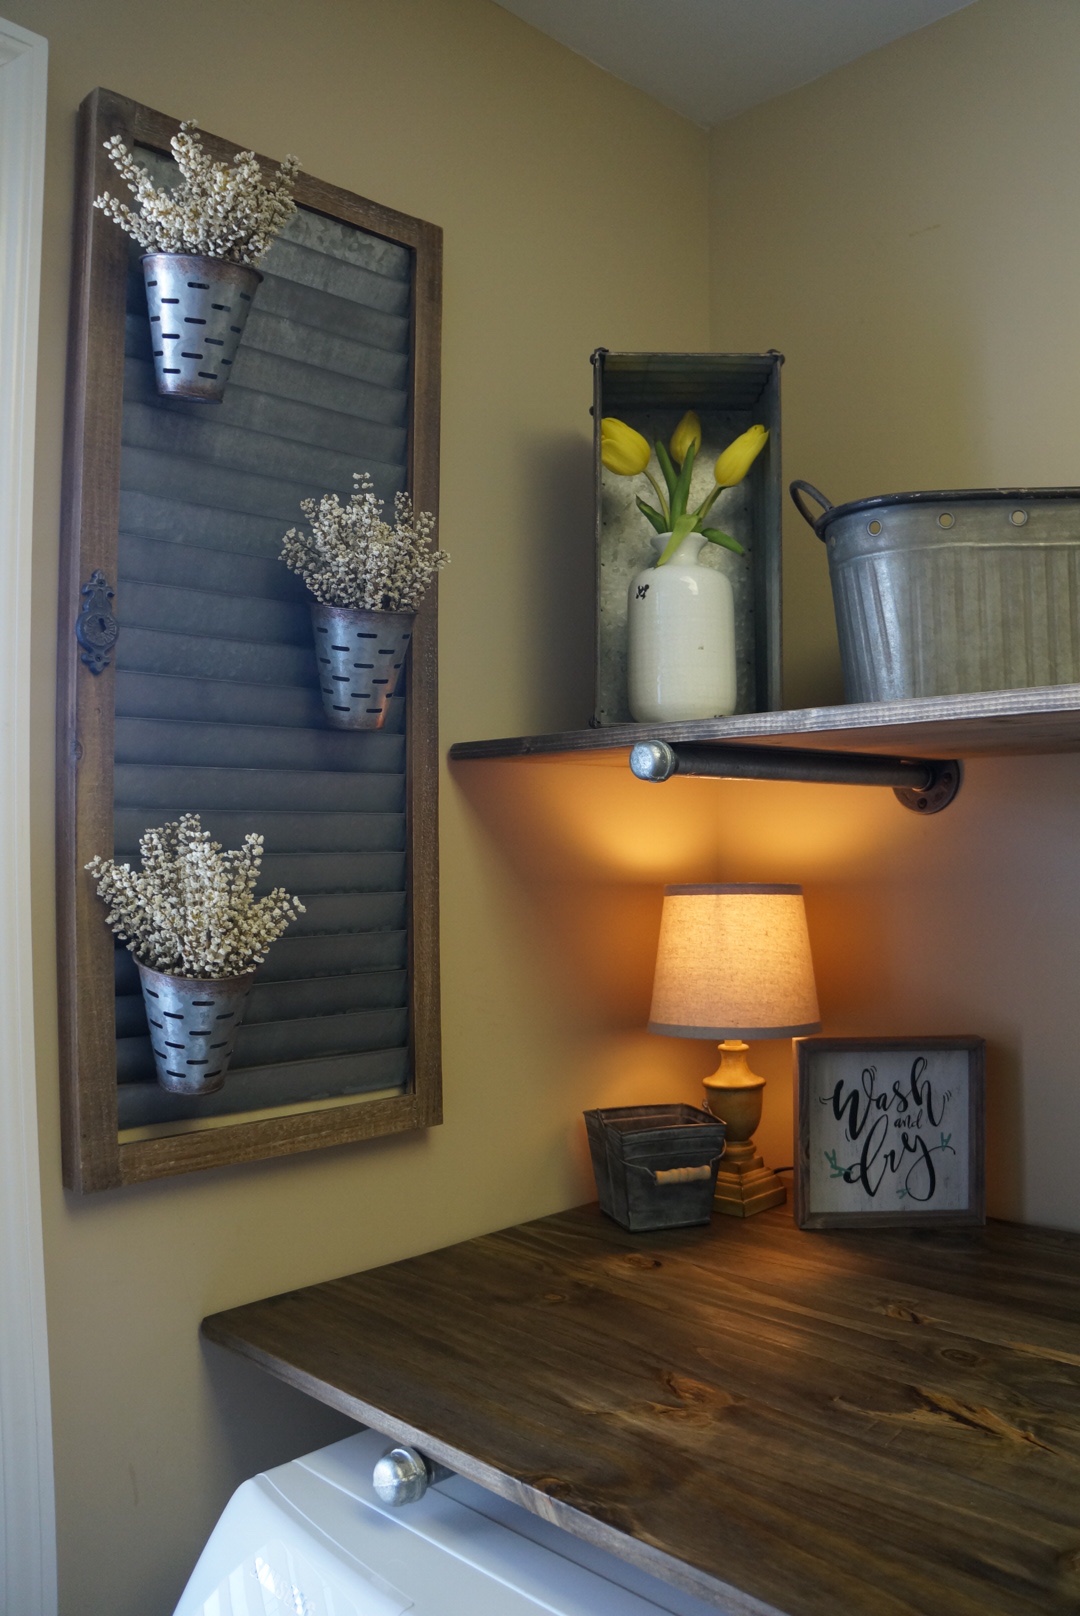
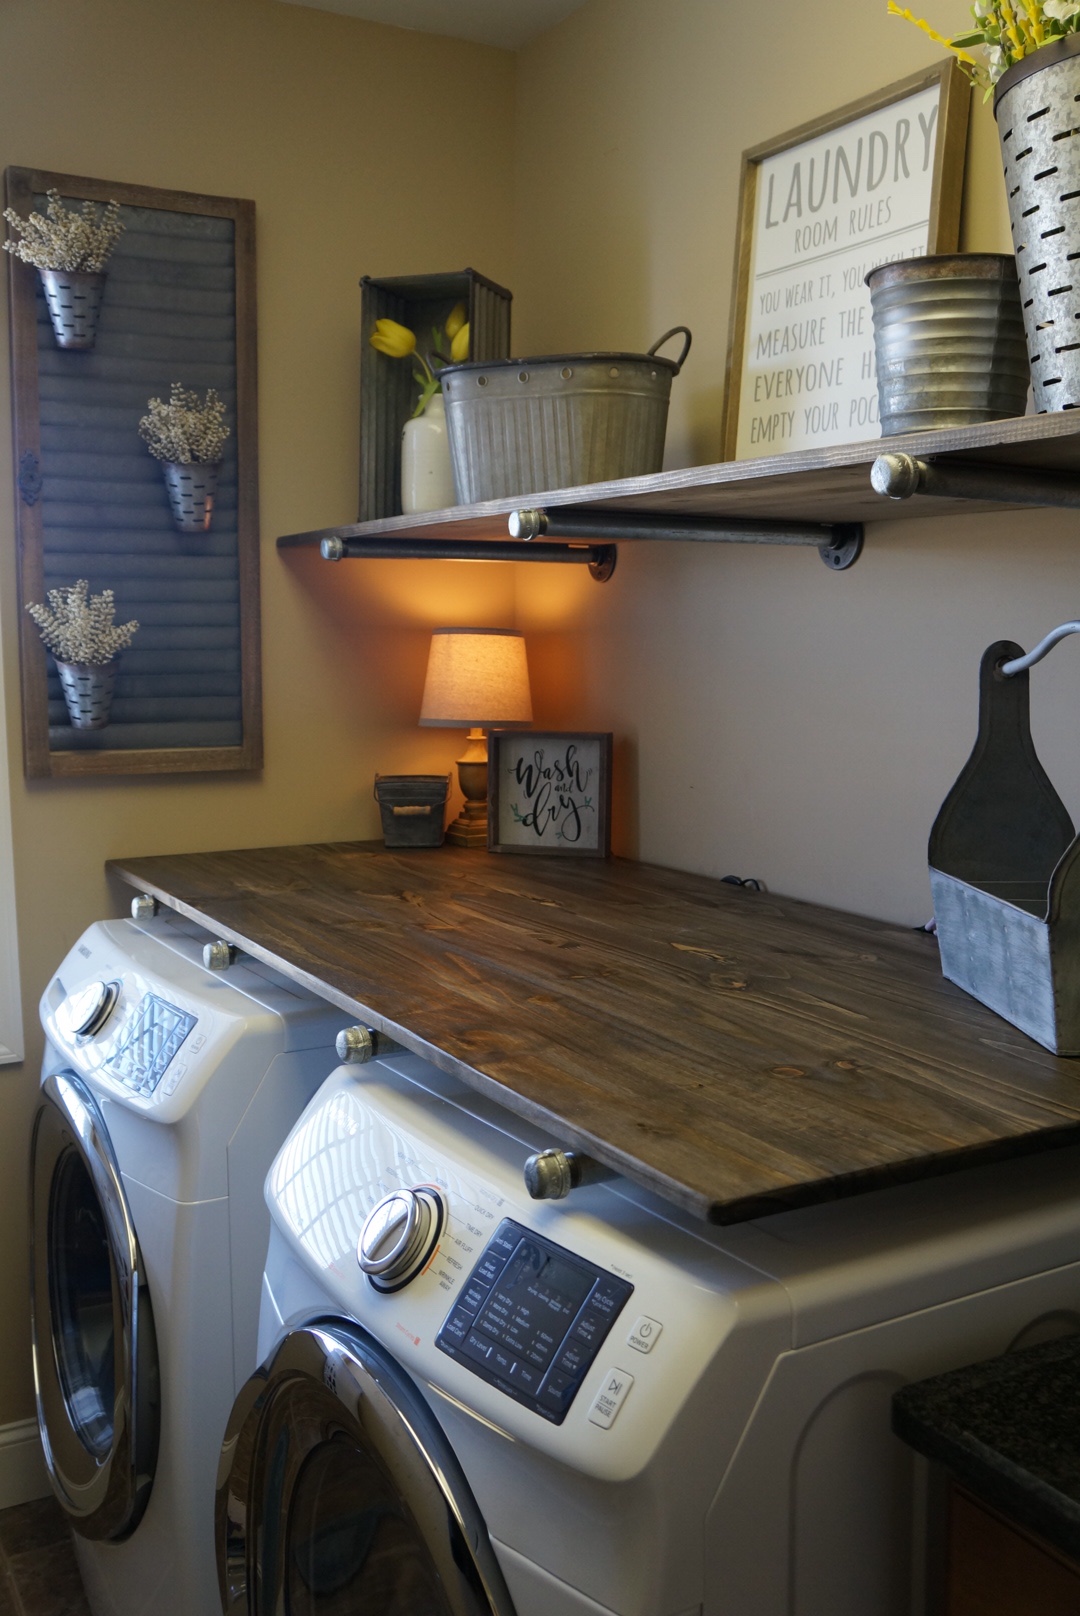
I knew I wanted 2 sets of shelves. My main goal with adding the laundry room shelves was primarily to give me a bigger and wider folding area. I fold lots of boy clothes and undies right in that very spot, and I needed more room to spread and make piles for each human in this house. The top shelf was going to be mostly decorative, although I will be storing things like extra rags, cleaning supplies, etc. in some of the buckets that you will see up there. So, it also gives me some more storage as well.
Before we get going, be sure to get your FREE BATHROOM PRINTABLE HERE! It’s super cute and…FREE!
Here is how we did this mini laundry room makeover for UNDER $250, and that included all of the supplies as well as a couple of new décor items!
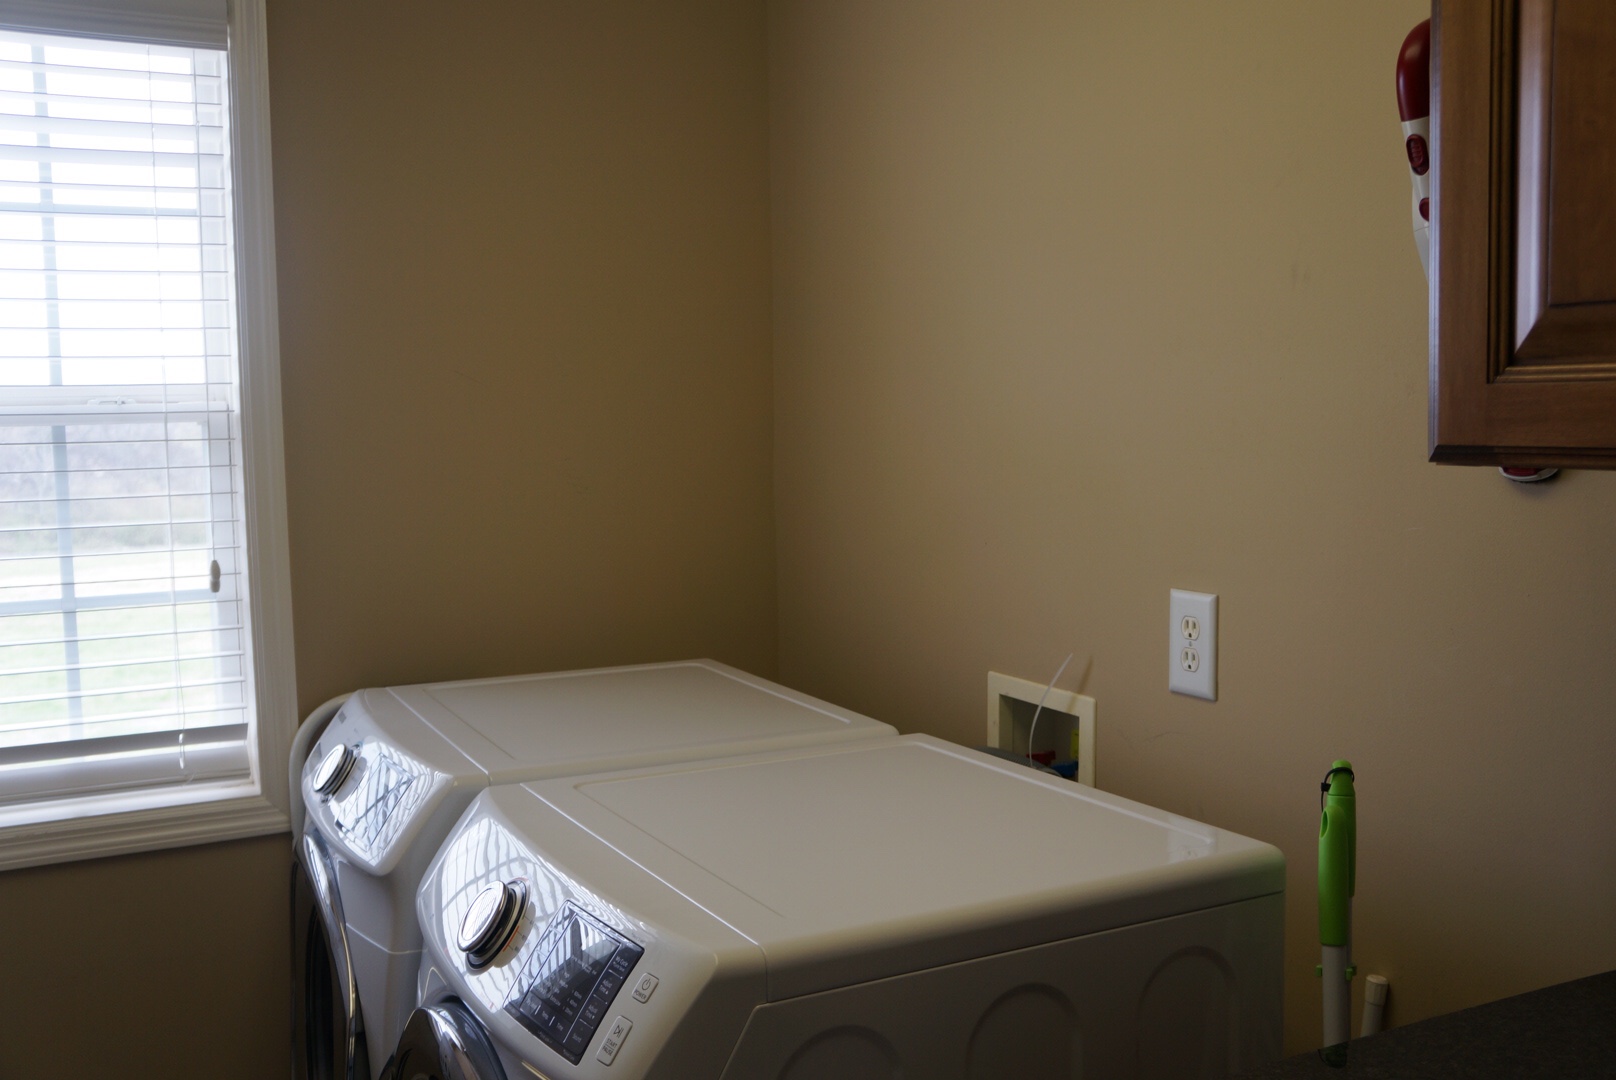
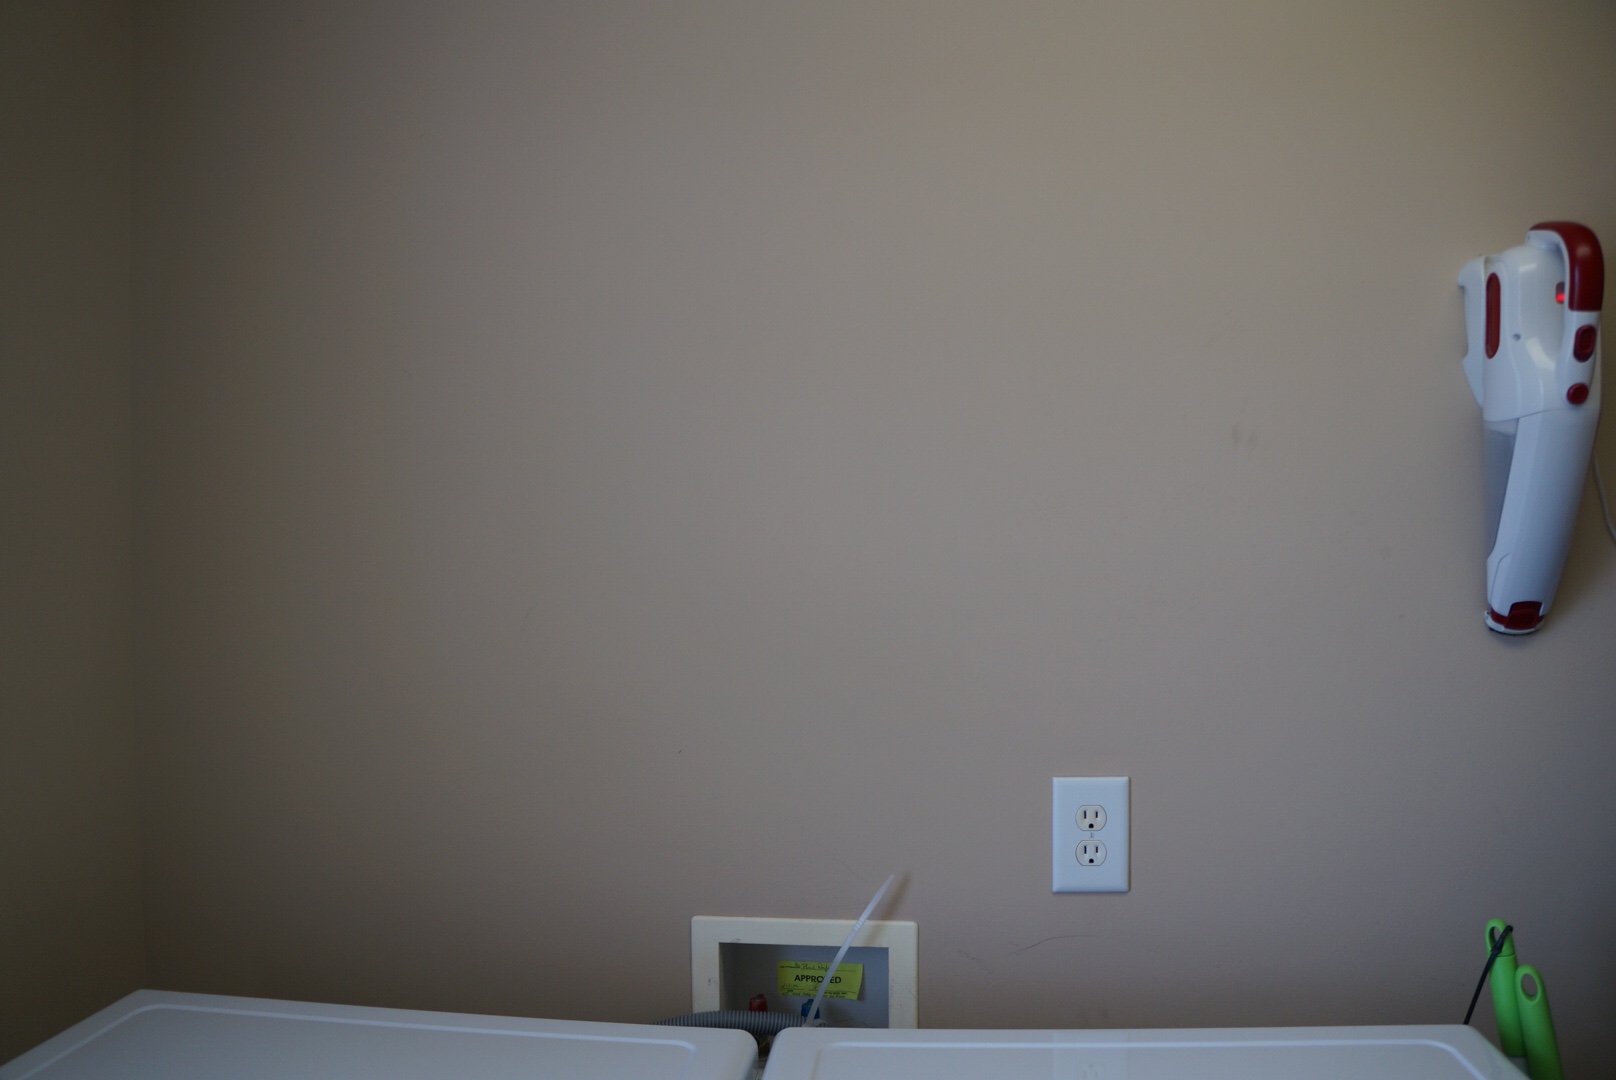
Here are some before pictures!
Check out the steps we took for this DIY Laundry Room mini makeover:
- I come up with the vision and then my husband is the ultimate measurer. (Is that even a word?!) Either way, he figures out all the things for us before he makes his trip to Lowe’s. We knew we wanted to use the Industrial Pipes with stained wood shelves. He measured the length and the depth that we would need for the wood. You can either have them cut it for you at Lowe’s or Home Depot, or you can do it at home if you have the tools. He decided to cut the wood himself on this project. You want your wood to go to the depth of how long you are wanting your pipes to stick out. So, that at the end the wood is almost flush against the wall and then rests in the front right in front of the caps you put on the end of the pipes.
- You can buy the industrial pipes at Lowe’s or Home Depot, and they can even cut them for you if they aren’t the size you need. Again, we measured how far out we would want them to come from the wall and estimated how many we would need going across to support the wood. We chose to buy the silver/galvanized metal looking pipes. You will also need the pipe floor mounts, which are the pieces that attach to the wall (into a stud). Your pipe will screw into those. You also need to buy pipe end caps that go on the end to finish the look.
- For this project, we used unfinished stainable shelving wood, 1″ thick. It’s a light weight pine. You could use other types of wood for this project as well depending on the look you are wanting.
- So, while he was doing that I was out in the garage sanding down the wood. I used my little hand held palm sander that I love with a medium grit sandpaper. Be sure to sand and smooth the edges and corners. You can find my sander here and the sandpaper for it here.

-
- No DIY Project is complete without some good tunes. You can get a free 30 day trial here!
- We let that dry overnight and then we had a crazy wild date night Saturday night. Our date consisted of delivering a piece of painted furniture I had done for a client, then going to Hobby Lobby and Lowe’s and finally to dinner. We are so romantic like that ? I knew I had a few things already at home I could use on my shelves, but I had a couple other things in mind also. I found exactly what I was looking for (and more) at Hobby Lobby to go with my galvanized and wood accessories!
Of course the Olive Bucket is a staple in my house, with a few scattered throughout. Be sure to check out my post here with several ideas on how to decorate yours for Spring! You can also find them online here, or usually at your local farmhouse/vintage/antique store! 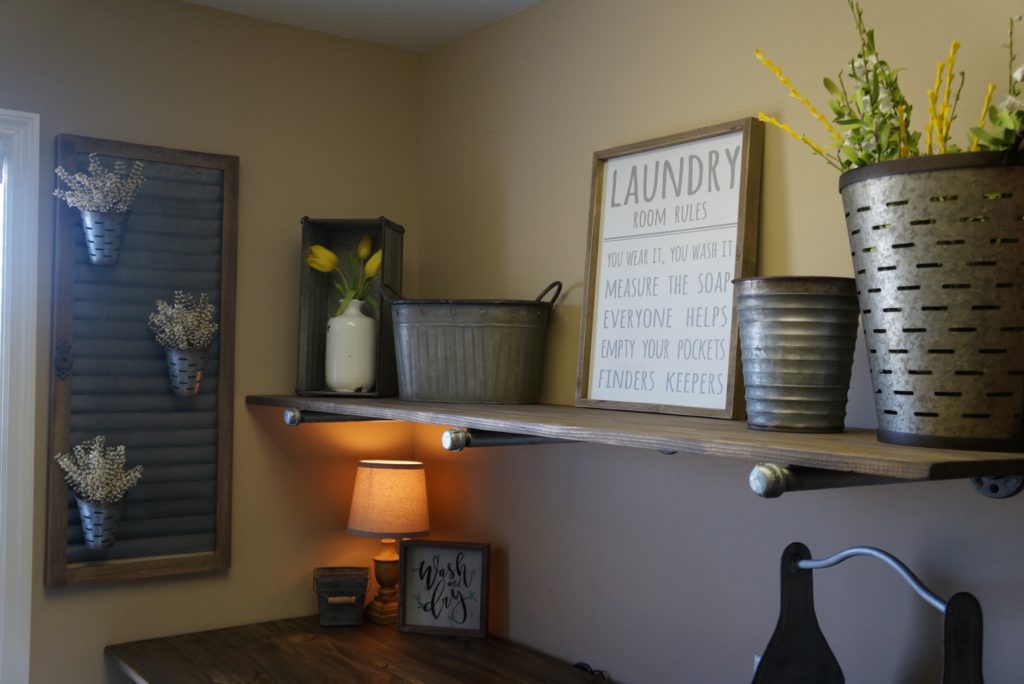
I love that my husband and I enjoy doing these kind of projects together. We make a pretty great team I think. He does all the hard man/builder type work. I come up with the vision, then boss him around and decorate. We are actually just like Chip and JoJo now that I think about it. Except, we aren’t at all. Haha! It really was a fun and inexpensive weekend project though!
So, without further rambling…here are some after pictures of our Mini Laundry Room Makeover
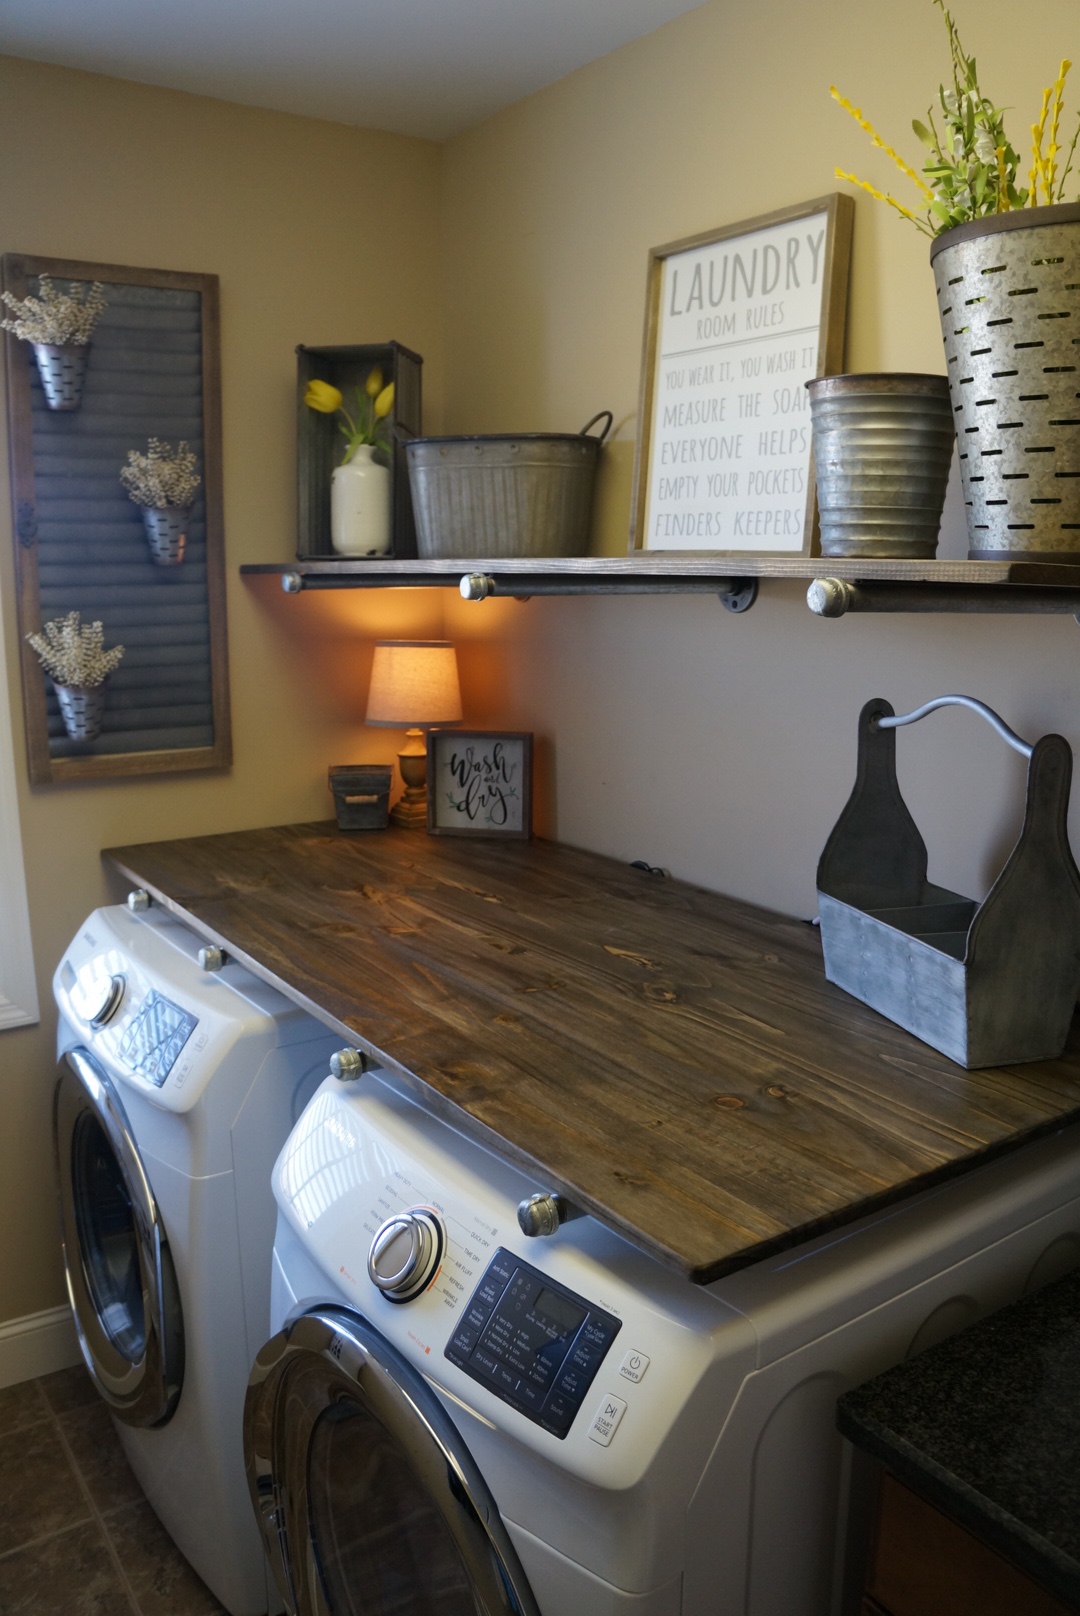

So, what do y’all think? Is this a win the DIY department? I don’t think I’ll be stopping here in this room, I’m afraid it’s only the beginning! Share with me in the comments in DIY hacks or organization ideas you have for a laundry room. I would love to hear!
Until next time….
~Stacey
*This post may contain affiliate links.*
More DIY Home Decor Ideas and Resources
Article source: http://www.wilshirecollections.com/laundry-room-diy-industrial-pipe-shelves/


