

(Image credit: Neena Anne Thomas )
Want to make a more pleasant impression with your porch? You might find inspiration in this subtle but effective porch makeover, involving some bright paint and new pattern!
(Image credit: Neena Anne Thomas )
Want to make a more pleasant impression with your porch? You might find inspiration in this subtle but effective porch makeover, involving some bright paint and new pattern!

Good Morning, my home décor enthusiasts! It’s getting chilly outside so Cutting Edge Stencils would love to settle in near a charming fireplace. Wait, is your fireplace not looking so charming these days? No worries, my friend. We have some ideas on how you can give your fireplace a makeover and enjoy it through the wintery months. Better Homes and Gardens says that for an attention grabbing look, “The mantel and surrounding wall are integral to your fireplace design.” We couldn’t agree more! So are you ready to get toasty with stencils?

Take the lead from Stephanie and stencil some enchanting wall art to hang above your fireplace. After watching some of our stenciling videos, she selected acrylic craft paint in blue, pink and cream colors along with our Junior Mural Stencil Kit to paint her masterpiece. She says she “loves the outcome and can’t wait to complete the next project.” We love it too! We also think stenciling wall art is a great project for those who want to spruce up their fireplace without committing to painting a wall.

But if you are ready to take your fireplace makeover to the next level then here’s a project for you! Stacy the queen of DIY from the blog, Not Just a Housewife, painted this gorgeous nook above her brother’s fireplace. This space started out dull and dreary until Stacy dazzled it over. She used our Alessa Scroll Stencil and a warm butter hue to give this fireplace its toasty look!

Similar to Stacy’s project, our Pinterest pal The Staged Style also stenciled the space above the fireplace. The Staged Style used our Zamira Allover Stencil in a bold blue hue to create this fireplace accent. They believe a mantel is a great focal point within a living room and that a dramatic wall stencil in this small area can make a BIG difference. We think they might be onto something because this blue-tiful fireplace stencil is a total winner!

Andrea, one of our fab fans, designed this stunning fireplace. Rather than stencil the space above her fireplace, she chose to use our Casablanca Craft Stencil to stencil the surface surrounding her fireplace opening. You could easily replicate this look using a hue similar to Benjamin Moore’s revere pewter HC-166 and our Moroccan pattern. Awesome work, Andrea!

Sue, another one of our creative fans, stenciled an accent wall in her living room. She used our Rabat Allover Stencil and a creamy shade of beige like Benjamin Moore’s splendor AF-385. By placing the stenciled pattern on the same wall as the fireplace, she totally calls attention to its beauty. We think it looks absolutely fabulous!

Haven’t had enough stenciling fun?
Thanks for reading, and happy stenciling!
Michelle and the Cutting Edge Stencils Crew
Hardwood floors may not be as easy to maintain as you think. Hardwood flooring requires attention to detail, so be sure you’re meticulously caring for your flooring. To keep your hardwood floors looking polished, clean and like new, check out the following information provided by Reader’s Digest. The guide below contains five tips for cleaning hardwood floors.

Believe it or not, dust contains fine grit that acts like sandpaper on hardwood flooring. This dust can wear through your floor’s finish, so be sure to perform a good vacuuming every week to protect your floors and keep them clean.
Water is damaging to hardwood flooring, so, if rain is in the forecast, keep your windows closed. Accidentally keeping your windows open, or allowing moisture to come in contact with your hardwood flooring, can damage your floors. You should also be sure you have trays under potted houseplants, and wipe up any water that may drip on your flooring right away.
If residue accumulates on your flooring, keep a no-wax cleaner on hand. Liquid-based cleaners are damaging to hardwood, but wiping up spills, dirt and debris with a no-wax cleaner right away can protect your flooring from damage.
It is possible to rejuvenate wax finished floors with more wax, but know that you should never use wax on shellac, varnish or polyurethane surfaces. These floors will become far too slippery, and the wax will interfere with the finish of the flooring.
Family, friends and guests should remove their shoes when walking on your hardwood floors to prevent water, dirt and salt damage. A great way to prevent this damage from occurring is having an indoor doormat, which guests can remove their shoes on. Furniture pads can also come in handy to keep your hardwood floor’s finish from wearing under the heavy legs of couches and tables. Finally, area rugs can keep your floor save in high traffic areas, such as living rooms or playrooms.
Now that you know how to care for your home’s flooring, consider purchasing hardwood floors from flooring.org. We have a wide range of flooring that can save you hundreds when you buy, so check out our website today!

I envy homes with built-in storage. Hell, I envy a home that has a linen closet. See, my apartment bathroom really lacks storage… unless you count the space under the sink, which is just yucky to me. Only gross things go there, like the garbage can and toilet brush.
Having no bathroom storage is kind of a big deal. To alleviate having no medicine cabinet, I hung a few floating shelves in the bathroom. But for the rest of my toiletries, I needed more space. So I created a makeshift linen closet just outside my bathroom door.
Truthfully, I’ve had this “linen closet” carved out for some time. When I first moved into my apartment, I placed one of my MCM-painted Rast dressers here. Hiding items in drawers worked very well… but on the downside, you’re hiding items in drawers. Labelmakers are so passé, so it was a game of musical drawers anytime I searched for extra cotton balls.
I then moved one of my Lerberg (IKEA) bookshelves in this corner. It’s lightweight and airy, perfect for this tight spot. I thought the open shelving concept would be great because it would force me to keep this area tidy.
The reality is, I just plopped that bookshelf down and threw a ton of crap on it. No organization, no thought involved. Finally, I got tired of this cluttered corner and made it over.

Taking the time to organize and prettify really made a difference, didn’t it? The wonderful thing about open storage/shelving is that your business is all out there. You gotta be ruthless. Only the necessities survive in open shelving land. (I’m looking at you, blue eyeshadow.)
Photo boxes store some items that are best kept covered like bandages, cotton balls, etc. I also used several baskets to corral items, making sure they were tall enough to (mostly) conceal the contents. This also created a sense of order by not flooding the space with many colors.

Even though I was ruthless, I still had to infuse some style onto the shelves. Everything on these shelves coordinate with my bedroom and bathroom decor. This keeps the spaces feeling cohesive and is perfect for when I “shop my home” and change things up.
At the top, I added my favorite fake plant. Just below, I placed a tray to hold a few cosmetic items. This tray was created by painting a basswood canvas, attaching clear plastic drawer handles, and wrapping hemp rope on the handles.


You can even use towels as decor. I used to laugh at my mom’s strict regimen of folding and storing all her towels the same way. But now I do it. Funny how it works that way…

Taking the time to organize our storage areas really makes a difference—not just visually, but for our peace of mind. If your home also lacks bathroom storage, there are other budget-friendly ways to resolve this issue. Attaching shelves to the wall would also work nicely, as do small dressers. You could even use an over-the-door shoe organizer or a fruit basket for easy and accessible storage.
Have you ever rented a home that had little storage? How do you prefer to store your bathroom items and toiletries? Have you had to improvise for storage?
Thanks for visiting! Let’s stay connected!


Linked to:
Skip To My Lou: Made By You Monday
Domestically Speaking: Inspire Me Monday
Sugar Bee Crafts: Take-A-Look Tuesday
The Stitchin’ Mommy: Tuesday PIN-spiration Link Party
Home Stories A to Z: Tutorials & Tips Link Party
Ladybug Blessings: Handmade Tuesdays
Ginger Snap Crafts: Wow Me Wednesday
The Pin Junkie: Friday Link Party
My Romantic Home: Show and Tell Friday
The Answer is Chocolate: BFF Open House Link Party
A Stroll Thru Life: Inspire Me Tuesday
Filed under: Bathroom, Decorating Tips, DIY, Organizing & Storage, Rental Decorating, Repurposing 
![]()
Yes, hardwood flooring looks chic, elegant and gives your home a royal look. But, no hardwood flooring is NOT a cure-all to increase property value. While hardwood flooring does look amazing, lasts for decades and needs little maintenance, it is not suitable for all rooms. There are certain areas in your home where hardwood installation may not be ideal. Read on to know which are the best and the worst rooms for hardwood flooring before you invest your savings in renovating your flooring.

Living room
The living room is the most lived in a room in any house. This is the space where you meet and entertain guests. It is also that room of the house that reflects your taste, style, and personality. Do not hesitate to install hardwood floors in your living room. Hardwood can withstand heavy traffic and soak in an occasional spill without sustaining damage if promptly cleaned. You may place a doormat at the doorway to trap moisture and dirt that visitors may carry into your house.
Home office space
If you work from home, it is a good idea to install hardwood in your home office space as it is said that it can generate positivity and boosts productivity.
Master suite
Whether you want to give your master suite an elegant look or add a touch of romance, you can do so by installing hardwood. Throw in a matching rug, and restrict the amount of light that enters the room by using thick drapes, and your bedroom will be transformed into a cozy haven. The floor too will remain in immaculate condition for years to come.
Bathroom: Water is the biggest enemy of hardwood floors. The moisture and wetness will destroy the flooring before you know it. And, if you have kids, imagine potty training them in a bathroom with hardwood flooring. This spells out disaster for your hardwood flooring. Your bathroom is a big No for hardwood flooring.
Laundry room: Hardwood horror again. Your laundry room is another room in your home where there can be leaks, water puddles, and detergent spills. Unless you never hang clothes to dry or throw wet towels in, it is best you steer clear from installing hardwood in this room.
Whether you are on the lookout for solid hardwood or engineered hardwood floors, simply shop at Flooring – your one stop destination for laminate, flooring and other accessories.
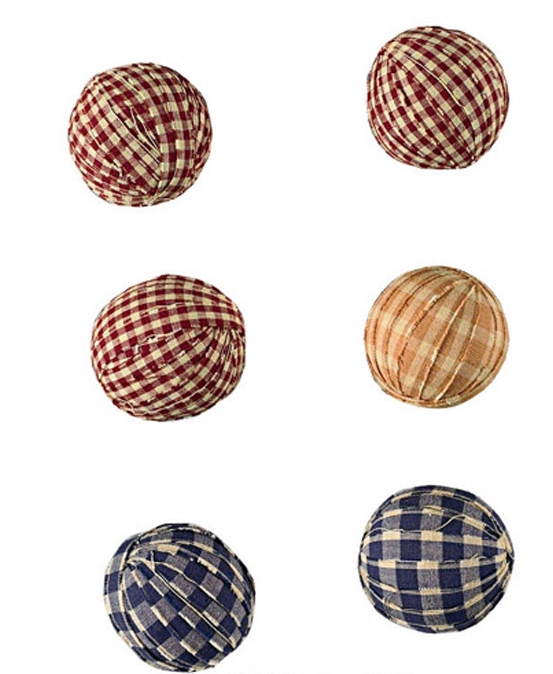
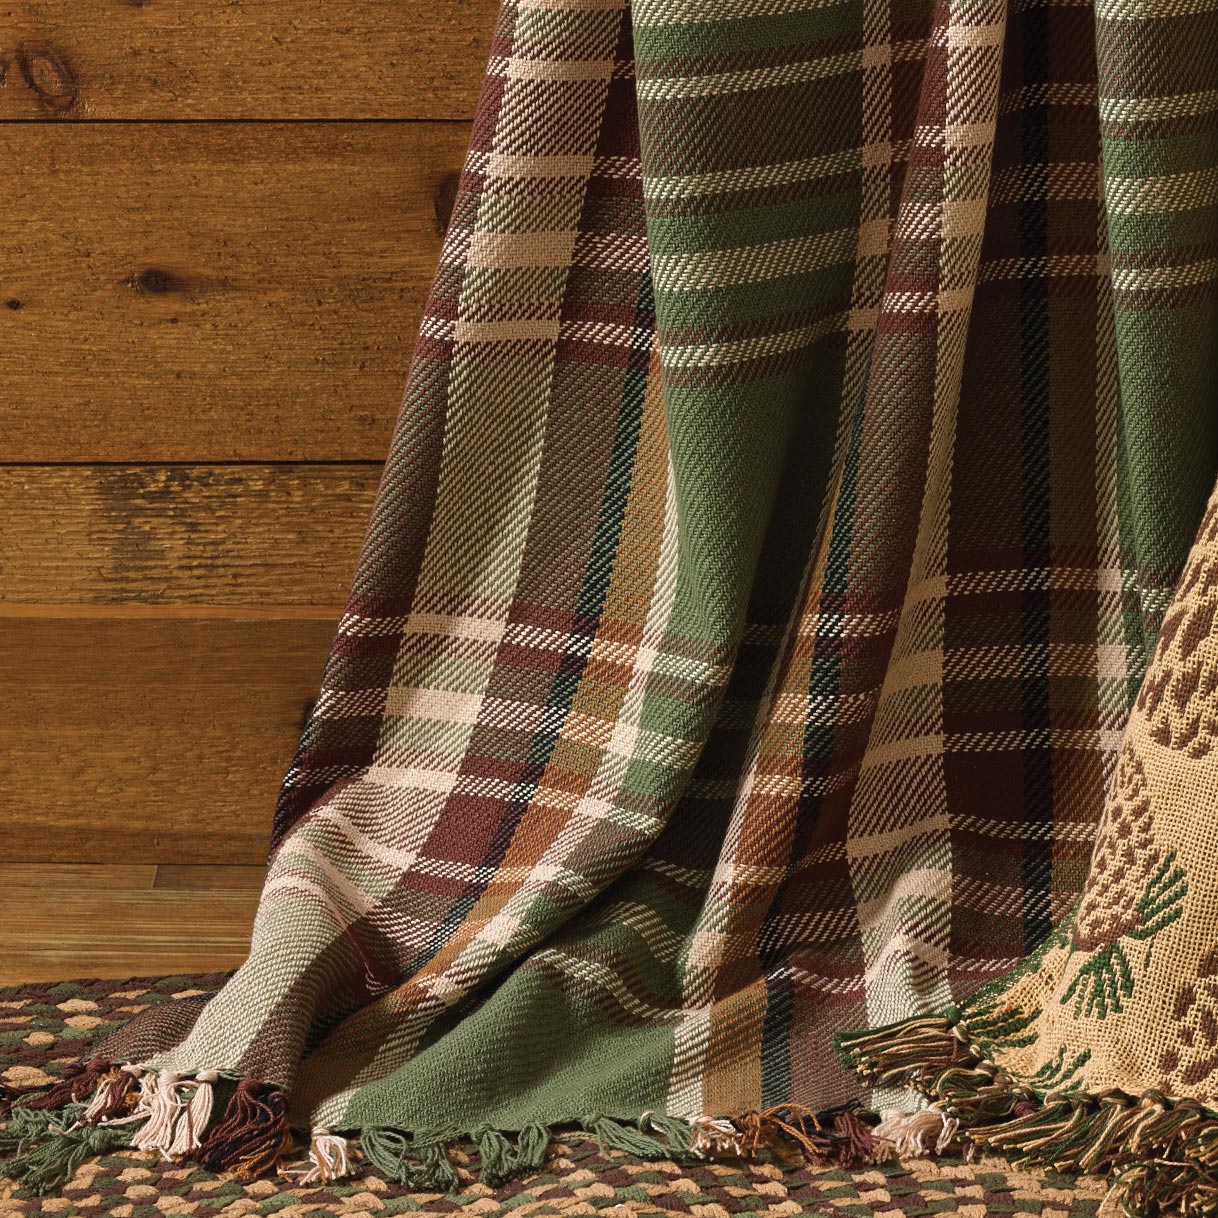
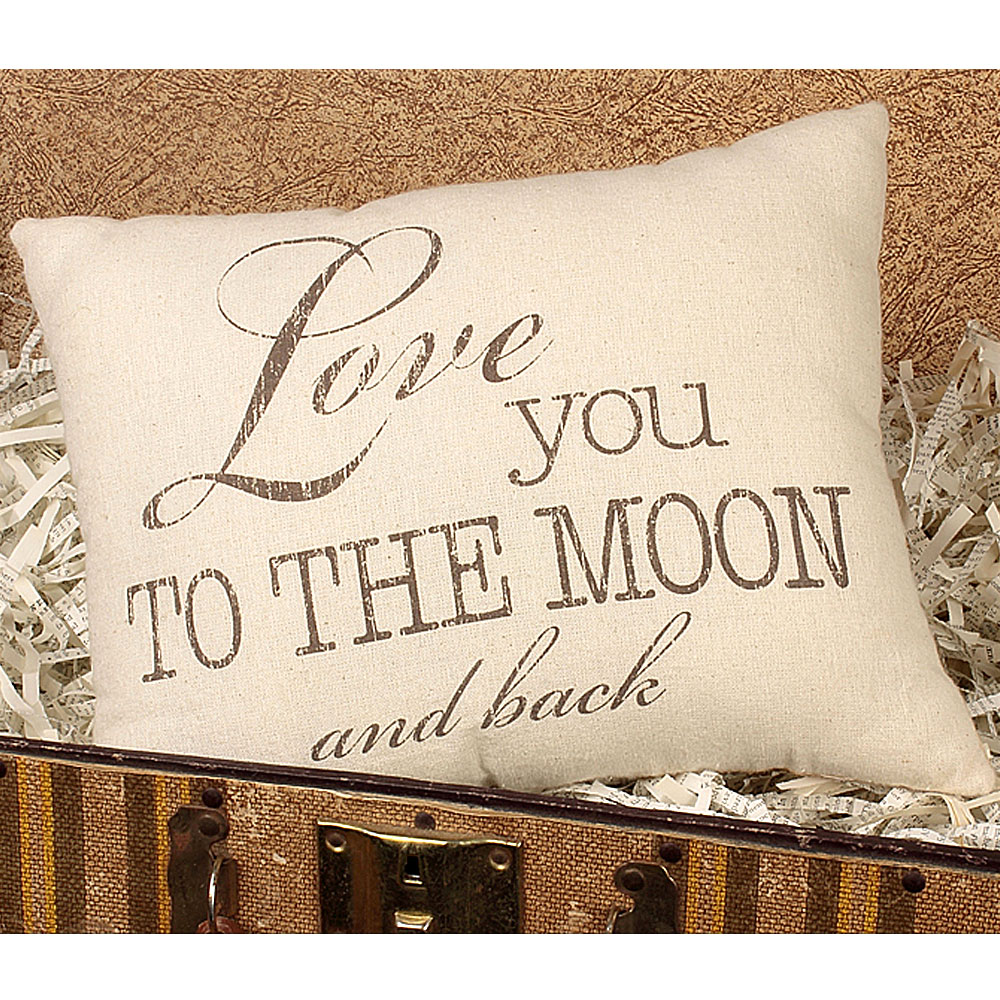
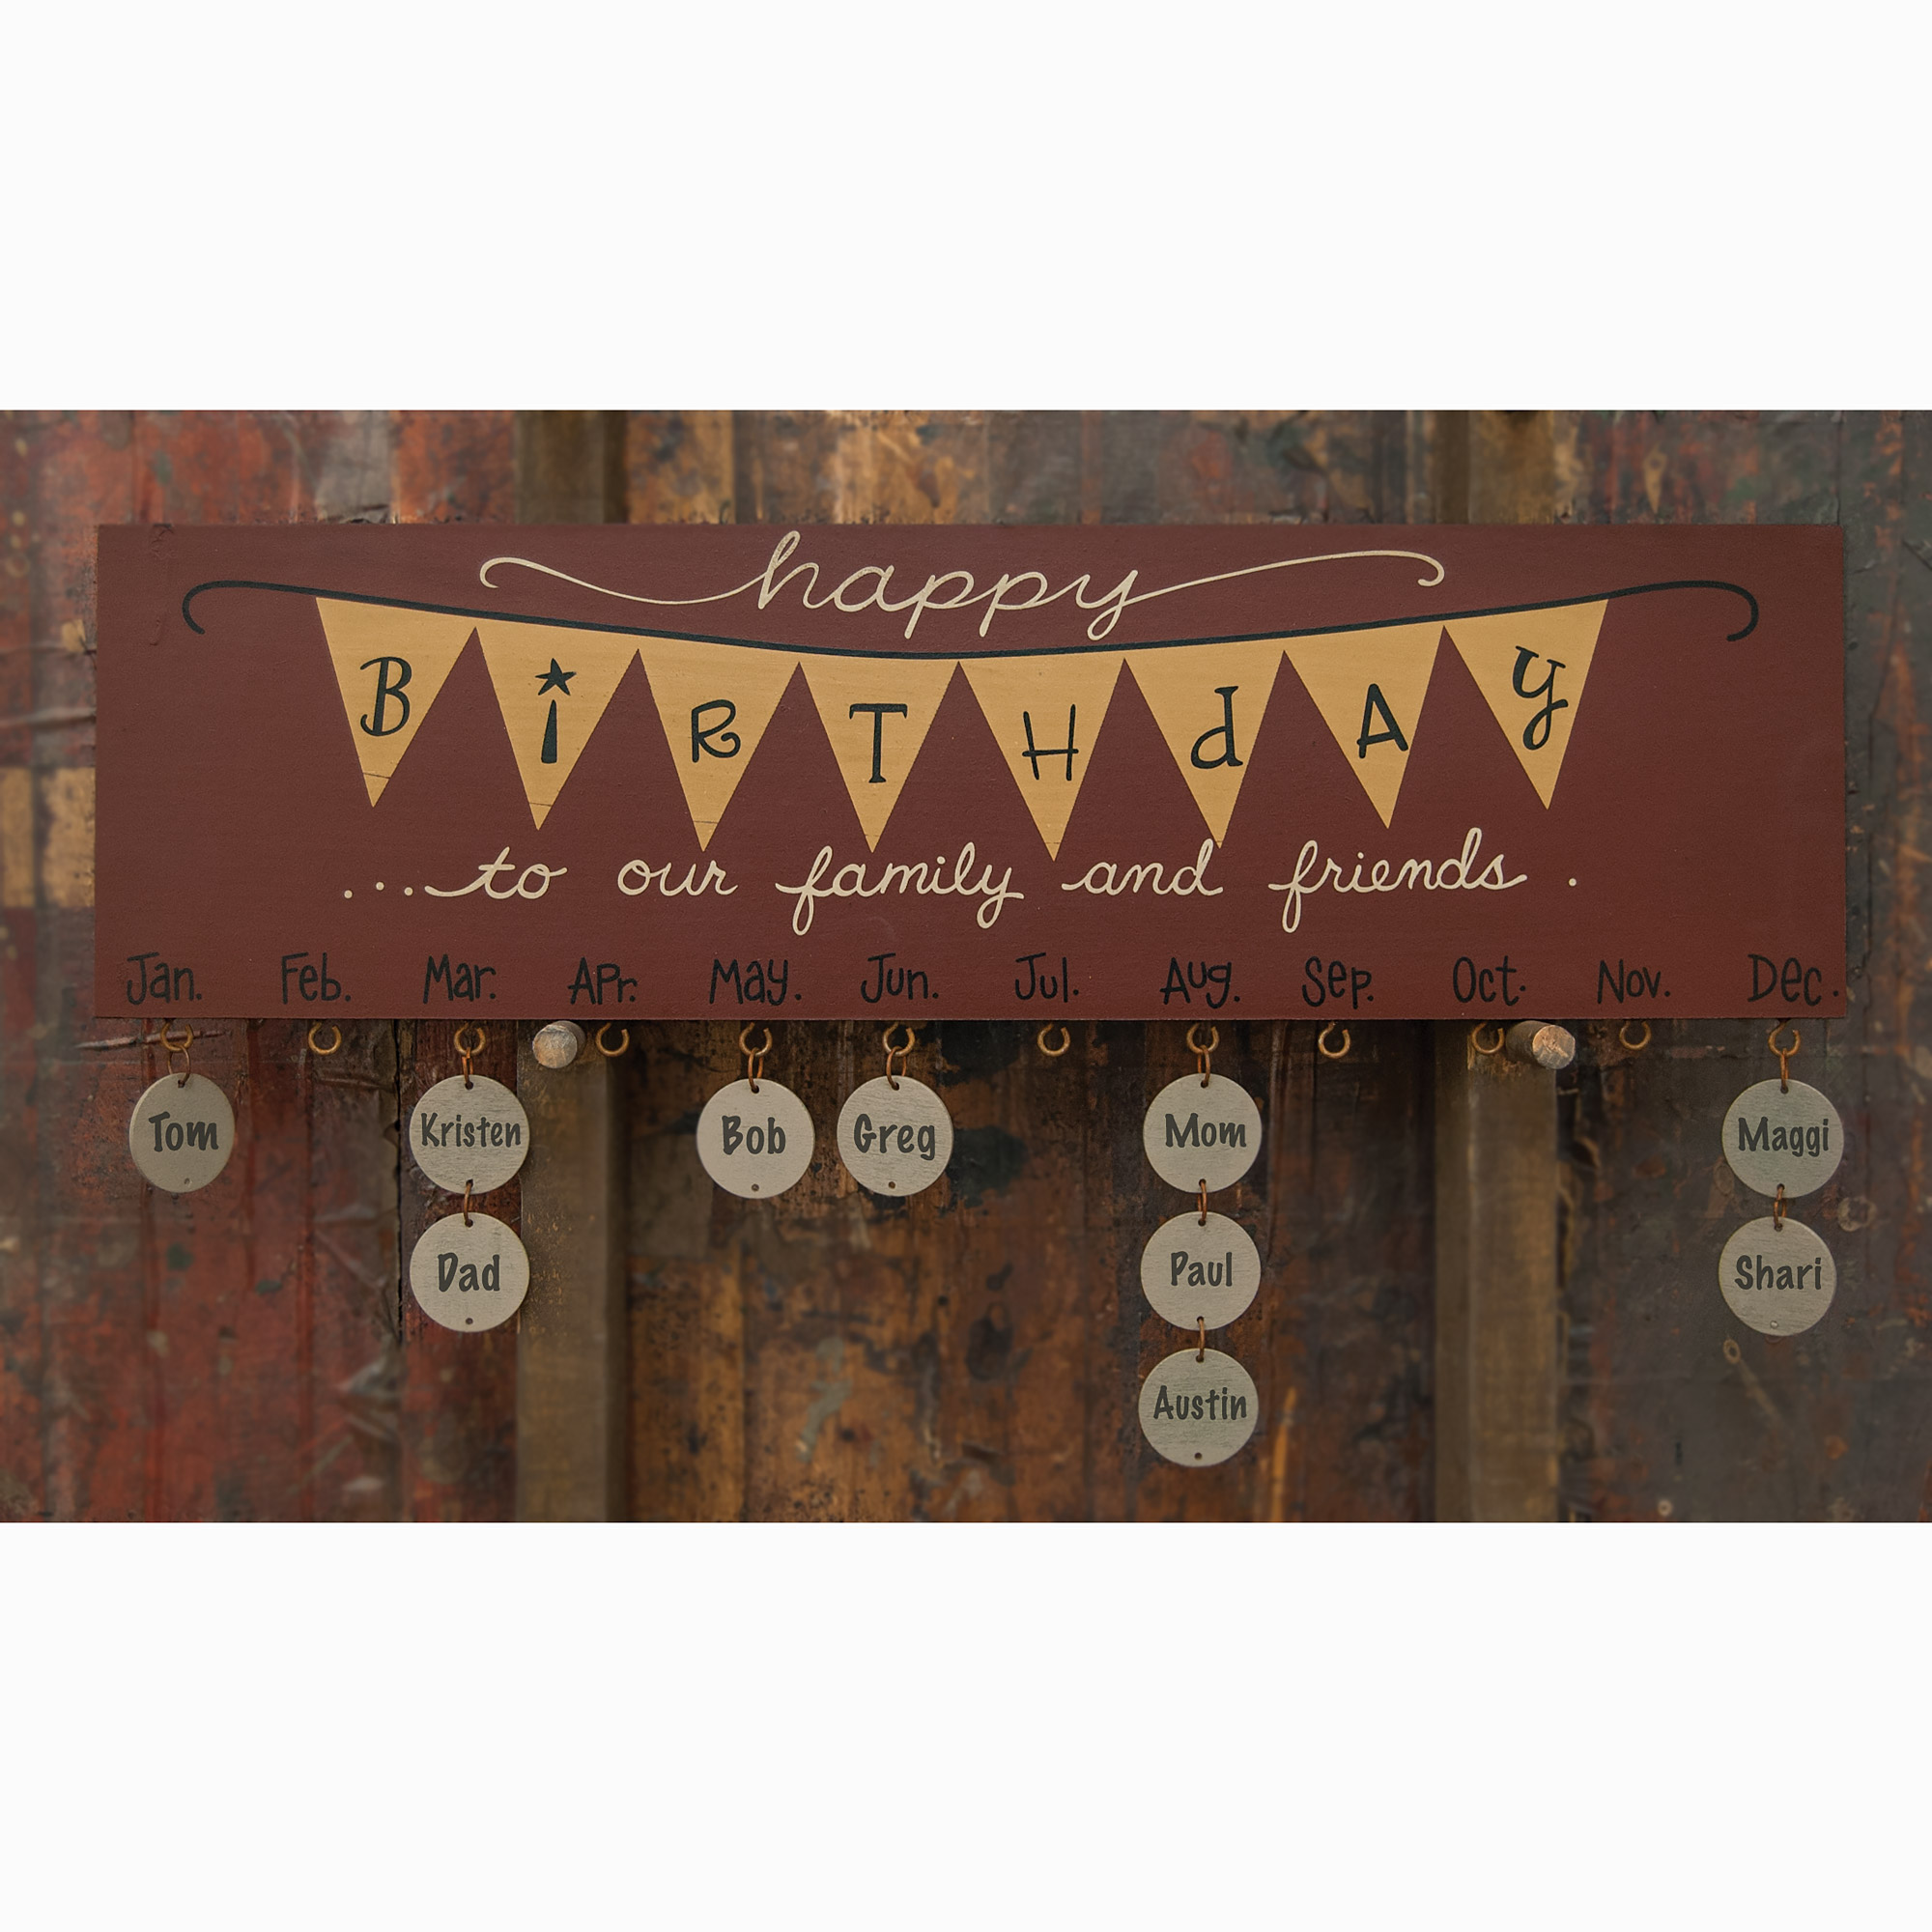
Back in February we did a blog post called A cool new thing for each room of the house and we have so many more new items, we thought we’d do it again today.
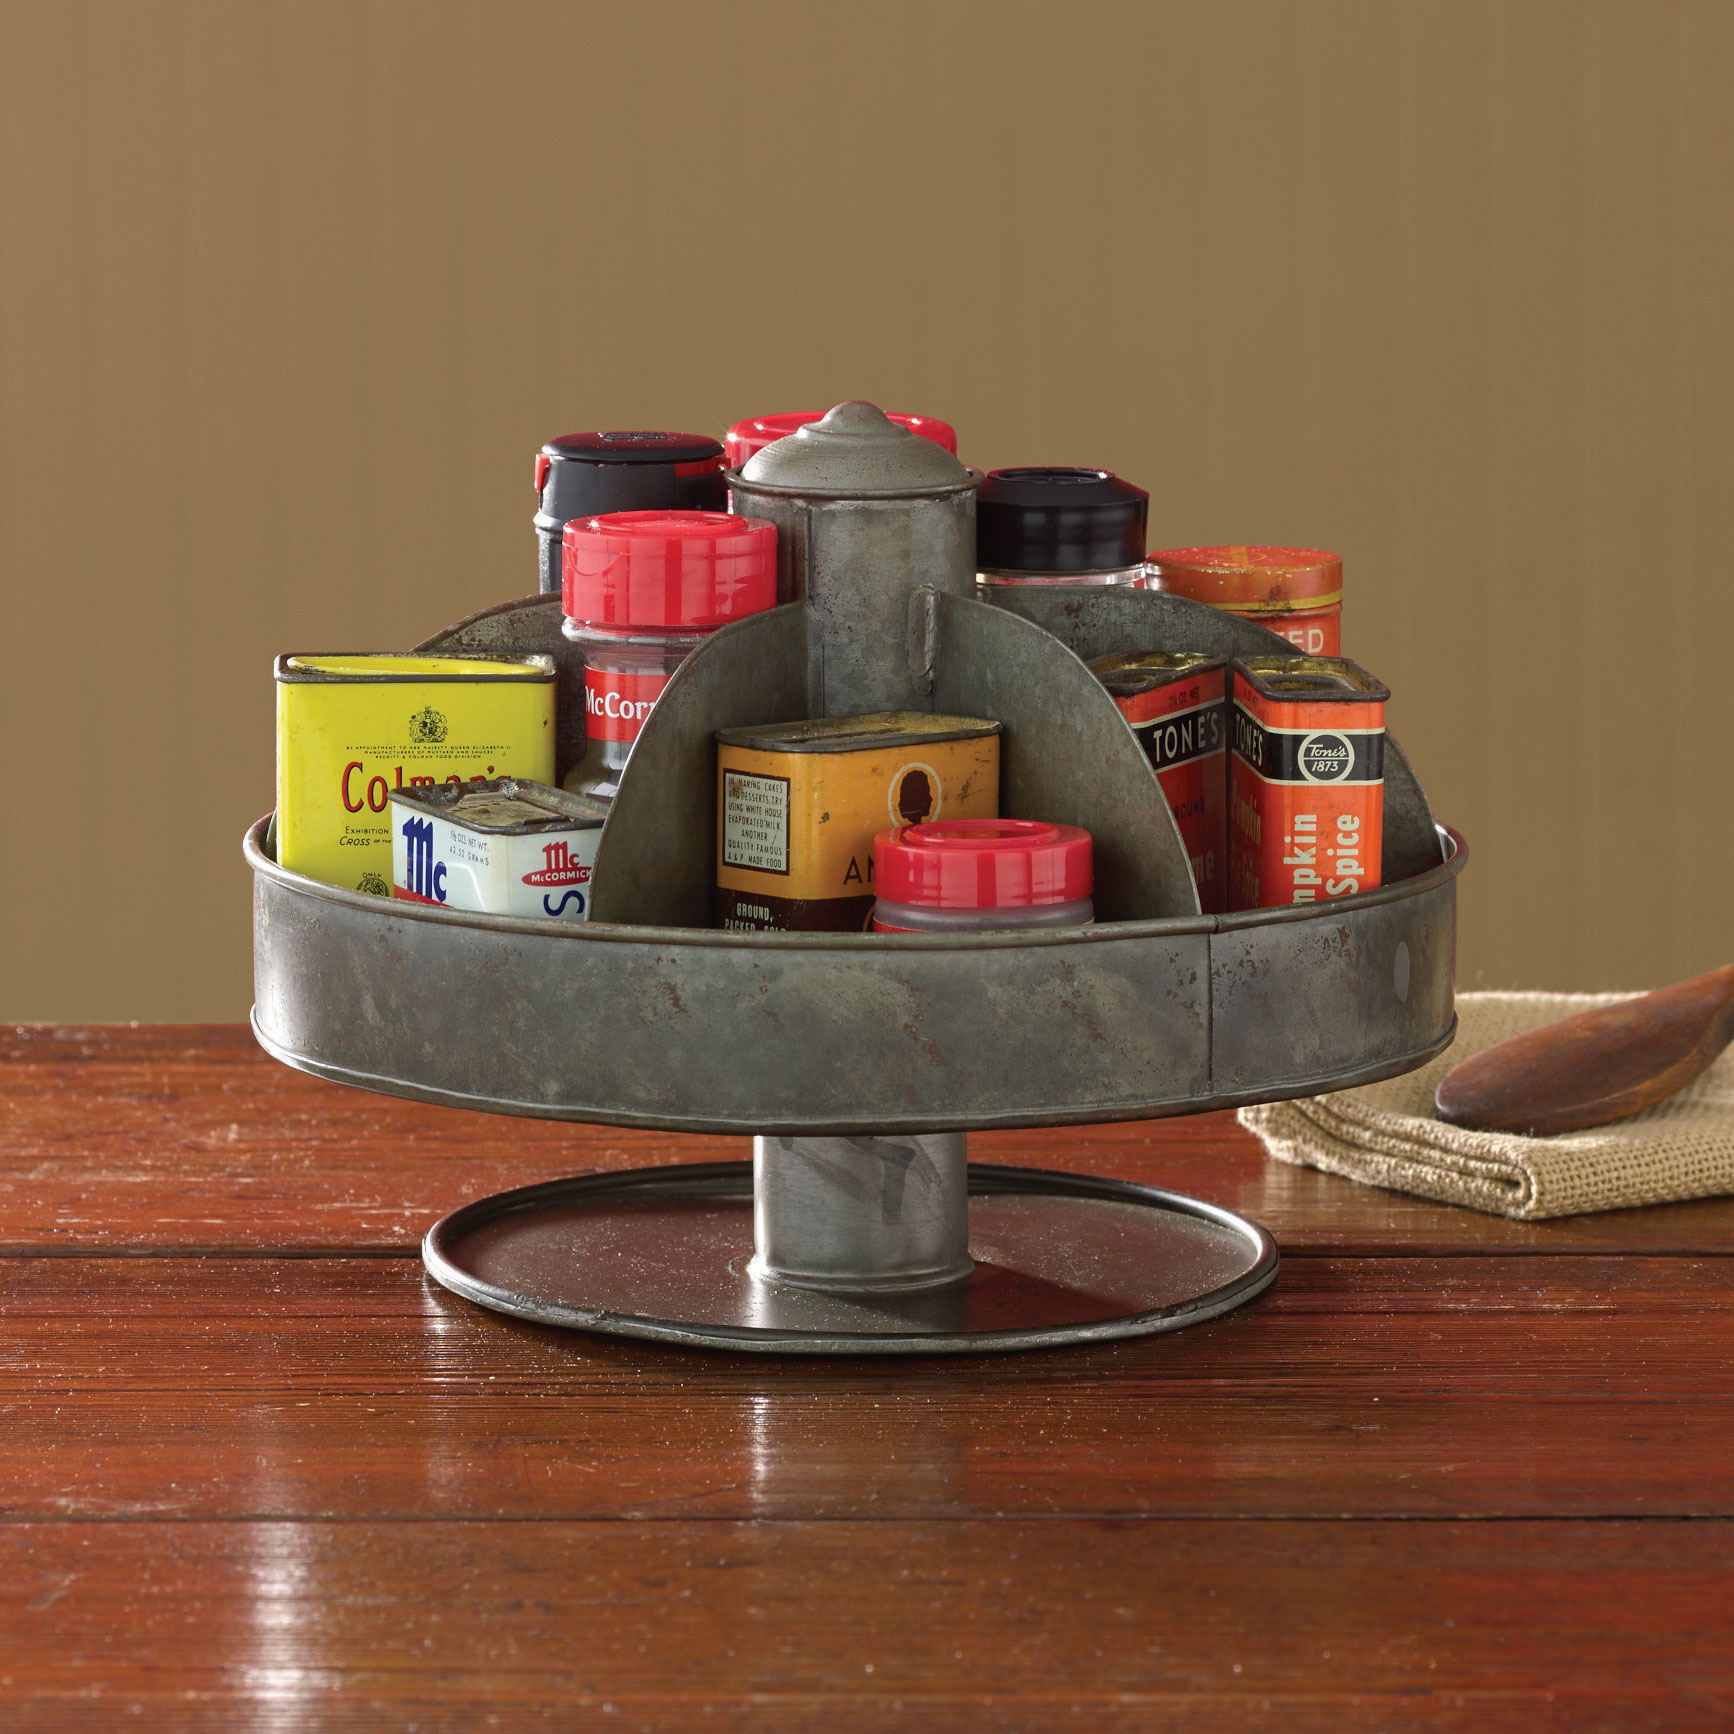
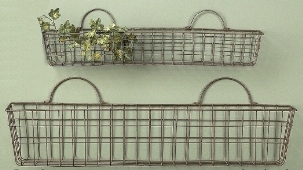
Galvanized lazy susan organizer
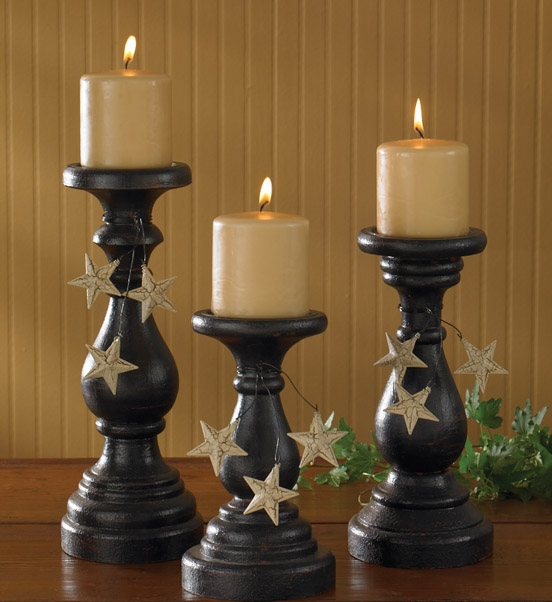
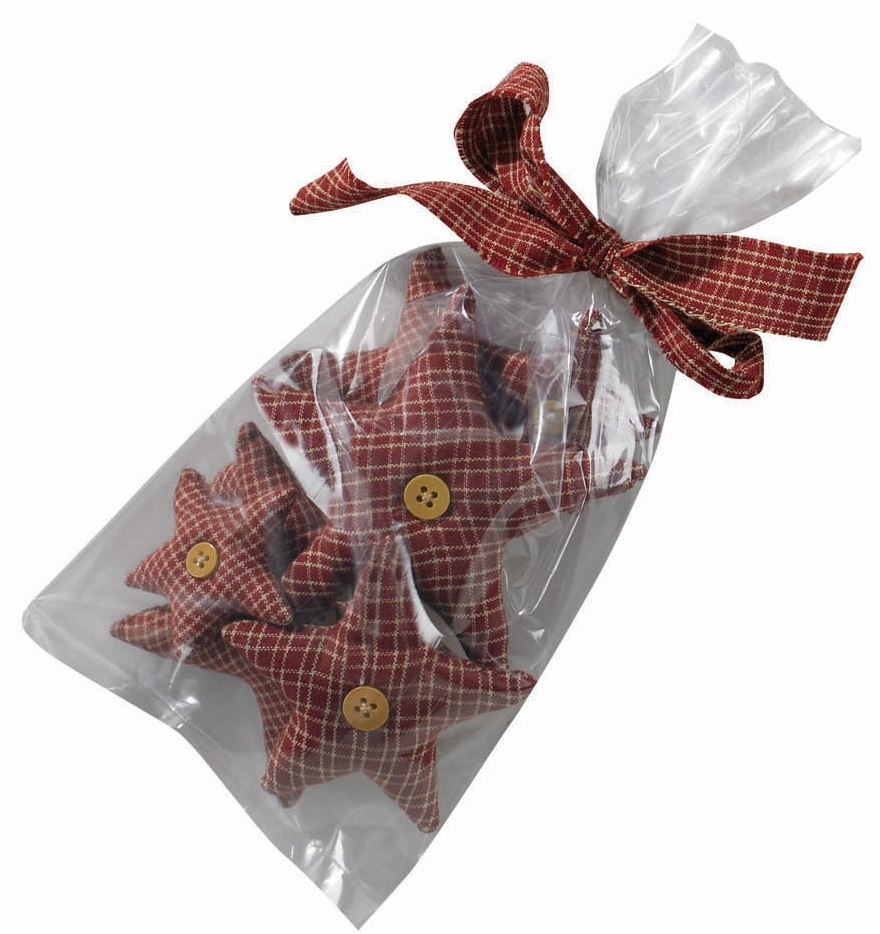
Red fabric stars, assorted sizes


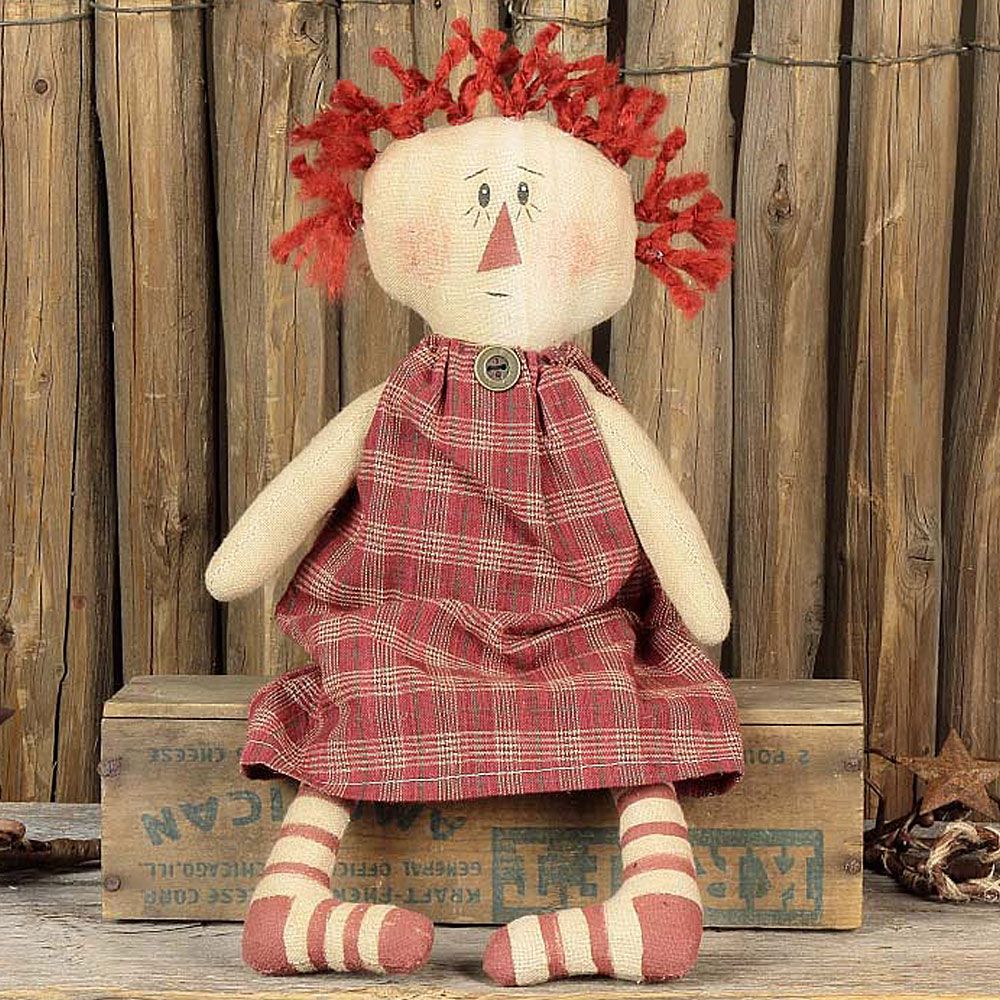
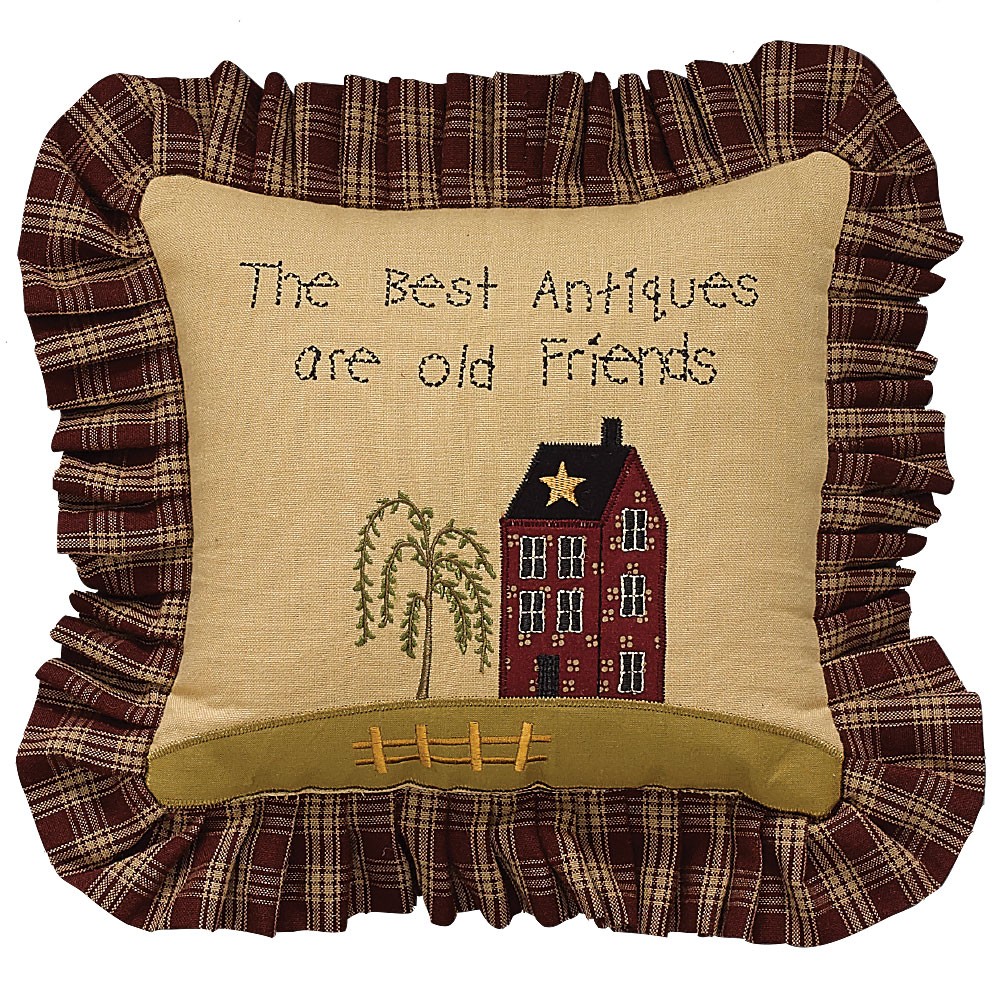
The best antiques are old friends
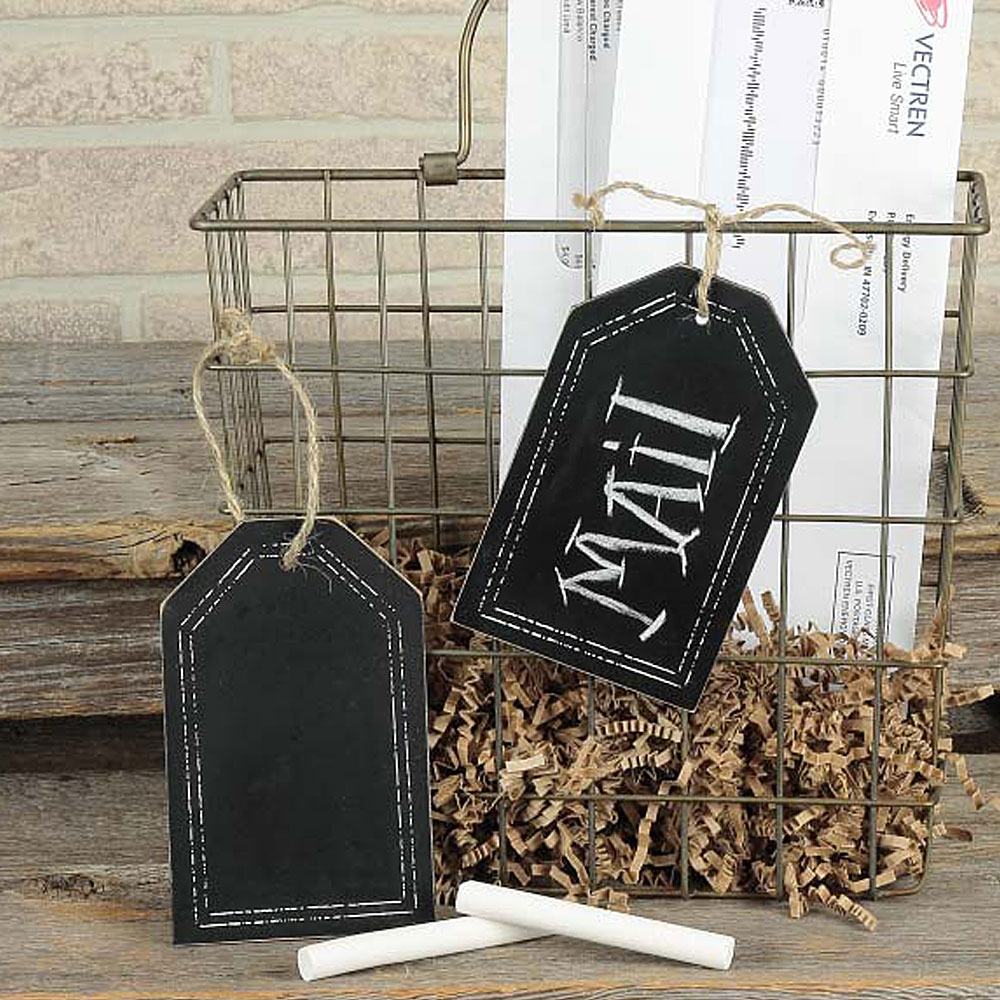
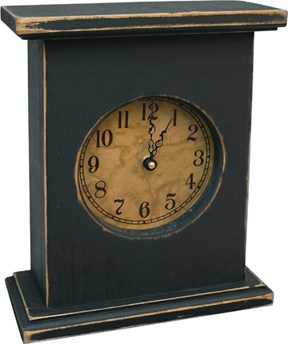
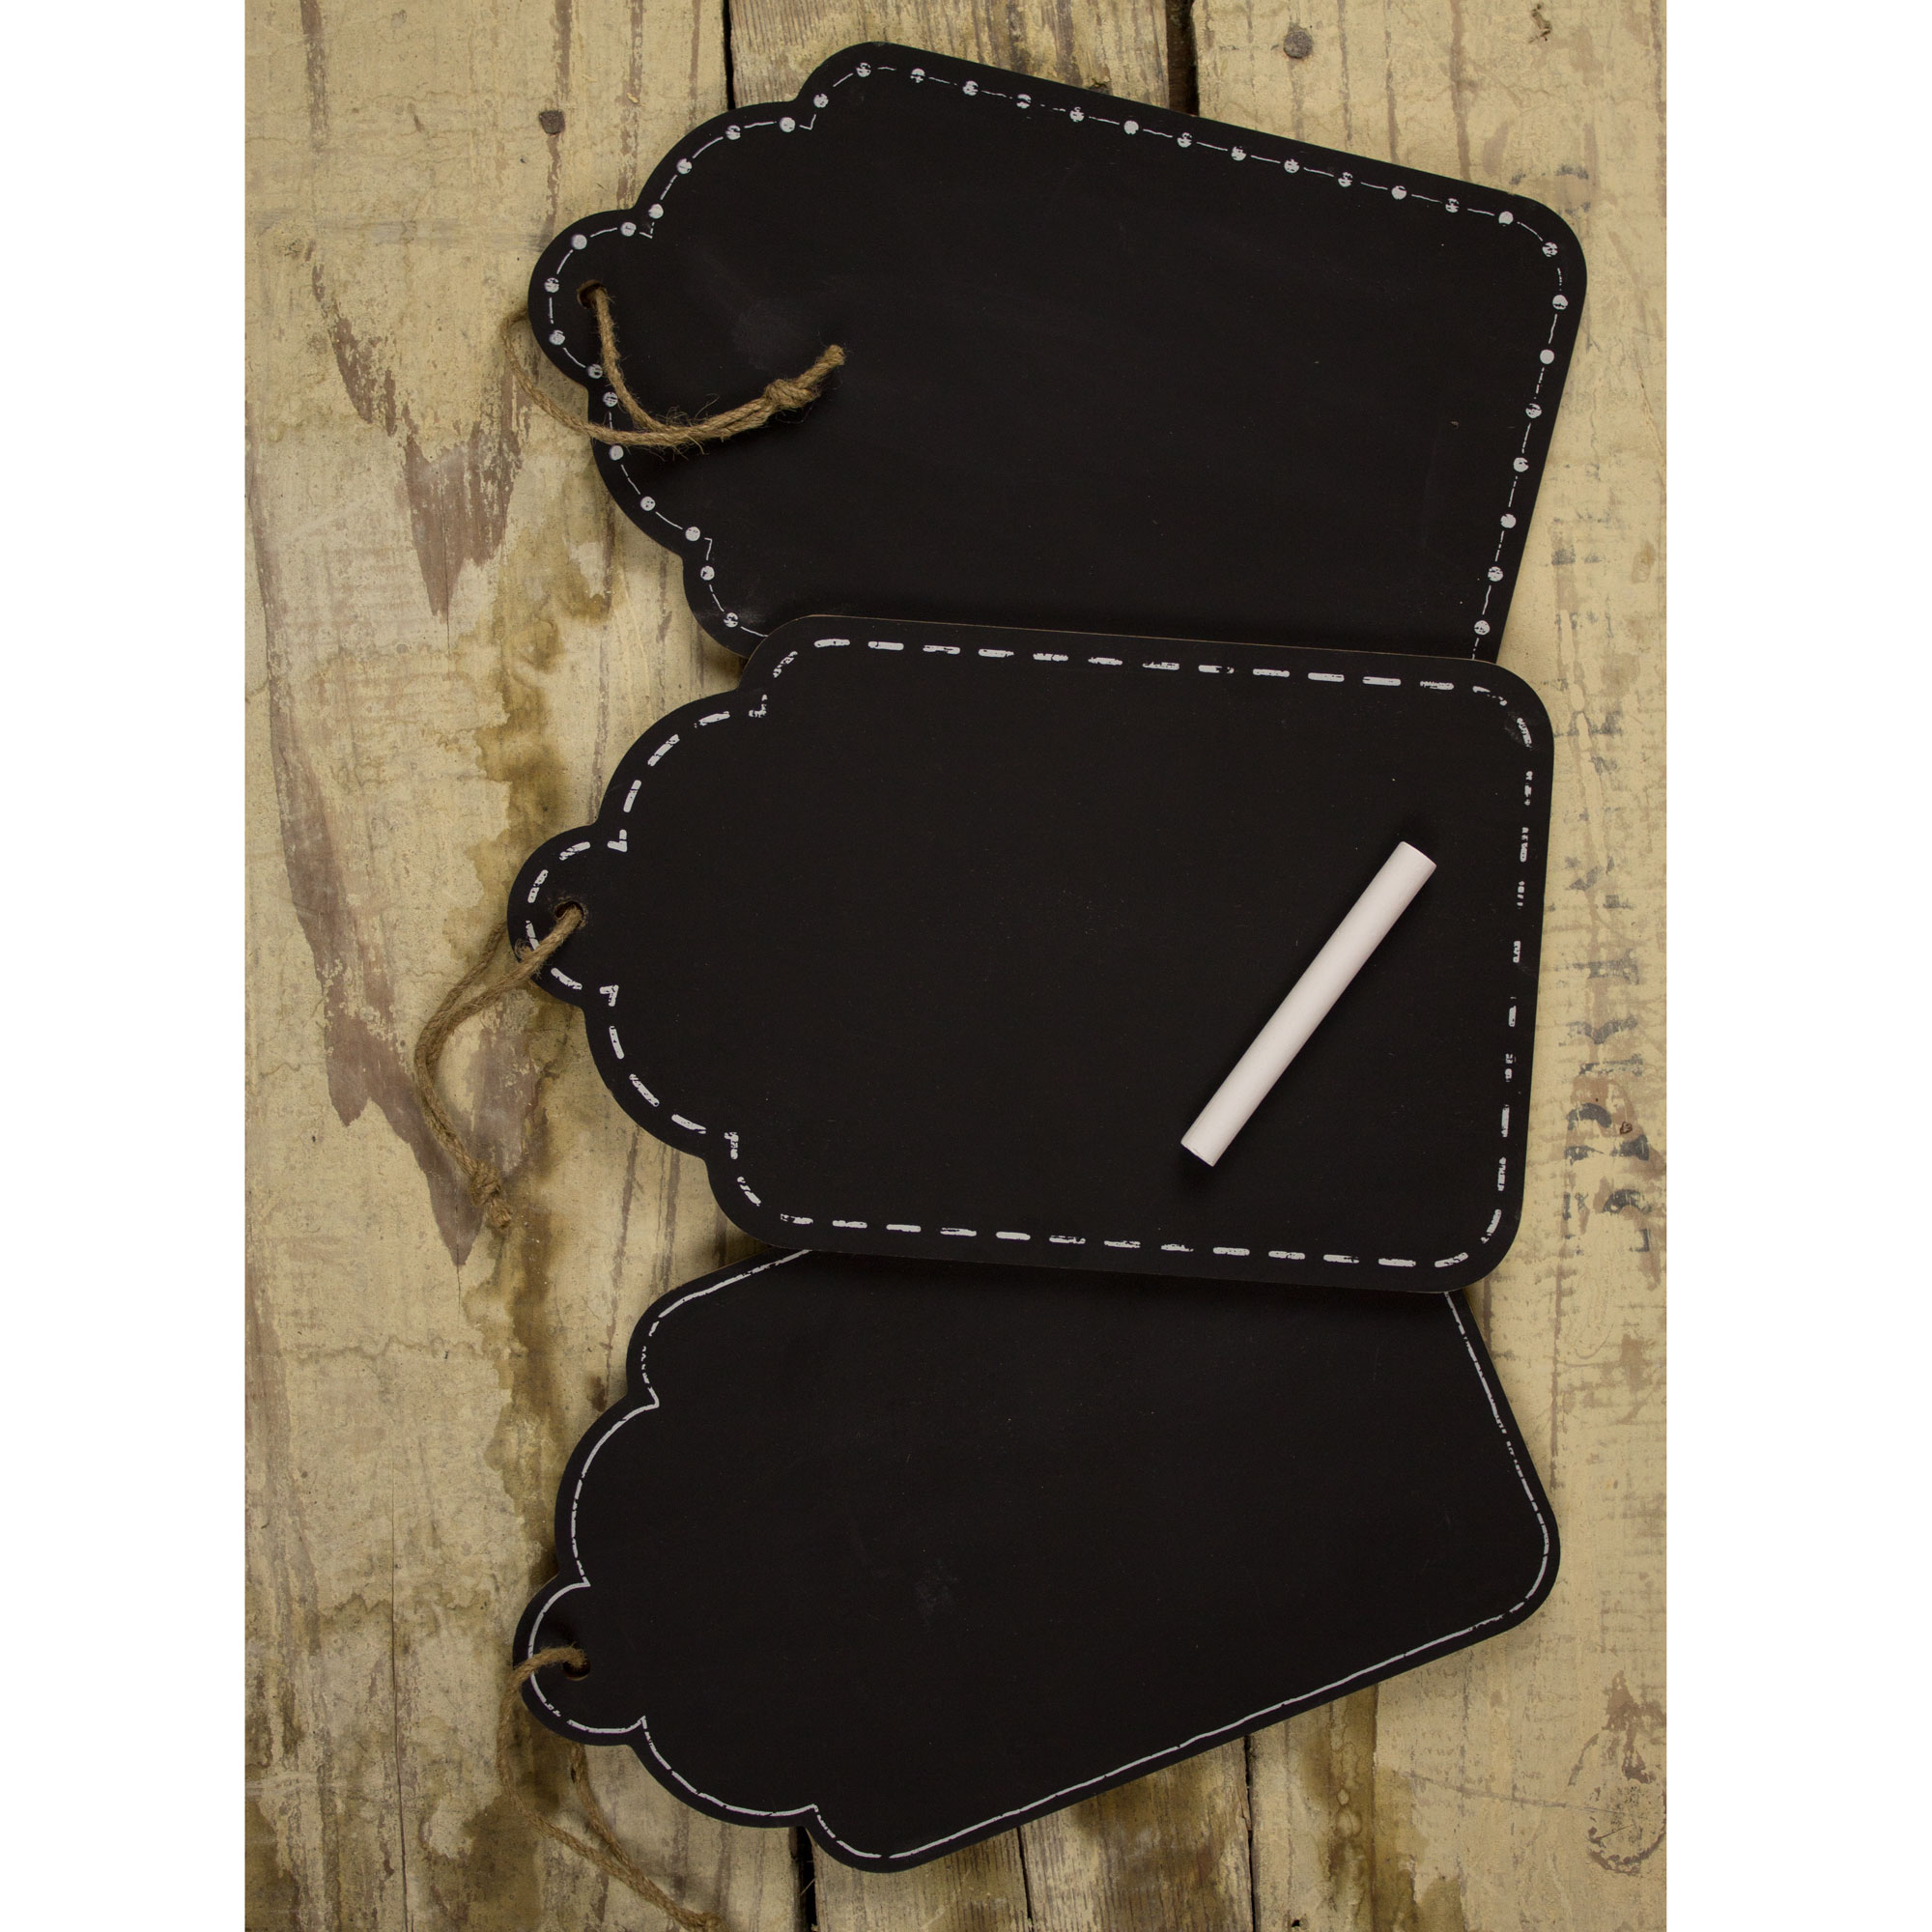
Chalkboards, various styles and sizes!
And don’t forget you have a few more days to take advantage of Labor Day savings– 10% off everything in the store! See site for details. Sale ends 9/7/15.

![]()
When it comes to refurbishing your floors, the decision to refinish or replace can be difficult. Refinishing is a technique that allows you to save your current wood flooring, but you don’t get the opportunity to have a clean slate. On the other hand, replacing your hardwood floors gives you a brand new start and fresh flooring for your home. Choosing between these two options may be difficult, but the following guide contains information that can help you make a decision.

The first step in deciding to refinish or replace your flooring is gauging the repairs. Sometimes making this decision comes down to how badly your floors need repairs. Minor repairs, such as stains or damaged planks, can be an easy fix, which doesn’t demand an entire replacement. However, floors with rotting or structural problems will require a lot of work, which may cost more than replacing the floors altogether.
Another step you should take in making the decision to refinish or replace is checking your budget. Choosing between the two options can come down to something as simple as cost. Refinishing floors tends to be less expensive than a total replacement, but there are some situations where this circumstance can be reversed. Determining your budget can help you decide if a refinish or replacement is best for your needs.
Finally, establish the age of your flooring. The older the floors, the more valuable they can be in your home. However, the older the floors, the more likely they are to have damage or mismatch the interior of a home. When you establish the age of your flooring you can better understand its value and aesthetic appearance in your home, which can lead to a decision in the refinish versus replacement debate.
If you decide that a flooring replacement is best for your home, consider flooring.org. Our extensive selection of unfinished flooring, prefinished flooring, parquet flooring and more can be right at home in your home. For more details on what we have to offer, give us a call at 1-800-689-9006.
So what is all the hype about this fastest growing segment of the flooring industry? The short answer is these floors perform like laminate flooring, install quickly and easily like laminate flooring (no nails or glue), and are waterproof.
WPC floors refer to a category of Luxury Vinyl Plank and Luxury Vinyl Tile (LVT and LVP) that are rigid. Ordinary LVT/LVP flooring is constructed of 100% virgin vinyl but does not have the rigid thermoplastic core material of WPC floors. This rigid core material of WPC is beneficial when the existing subfloor has imperfections, so it cuts down the time and cost of subfloor preparation during installation. If a subfloor is not sufficiently smooth for ordinary LVT/LVP flooring, the imperfections could telegraph through the vinyl over time. So the bottom line difference between WPC and LVP is the ability of the rigid core to hide more subfloor imperfections.
Plus the vinyl wear layer of WPC absorbs the impact sounds to make it inherently quieter than laminate (a good sound control underlayment for laminate will mitigate this difference)
 Pictured is the white thermoplastic core of Mohawk’s SolidTech
WPC floors are very good and will be rapidly improving over time. But the higher end and more mature laminate flooring brands which have unique characteristics like big beveled edges and extremely realistic in-register embossing (when the surface texture follows the relief and the grain of the wood), are in our opinion, a step ahead in visual realism at this time.
Find here best dining room decorating ideas and designs by FabDiggity Inc, Who is one of the best interior designers and decorators in Atlanta, Georgia, United States.


If you have a previous experience with dining room designs by FabDiggity Inc, please leave your review in a comment and share our readers your experience.


(Image credit: Ashley Poskin)
Framing a garment can seem like an intimidating process, but it’s actually quite easy to do yourself. The framing pros have a lot of specialized tools and tricks (like using a tagging gun instead of hand stitching, for instance), but for us weekend warriors, it’s all about using simple tools and getting the job done so we can enjoy our completed gallery wall that much sooner. So grab your grandpa’s letter sweater or your grannies floral girdle and get to framing!


(Image credit: Ashley Poskin)
Making your own terrarium is fun and surprisingly easy – and equally easy to maintain. Whatever the climate may be in your large, expansive home or your teeny tiny apartment, a terrarium—given a healthy dose of indirect light and an occasional spritz of water—will be happy as a clam.
Find here best dining room decorating ideas and designs by Kitty&Company Interior Design llc, Who is one of the best interior designers and decorators in Chelsea, Michigan, United States.


If you have a previous experience with dining room designs by Kitty&Company Interior Design llc, please leave your review in a comment and share our readers your experience.
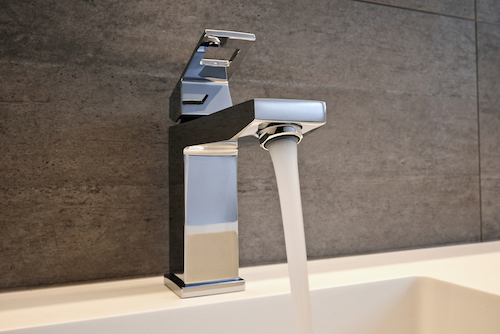
The biggest difference between faucets in a showroom and faucets in daily household use comes down to one simple word: Shine. While most sink faucets start shiny and beautiful, over time they tend to grow dull and dirty. People are constantly washing their hands, soap is splashing onto the faucet head, and stains and water spots accumulate, taking away the faucet’s original luster. Has this happened to your bathtub/shower faucet or your sink faucet? Have you noticed a general dinginess around the faucets in your bathroom space? If so, here’s what you need to know about bathroom faucets and how to keep them looking like new.
A clean faucet is a shining, streak-free faucet. When you notice an accumulation of spots and stains building on your bathroom faucet, you know it’s time to do something. This is true whether your faucet is made of glass, porcelain, chrome, brass or another material.
It’s not hard to see the advantages that come from a clean bathroom, whether you’re talking about spotless floors or sparkling faucets. Regardless though, here’s a breakdown of some of the specific benefits to expect when you keep your faucets polished:
To polish a faucet, you’ll need a simple list of tools: cleaning cloths, soap, vinegar, water and perhaps an old toothbrush. Additionally, here are some tips and tools that can be useful to remember:
To make your sink faucets beautiful, use the tips above to stay on track. Also, when you’re looking for new bathroom faucets, come to Modern Bathroom. We’re proud to offer a wide range of features and fixtures to outfit any style of bathroom.

Good Morning, my DIY office organizers! The New Year has just kicked off and already you’re in complete organization mode. Now we know on the top of that organization list is your home office. After all it’s a room where you get things done, whether you use that space for traditional business purposes or crafting projects. Just because you’re putting it into tip-top organization shape, doesn’t mean it needs to lack color and personality. Cutting Edge Stencils is here to help you brighten that crafty office of yours using our stencils. Our ideas are easy and inexpensive, so let’s take a look…
Brighten Up A Crafty Office Using Stencils

Stencil An Accent Wall: This might be the obvious makeover solution to freshen up your office space because a pretty pattern can drastically change its look. Creative DIYer and design enthusiast, Erin from the blog Suburban Bitches, stenciled a glittery gold pattern in her combination craft-room/office. Erin painted the wall in Benjamin Moore’s Decorators Gray and then painted the sparkly Zagora Allover pattern using a color similar to Martha Stewart Living Metallic Paint in Golden Pearl. It looks so pretty, we’re not sure if we’d get any work done here!

Stencil the Desk: A plain white desk may gleam with organization but it also screams boring. Take the lead from the DIY craft queen, Mandy, from Sugar Bee Crafts. Mandy’s husband built her this custom white desk to fit her needs and her space. She promptly added our Funky Wheel Wall Stencil in an eye-catching turquoise hue. Do you love it or do you love it?

Stencil The File Organizers: Filing will become your new favorite task with stenciled file holders like these! Our creative fan, Jennifer, decided to reinvent her organization system for the New Year. She bought some baskets for $4 and then revamped them with craft paint and our Casablanca Craft Stencil and Nagoya Craft Stencil. We love the patterned pizazz these items add to her traditional desk!

Stencil The Memo Board: Tomorrow’s to-do list will thank you once it’s been pinned to this stenciled stunner. Meet Heidi, the crafter behind Sew Craft Create. She put together this adorable magnetic memo and cork board combo using our Turkish Tulip Stencil and in teal blue hue. For the how-to, check out her post here.

Stencil A Laptop: Do you have a boring black laptop staring back at you right now? Let’s give it a colorful whirl! That’s exactly what our uber clever pal Kimbo, from A Girl and A Glue Gun, did. She traced our Acacia Allover Stencil on some vinyl and then stuck it onto her laptop to give it a fun, bright, and unique look. Learn how to give your laptop a makeover from her DIY Club tutorial.

We hope you enjoyed our easy and inexpensive stencil ideas to brighten up your office space.
Which one of these office projects are you most likely to complete? We’d love to read your comments in the section below!
Still looking for more stenciling fun?
Thanks for reading, and good luck stenciling!
Michelle and the Cutting Edge Stencils Crew
Waxing and distressing question. I normally paint, distressed then wax. I noticed many people say they distress and sand after waxing. So last night I waxed, buffed this morning and I am now distressing. The paint is already really hard and I find it harder to sand and distress but there is much less dust which I think is why people do this. Thoughts? Do you distress before or after waxing? -Jacqueline from Chicago
This is a great question and one that comes up often enough.
Let’s start by defining furniture distressing because it often gets confused with “antiquing” or “dark-waxing.”
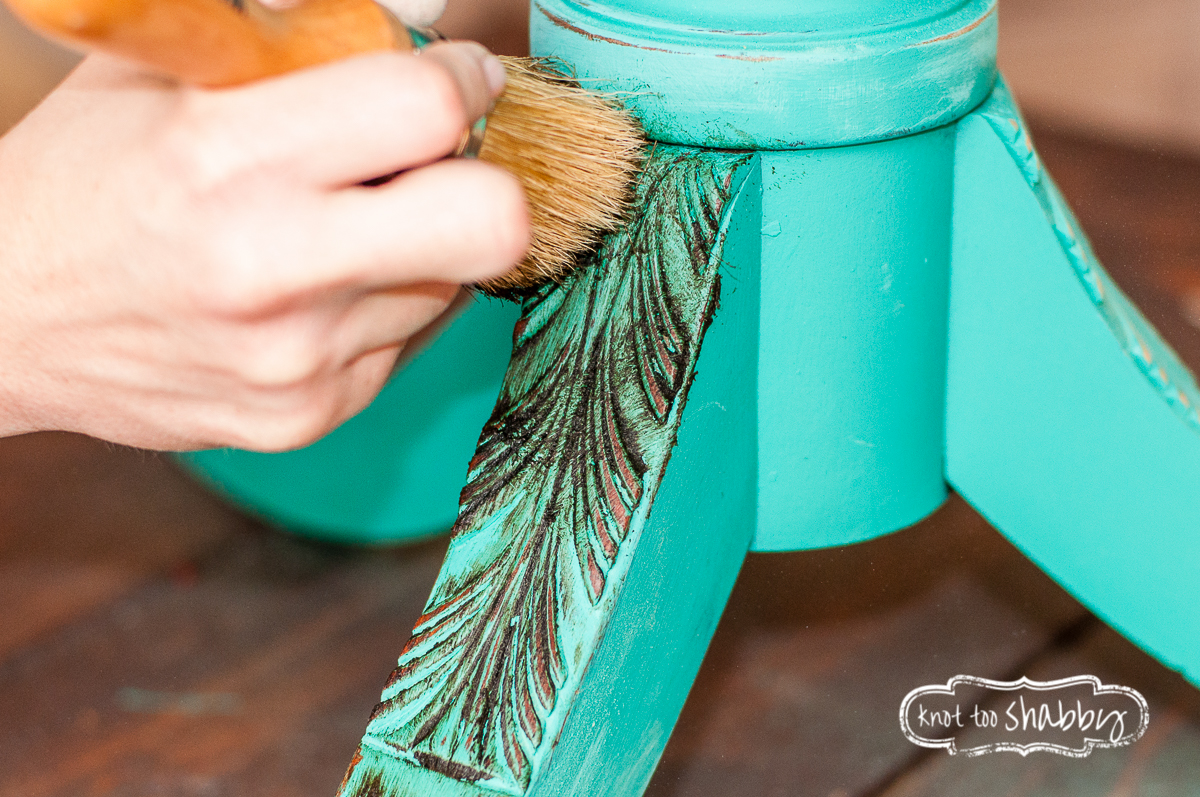
Both distressing and waxing are techniques that can be used to replicate the patina of old furniture. Distressing is the act of wearing down the paint finish so that the substrate of the original finish peeks through. Typically, you would use sandpaper to distress a piece.
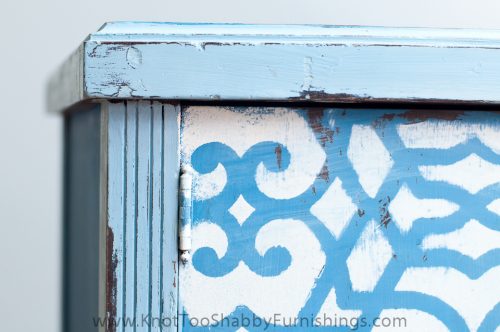
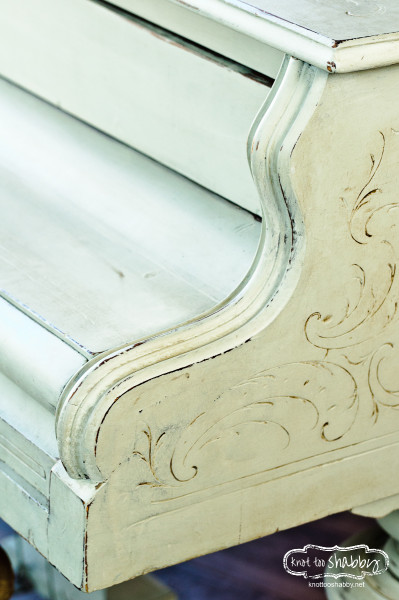
Louis Blue, Greek Blue and Pure White Chalk Paint® with the edges lightly distressed
When someone wishes to “antique,” a piece they are typically looking to add dark wax to give an aged patina that has a rich depth of color among the finish.
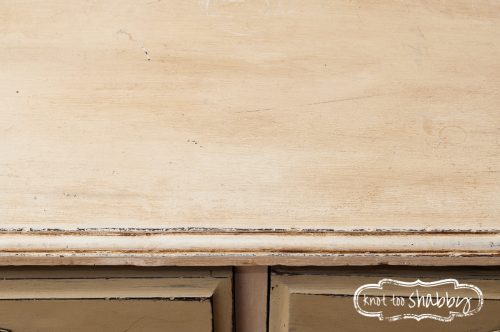
Lightly distressed edges WITH a dark wax finish to add an antiqued patina
So, do you distress BEFORE OR AFTER you wax?
Let’s review the Annie Sloan method!
Annie paints.
Annie waxes.
THEN Annie distresses.
Finally Annie re-waxes where she distressed.
How do I know this, you ask? First of all, I’ve been trained in the Annie Sloan method. Second of all, it’s in her book!!!
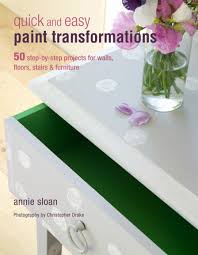
You can read all about how Annie distresses on pages 12-50 using a variety of methods
So, let’s talk about the advantages of distressing after you wax.
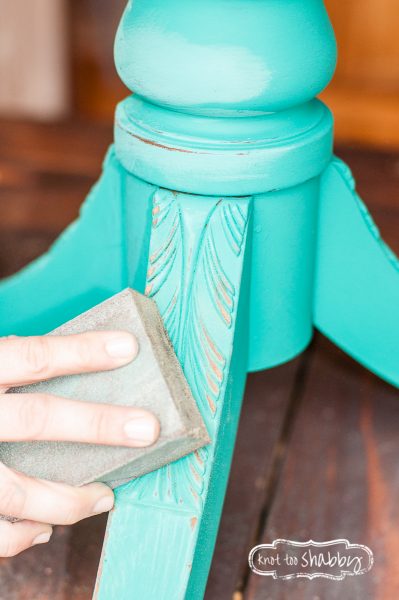
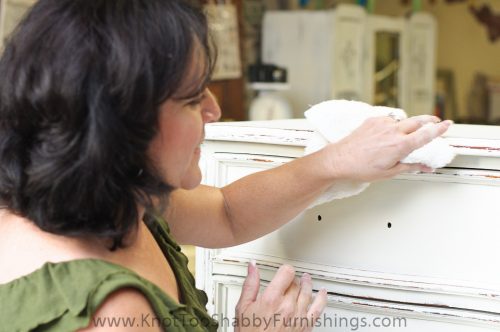

When you distress your furniture after you apply your initial coat of wax, you don’t want to wait a day or two to do so. You will have an easier time of it if you distress immediately after you paint and wax…before the paint has had a chance to thoroughly dry and begin its curing process. Distressing AFTER you wax doesn’t have to be cumbersome or “hard.” If you wait too long to distress your piece, you will have to work much harder to remove the paint.
Now…of course, there are other ways to do it! When I teach a workshop, we talk about wet distressing, how to distress using nothing more than a wax brush and some water, the benefits of distressing with an electric sander, course sandpaper versus fine sandpaper…and so on. You will gain an appreciation for the many varied techniques simply by playing with the paint and wax and exploring the variations of how to create a multitude of looks! And, of course invest in Annie Sloan’s amazing books. I’ll tell you a secret…you can learn EVERYTHING we teach in a workshop just by reading her books. No Joke! I hold nothing back! Hit up your local thrift store, start stocking up on cheap chairs and side tables and become your own expert in the how’s and why’s of Annie Sloan Paint!