While these tips are specifically intended for applicants hoping to become vendors at the knot too shabby BAZAAR, you’re likely to find that this is a secret recipe to getting accepted at any craft fair or vintage market.

Here is a preview of the vendor application for the knot too shabby BAZAAR that you can print out and use to refine your responses before submitting the official vendor application on the knot too shabby website. Once you’ve filled it out, made revisions, and have a final draft that you’re proud of, make backup copies and save them somewhere so you’ll be able to use it again as a reference for future festival applications.
Selection for the #knottooshabbyBAZAAR is a juried process. To impress the selection committee, you need to show that you have quality merchandise that fits in with the festival’s guidelines and that you are prepared to act as an ambassador both online and in-person at the event. We’re looking for artisans with products we can get excited about and who will make customers excited to shop at the fair.
I’ve read a lot of applications in my five years coordinating the knot too shabby BAZAAR so I’m sharing with you 5 of the biggest mistakes applicants make and how to not only fix them, but how to make your application stand out no matter what the competition!
- Quality photos
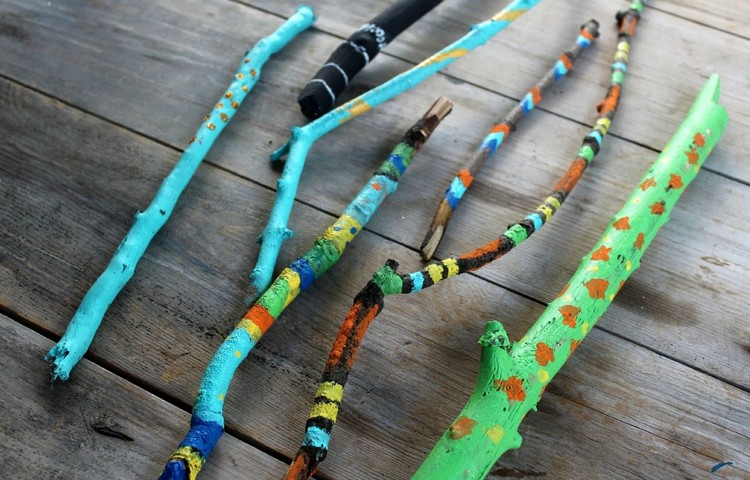
- BAD:
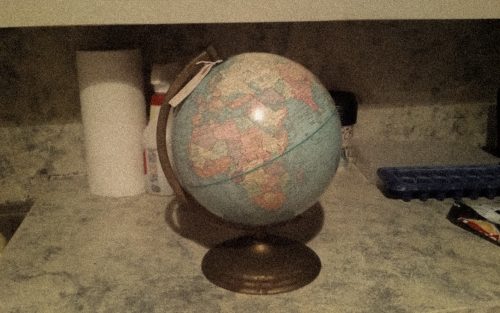
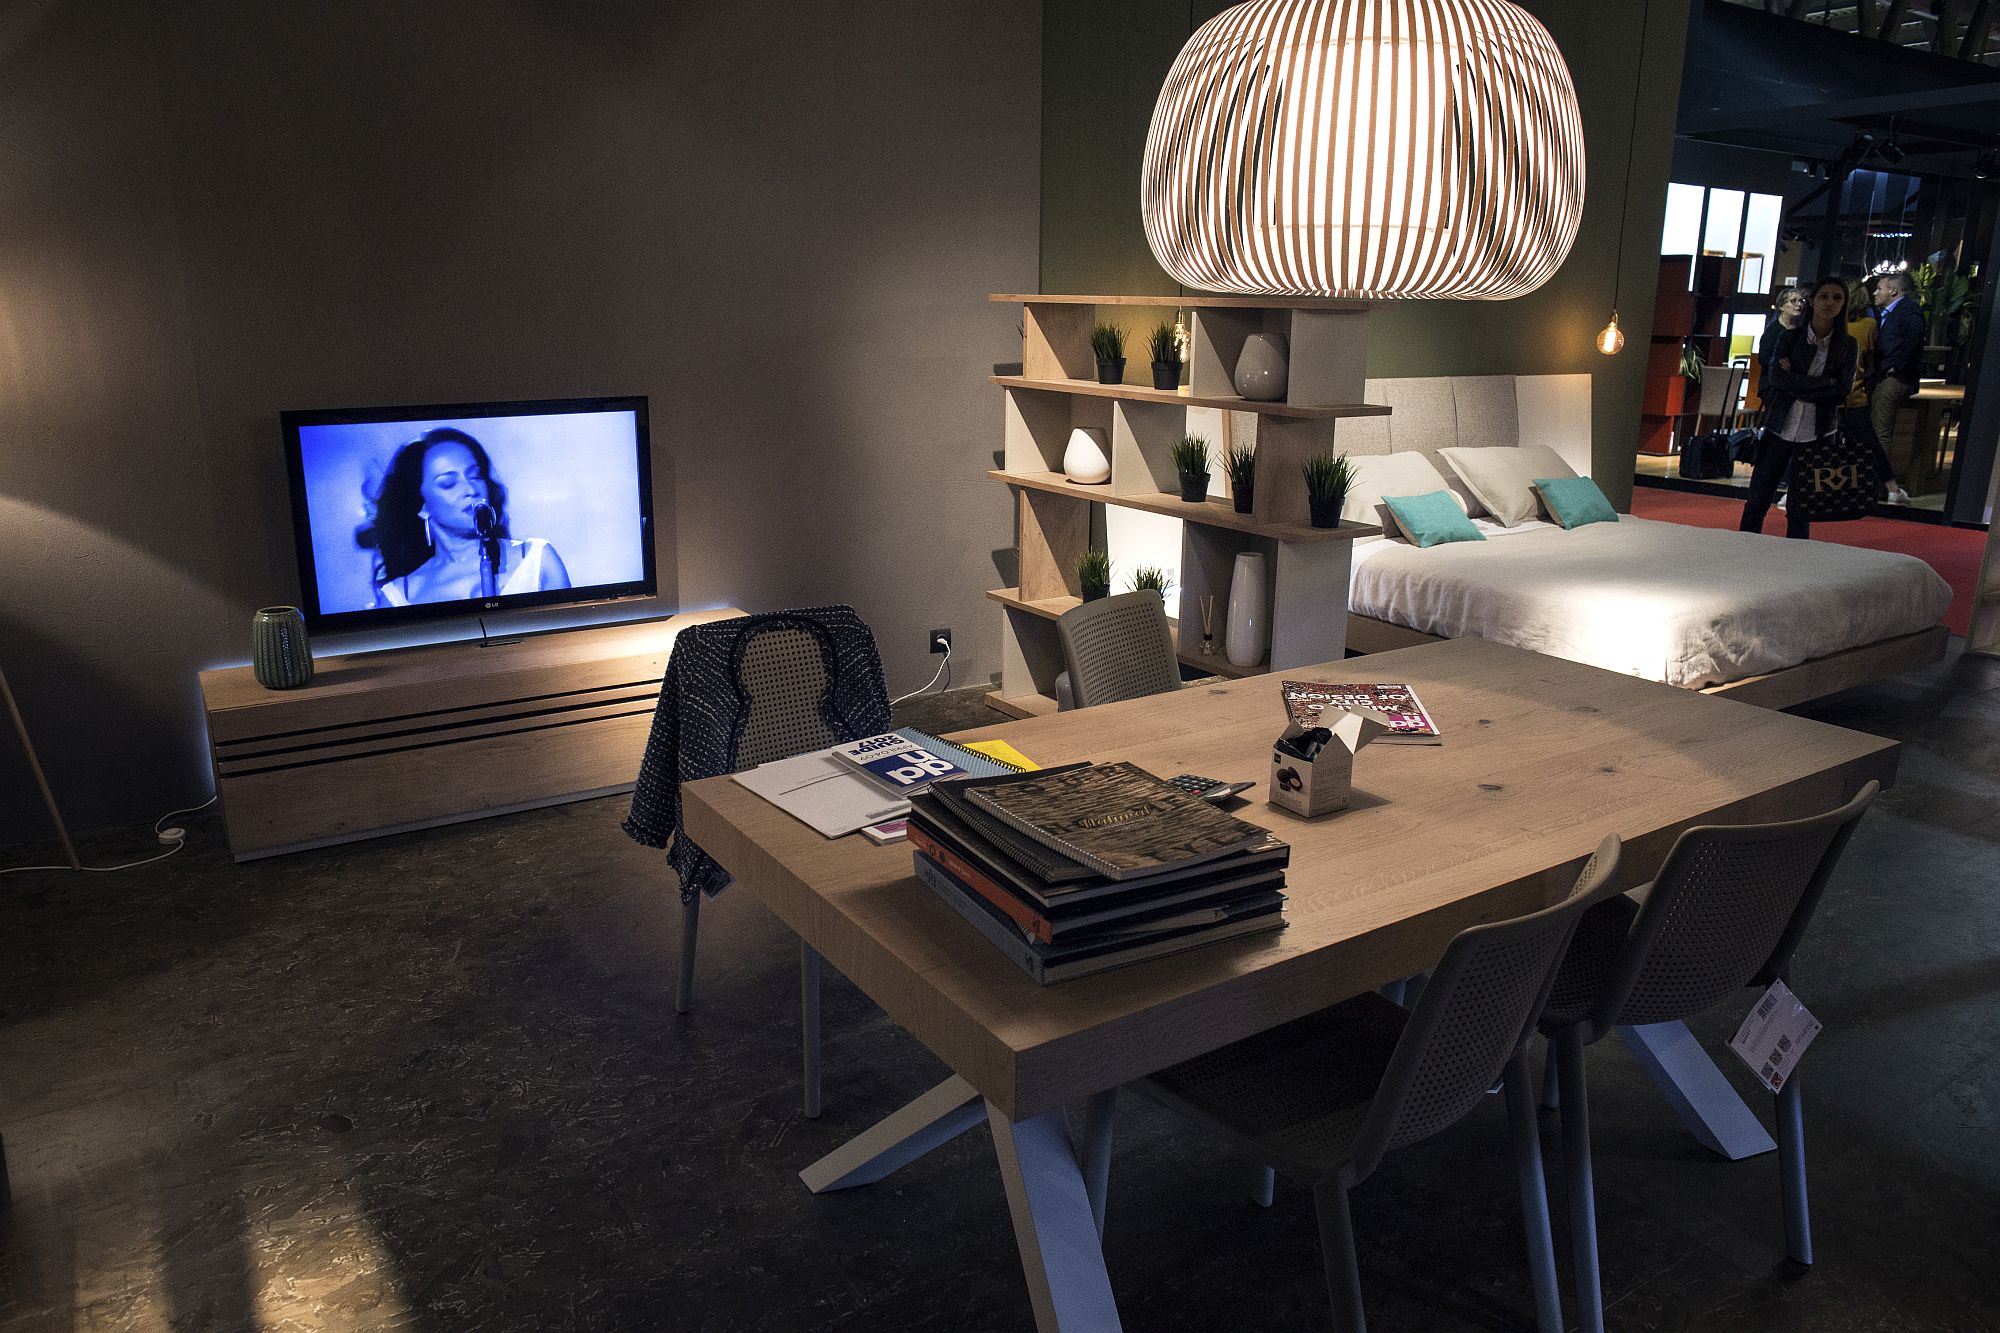
Cluttered background, dim fluorescent lighting, crooked perspective, dusty product with the price tag still on, & unimaginative presentation.
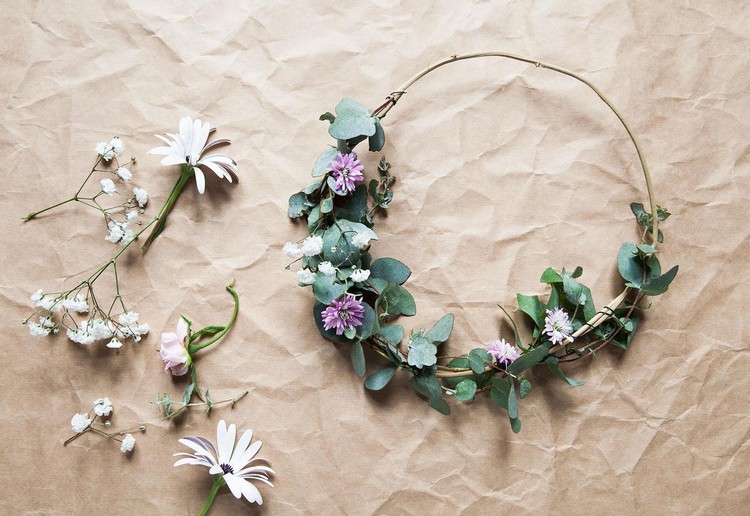
- GOOD:

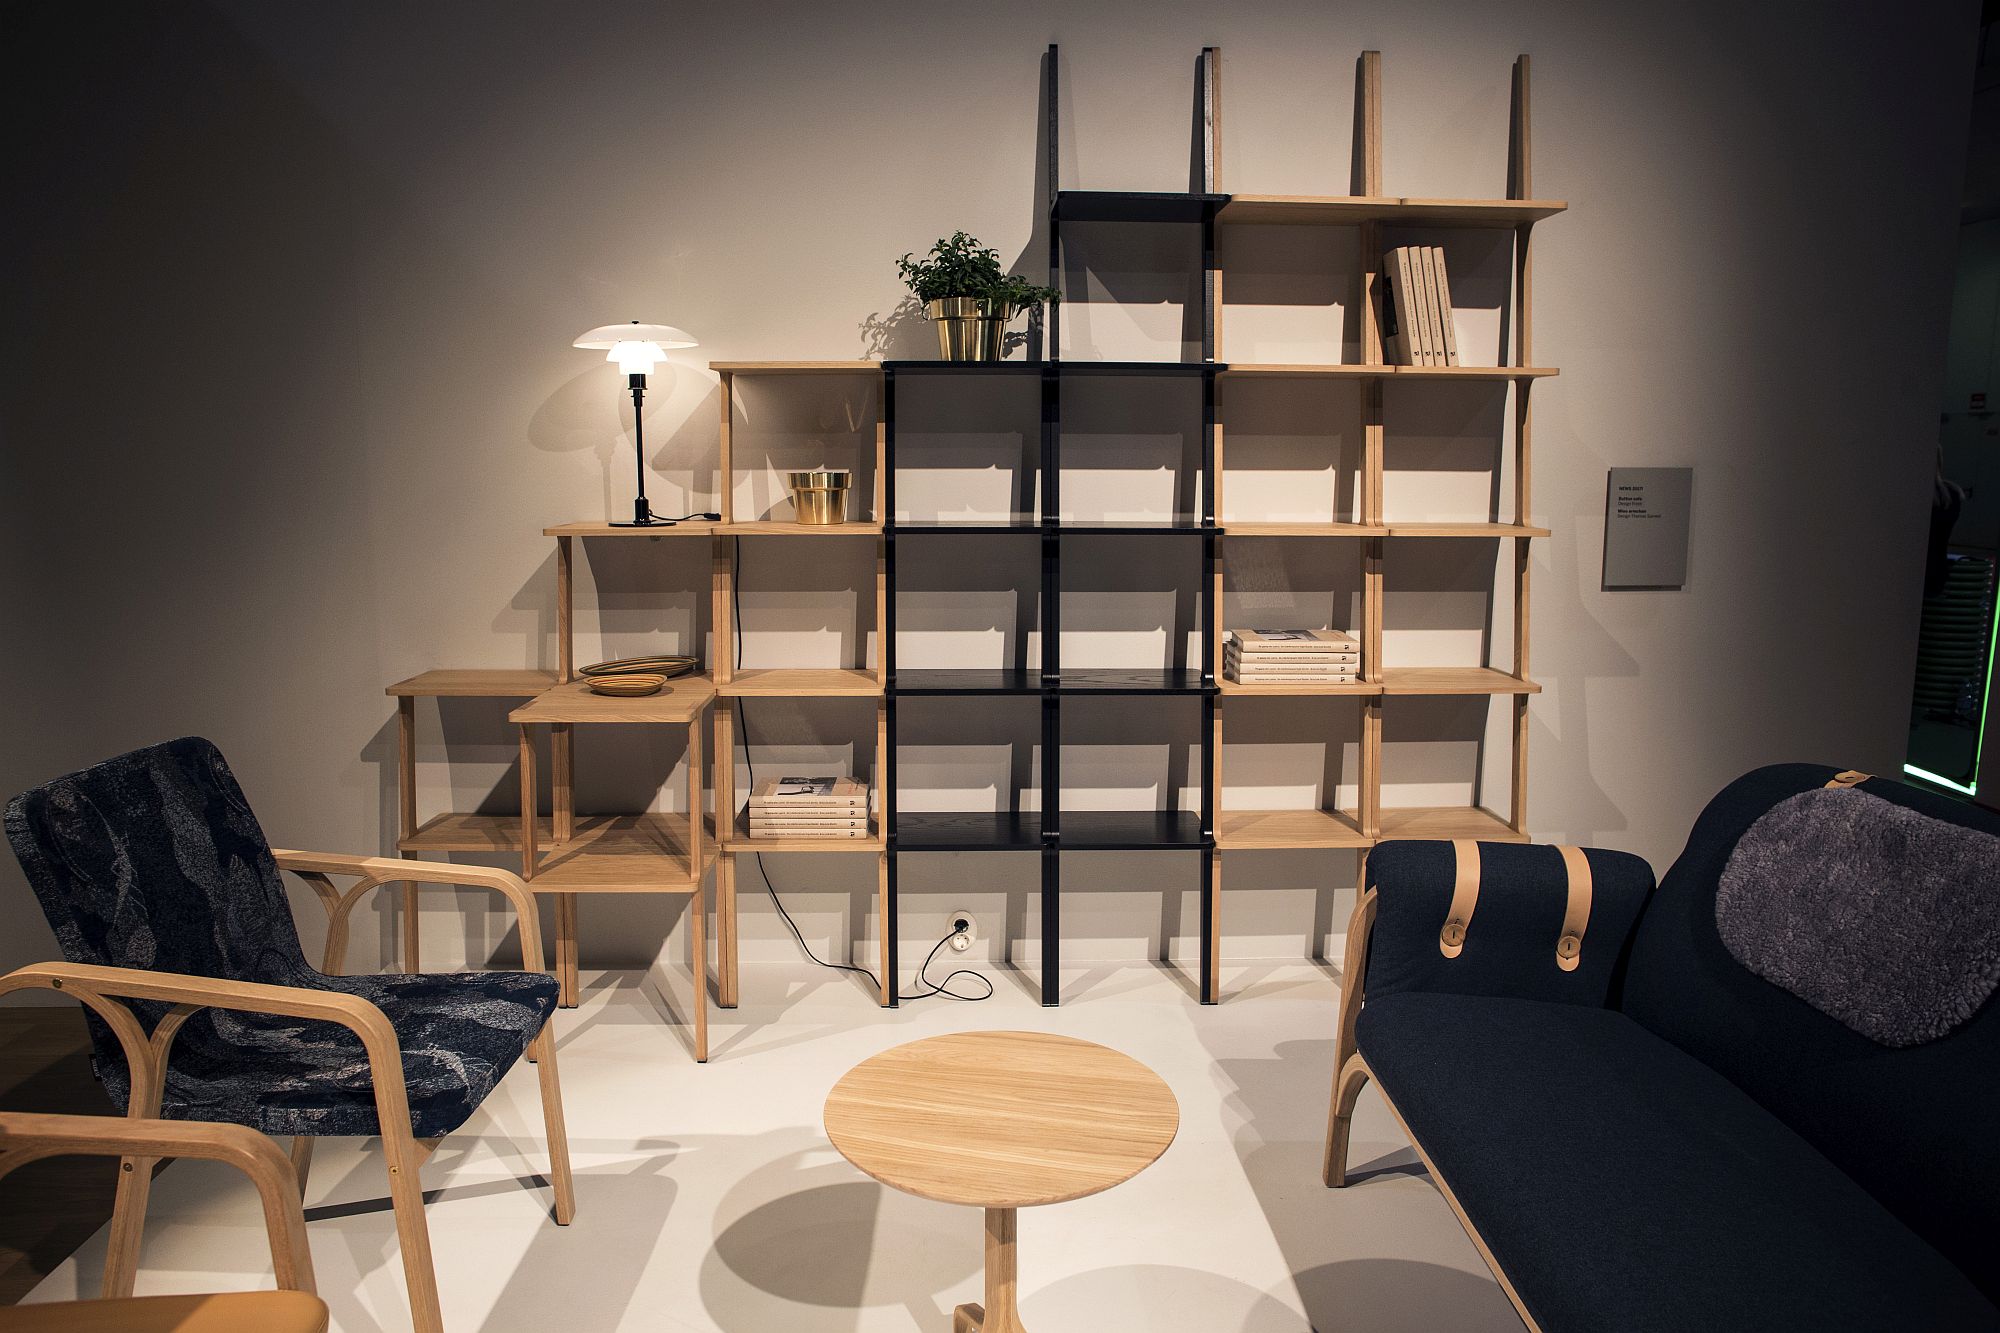
Uncluttered background, bright natural window light, level perspective, clean product, & visually interesting presentation.
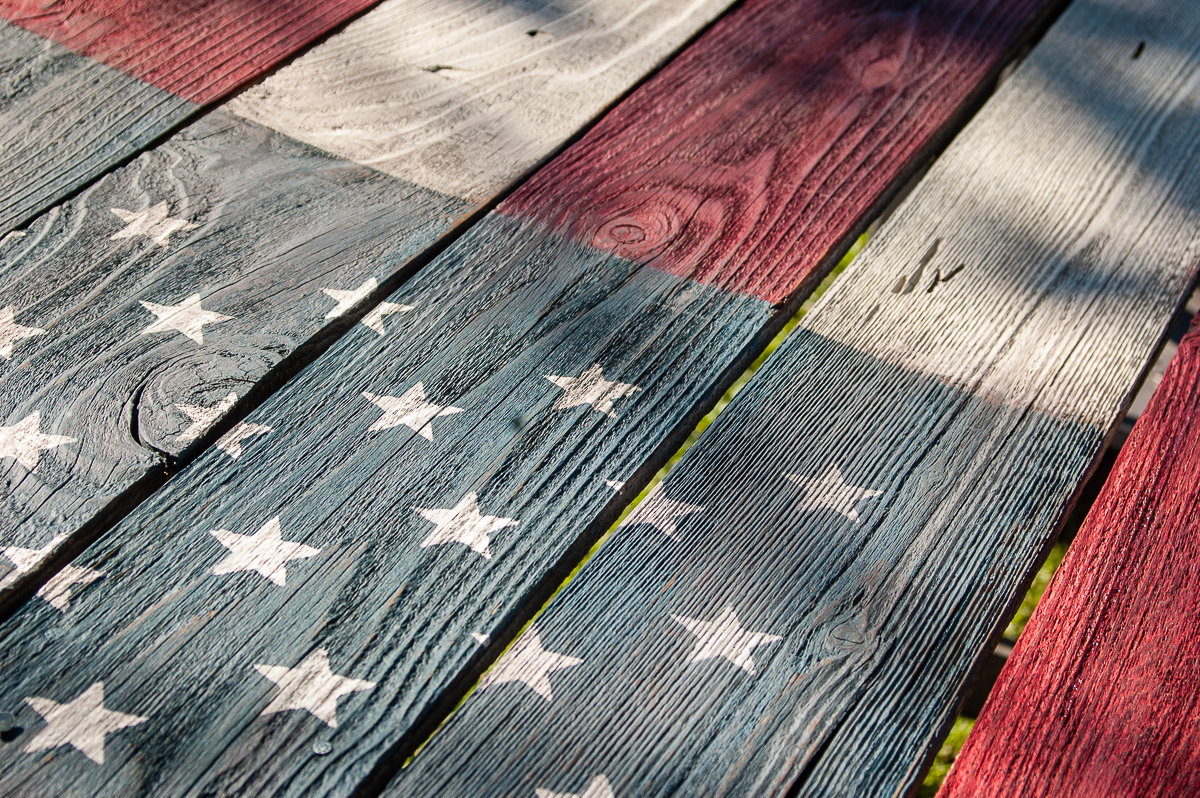
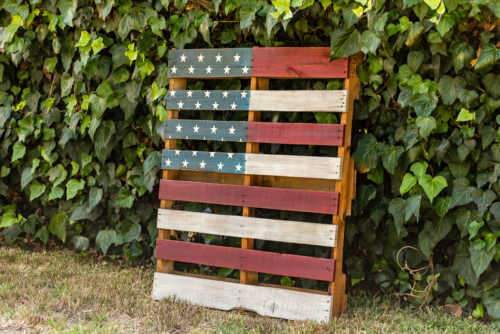
Don’t take your photos on your kitchen counter, on your couch, in your dirty garage, at night, or in direct noontime sunlight that you try to hide with a filter (it will look like it’s waiting for an old west duel with the sheriff). Please don’t. I’m begging you.
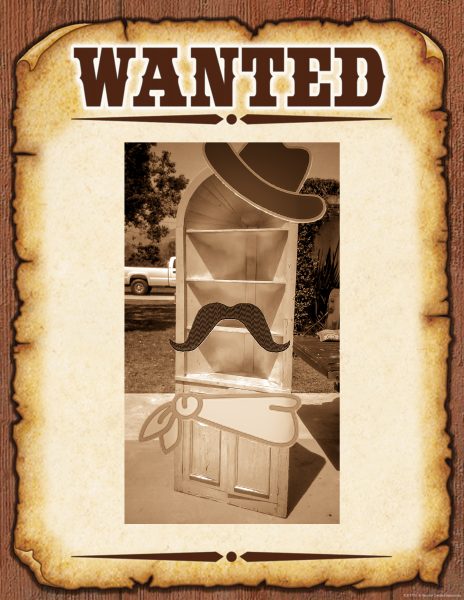
Sorry pardner, this filter won’t hide your high noon photo shoot
I get the feeling–it’s late, you’ve just finished that project you’ve been working on, the kids are finally asleep, and you’re in a hurry to snap a photo on your phone and instantly share it with the world. But with a few simple steps, you can make a photo that actually draws viewers in and entices them to buy your product–even if you don’t have a fancy camera.
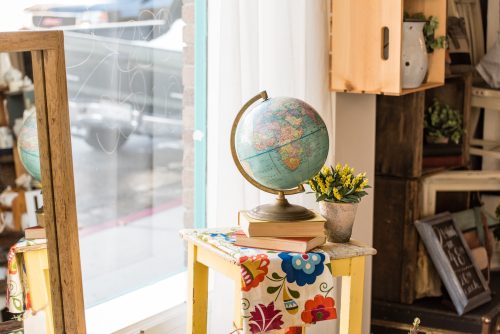
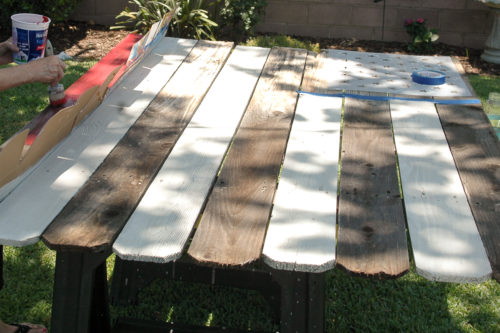
Behind the scenes: No expensive lighting equipment, just a large window letting plenty of natural light shine through.
Lighting: Near a large window or in open shade is often best. Avoid your living room’s tungsten lamps or your kitchen’s florescent lights–these could make your product seem discolored and they never provide enough light. Natural daylight is ideal, but pay attention to shadows–direct sunlight can create harsh unflattering shadows in addition to stark glare, but tree shade can also cast distracting mottled shadows.
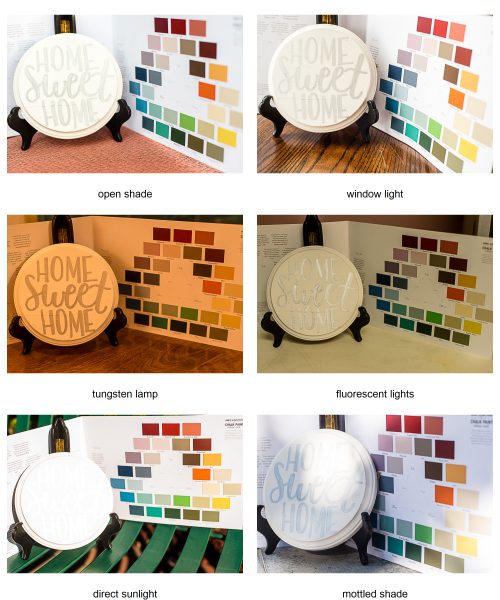
“Home Sweet Home” sign by Maeberry Lane Design
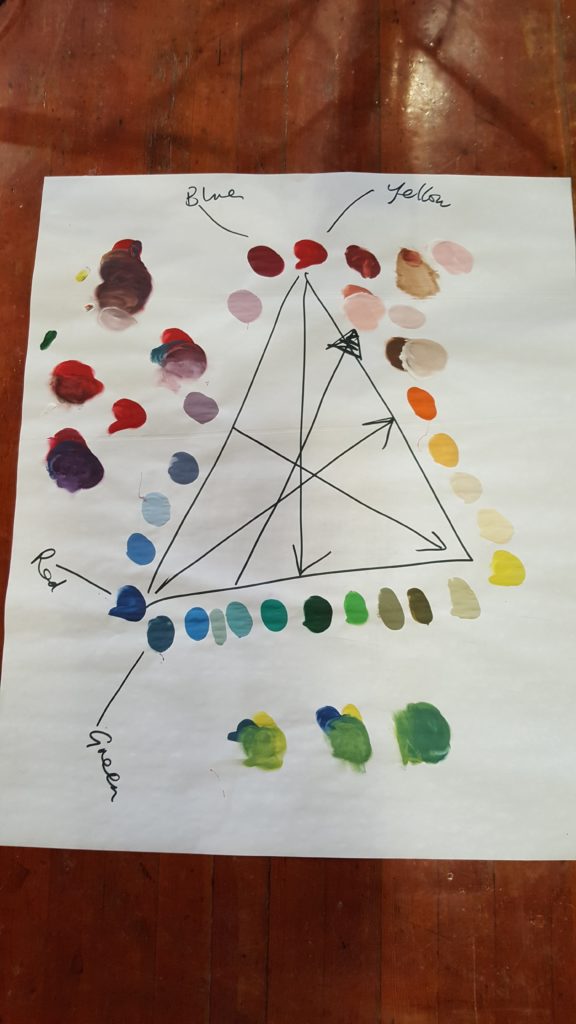
Chalk Paint® color chart by Annie Sloan
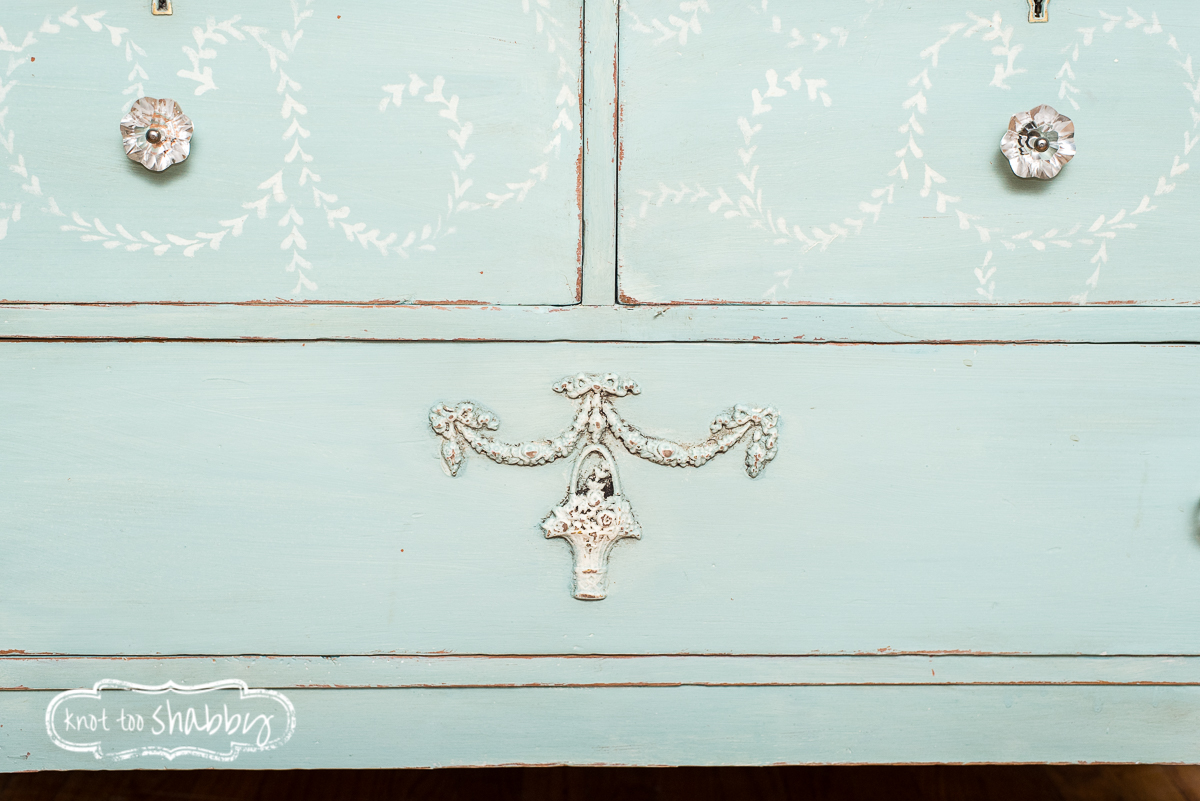
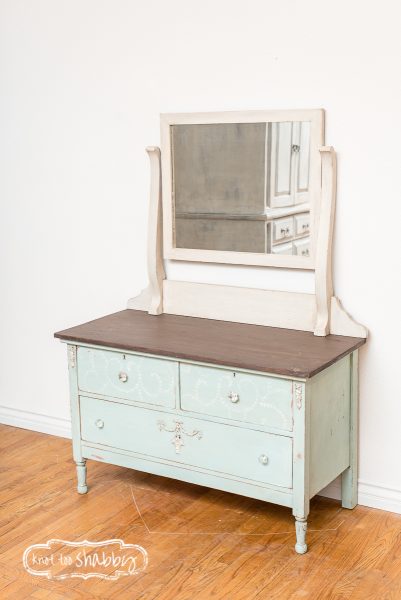
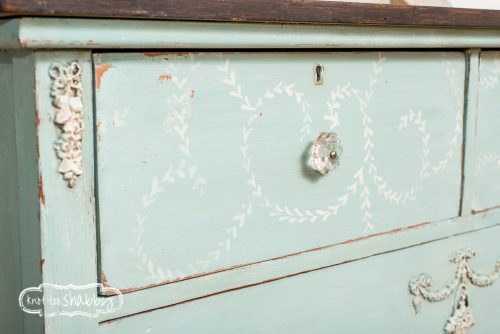
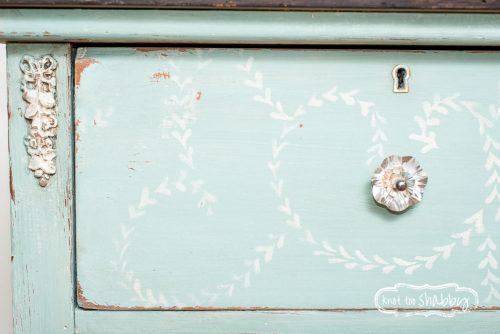
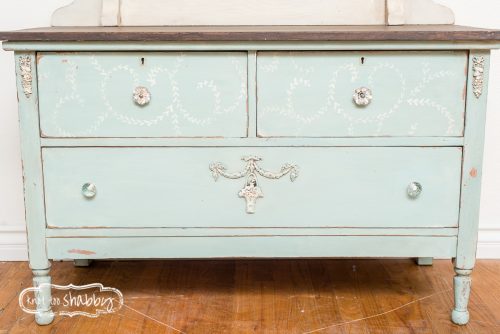
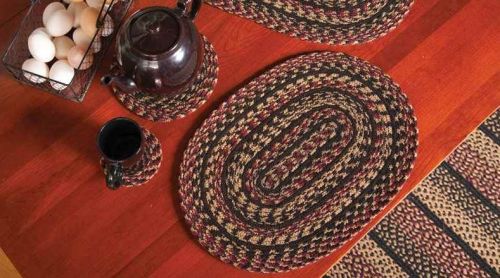
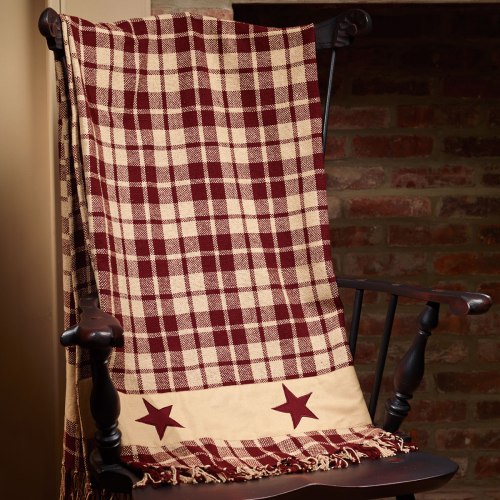
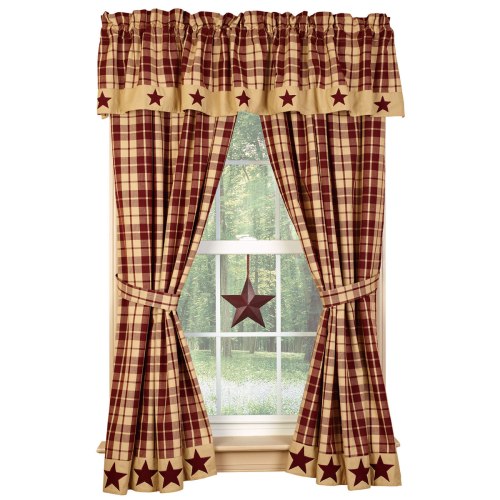
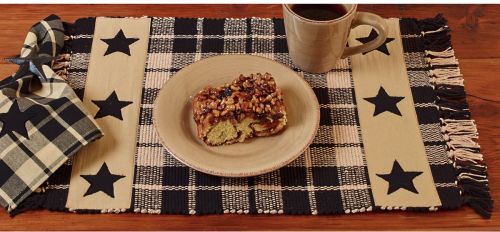
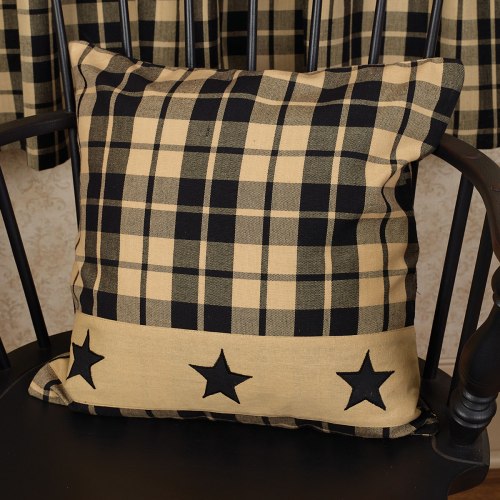
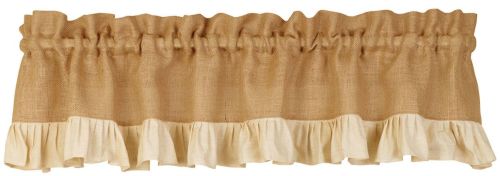
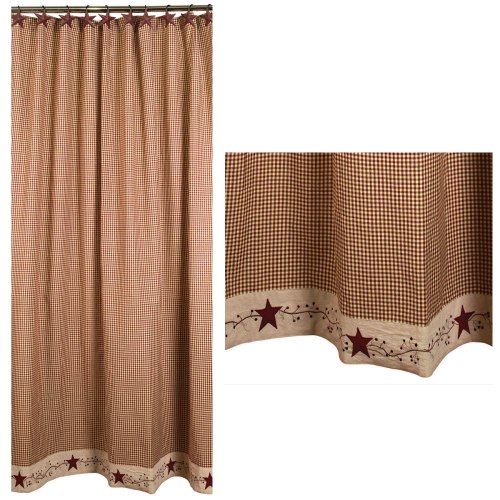
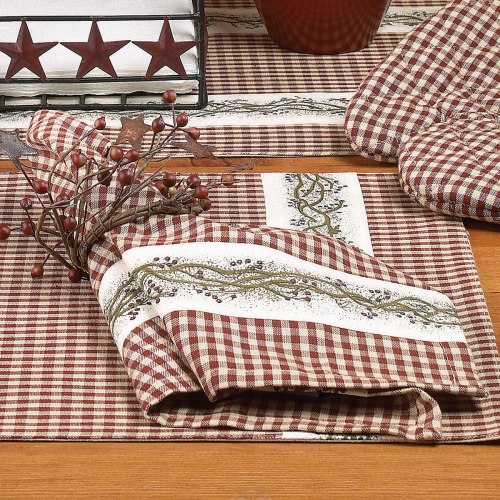
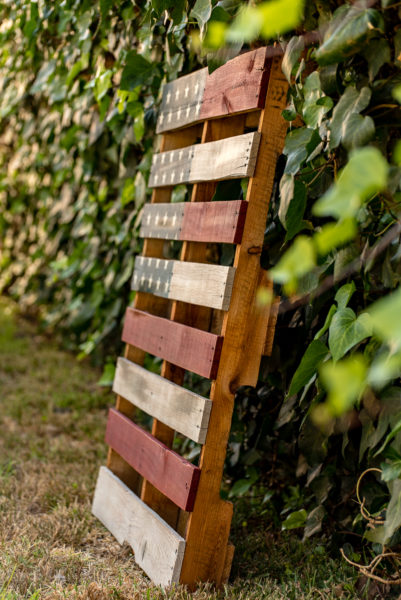
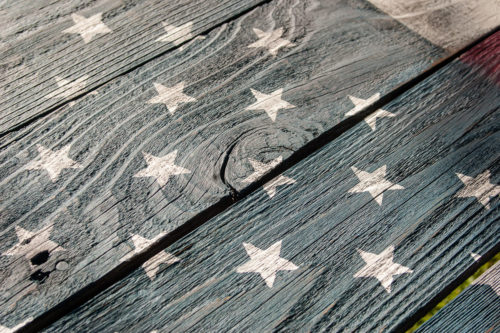
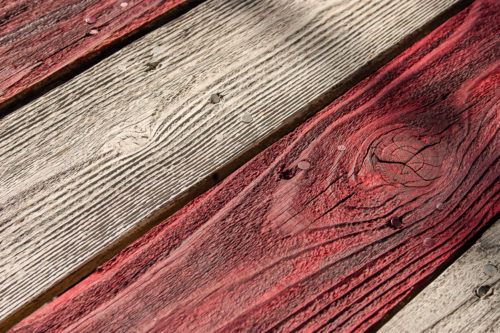
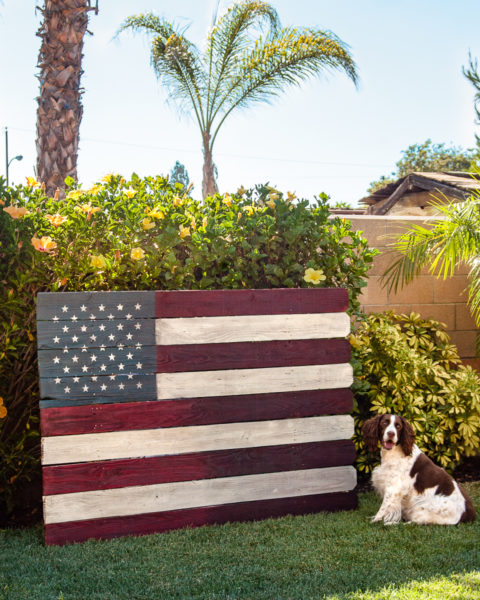
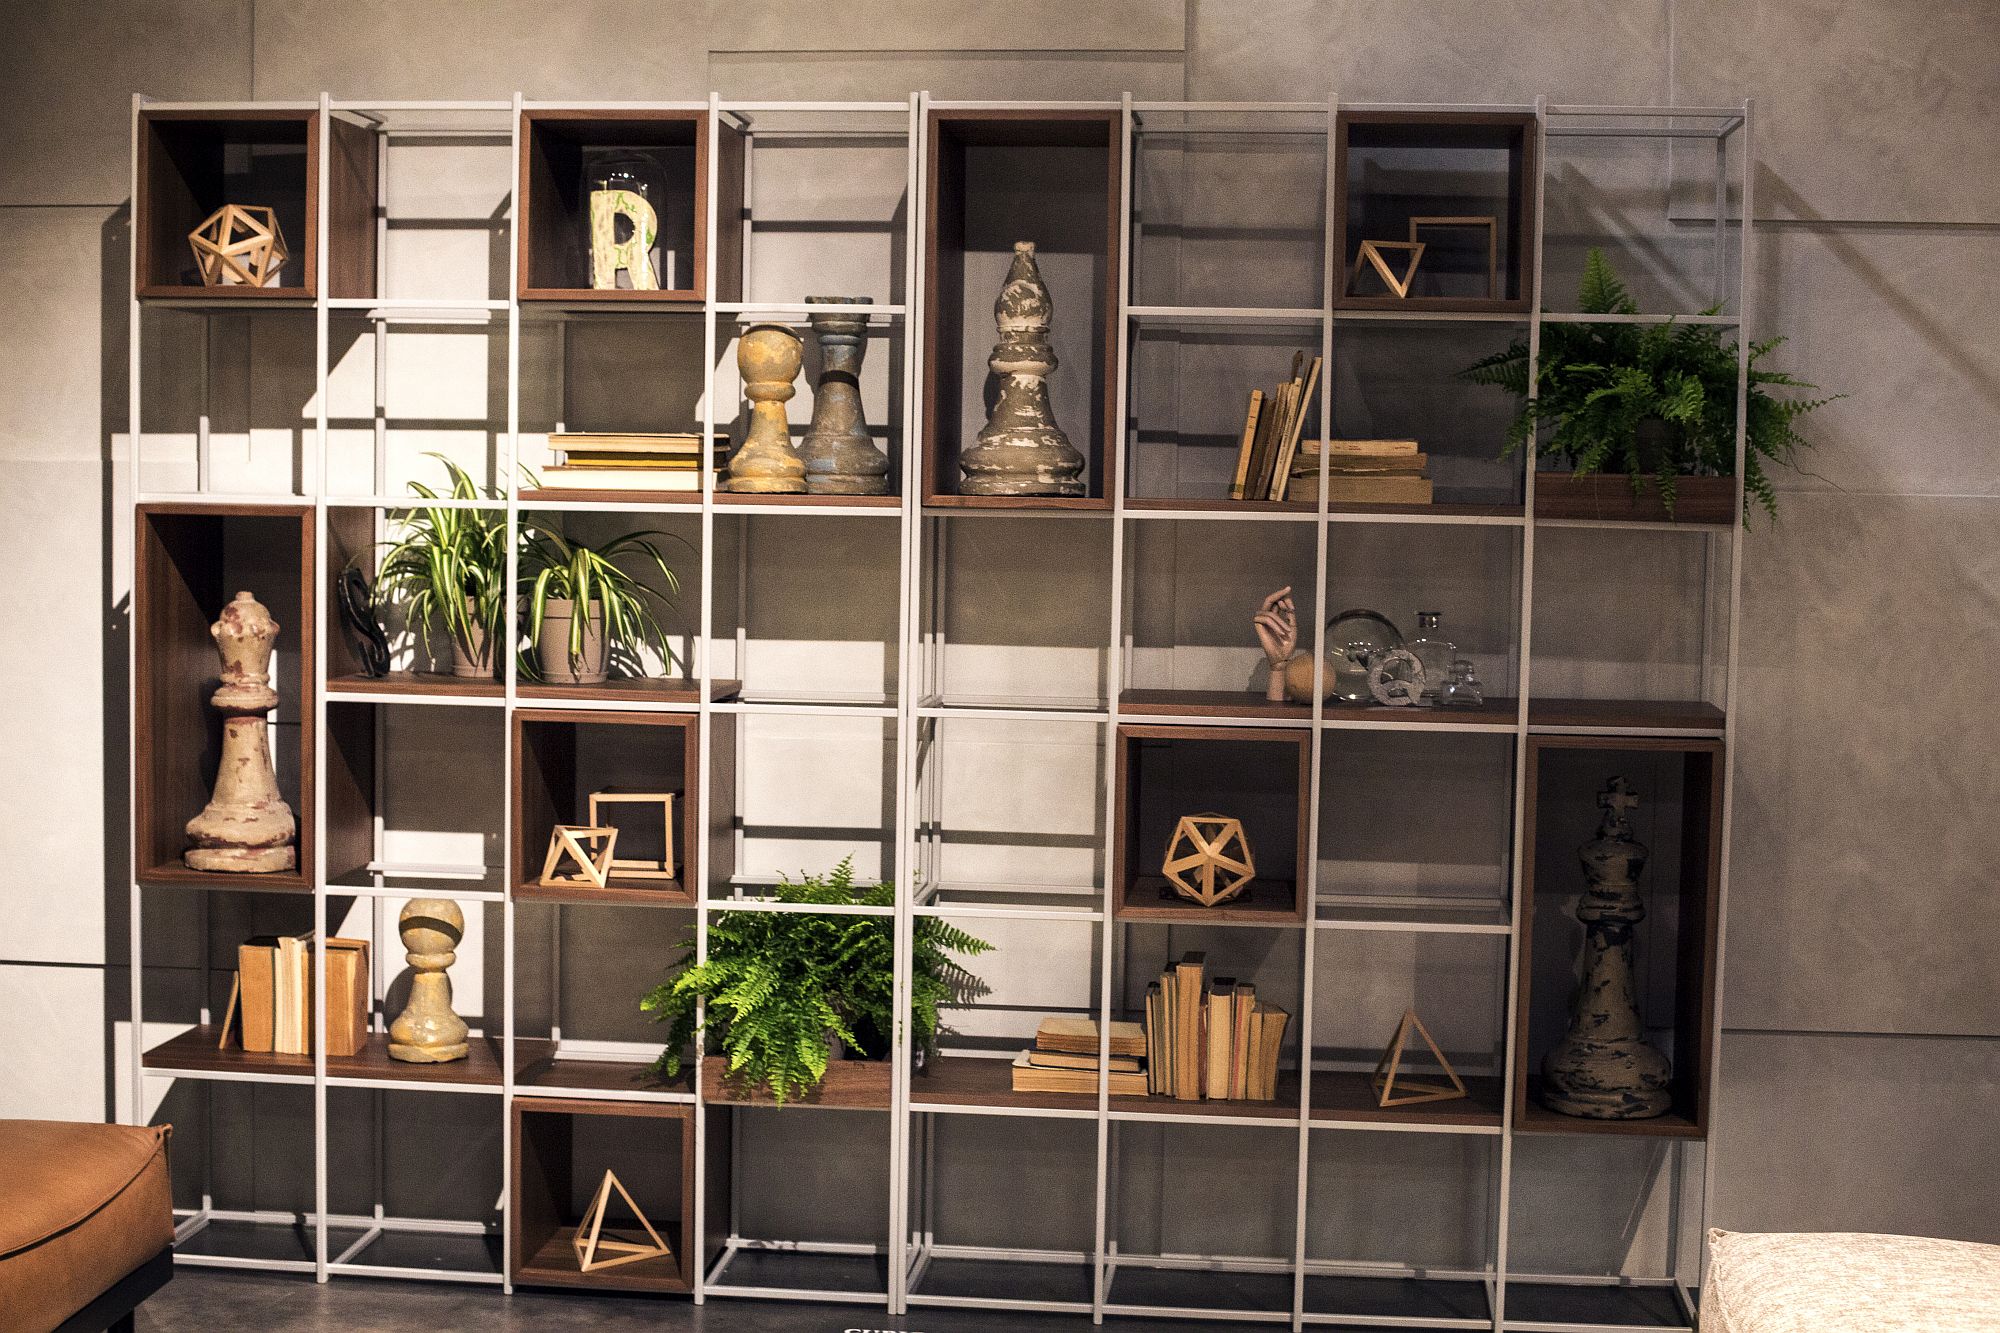
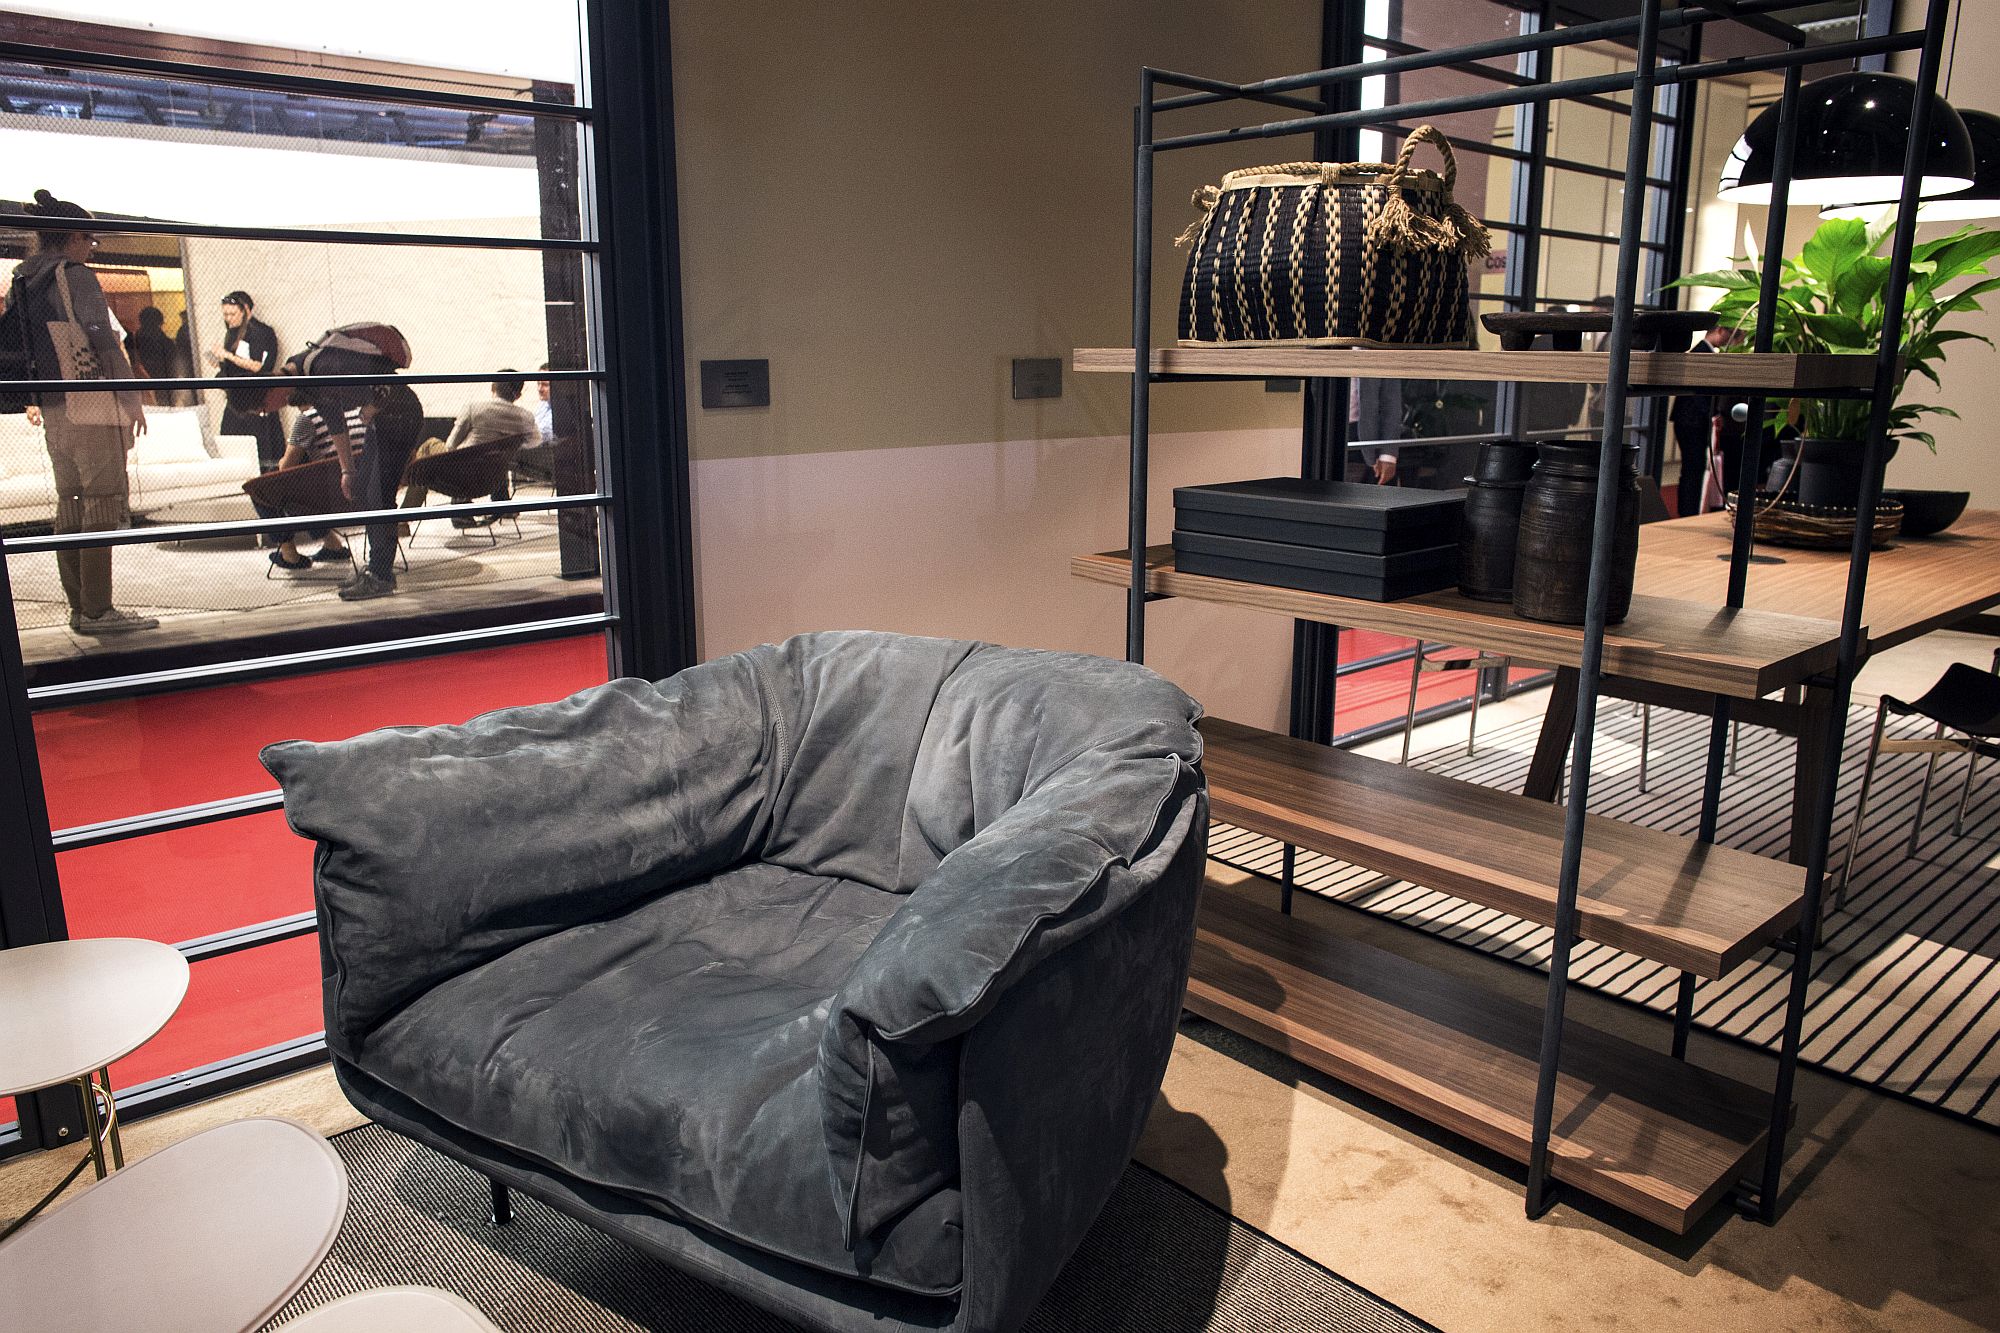
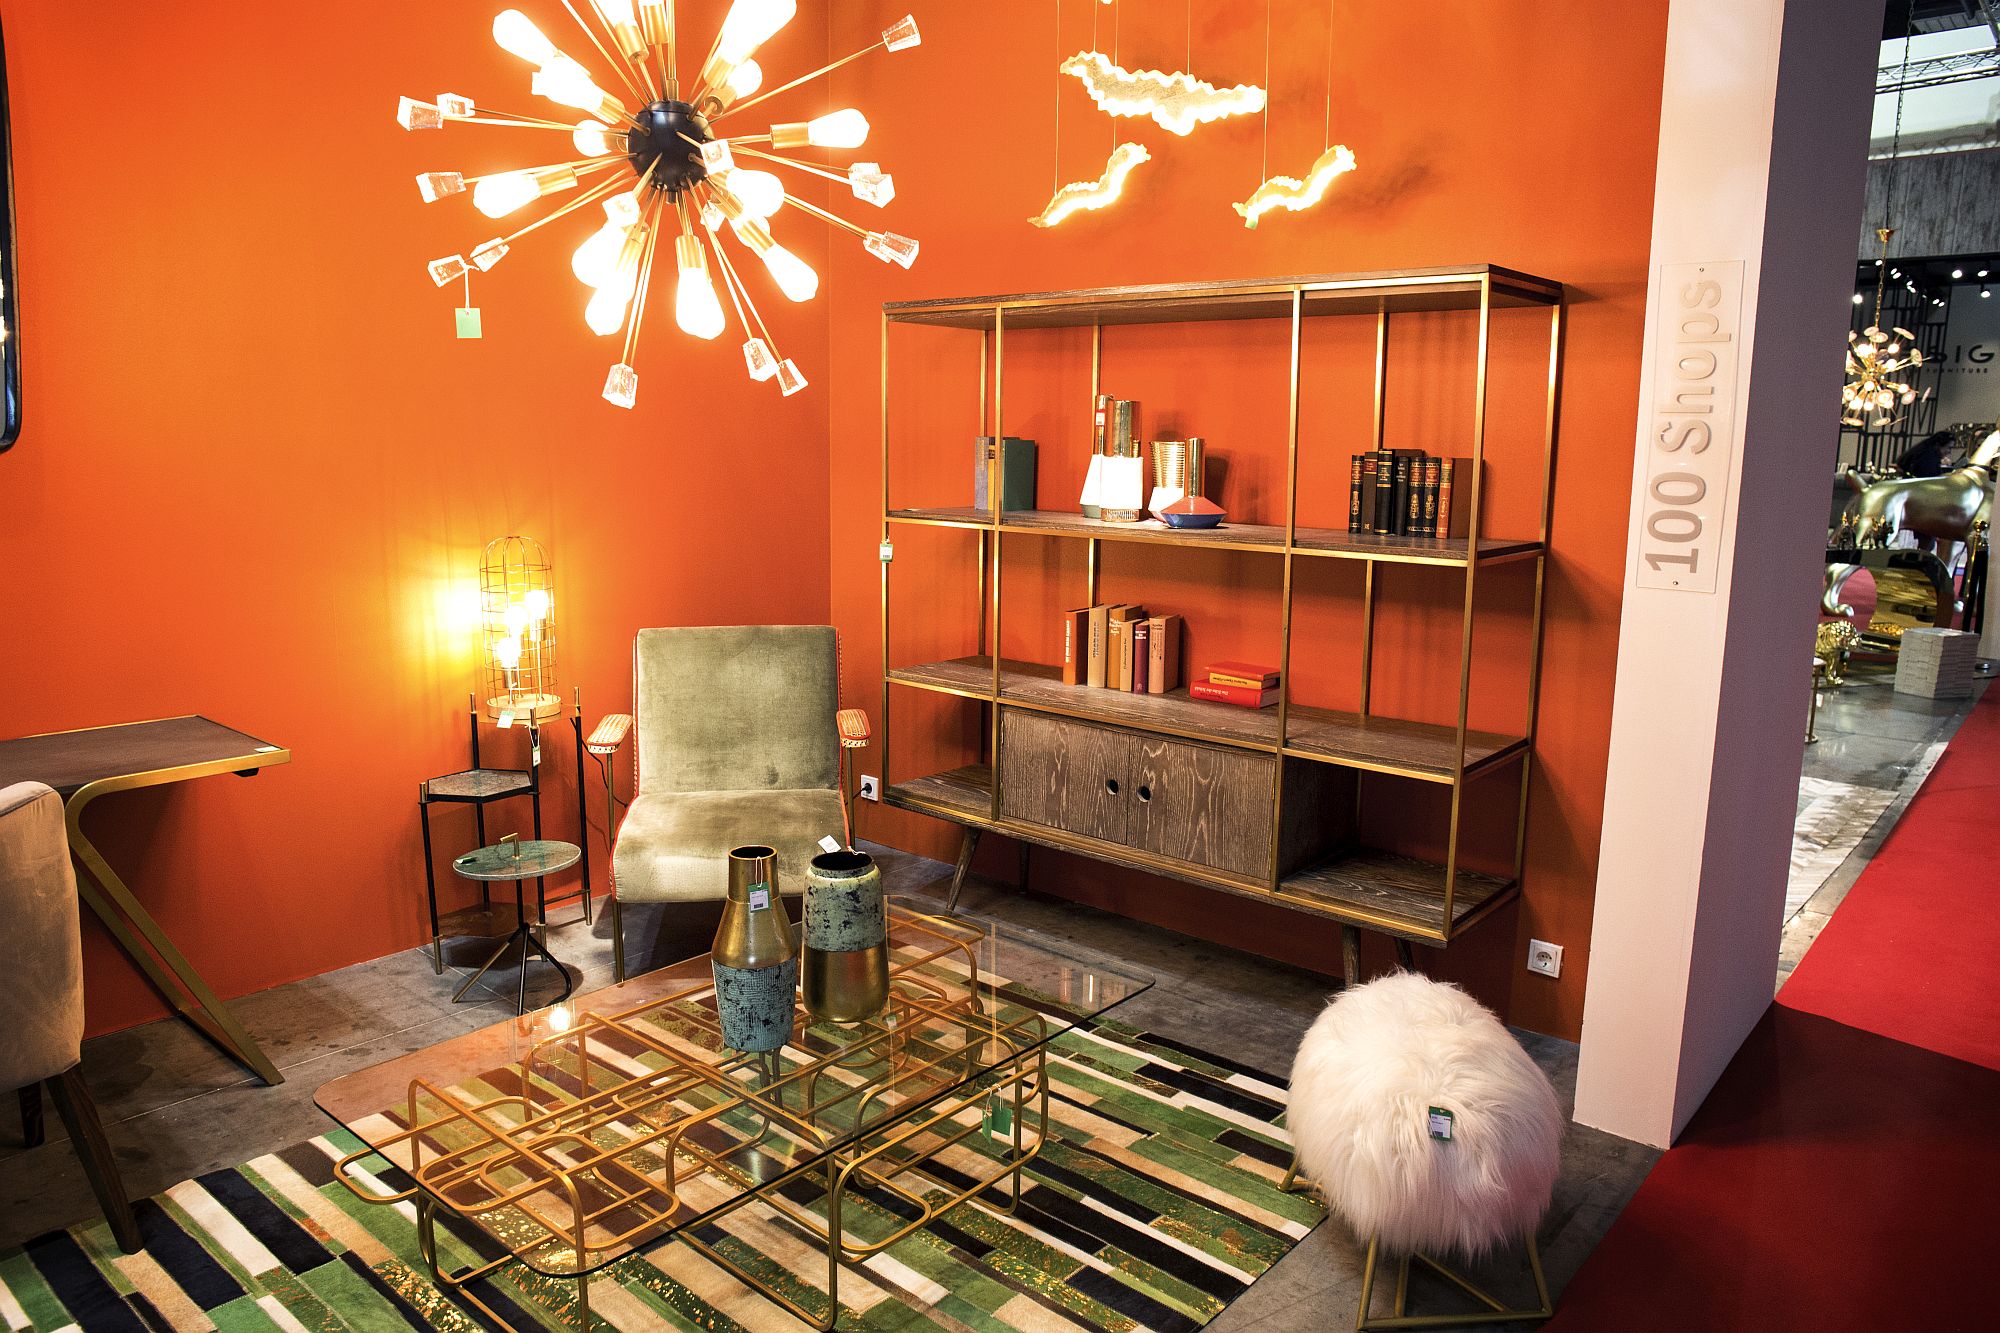
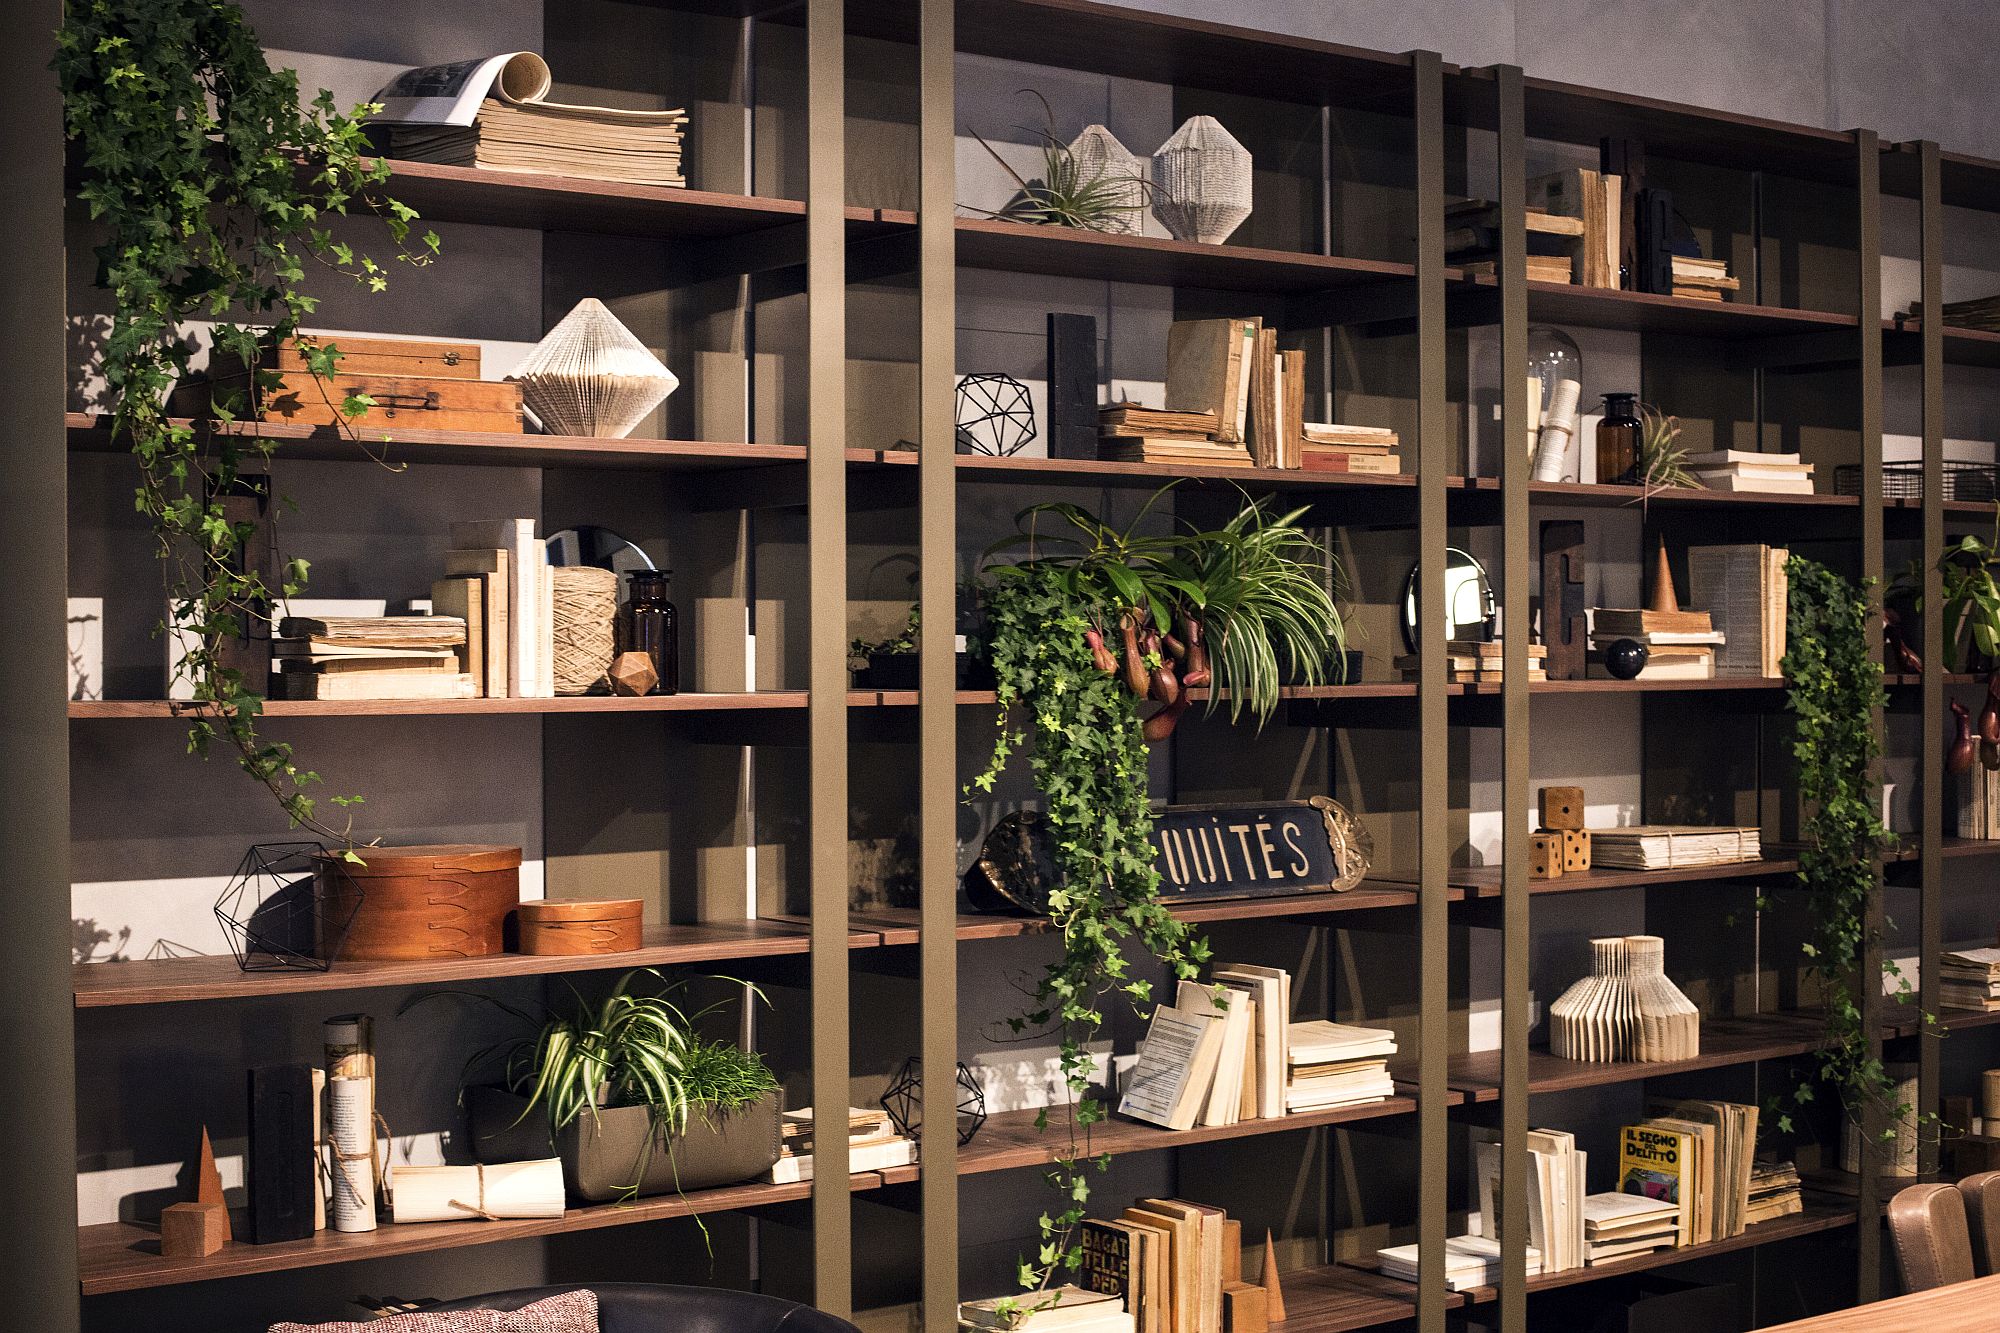
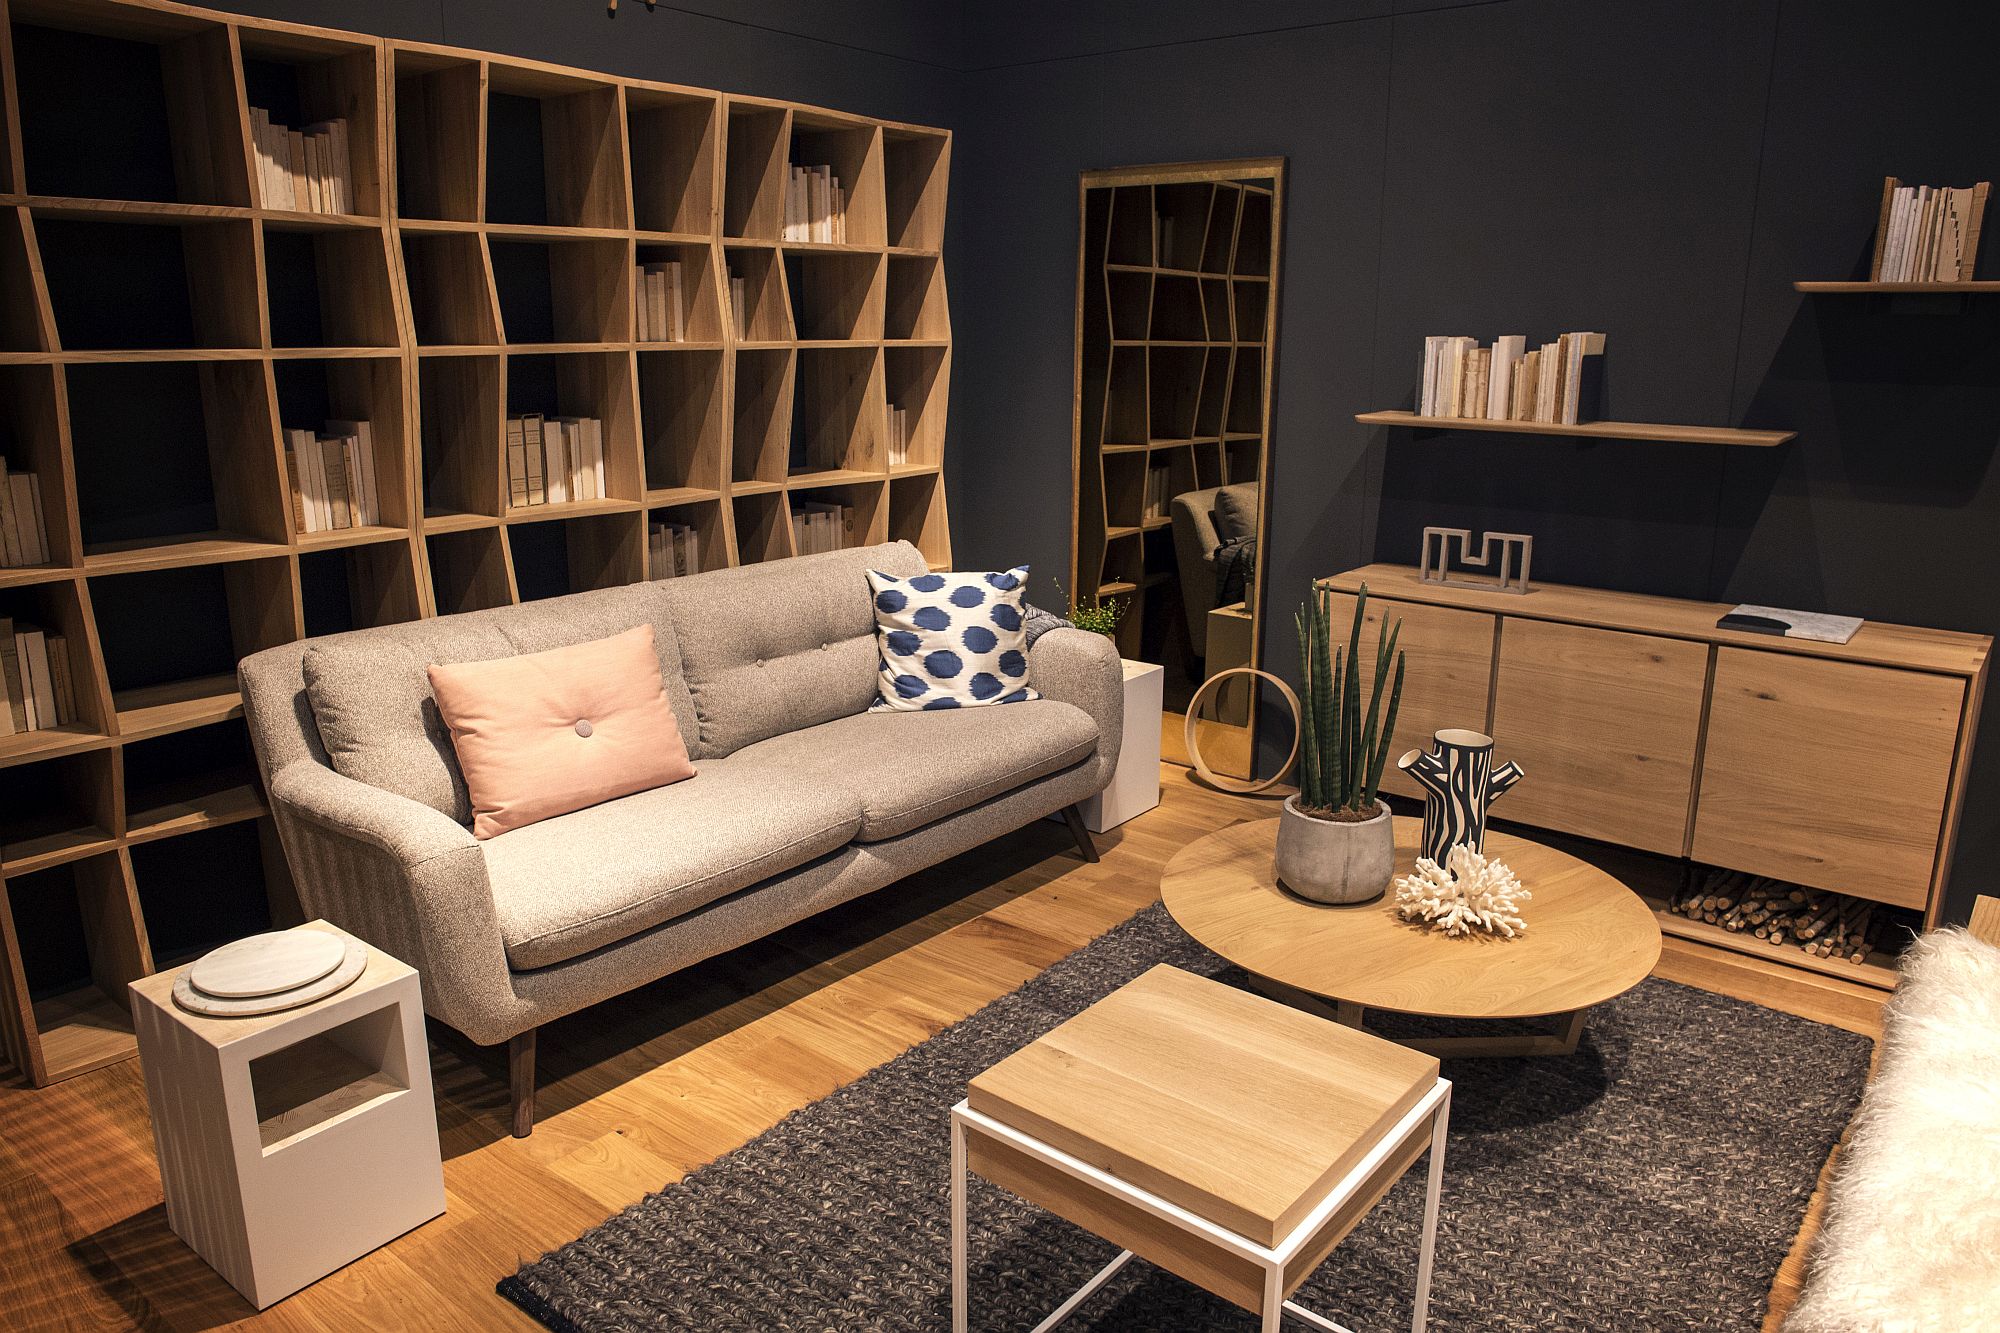
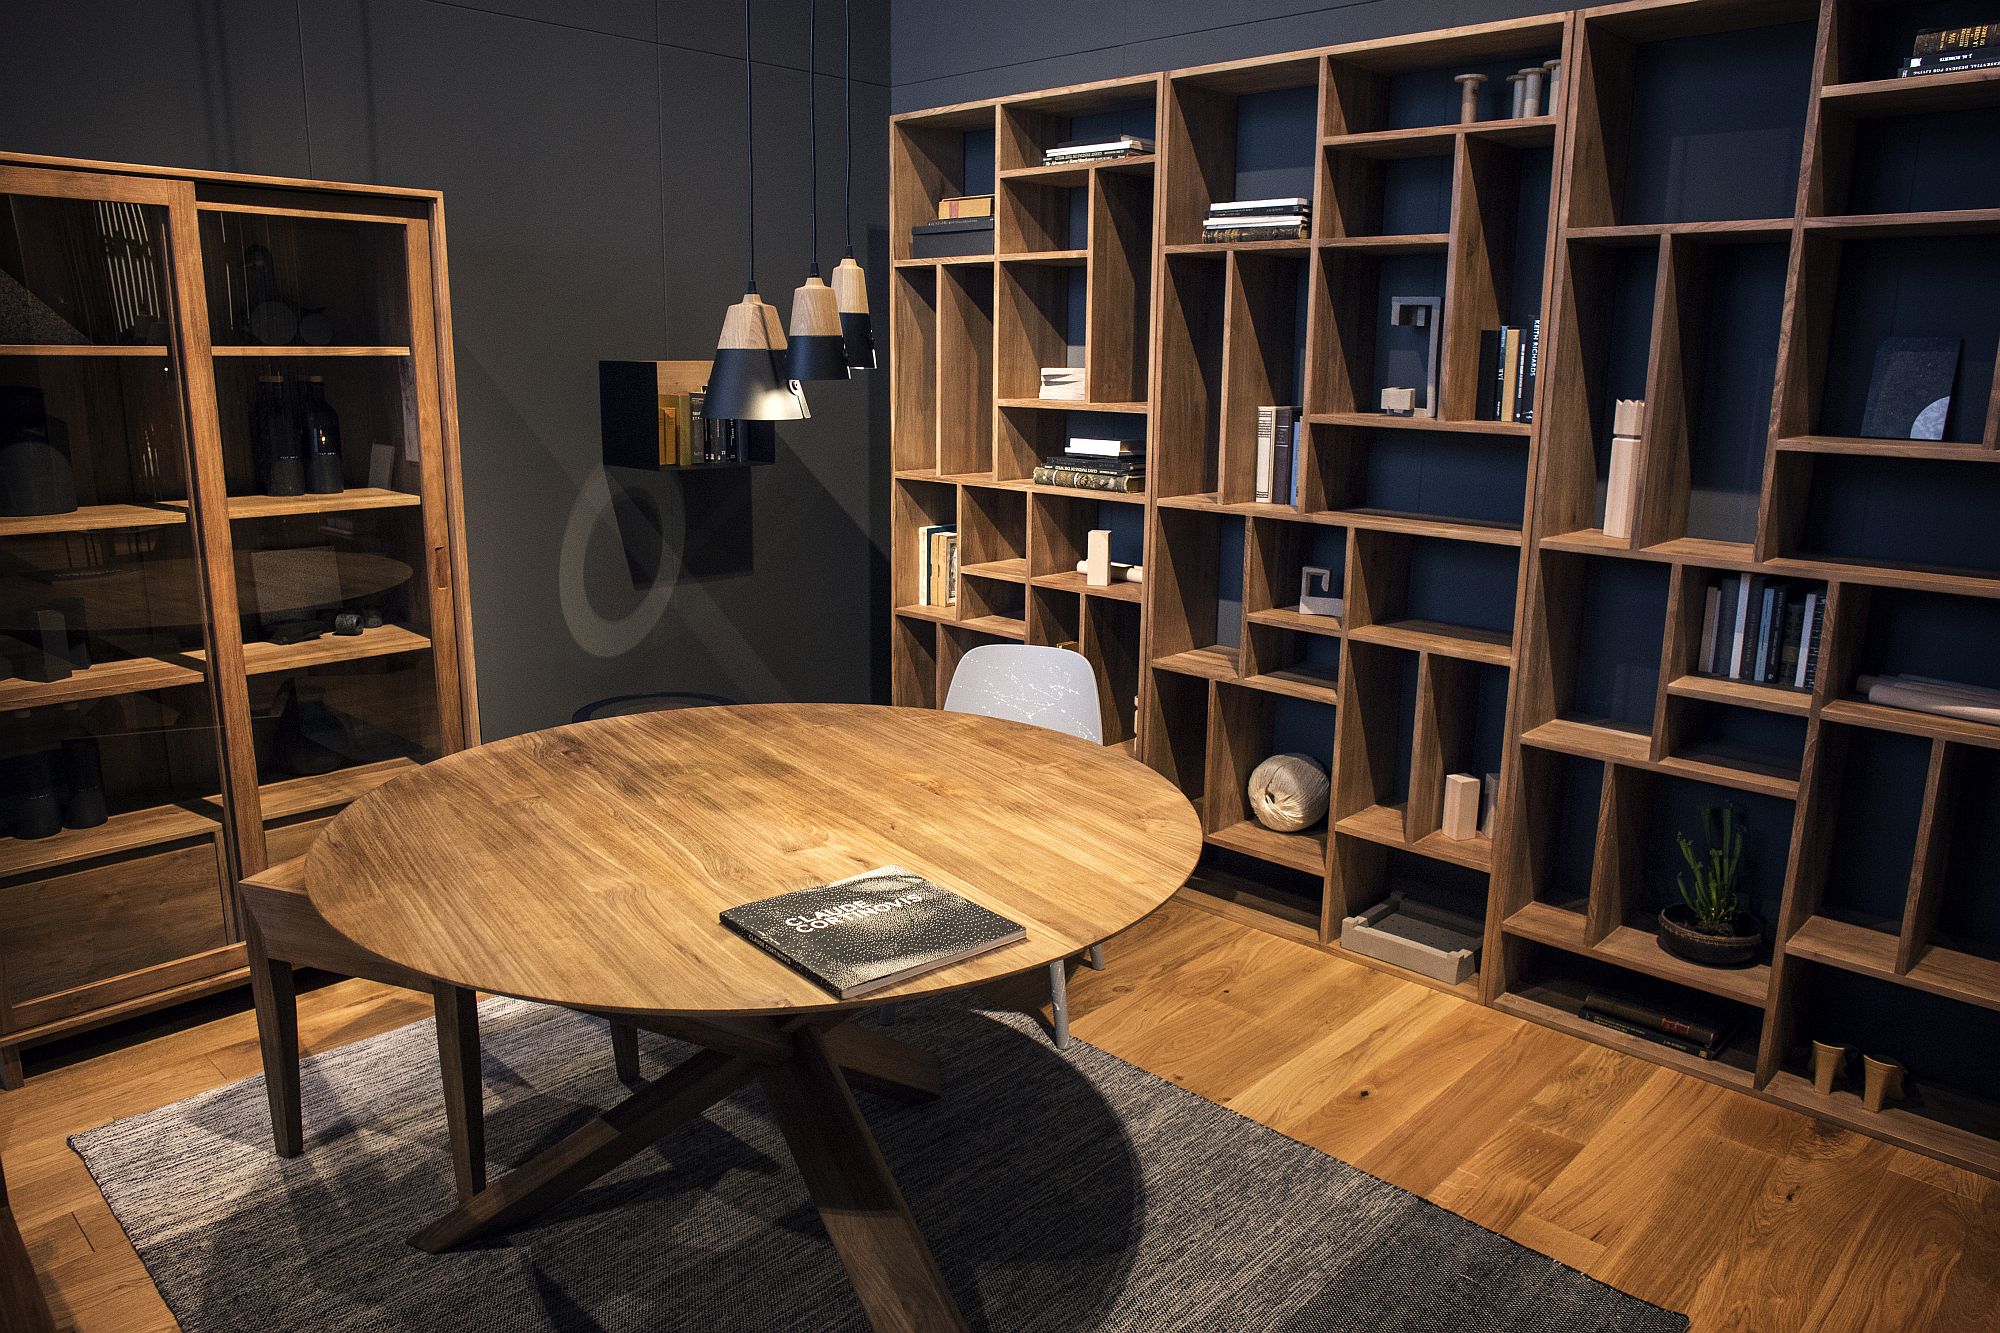
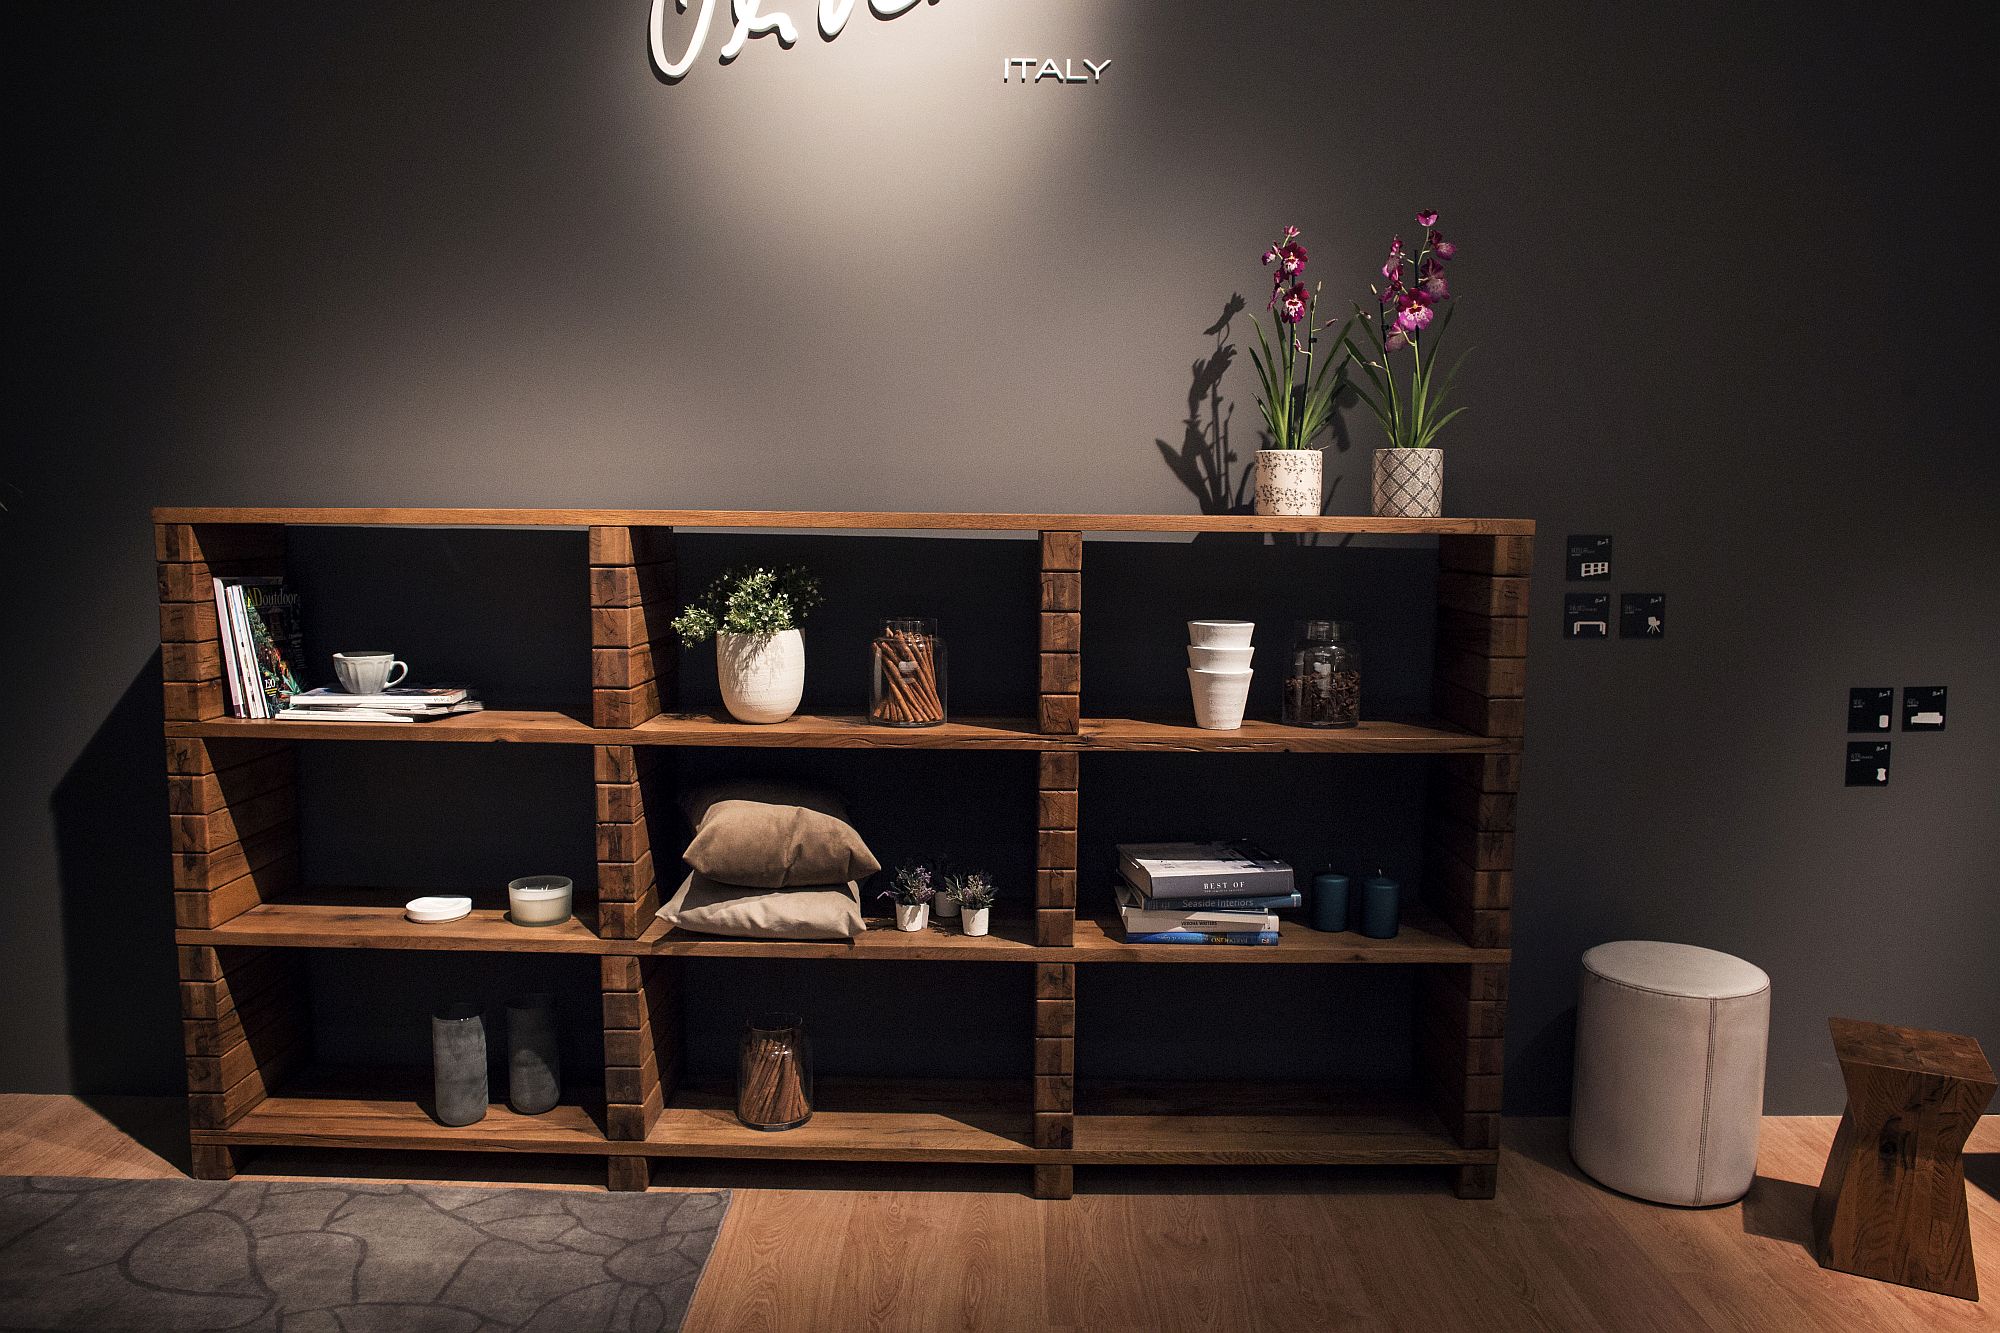
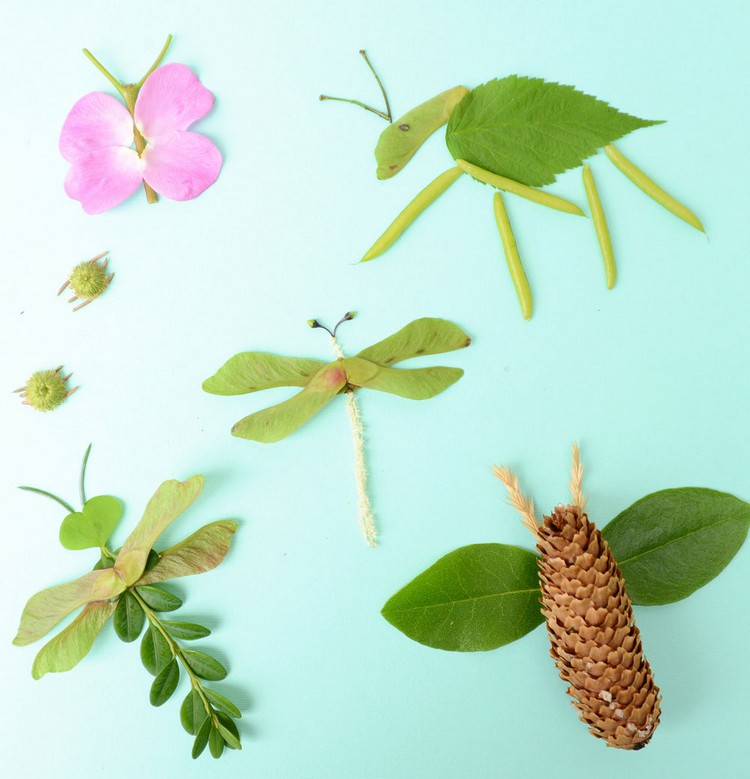
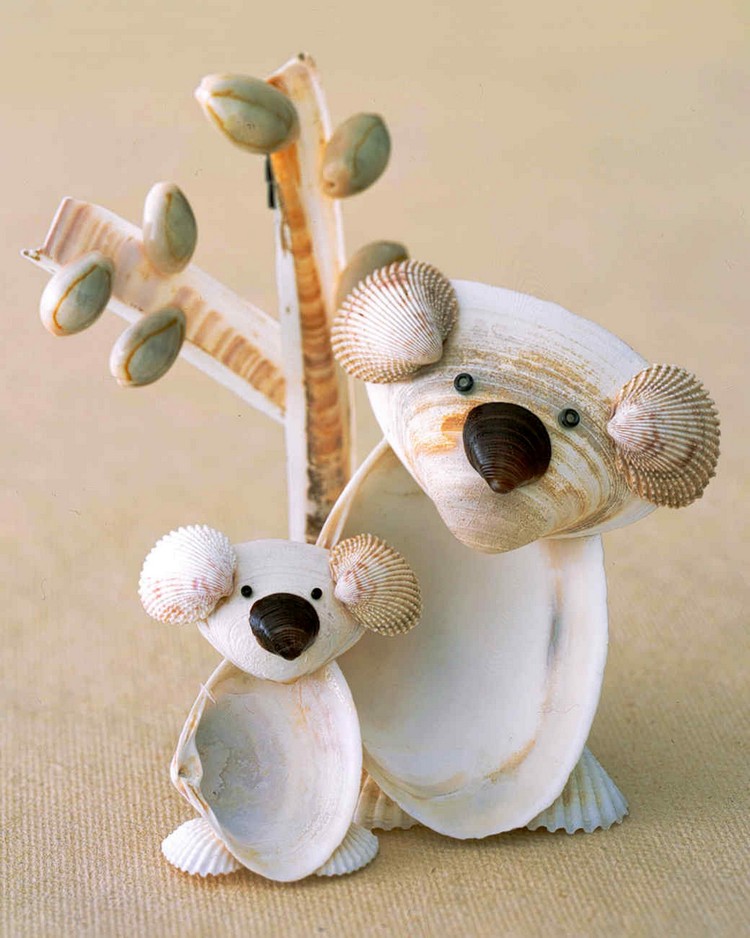
Setting: Arrange your merchandise in a way that makes it easier for the viewer to picture it in their home (or even better, their dream home). Stage a vignette that looks inviting by mixing textures. A soft throw blanket and a live plant can add a homey touch to hard wood furniture.
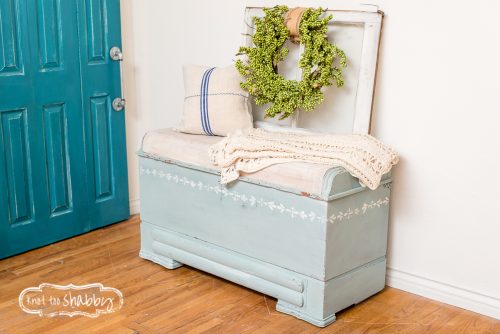
Hope chest painted using Miss Mustard Seed’s Milk Paint & her Linda stencil
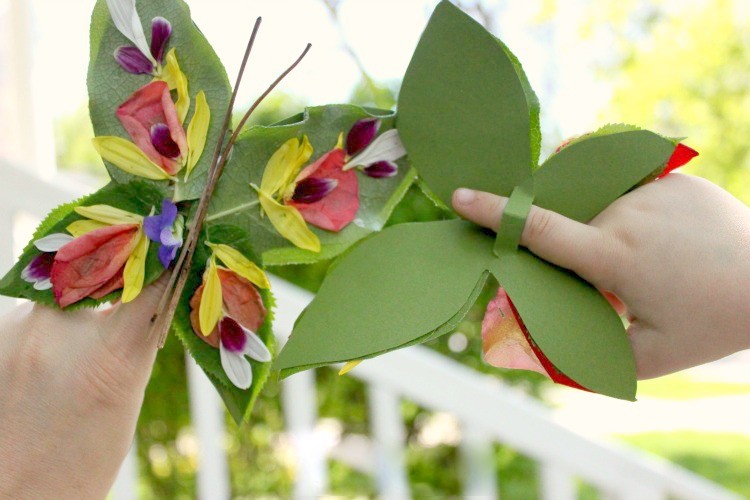
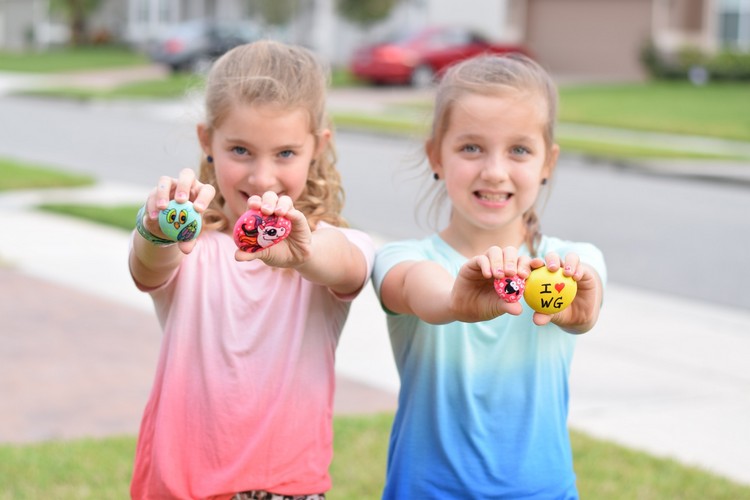
If you make apparel, jewelry, or accessories, spend a late afternoon or early morning photographing it on a live person in a setting that matches your style. Rustic? Take a trip to the great outdoors! Coastal? Head to the beach and find a lighthouse! No matter which location you choose, your setting should complement your product; not distract from it.
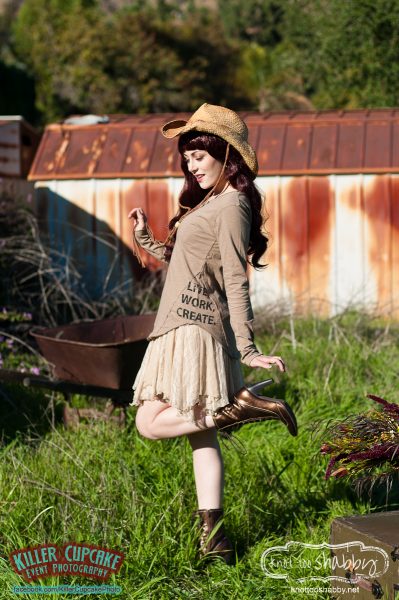
Model: Claire Max
Mona B apparel: knot too shabby
Jewelry: Fitzydoodles
Flowers: la petite fleur
Photo: Killer Cupcake Event Photography
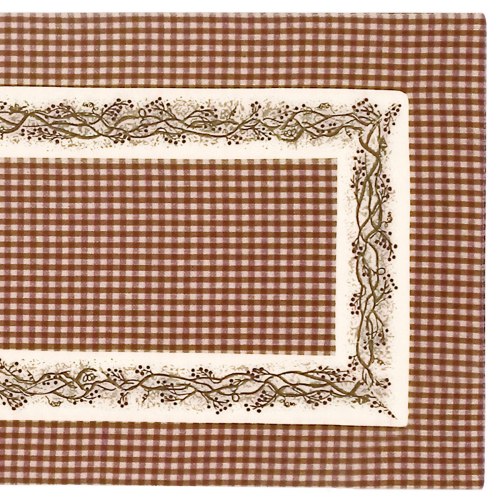
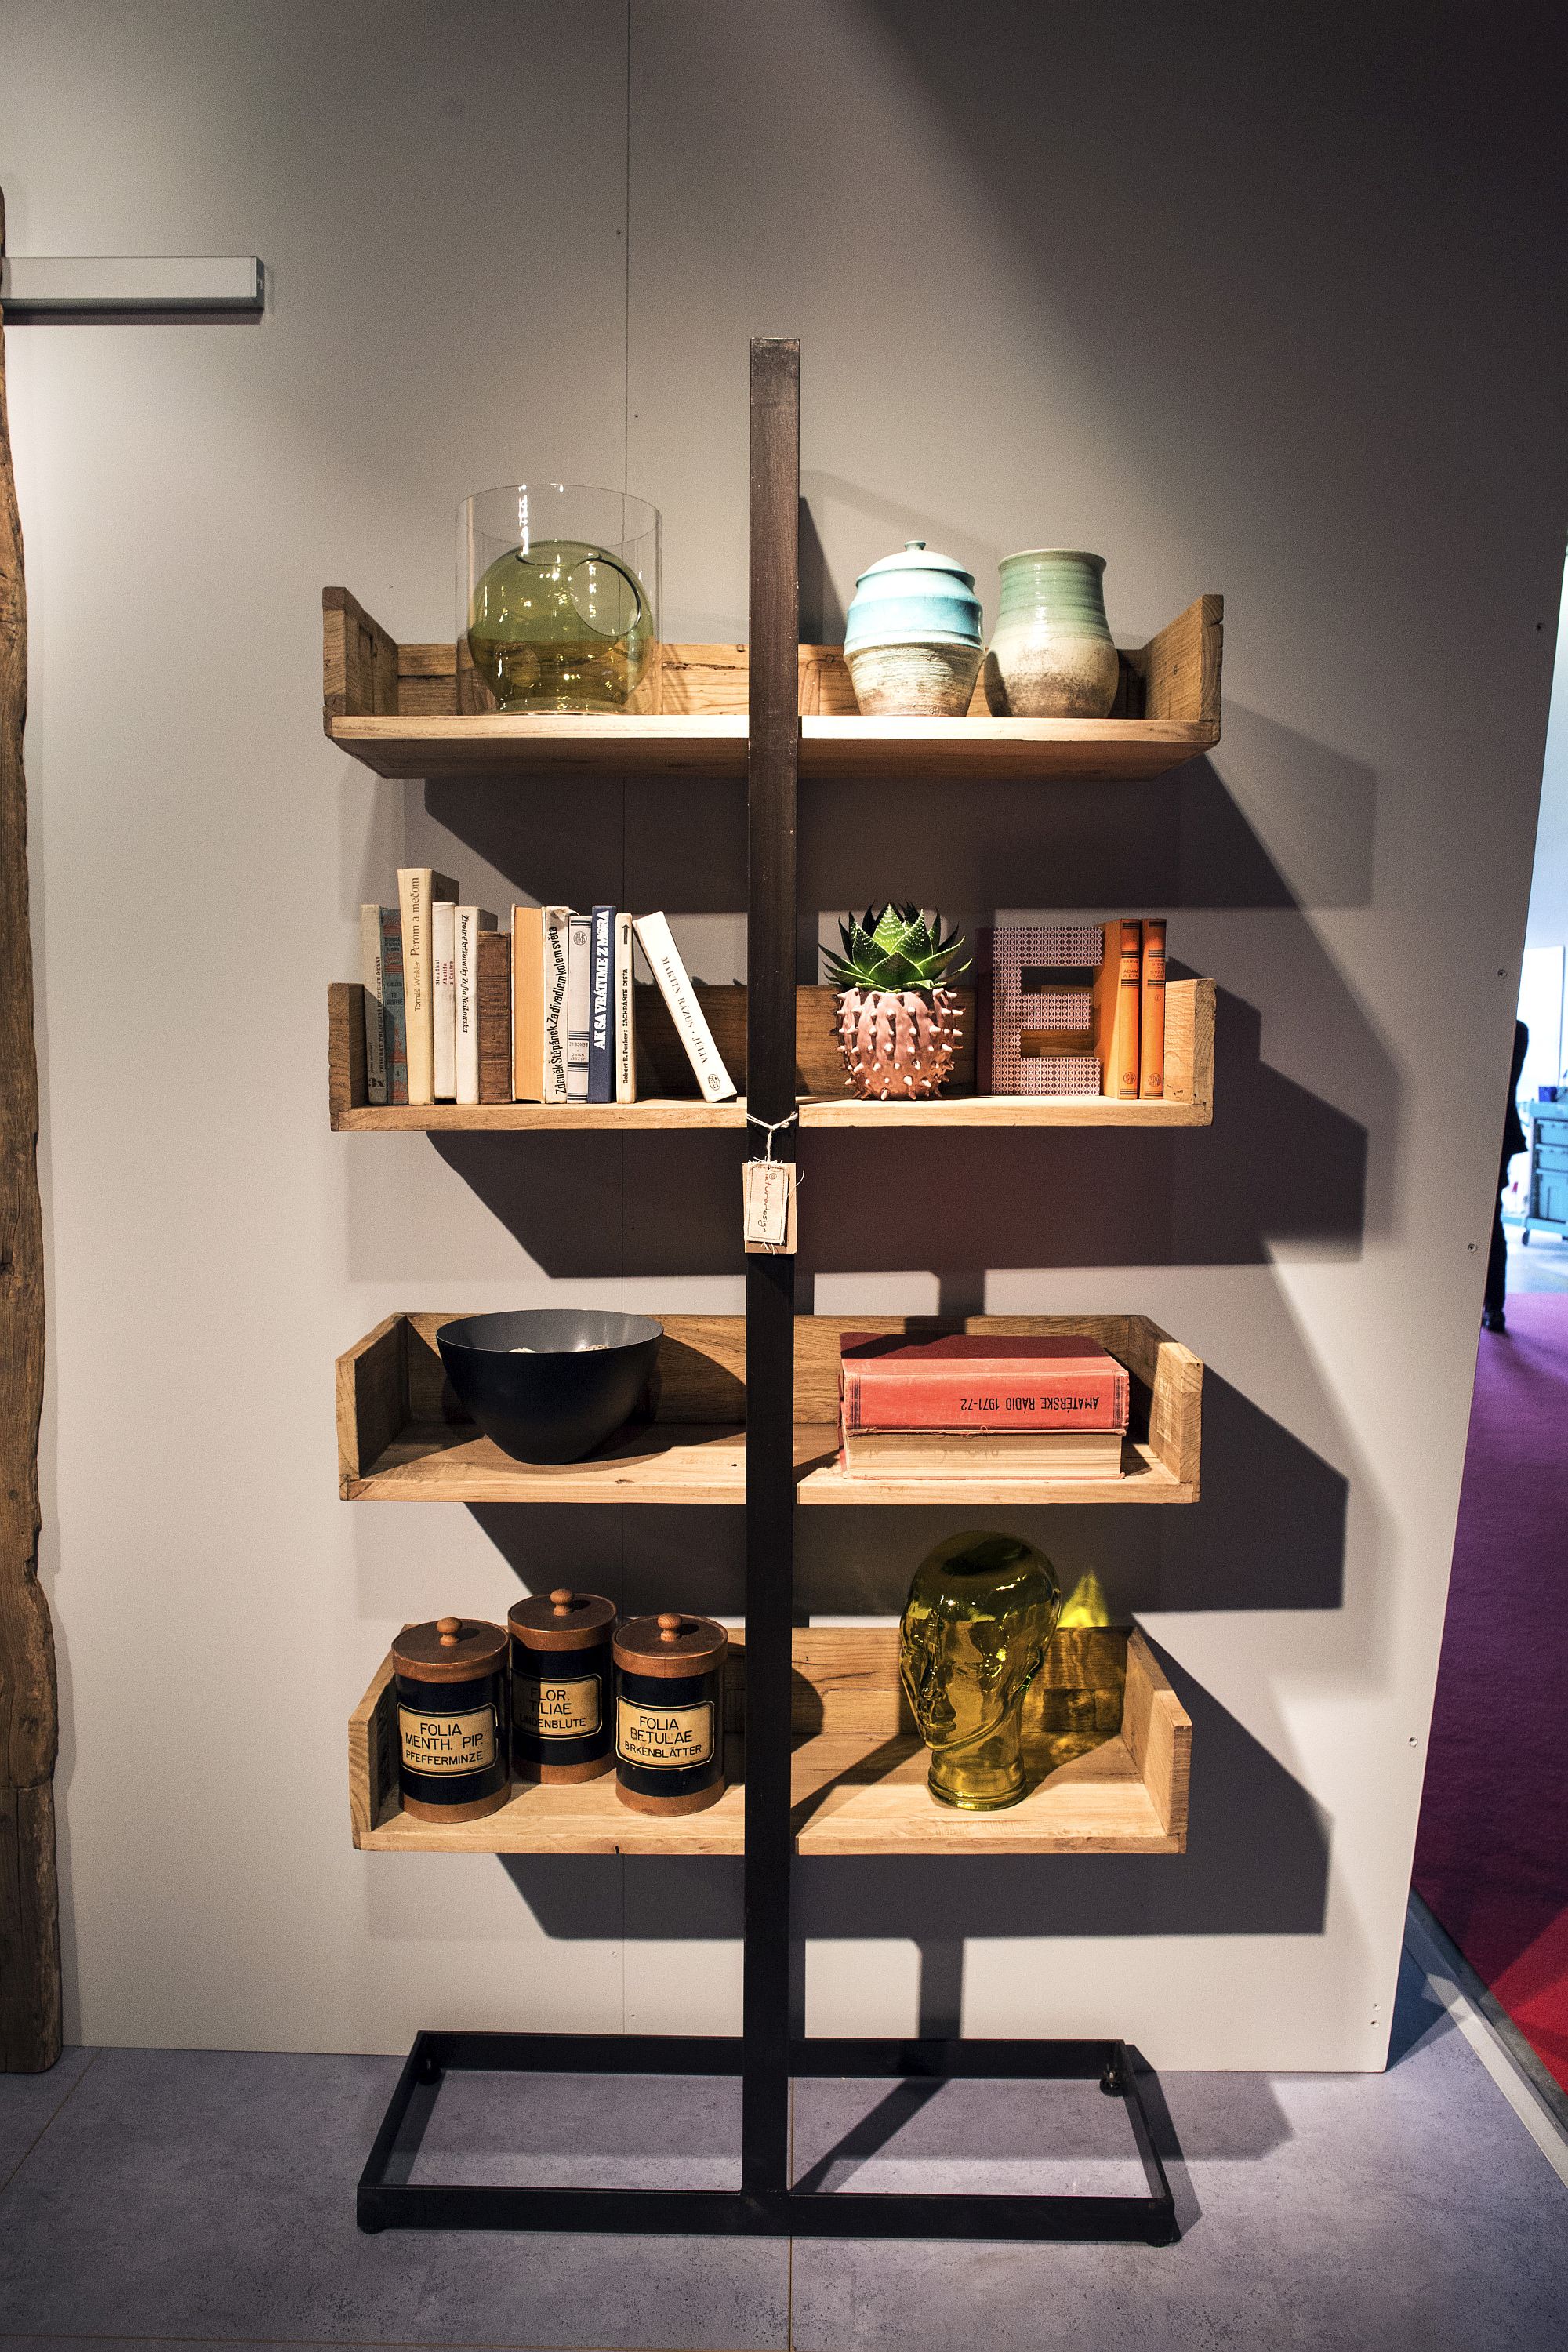
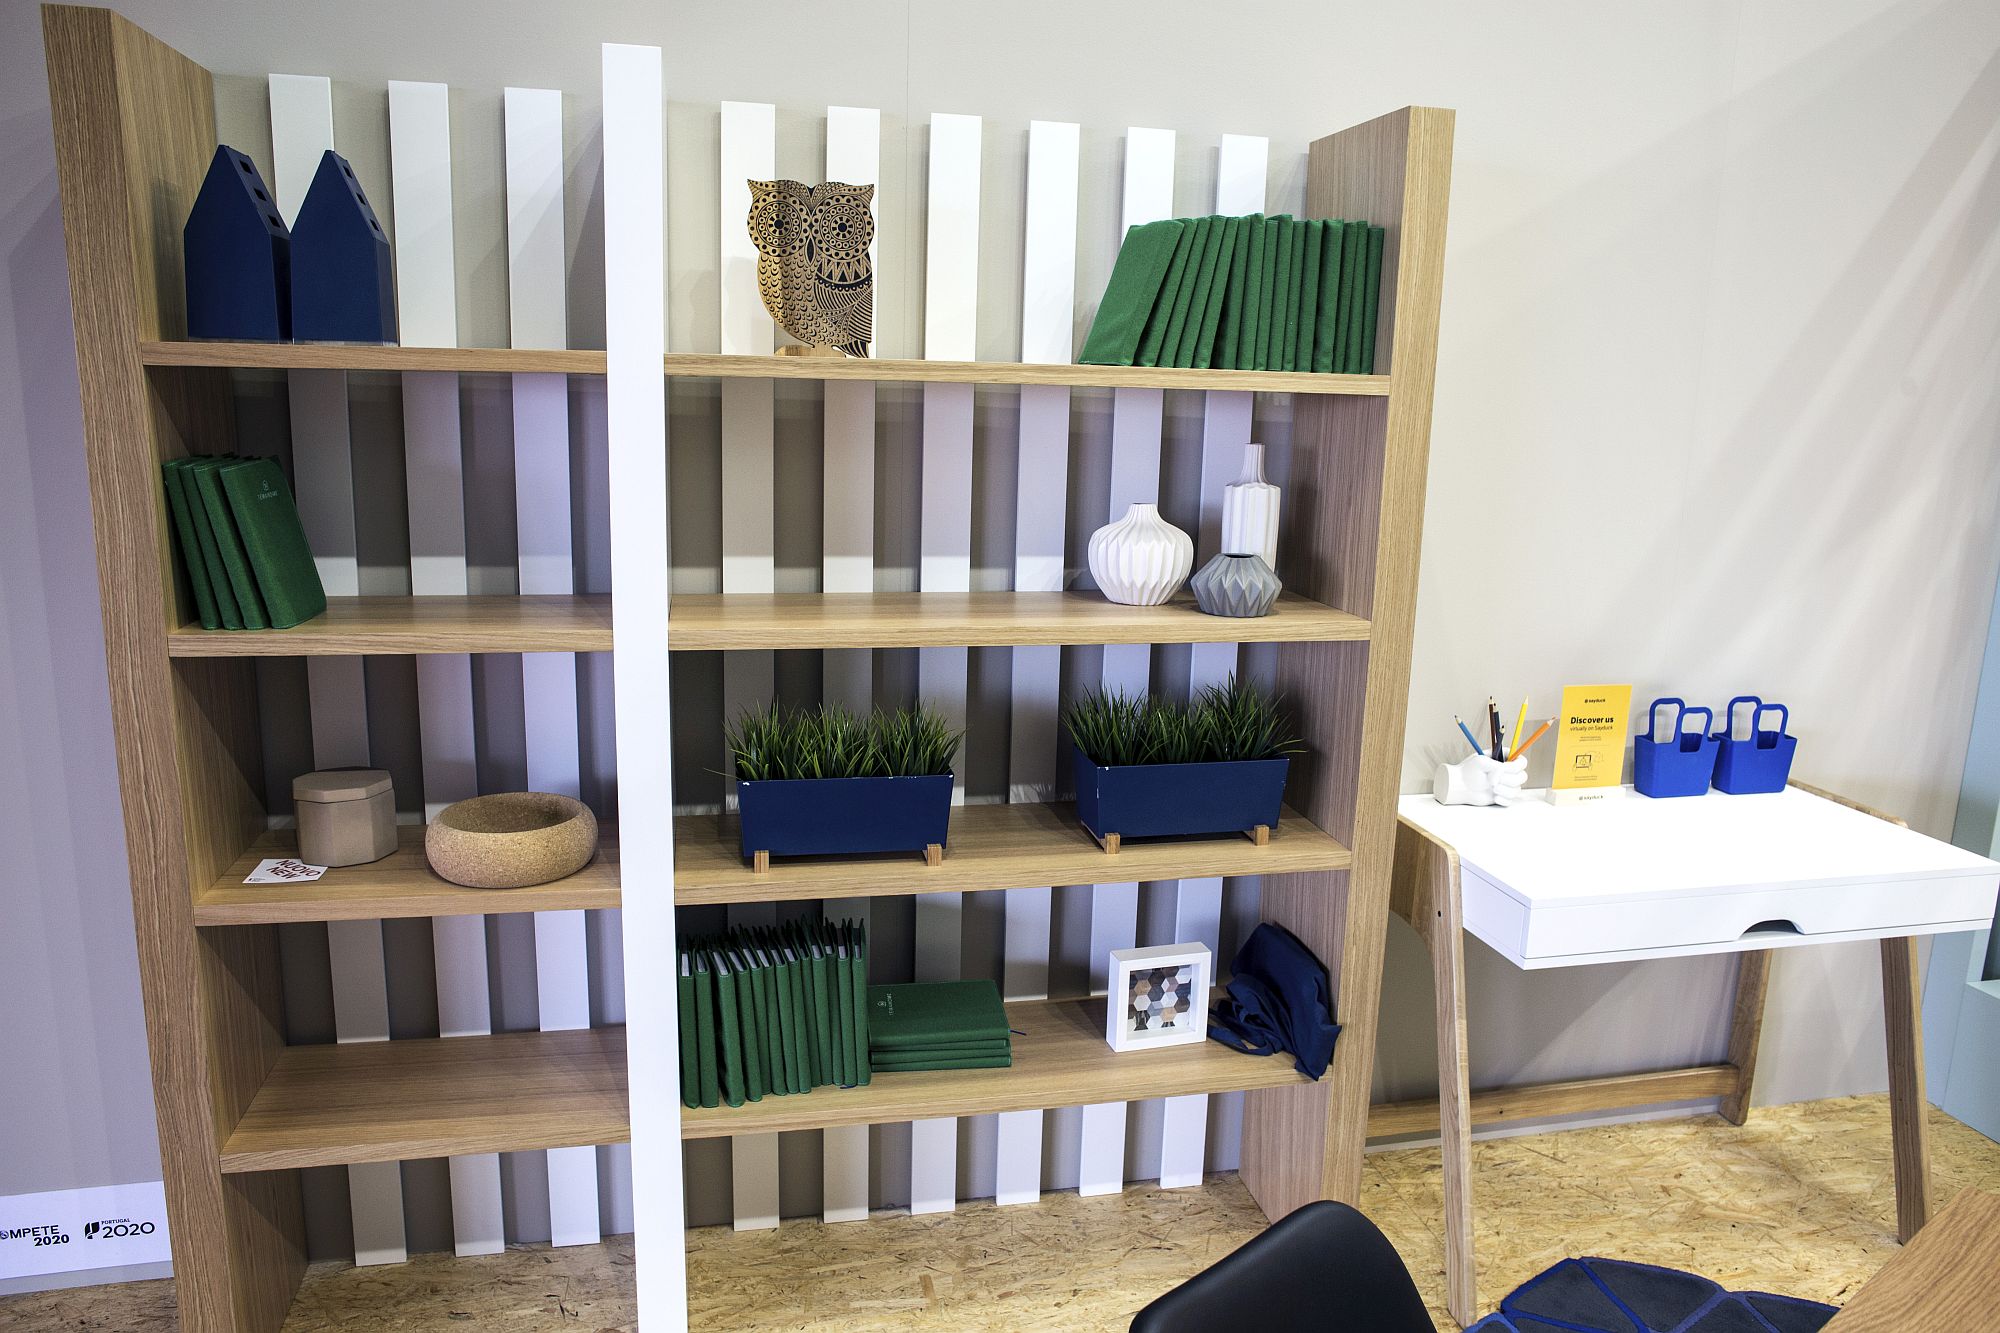
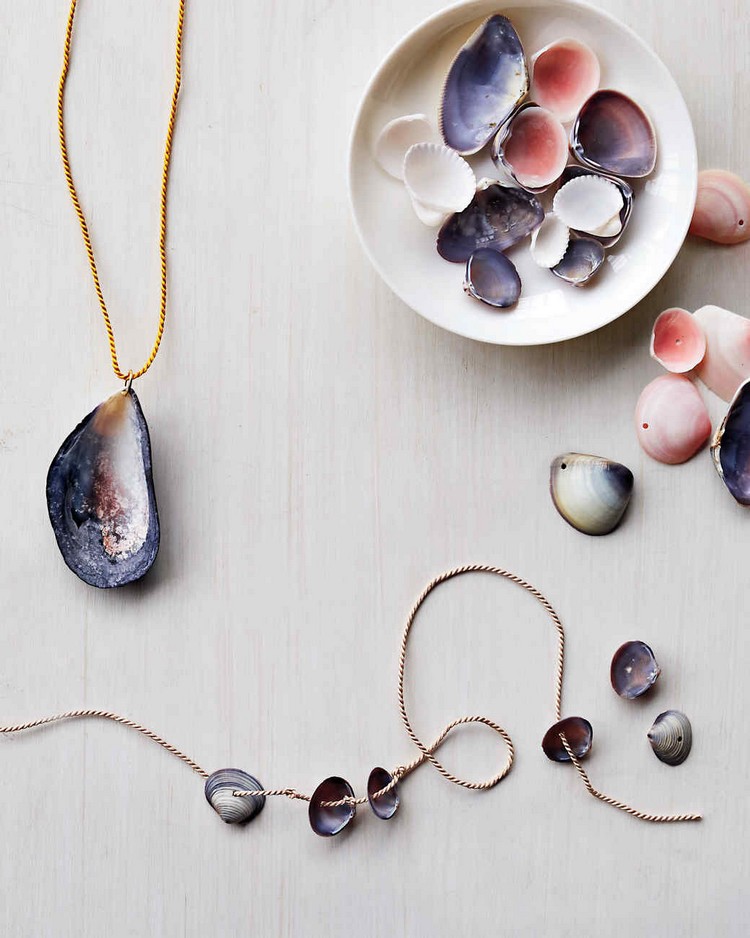
Alternatively, you can use a minimalist setting to make your product pop. An all-white backdrop means that your merchandise stands out without any other distracting elements in your image.
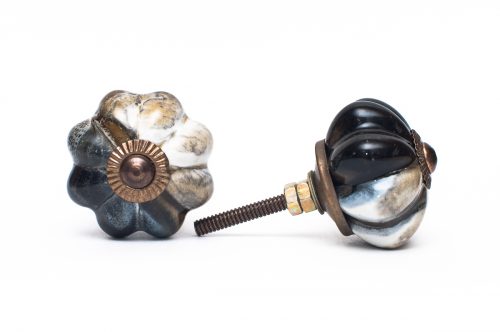
Whether you use fabric, a painted wall, or a sheet of 8.5×11 printer paper like I did above, make sure your backdrop is completely clean of any scuff marks or lint, and that you have a large, bright light source to keep shadows to a minimum.
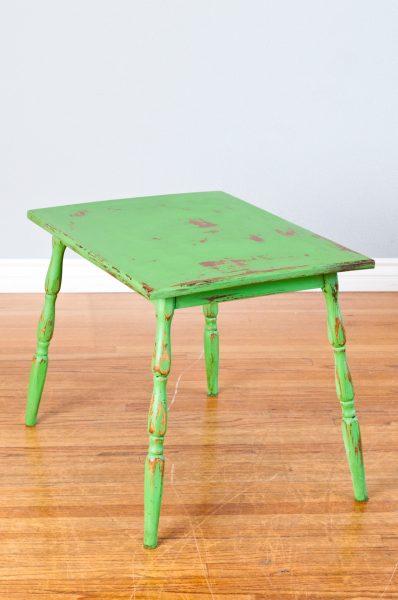
Angle: Do you know what your best side is? No, don’t look in the mirror–look at your merchandise. Often one of the best angles to photograph it from is the angle that customers will most frequently see it from. That means taking a moment and thinking about how your product is meant to be used. Sure, you may be on the floor already from painting those table legs, but customers won’t know what the tabletop looks like from that angle.
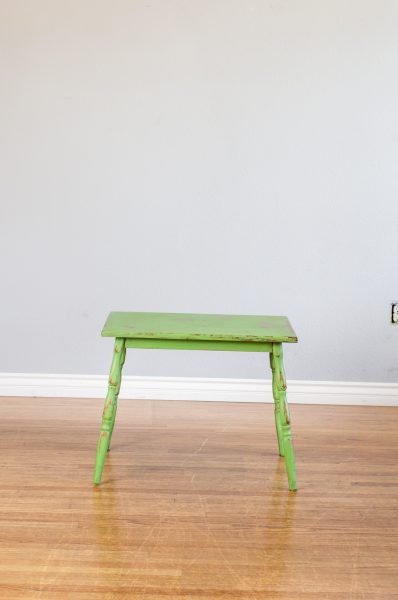
To improve the perspective of this photograph:
1. Turn the table or move your camera to get a 45° angle that shows more of the tabletop and all 4 of the legs.
2. Get closer–most of this image is wasted space.
3. Watch out for a crooked horizon line, it looks sloppy.
4. Remove distractions like that ugly electrical outlet and the funky shadows. To do this you can move in closer or re-position your camera like mentioned above, but sometimes you may need move your product.
Much better!
- Dynamic descriptions
- BAD:
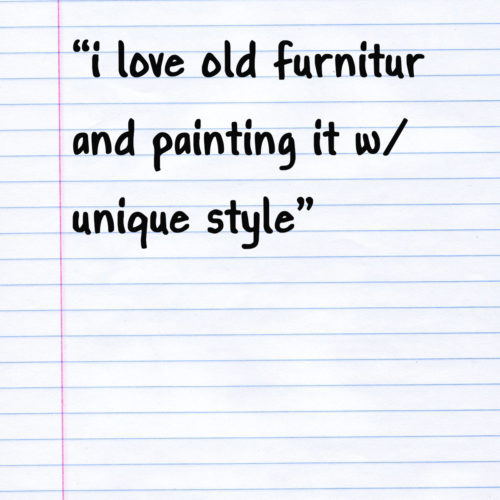
This description is vague with no attention paid to spelling or punctuation.
- GOOD:
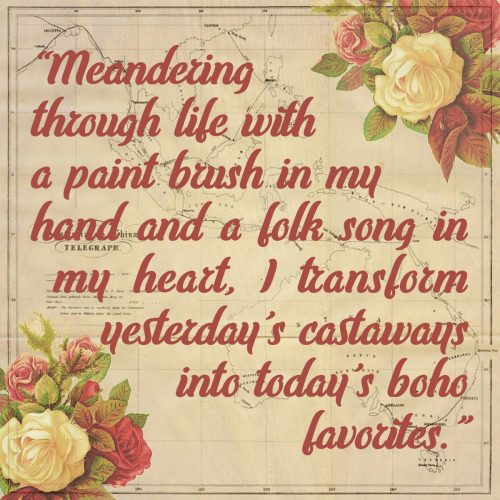
This description is much more readable without distracting errors and it conveys vivid imagery.
The first description gets the ballpark idea across, but won’t set you apart from the many, many other furniture painters out there.
Specificity is key. What is it that makes your style unique? What feelings do you want your products to evoke? What is it about your process that no one else could replicate? Those aren’t rhetorical questions–sit down and make some notes about what defines your work and no one else’s. Then take those topics and incorporate it into your new tagline.
Did you notice the second description makes no mention of furniture at all? If you’re pairing it with a quality photograph or a well-designed logo you won’t have to. Some of the most memorable slogans bypass the literal for the emotional: Apple’s “Think Different”, Capital One’s “What’s In Your Wallet?”, and Las Vegas’ “What Happens Here Stays Here” to name a few.
The second description may be slightly cheesy, but from the wording any reader could easily infer that vendor offers casual furniture pieces painted with eclectic patterns. Being vague is like a pair of old sweatpants: it may be comfortable, but if you want to go anywhere exciting, you’re going to have to make decisions and change.
- Active online presence
- BAD:
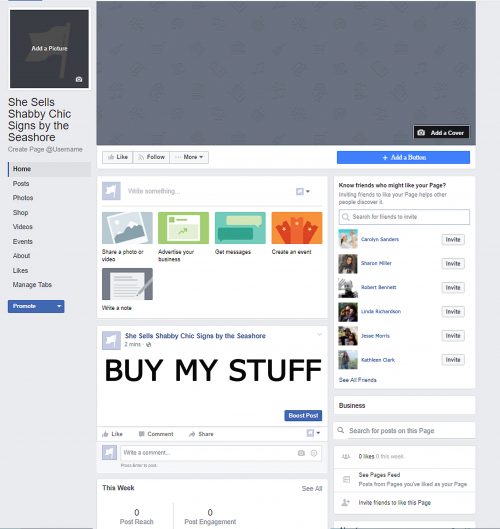
Social media business DON’T: pushy advertisements or little-to-no activity
- GOOD:
Social media business DO: nuanced advertisements sprinkled in among lots of photo & video posts about how & where your products are made, who makes them, and what inspires you.
The knot too shabby selection committee looks for vendors who can help attract the most customers to our annual shabby chic festival. We want vendors who have vital online followings. Having a large number of followers can be helpful, but having followers who regularly comment on and re-share your posts is even better. Engaged online followers are most likely to become customers who are enthusiastic to visit the knot too shabby BAZAAR and spend money shopping there.
Incomplete or inactive websites and social media accounts discourage would-be customers. In addition to making it harder for them to contact you, it can also hurt your reputation. Especially if you don’t have a brick-&-mortar shop, your online presence is the face of your business. A profile that lacks descriptions, quality photos, and current updates gives the impression that you’re not serious about your customer service or your products.
Building an active online presence is about showing your products in the best light possible while building a relationship with your customer base. When posting photos, include a mix of product photos, work-in-progress pics, and yes, a few photos of yourself. Consumers who appreciate vintage and handmade products want to support small business owners who are authentic and relatable. Be careful not to fall into the trap of spamming your followers with constant self-promotion. No one likes to be bombarded with non-stop advertisements. Interact with your followers and fellow handmade & vintage enthusiasts on a genuine, personal level. Regularly like and comment on their posts. Consistently show quality work and kindness and you’ll go far. It’s as easy and as difficult as that.
- Know your ideal customer
- BAD:
DON’T: try to appeal to every customer that could possibly exist–that would be overwhelming
- GOOD:

DO: focus on appealing to your ideal customer
and you’ll go far
Especially when you’re responding to open-ended questions such as:
- “How would you describe your merchandise?”
- “What materials are used in creating your merchandise?”
- ”Tell us about your booth space”
Write your answers as though you were responding to your ideal customer. Not only will you create more vivid descriptions, you’ll have sales pitches that will be ready for use in conversations with customers at the knot too shabby BAZAAR and beyond.
Who is your ideal customer? If you answered “anyone with cash” then you have some critical thinking to do. You’re never going to please everyone all the time and you’ll spread yourself too thin if you try.
Think about the lifestyle, spending habits, and interests of the ideal customer for your business. Is your customer someone who prefers quality or quantity? Do they appreciate originality or nostalgia more? Would they care about practicality or luxury more? What need does your product fulfill for your ideal customer? What changes in their life would prompt them to want your product? What concerns might they have before buying your product? The more clearly you can define your ideal customer, the better you can market your products to the customer base you’ll have the most success with. Know where they’re coming from, how they like to spend their free time, and which social media platforms they interact on. The more you understand about your ideal customer, the easier you can make it for them to discover your business.
Lots of customers may come and go, but if you can find your ideal customer they’ll shop with you again and again.
- Individual style
- BAD:

Trying to fit in with the crowd is exhausting–and you risk going unnoticed
- GOOD:
Be yourself without worrying what everyone else is doing.
What’s your style? If it’s vintage or shabby chic, perfect! But that’s only a start. Every applicant’s style is vintage or shabby chic–don’t be afraid to stand out!
Use every relevant comment box on the application to your advantage. The multiple choice questions will tell the knot too shabby BAZAAR jury all the necessary basics, so there’s no need to duplicate that information. If you answered the multiple-choice question “What types of merchandise do you offer?” by choosing the option “Live plants” then your response to the short-answer question “How would you describe your merchandise?” should elaborate much more than also typing out “Live plants.” I’m not saying you need to write an essay for each comment box; after all, brevity is the soul of wit. Choose your words carefully to concisely create a vivid image of your business. Give us your best elevator pitch! If you only had 30 seconds to get a complete stranger excited about your business, what would you say?
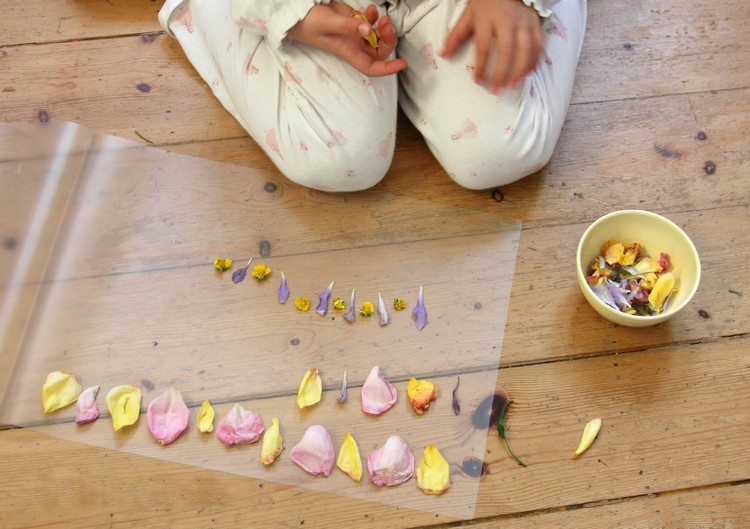
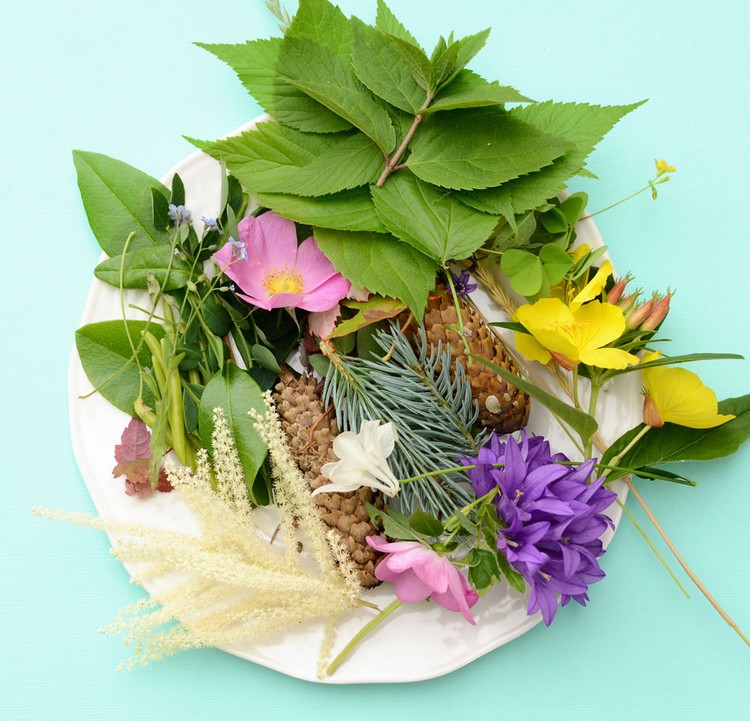
Be as specific as you possibly can. Odds are, there are plenty of other applicants who share the same category as you. If you sell vintage clothing, what sets you apart from other vintage clothing sellers? Knowing your ideal customer will help you distinguish your individual style (and vice versa). Someone who sells rare items meant for collectors will have a different perspective than someone who’s selling items for everyday use. If you’re making items by hand, do you have a technique or tradition that sets your business apart from other makers? Perhaps you use antique tools to make your jewelry or the stationary paper is made from the flowers of distant lands you’ve traveled to–these are the kinds of details that will get the knot too shabby BAZAAR jury excited about your application!

In a nutshell, be original and go the extra mile to give your words and photos that “Wow!” factor. Whether your application gets approved or not, you will have crafted a portfolio for your pop up shop that will be beneficial for as long as you keep it updated to reflect your growing business.
When you’re ready, submit your application for the knot too shabby BAZAAR. Don’t take too long–the deadline is March 28th!
Save
Save
Save