

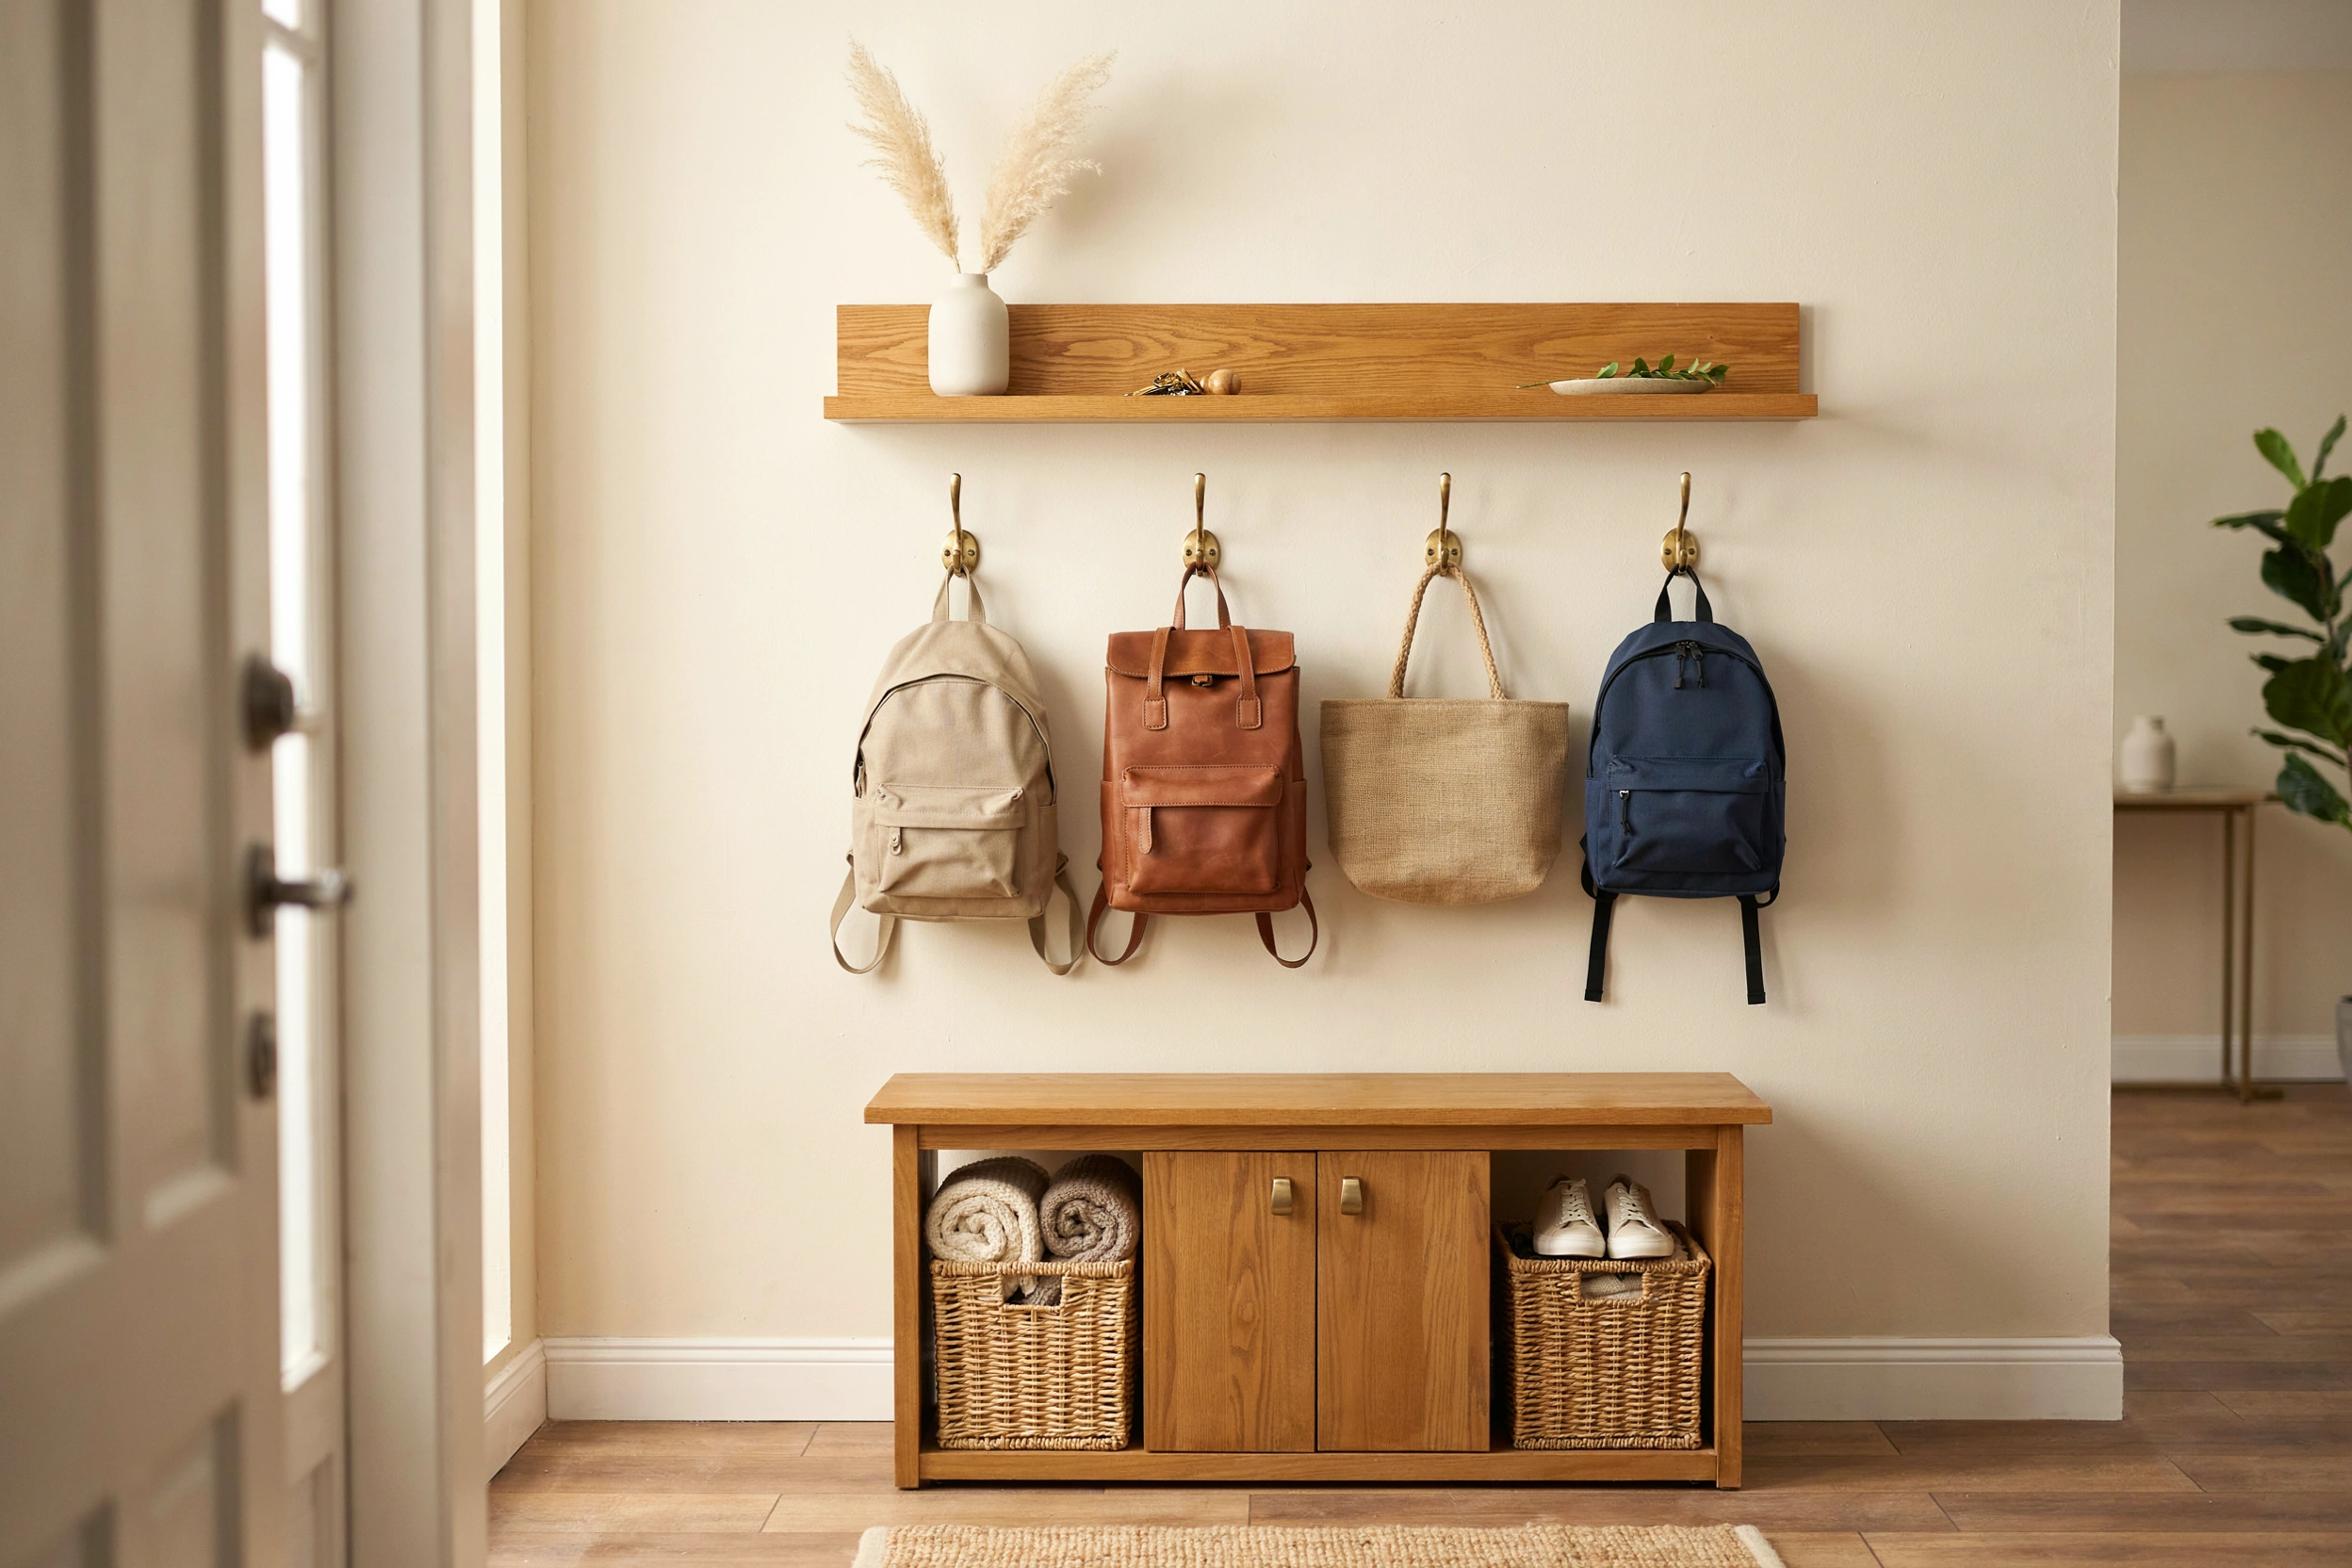
19 Backpack Storage Ideas With Pros and Cons for Any Home
Backpacks have a way of taking over a house. Kids drop them at the door, adults drop them by the couch, and the pile grows every school year and workday. A dedicated backpack storage spot solves this daily mess and keeps your entryway and bedrooms looking calm.
This list has 19 real backpack storage ideas that work in different rooms and different sized homes. Some are five dollar hook installs you can do in ten minutes. Others are bigger built in cubby projects worth planning for. Every idea addresses the real challenge of storing bulky backpacks with straps that tangle and dirty bottoms that scuff walls. Each idea includes the pros and cons so you can honestly pick what will work in your space and daily routine.
1. Entryway Wall Hooks
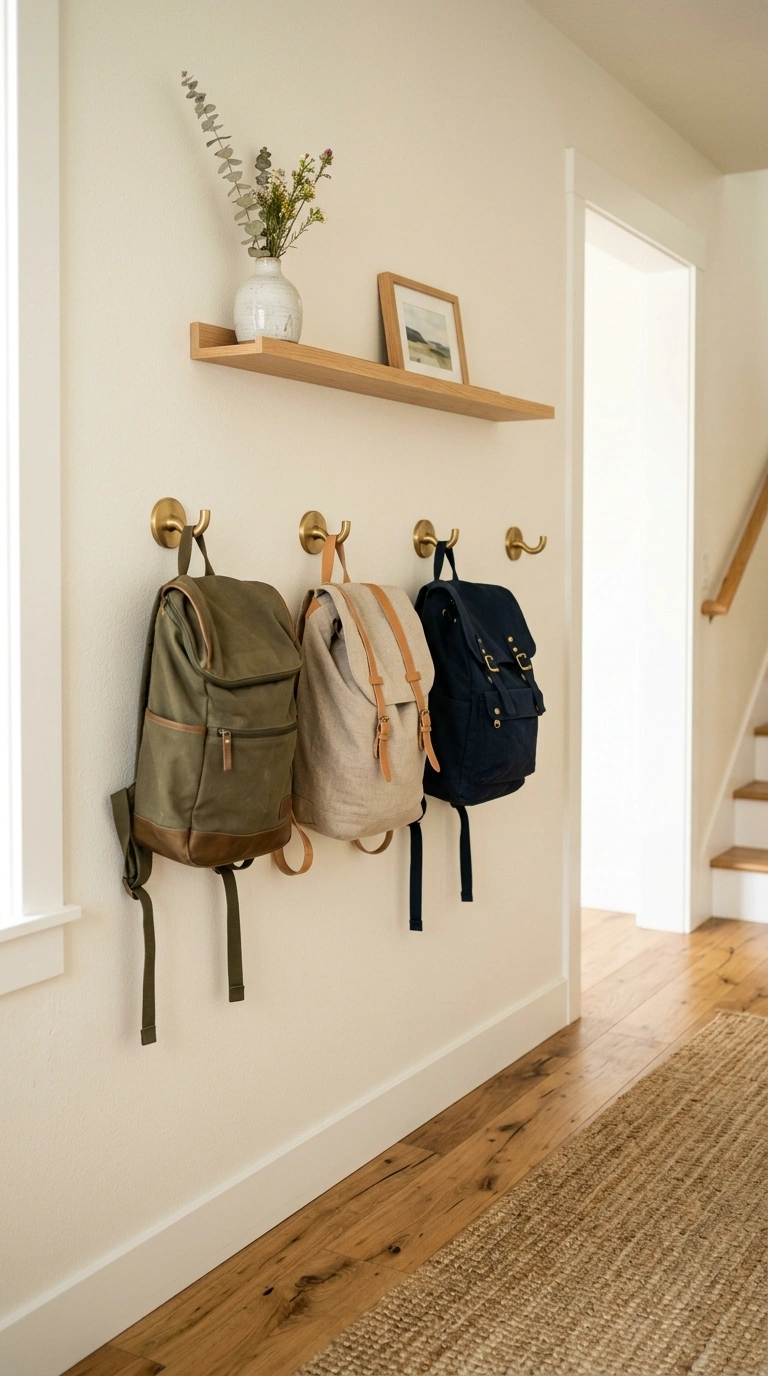
A row of sturdy wall hooks mounted just inside the front door is the simplest backpack storage solution. Kids and adults just walk in, hang the bag, and move on with life.
Install three to five heavy duty hooks rated for at least fifteen pounds each. Look for matte black or brushed brass hooks for a modern grown up look. Around five to ten dollars per hook at Home Depot or Amazon. Mount them into wall studs about sixty inches from the floor for adults, or forty eight inches for kids.
Pros: Cheapest and fastest option on this whole list. Takes no floor space. Easy to install in under an hour. Works in almost any home layout.
Cons: Heavy backpacks can pull weak hooks out of the wall if not properly anchored into studs. Also hooks alone do not hide the bags visually, so your entryway always has visible clutter. Bags dangling on hooks can bump against walls and leave scuff marks over time. Add a small piece of clear wall protector behind each hook to prevent this. Not ideal for very large families since you need more wall space per person.
2. Under Stairs Cubby
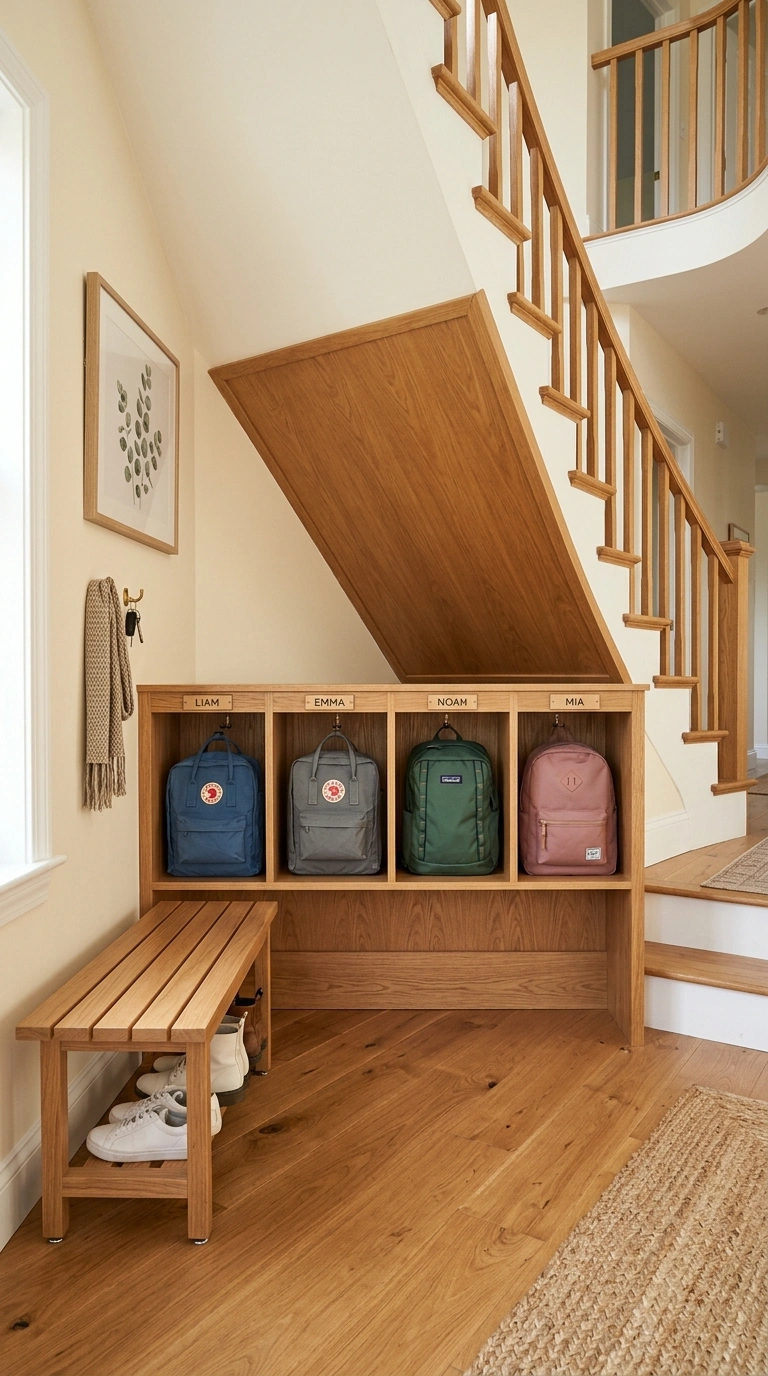
The space under a staircase is one of the best spots for a custom backpack cubby system. Each family member gets their own labeled cubby, plus a bench and hook combo.
Build custom cubbies about fourteen inches wide by sixteen inches tall by twenty inches deep, which fits most school backpacks with room to spare. Around three hundred to eight hundred dollars for a professional carpenter build of a full cubby wall.
Pros: Everyone has a designated spot with their name label. Keeps backpacks organized and off the floor. Uses previously wasted under stair space for real function. Great mudroom style setup even without a dedicated mudroom.
Cons: Not all under stair spaces work for this. The area needs at least thirty six inches of ceiling height at the cubby location, which many older homes lack. Custom cubbies also require a moderate budget and building skills or a hired carpenter. Alternatively, IKEA Kallax units in a similar footprint cost around one hundred to two hundred dollars but do not fit as perfectly as custom builds. Great solution for two story homes with underused stair spaces.
3. Custom Locker Set
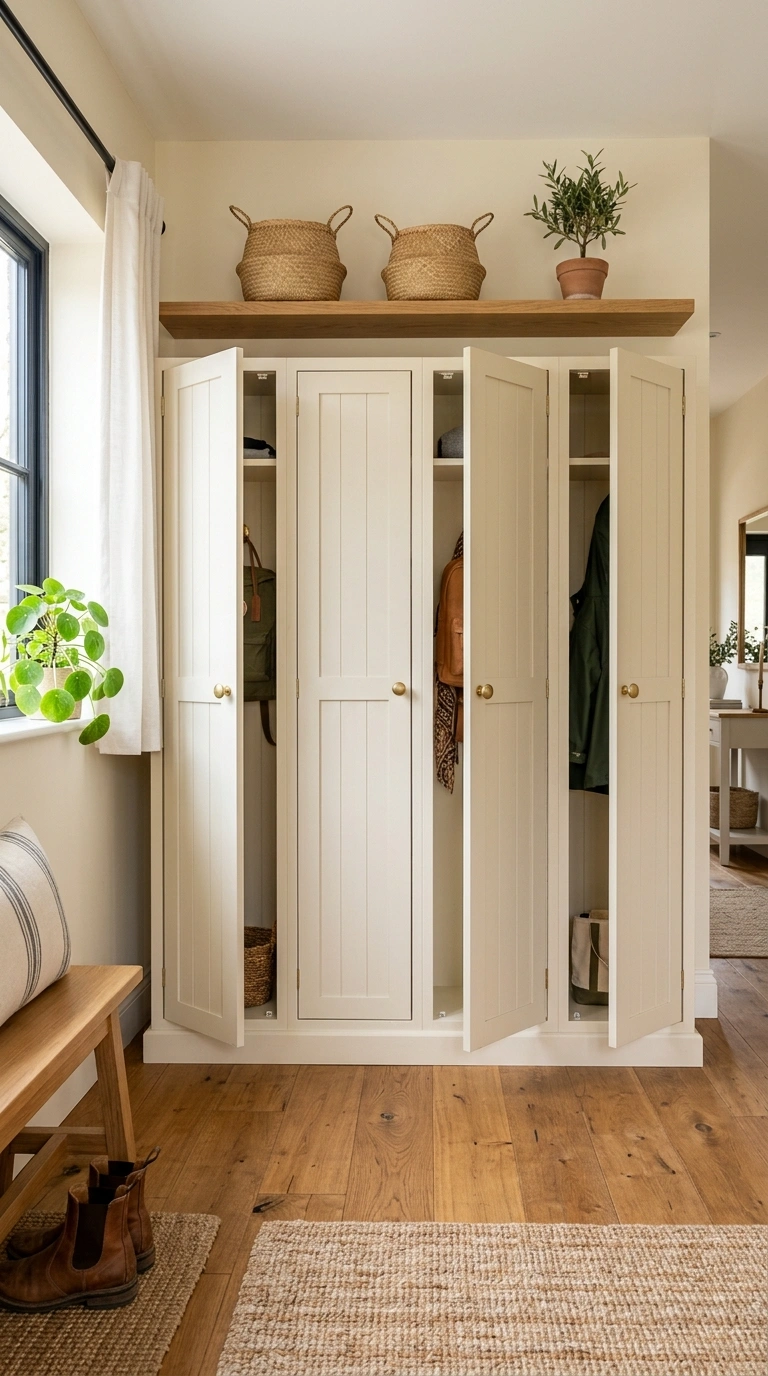
A row of custom or store bought lockers gives each family member a full private storage space for backpacks, coats, and daily essentials. This is the ultimate mudroom setup.
Buy stand alone metal or wood lockers from Wayfair, Sauder, or Home Depot for two hundred to six hundred dollars per locker. Or build custom wooden lockers with a carpenter for eight hundred to two thousand dollars for a set of four.
Pros: Ultimate privacy and organization for each person. Doors close to fully hide the mess inside. Locks can be added for teen privacy or valuable items.
Cons: Lockers take significant floor space, about eighteen inches wide per unit plus door swing clearance. Not for small entryways or apartments. Metal lockers can look industrial and out of place in traditional homes. Wooden lockers look more residential but cost significantly more. Also lockers become junk collectors quickly if not organized regularly. Do a family cleanout every three months to keep them from becoming clutter caves. Great for large families with three or more kids.
4. Bench with Baskets
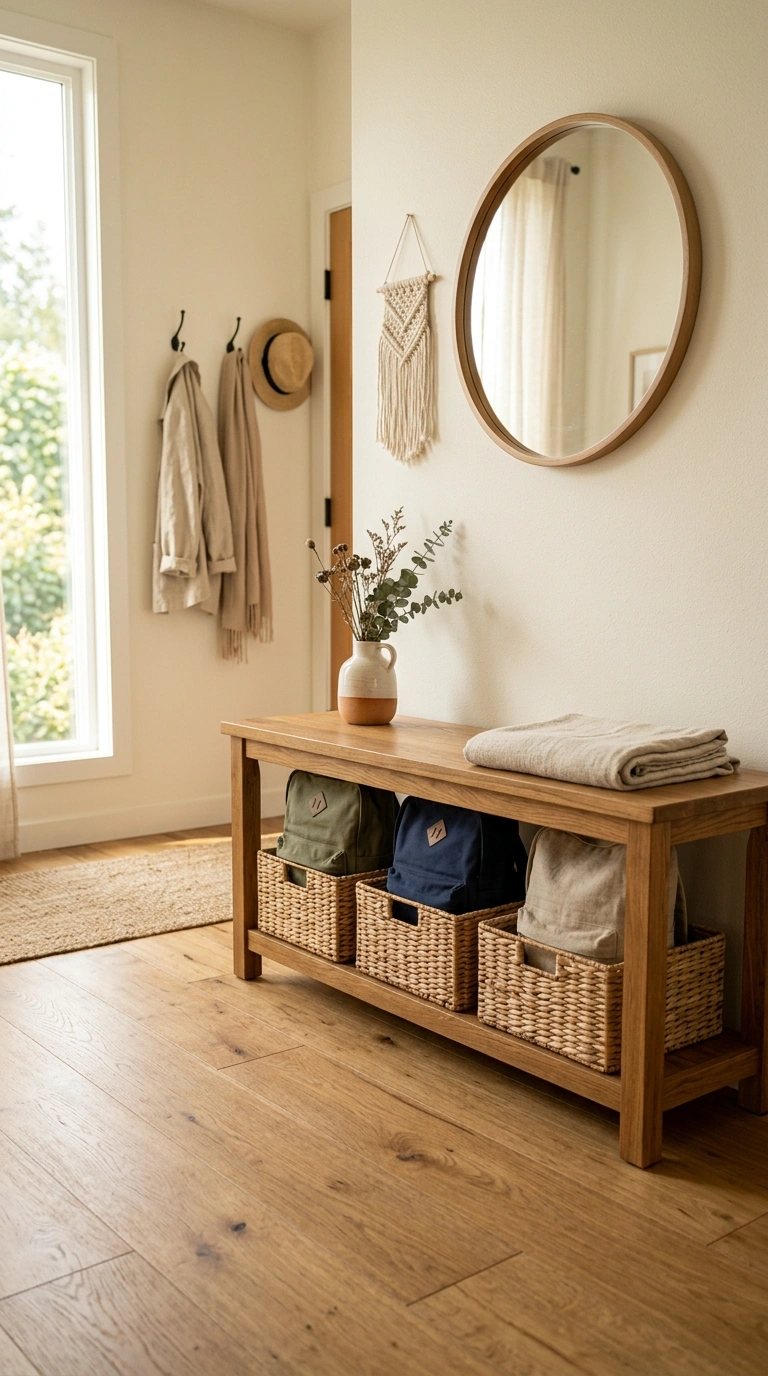
A storage bench with wicker baskets underneath gives kids a spot to sit and take off shoes while stashing their backpack in the basket below. Very functional for busy family entryways.
Buy an entryway storage bench with two or three basket cutouts for two hundred to five hundred dollars at Target, Wayfair, or Amazon. Add matching wicker or canvas baskets underneath for around fifteen to thirty dollars each.
Pros: Doubles as seating and storage. Baskets hide messy backpack contents. Great for shoe removal at the same time. Warm woven baskets add nice texture to plain entryways.
Cons: Baskets need to be deep enough for backpacks with books inside, at least ten inches tall. Cheap benches wobble under adult weight, so check weight ratings before buying. Also baskets can tangle backpack straps, so tuck straps inside before storing. Not great for very large backpacks since one bag can fill a whole basket. Consider one basket per family member so bags do not get mixed up. Perfect for families with young to middle school aged children.
5. Behind Door Rack
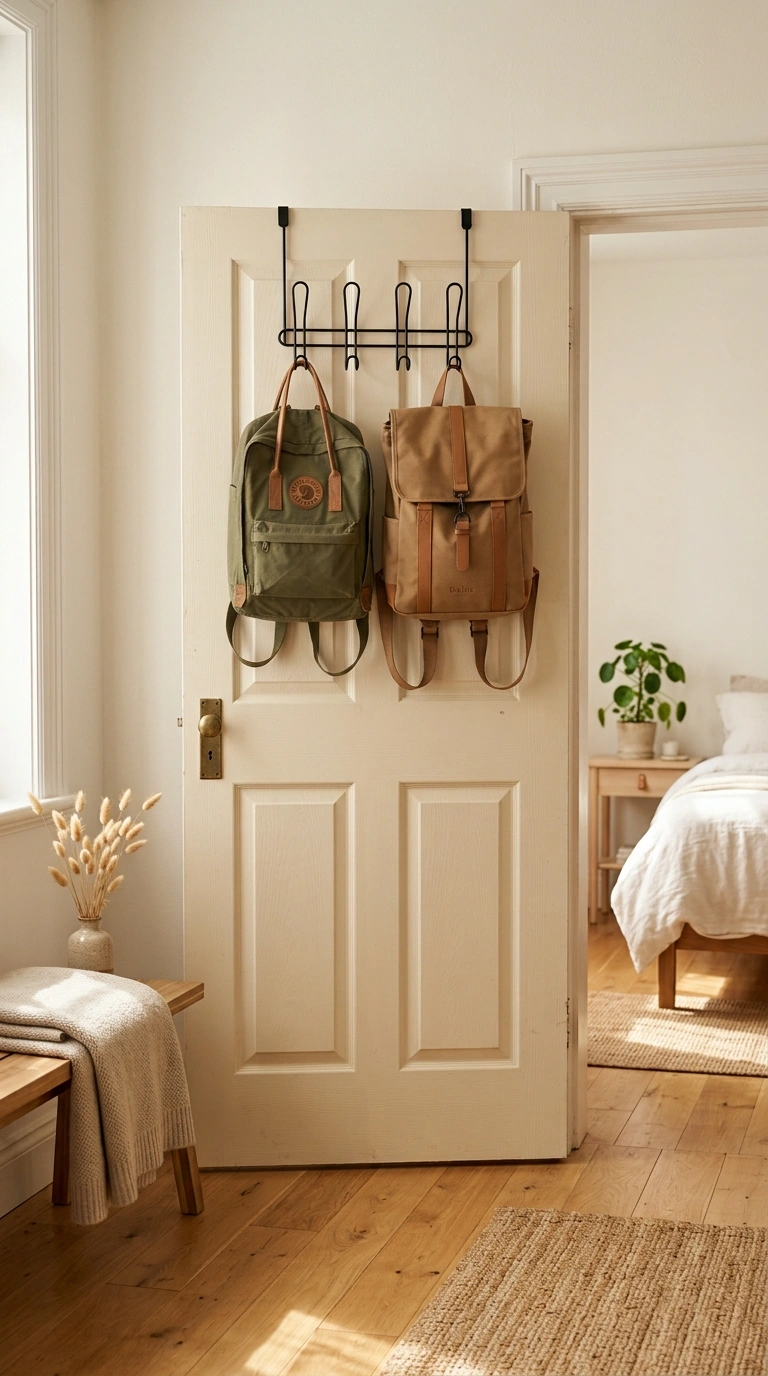
The back of your entryway or bedroom door is free storage real estate that most people never use. Hang an over the door hook rack for instant backpack storage.
Buy an over the door hook rack with four to six hooks for fifteen to thirty dollars at Amazon or Target. It hangs over the top of the door and needs no drilling.
Pros: Requires no wall damage, so perfect for renters. Uses space that would otherwise sit empty. Takes about two minutes to install with zero tools.
Cons: Bulky backpacks hanging on the door can prevent the door from closing all the way. Make sure to test with your actual bags before committing. Also the door hinges take extra weight and stress from hanging bags. Cheap over door racks can scratch door paint or damage door frames over time. Look for ones with soft rubber padding where they hit the door. Not great for pocket doors or doors that need to close quickly for privacy or noise reasons. Better solution for bedroom doors than main entry doors.
6. Closet Shelf Row
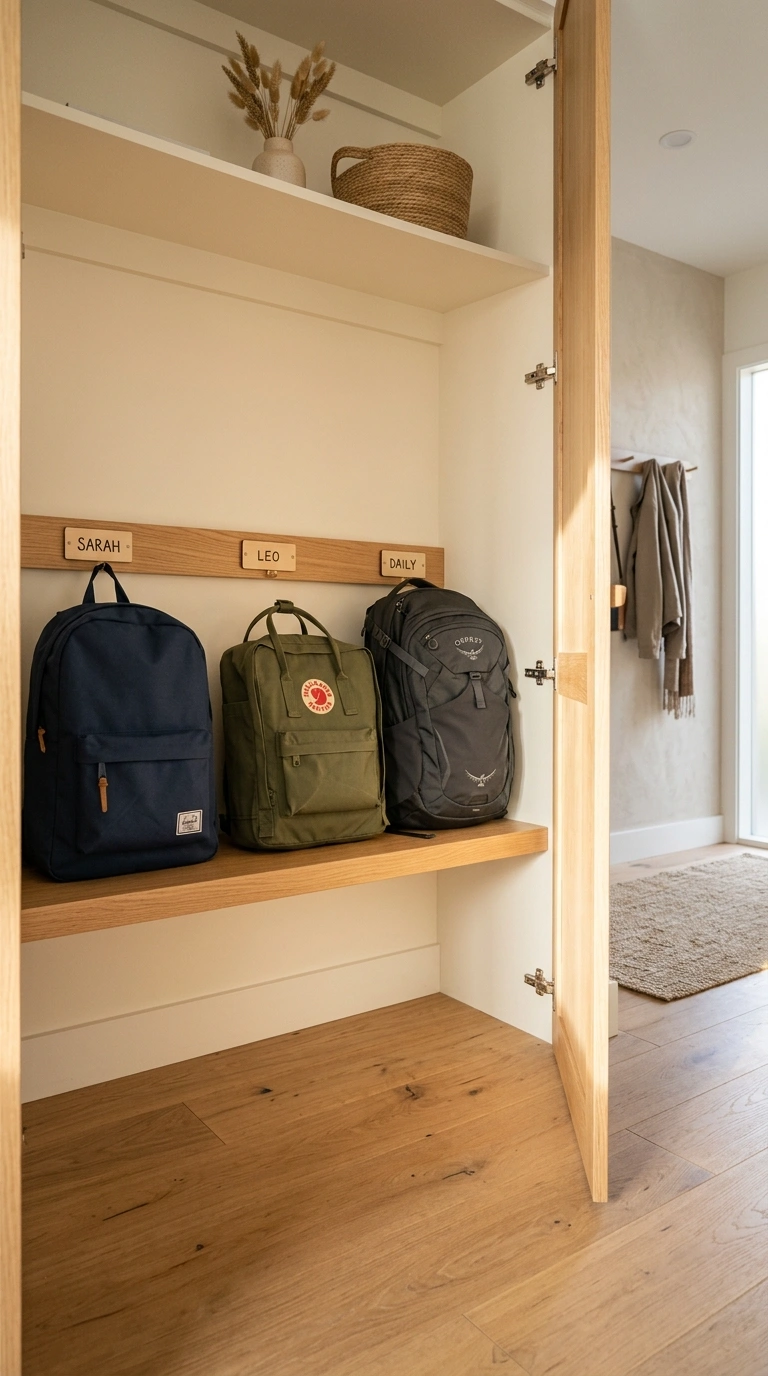
Dedicating one full shelf in your entryway or hall closet to backpacks organizes them out of sight while keeping them accessible for daily use.
Use an existing closet shelf at about fifty inches from the floor for adults, or thirty six inches for kids. Add small dividers between each backpack spot for around twenty dollars total at Container Store or Amazon. Label each spot with a small tag.
Pros: Bags stay completely hidden behind closet door. Uses existing storage space without any new installation. Free if you already have a closet shelf.
Cons: Kids find closets more effort than open hooks, so bags might end up on the floor instead. Also shelves get cluttered quickly if not maintained. Bags with wet or muddy bottoms can damage wood shelves, so add a small tray or waterproof liner. Not ideal for very tall backpacks or ones with rigid frames. Best for smaller everyday backpacks. Also less convenient in busy morning rushes. Family members need to remember to open the closet and grab their bag every time.
7. Wall Mounted Ladder
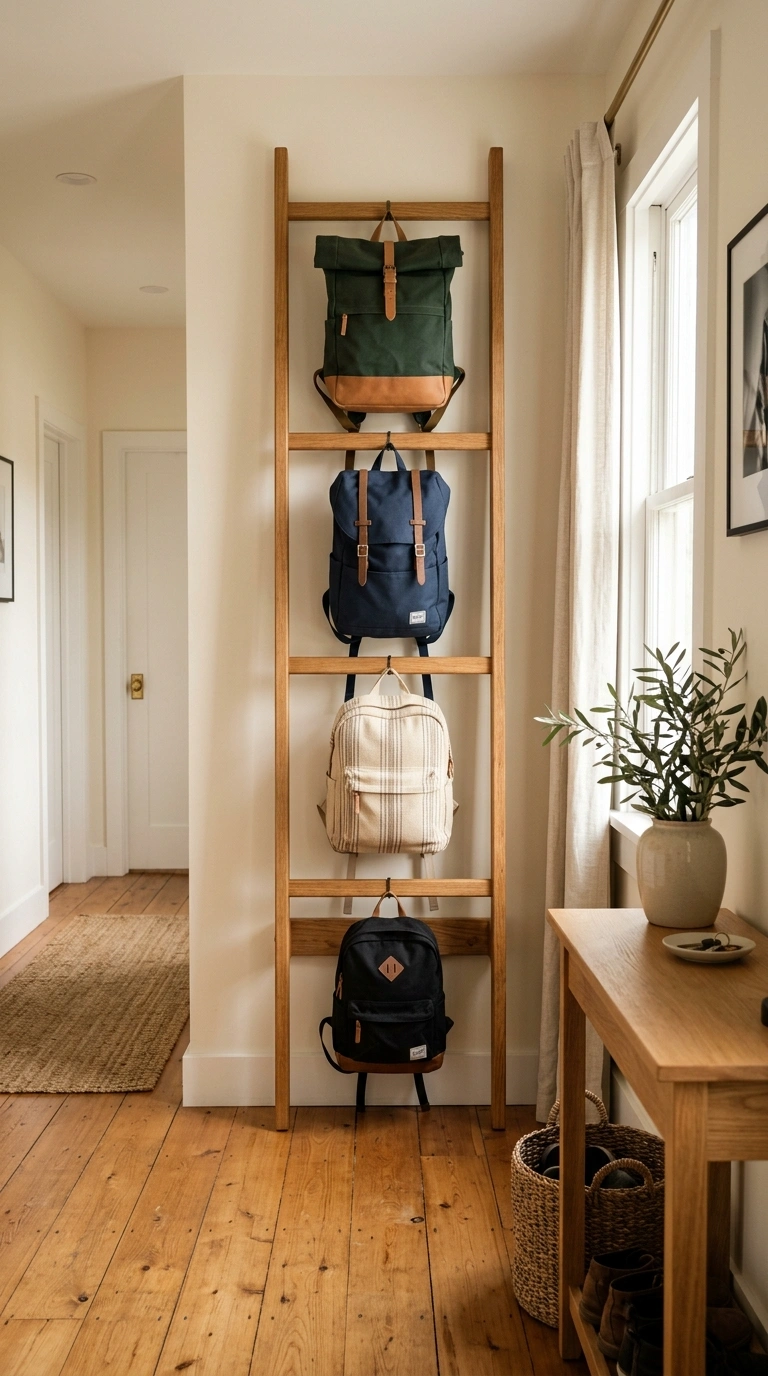
A vertical wooden or metal ladder mounted to the wall creates a unique backpack storage piece where each rung holds a bag. This works especially well for active families with lots of bags.
Build or buy a wall mount storage ladder for eighty to two hundred dollars at Etsy, Amazon, or hardware stores. Choose one about six feet tall with four to six rungs. Mount into wall studs for safety.
Pros: Great vertical storage that uses wall space efficiently. Adds unique visual character. Rungs hold heavier bags than typical hooks. Doubles as decor when partially empty.
Cons: Bags on lower rungs can be hard for young kids to reach independently. Also the ladder profile takes up wall space that could hold art or shelves. Not the best look in formal entryways or grown up homes. Fits better in mudrooms or kids’ bedrooms. Also each rung can only hold one bag, limiting total storage compared to cubbies. Best for stylish practical families who want a unique piece instead of typical hooks. Great conversation starter for visiting guests.
8. Ceiling Hanging Rack
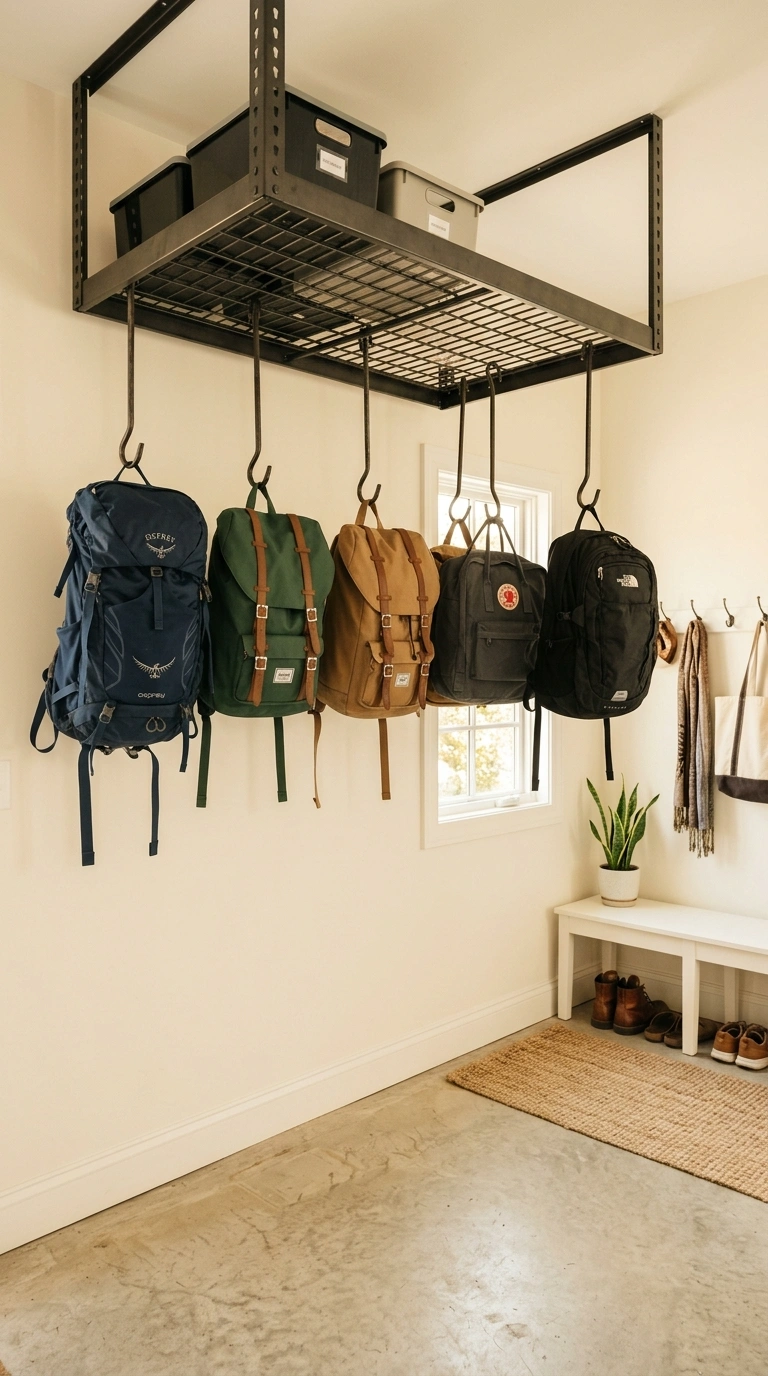
A rack mounted to the ceiling with hanging hooks or straps stores backpacks up and out of the way. This is the most creative use of vertical space for busy families.
Buy a garage style ceiling storage rack or build one with S hooks and a metal pole for one hundred to two hundred dollars at Home Depot. Mount into ceiling joists for weight safety. Bags hang from S hooks below the pole.
Pros: Completely off the floor and out of walking paths. Great for large families with many bags. Uses ceiling space that would otherwise be wasted.
Cons: Requires reaching up to store and grab bags, which is hard for young kids or short adults. Also bags hanging from the ceiling look messy in main living spaces, so this works better in garages or mudrooms. Ceiling installation requires drilling into joists, which is a real project not a quick DIY. Not for renters or anyone uncomfortable with ceiling drilling. Also low ceilings under eight feet make this impractical. Great for high ceiling mudrooms or garages with tall clearance.
9. Mud Room Cubbies
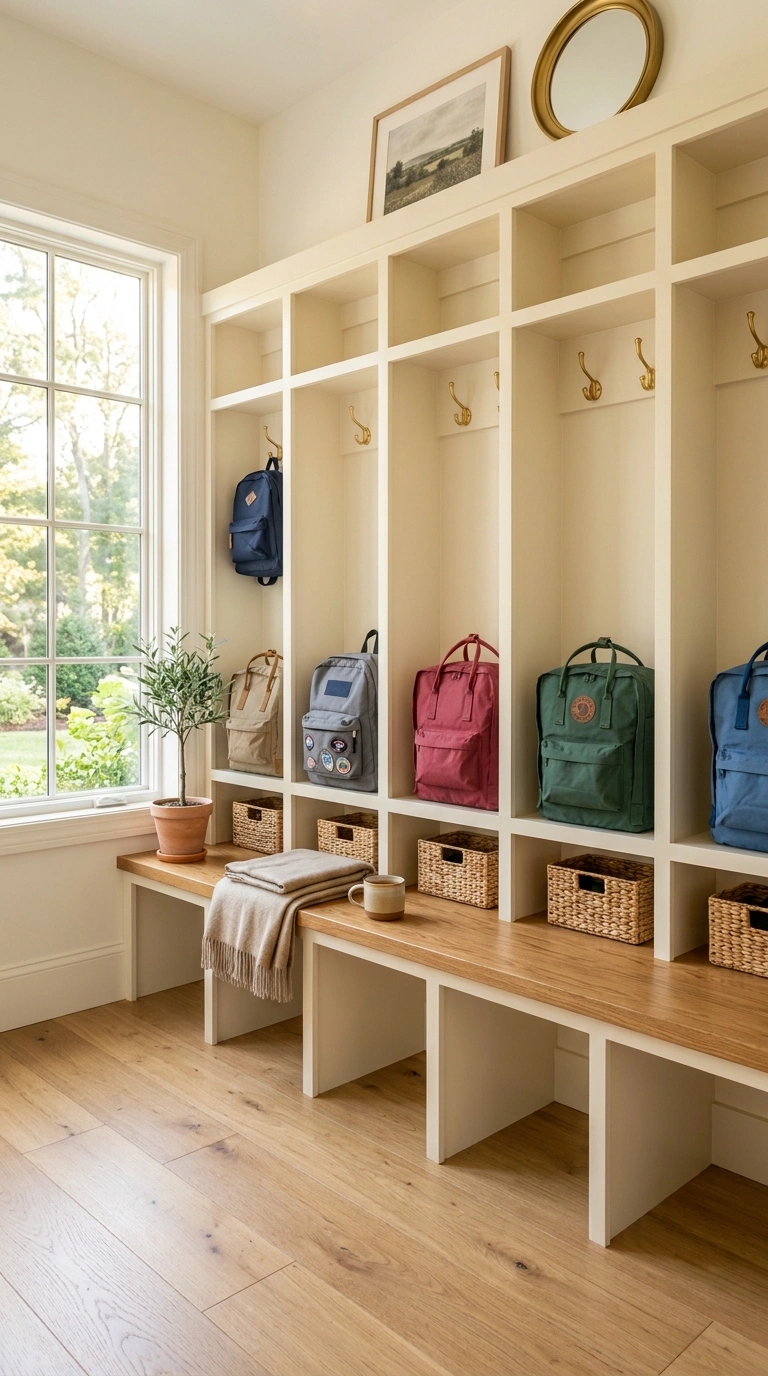
A dedicated mudroom with full wall cubbies is the ultimate backpack storage solution for larger homes. Each family member gets their own cubby, hook, and shoe spot in one.
Design built in mudroom cubbies about sixteen inches wide, thirty six inches tall, and eighteen inches deep. Around five hundred to fifteen hundred dollars per cubby for custom builds. Or use IKEA Pax or Trofast units for a more affordable modular setup.
Pros: Ultimate organization for the whole family. Combines backpack, coat, shoe, and daily item storage in one spot. Increases home resale value.
Cons: Requires a dedicated mudroom or utility hallway space. Most small homes and apartments do not have this. Custom builds are expensive and take weeks to complete. IKEA modular versions are cheaper but less durable long term. Also mudrooms only work in homes where guests and family always enter through the same door. If your family uses the front door most days but the mudroom is off the garage, the cubbies get ignored. Plan traffic patterns first. Best in homes with real family entry through a side or garage door.
10. Rolling Cart Storage
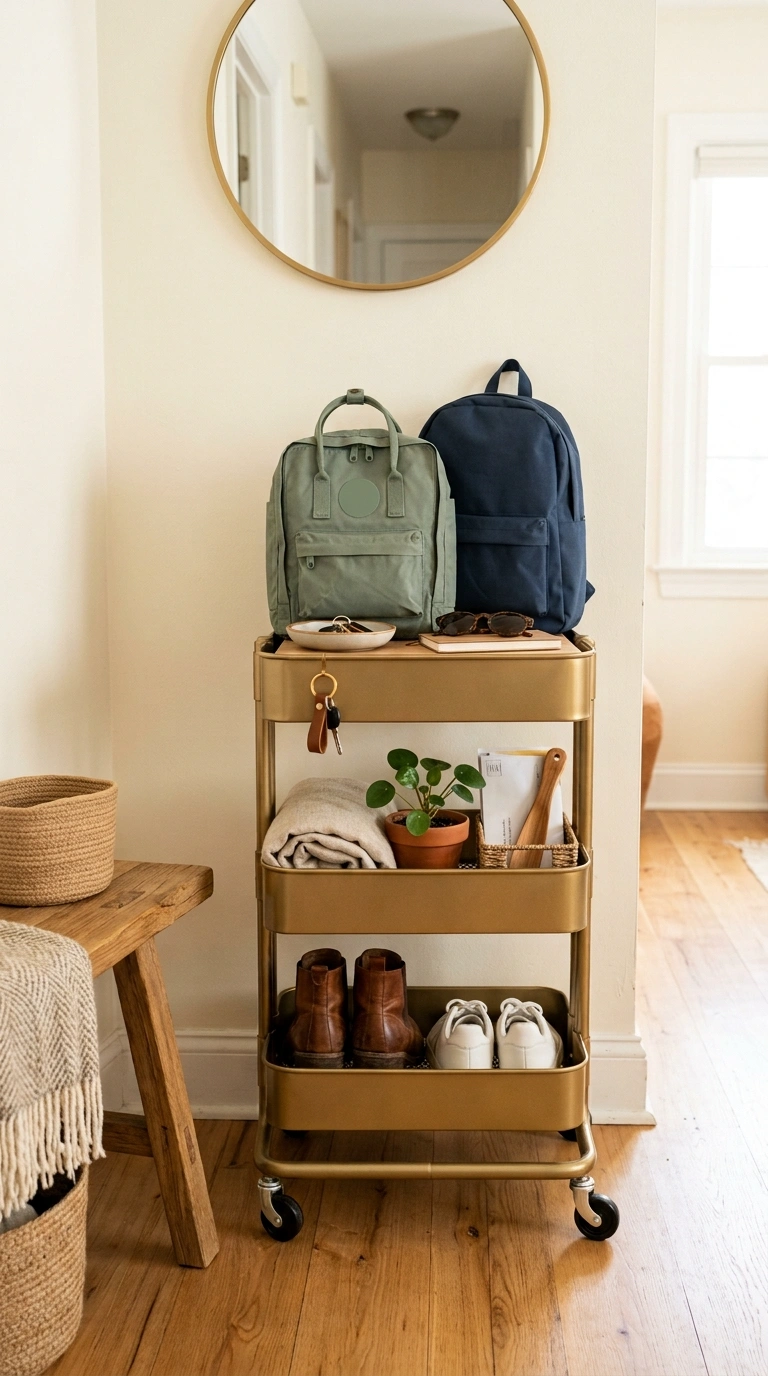
A three tier rolling cart parked by the front door or in a corner can hold multiple backpacks plus small daily essentials. Very flexible for changing family needs.
Buy a metal or wire three tier rolling cart for forty to eighty dollars at IKEA, Target, or Amazon. Each tier can hold one or two backpacks plus small items like keys, wallets, or umbrellas.
Pros: Portable so you can move it as family needs change. Also great for temporary or renter setups. Wheels make it easy to move for cleaning behind or under.
Cons: Cart tiers are usually shallow, only about twelve inches deep, which does not fit very large backpacks well. Also wheeled carts can roll away if not locked, especially on hard floors. Look for carts with brake wheels for safety. Metal wire carts can catch and snag backpack fabric or zippers, so line each tier with a small towel or shelf liner. Cheap carts wobble under heavy bag weights. Choose sturdier ones rated for at least fifty pounds of total capacity. Great flexible option for apartments and starter homes.
11. Bedroom Floor Basket
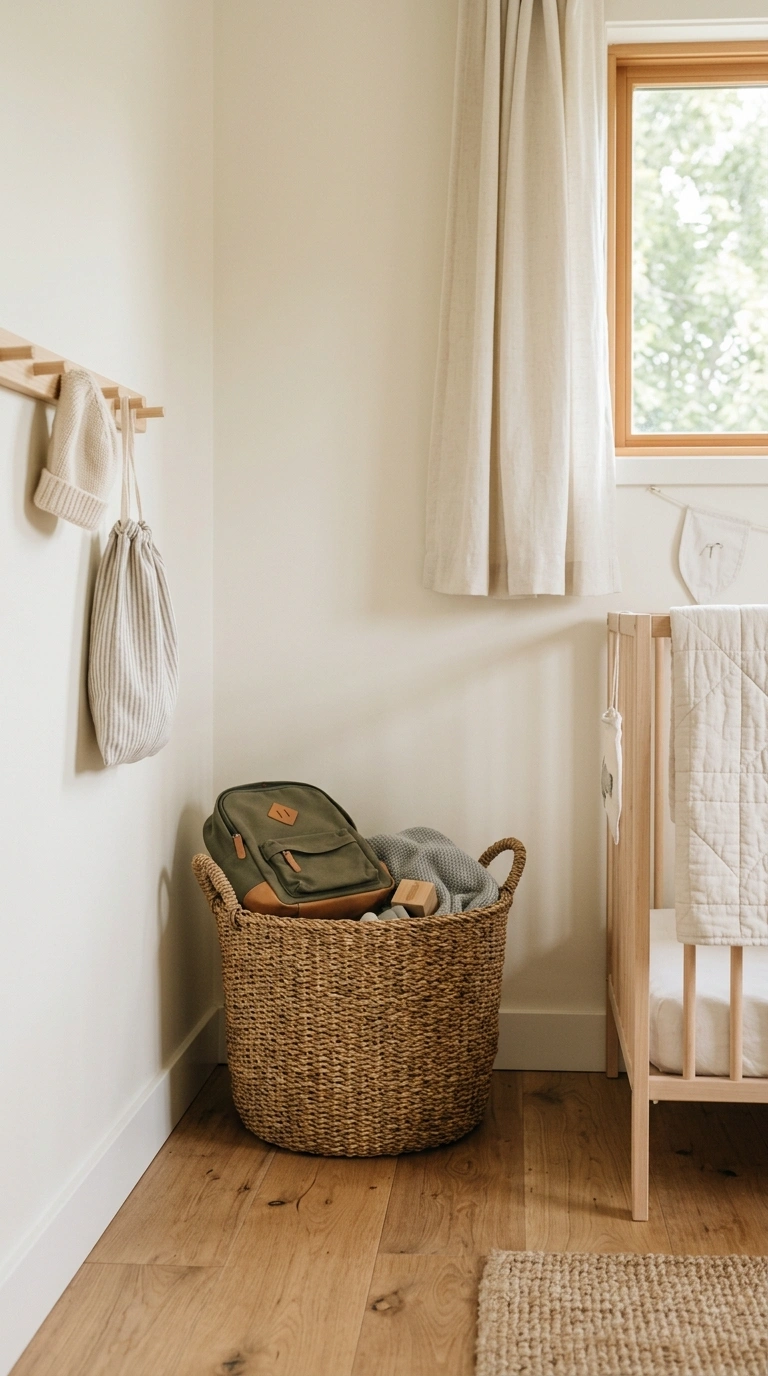
A big woven floor basket in the corner of each kid’s bedroom holds their backpack overnight while the bedroom stays neat. This is a soft solution that hides the mess.
Buy a large woven seagrass or wicker floor basket about eighteen inches across for forty to eighty dollars at Target, Amazon, or HomeGoods. Big enough to hold one backpack plus a jacket or two.
Pros: Very simple and affordable per kid. Basket doubles as pretty room decor. Easy to move around as furniture changes. Kids can easily drop and grab their bag without needing help.
Cons: Baskets take up floor space, about a two foot square footprint. Not ideal for very small bedrooms. Also woven baskets can catch on backpack straps and cause snags in the basket itself. Also bags stored in bedrooms means kids might not remember them in morning rush if they get ready in the kitchen. Best for kids who wake up in their own room and prep for school from the bedroom directly. Also add a small water resistant liner inside baskets for muddy or snowy bags to protect the woven material.
12. Coat Tree Stand
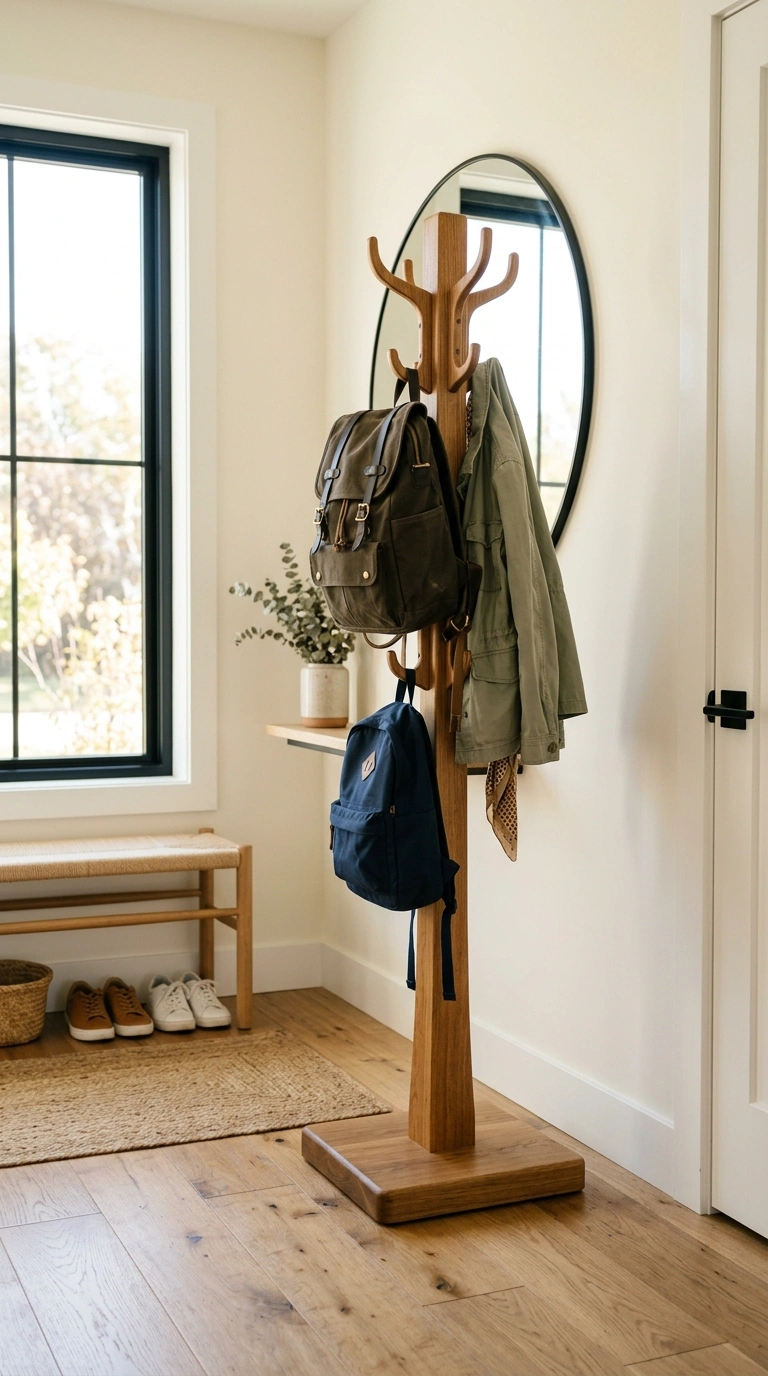
A tall freestanding coat tree with multiple hooks near the door works for both coats and backpacks. This is one of the most flexible storage pieces you can add.
Buy a stable weighted base coat tree for sixty to one hundred and fifty dollars at Target, Amazon, or Wayfair. Look for one at least seventy inches tall with five or six hooks. Weighted metal or wooden bases stay upright even with heavy bags.
Pros: Requires no installation or wall damage. Can be moved anywhere. Adds character to plain entryways. Works for families of any size.
Cons: Coat trees can tip over if too many heavy items hang on one side. Choose one with a really heavy weighted base rated for at least thirty pounds. Also cheap coat trees wobble even with light loads. Some have hooks positioned too close together for bulky backpack straps. Test hook spacing in the store before buying. Not great for open concept homes where the tree becomes the main visual focus of the room. Better tucked in a corner or near a wall. Perfect for renters who cannot drill holes.
13. Over Door Storage
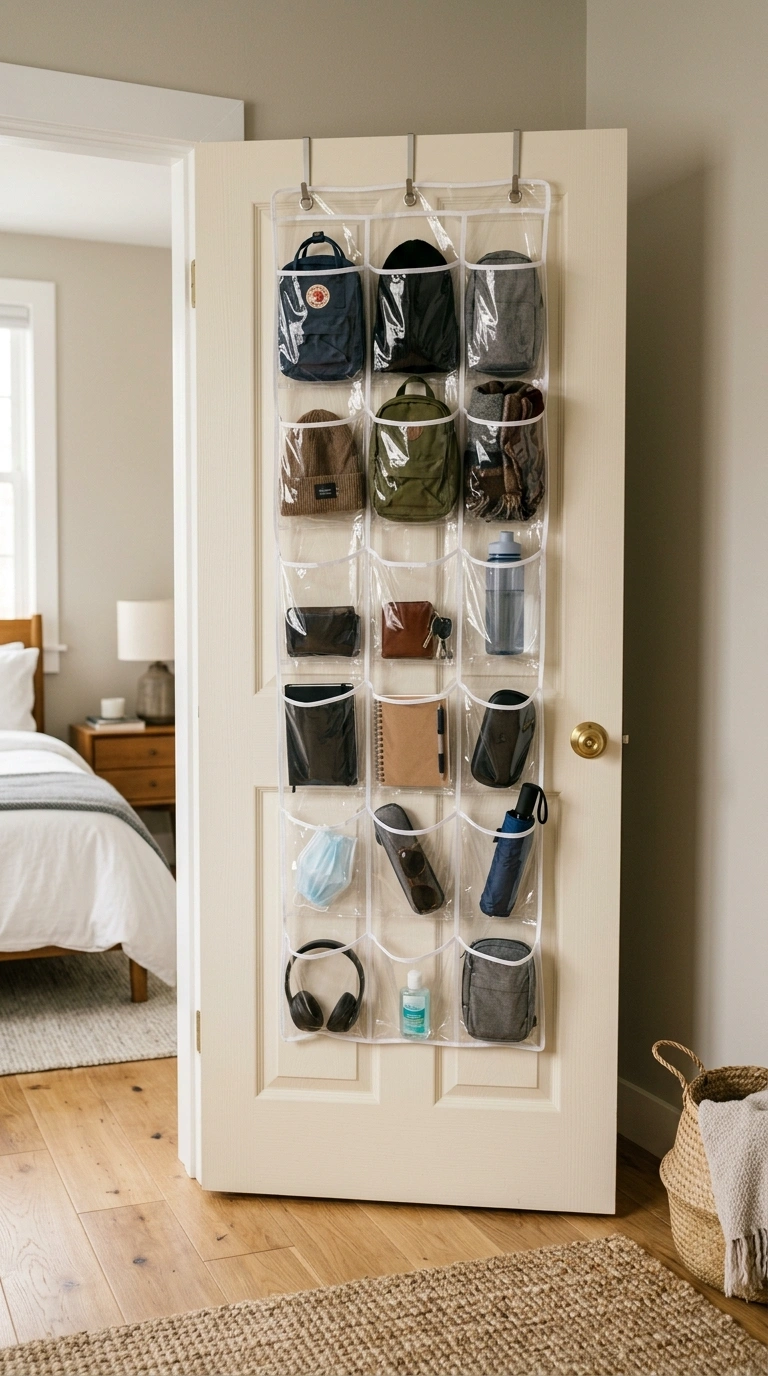
An over door pocket organizer with clear plastic pockets can hold smaller backpacks, purses, and daily essentials all in one place. Great for bedrooms and closets.
Buy a hanging clear plastic organizer with fifteen to twenty pockets for fifteen to thirty dollars at Container Store or Amazon. Hangs over any standard door with metal hooks that fit over the door top.
Pros: Uses free door back space. Great for storing small backpacks plus lunch bags, water bottles, and other daily essentials in one spot. Cheap starter organization solution.
Cons: Only works for smaller backpacks, not full size school bags. Also cheap clear plastic pockets tear or crack over time. Look for reinforced pocket seams for real durability. Bulky items sticking out of pockets can prevent doors from closing. Also over door organizers look messy and college dorm like in adult homes. Best hidden behind closet doors or bedroom doors, not out in main living areas. Perfect for tween and teen bedrooms with lots of accessories to organize.
14. Bookshelf Bottom Row
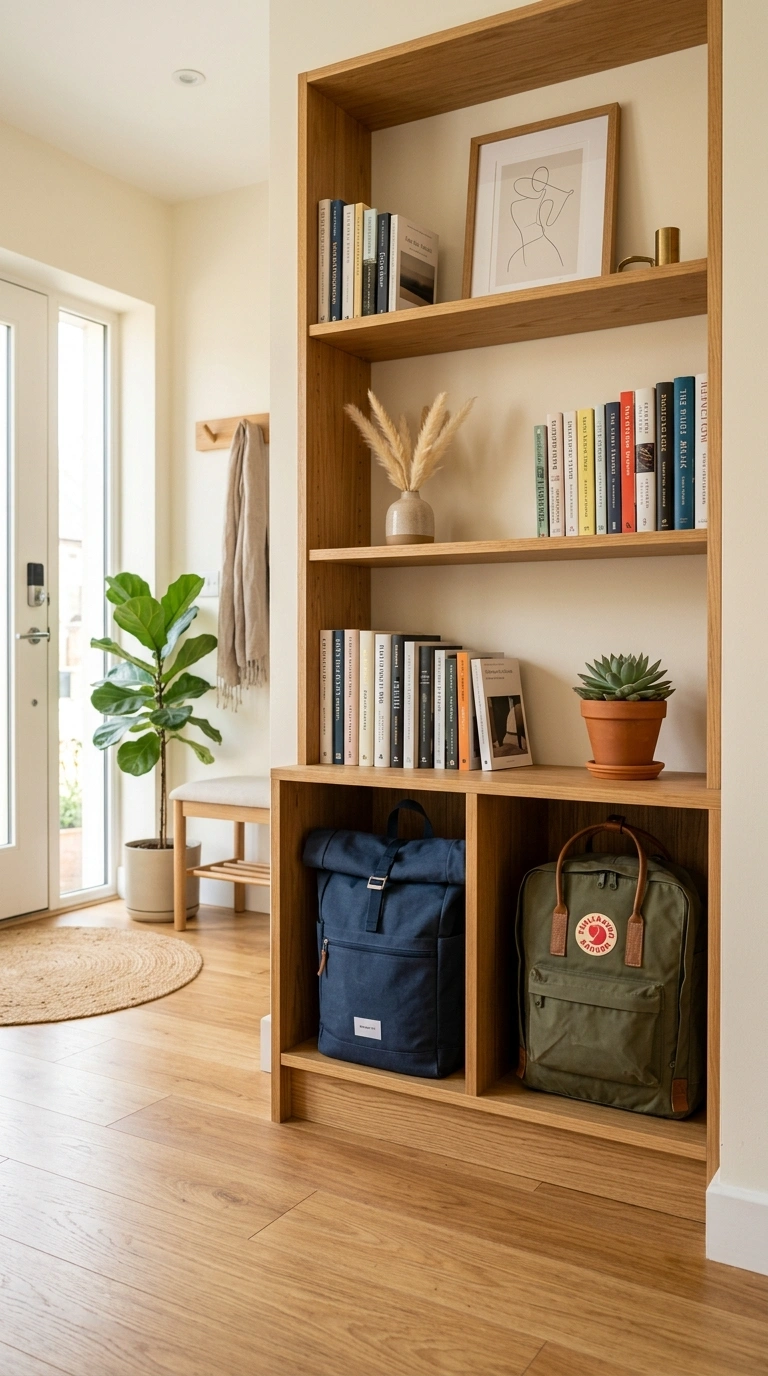
The bottom row of a bookshelf near your entryway can double as backpack storage. Just clear the space and let kids slide their bag underneath after school.
Use the bottom shelf of an existing bookshelf, ideally at least fourteen inches tall and twelve inches deep. Add a small labeled basket for each family member on the shelf, or leave open for backpacks to slide right in.
Pros: Costs nothing if you already have a bookshelf. Uses often wasted bottom shelf space. Keeps bags off the floor and organized.
Cons: Bookshelves are usually shallow, so oversized backpacks with rigid frames may not fit. Also kids may knock over books on higher shelves while pulling bags in and out. Position fragile items on higher shelves out of grab range. Not great for very heavy backpacks that could damage cheap particle board shelves over time. Stick with real wood bookshelves for heavy loads. Best for smaller everyday backpacks or partial storage where straps stay outside the shelf edge. Free solution most families overlook completely.
15. Floating Wall Shelf
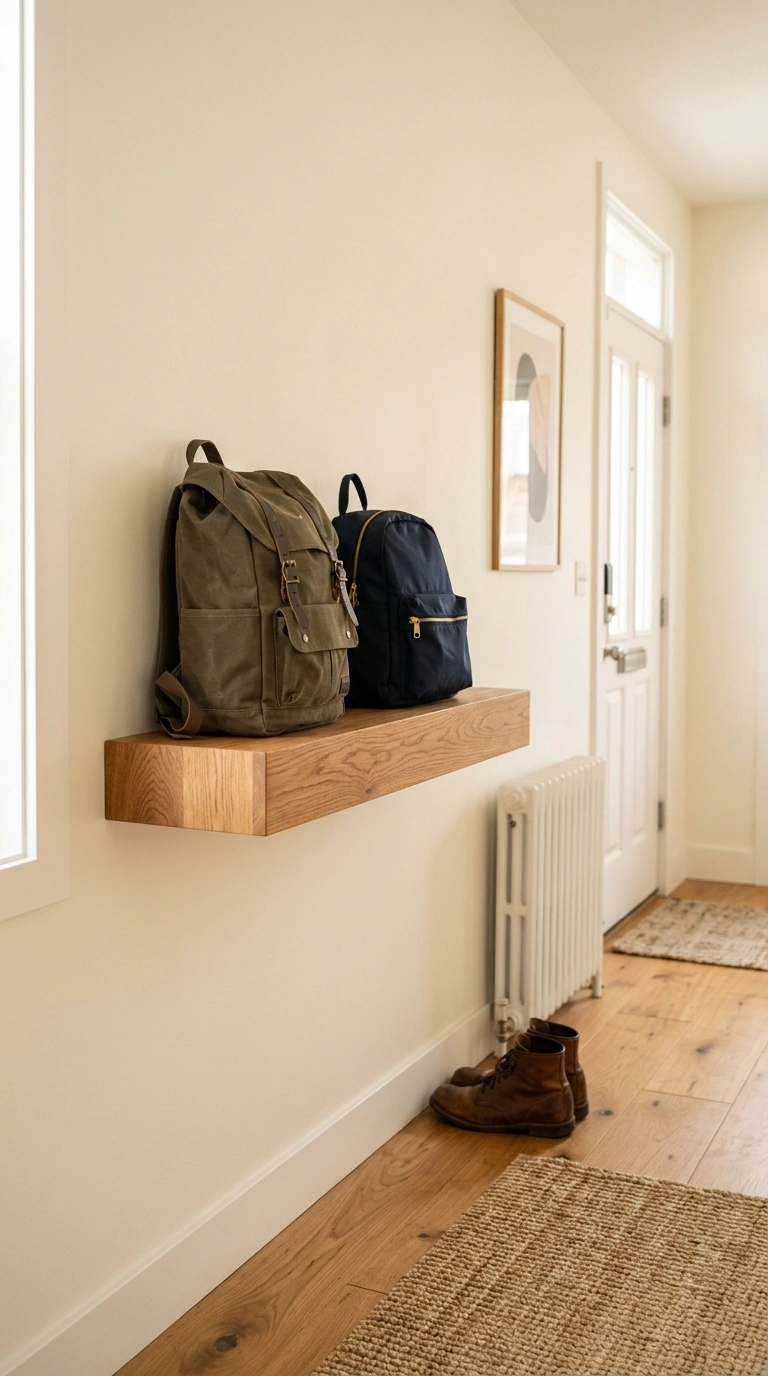
A single floating wall shelf mounted at bag height gives kids a spot to set their backpack when they walk in. Works great in tight entryways with no floor room for benches.
Buy a floating wall shelf about thirty six inches wide for thirty to sixty dollars at Amazon, Target, or IKEA. Mount at hip height for adults or a bit lower for kids. Sturdy enough to hold twenty pounds of bag weight.
Pros: Uses zero floor space. Very clean modern look. Bags stay easy to grab in the morning. Doubles as a shelf for keys and small daily items.
Cons: Shelves alone only hold two or three bags before feeling cluttered. Not great for large families. Also mounting requires finding wall studs and drilling. Some floating shelves have weight limits under twenty pounds, so check ratings for heavy loaded backpacks. Bags on the shelf can still slide off if pushed too hard, so bags with soft bottoms may lean or fall. Consider adding a small rail along the front edge of the shelf for safety. Best for small families of one to three people.
16. Corner Hook Cluster
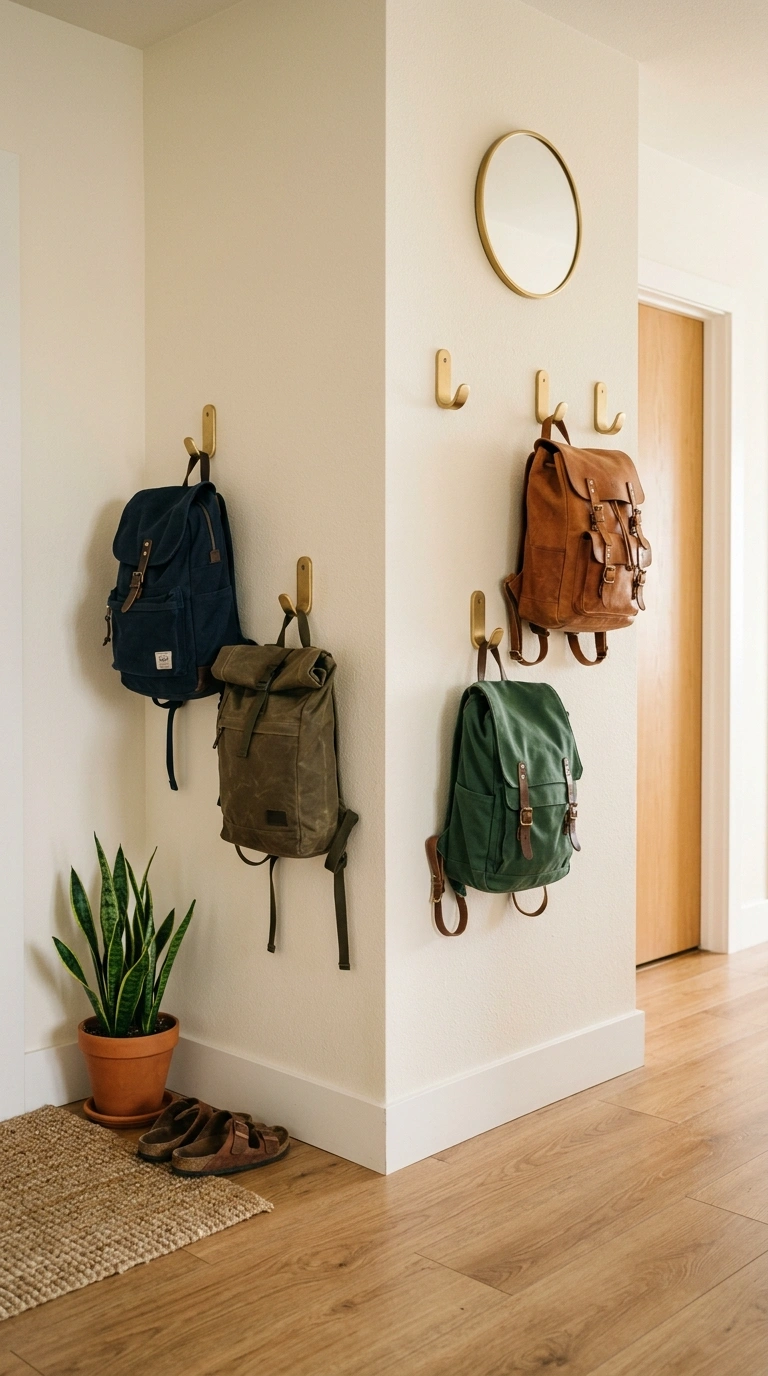
Mounting a cluster of hooks in a corner of your entryway takes advantage of usually wasted corner space. Great for wide corners where two walls meet.
Install three to five hooks on each wall of the corner, at slightly staggered heights for visual interest. Around three to eight dollars per hook at Home Depot. Total setup around forty to sixty dollars.
Pros: Uses previously wasted corner space. Fits more hooks than a single wall setup. Bags on two walls do not tangle with each other. Interesting visual detail in the corner.
Cons: Corner hooks require careful mounting since drywall corners often lack studs. Use heavy duty drywall anchors rated for at least fifteen pounds per hook. Also corners feel cramped when fully loaded with bags. Not for people who dislike visual clutter. Bags dangling in corners can also block electrical outlets or light switches if placed poorly. Plan the layout carefully before drilling. Great for busier households with three or more people who all need daily bag access. Also works in mudrooms where visual polish matters less.
17. Storage Ottoman Solution
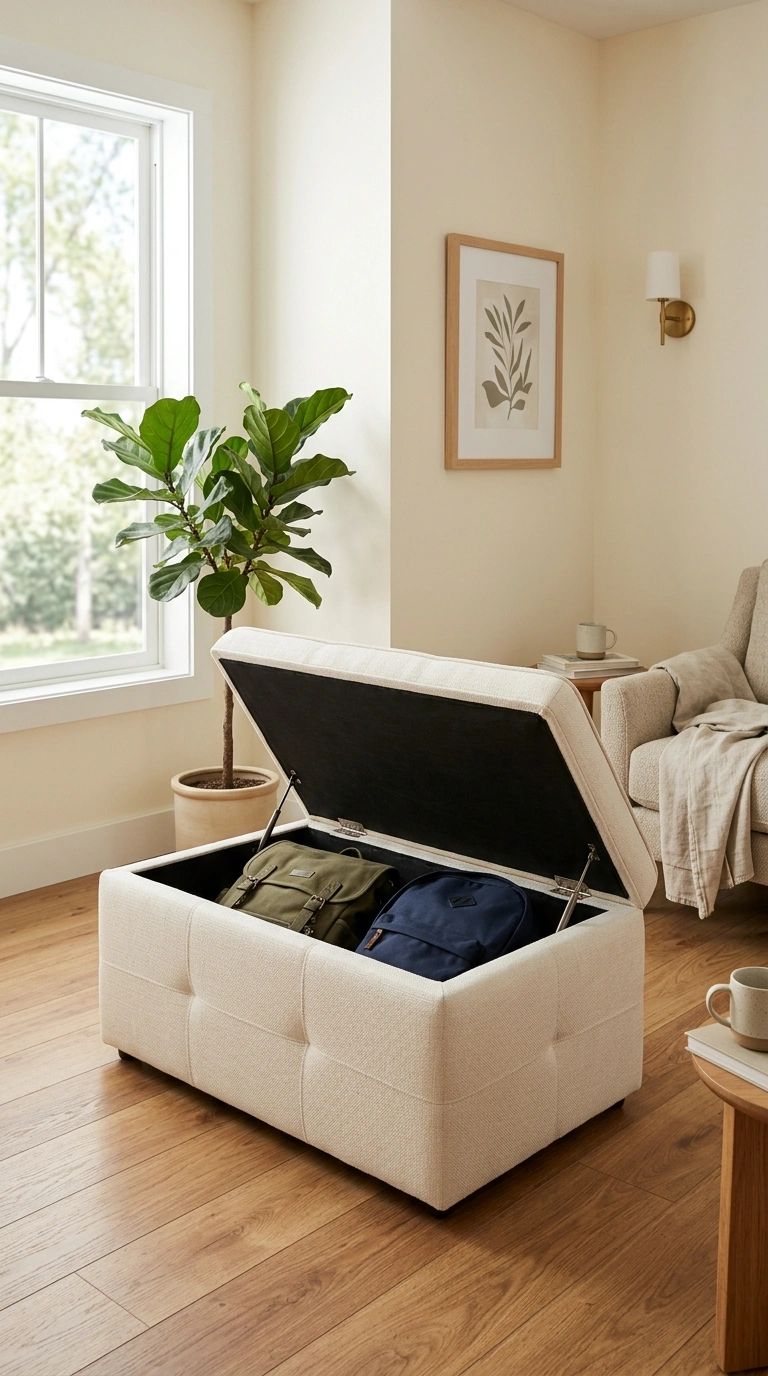
A large storage ottoman with a lift up top holds multiple backpacks completely hidden. Great for living rooms or bedrooms where you want zero visible bag clutter.
Buy a big storage ottoman about thirty by twenty inches for one hundred to two hundred and fifty dollars at Wayfair, Amazon, or Target. Look for a hinged lid that opens to reveal deep hidden storage. Fabric top upholstered options double as seating.
Pros: Completely hides bags from view. Doubles as extra seating for guests. Works in any room, not just entryways. Great for open concept homes.
Cons: Kids find lifting the top too much effort during morning rushes, so bags might end up on top instead of inside. Also once closed, kids sometimes forget items inside the ottoman. Not ideal for very organized families needing daily grab and go access. Better for less frequently used bags like weekend or gym bags. Also cheaper ottomans have thin fabric that tears from constant lifting. Choose real quality construction rated for daily use. Great for adult professional homes with occasional backpack storage needs.
18. Wall Peg Rail
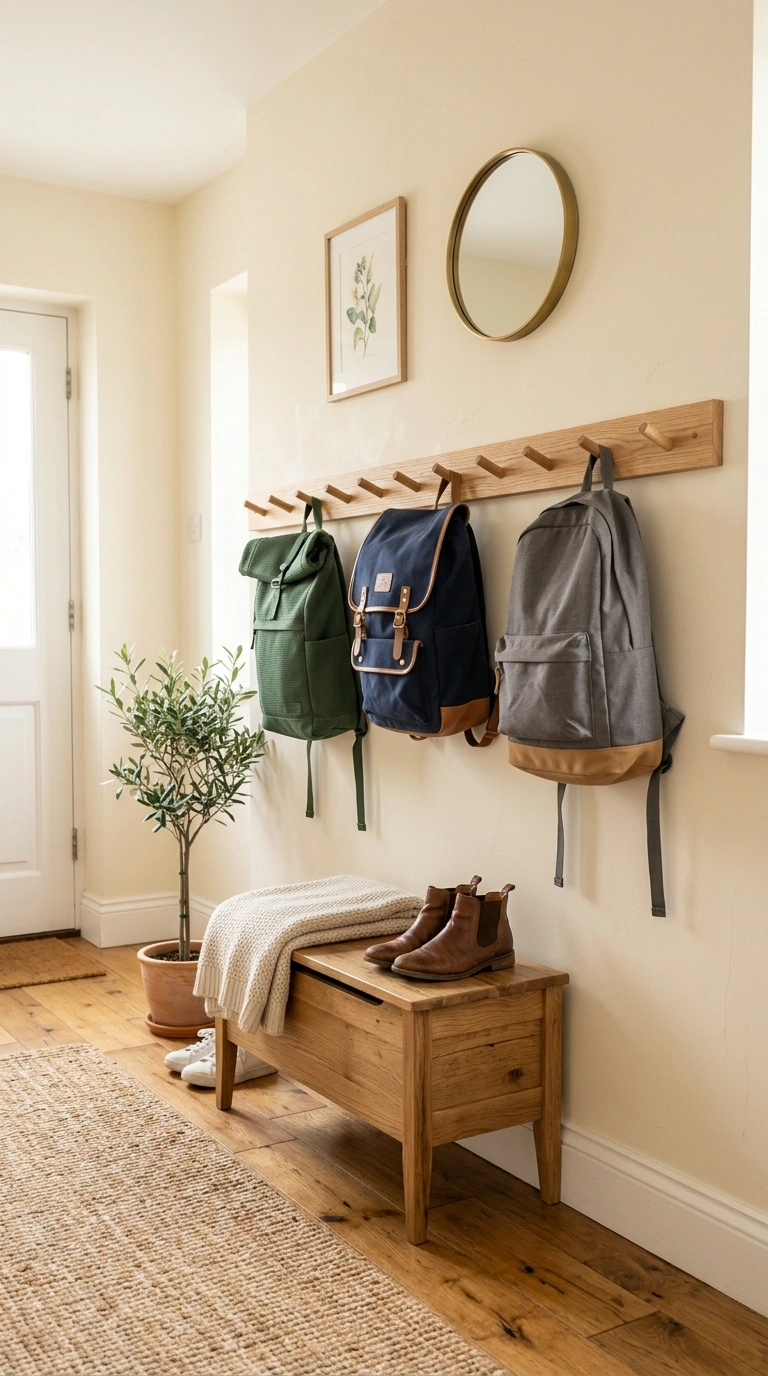
A long wooden shaker style peg rail mounted across one wall holds backpacks along with hats, coats, and bags. This is one of the most beautiful and functional storage pieces.
Buy a solid wood shaker peg rail about thirty six to sixty inches long for forty to ninety dollars at Etsy, Target, or hardware stores. Mount into wall studs at bag height. Each peg holds one bag easily.
Pros: Classic timeless design that fits any home style. Very sturdy construction handles heavy backpacks. Doubles as coat and hat storage.
Cons: Wooden pegs can crack or split if overloaded with really heavy bags stuffed with textbooks. Look for solid wood construction, not cheap particle board versions. Also pegs are round and slippery, so bags with silky straps can slide off. Bags need proper handle loops or straps that grip the peg. Best paired with a small storage bench underneath for shoes. Great addition to farmhouse, cottage, and traditional style homes. One of the most popular home decor storage pieces on Pinterest for good reason.
19. Kids Room Wall Hooks
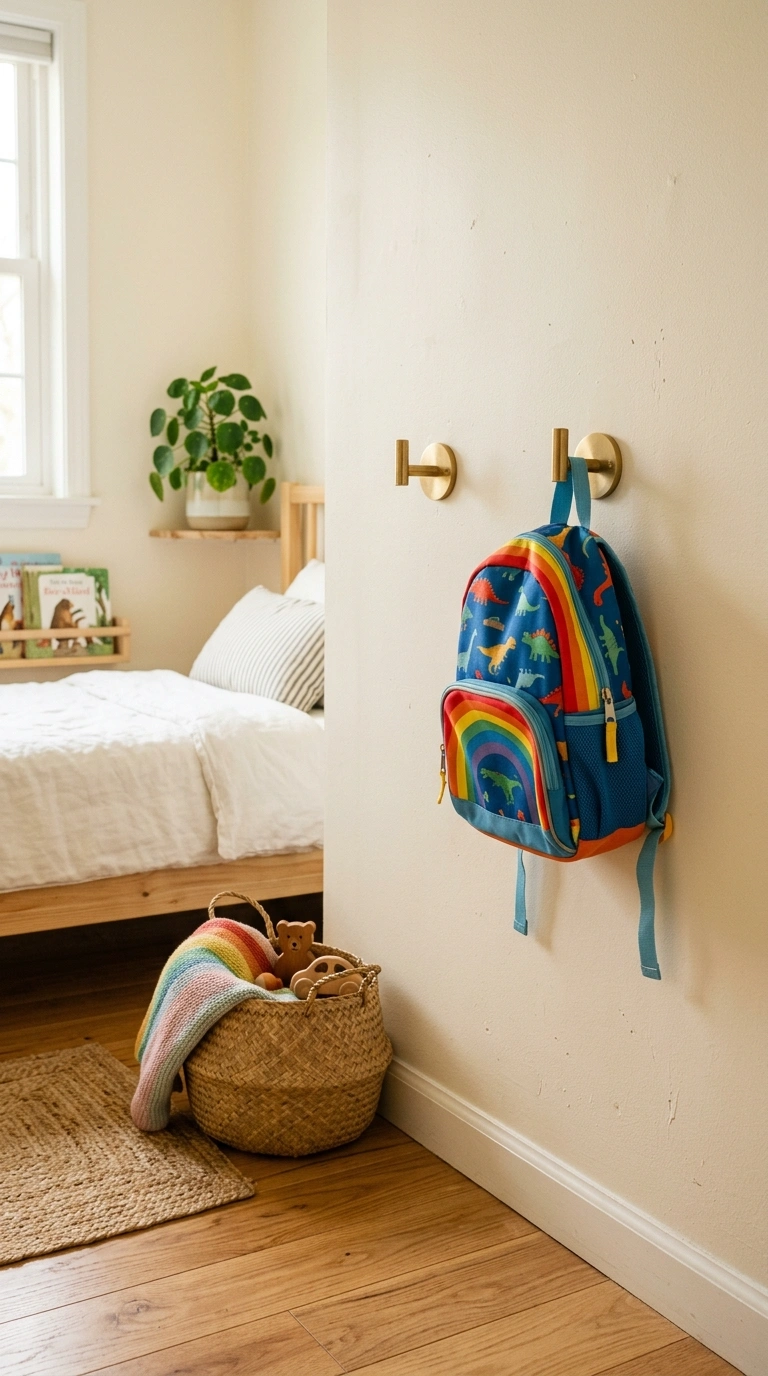
Individual wall hooks in each kid’s bedroom give them personal responsibility for their own bag storage. Great for teaching independence from a young age.
Install two or three wall hooks in each kid’s bedroom for five to fifteen dollars per hook. Pick fun designs like animals or letters for younger kids, or classic modern hooks for teens. Mount at height the child can reach independently.
Pros: Teaches kids to manage their own things from a young age. Keeps backpacks out of shared family spaces. Each child has personal ownership of their storage.
Cons: Kids often forget bags in bedrooms during morning rushes. Also bags stored in bedrooms may need to be transported downstairs each morning. Not great for very young kids under five who need parental prompting for daily routines. Cheap plastic hooks break under heavy bag loads. Use real metal or wooden hooks for durability. Best for kids ages seven and up who can handle their own school prep independently. Great for larger homes with kids across multiple bedrooms.
Final Thoughts
The best backpack storage system is one your family will actually use every day. Fancy custom cubbies look great in photos but fail if they are inconvenient during busy mornings. Start with the simplest solution that fits your traffic patterns and grow from there. A few good hooks in the right spot often beat an expensive built in that no one uses. Test any new system for two weeks before committing to more permanent solutions.

