DIY Home Decor Categories

Get an Organized Kitchen in 7 Days

Laura Gaskill, Houzz Contributor Have you noticed that the state of your kitchen can make a huge difference in how your entire home feels? When things aren’t running as they should, the smallest tasks (making breakfast, putting away groceries) can feel like a hassle. Messiness can sneak up on you — the corners get a…

8 Kitchen Organizing Ideas for Messy Cooks

Lisa Frederick, Houzz Contributor I’ve always loved to cook. My stove gets a daily workout, my recipe books number in the hundreds, and I have so many pots, dishes and kitchen gadgets that I rotate them in and out of storage. With enthusiasm comes a price, however: an unruly mess that somehow has overtaken every…

How to Spice Up Your Neutral Kitchen

Mitchell Parker, Houzz Editorial Staff Despite the benefits of neutral kitchens, such as enhanced natural light and an emboldened sense of cleanliness, many homeowners find neutral kitchens so boring. Never fear. With a few design tweaks, you can get all the advantages of neutral kitchens with a little added excitement. These six kitchens show you…

How To Create A Charming Vintage Kitchen

By Laura Gaskill, Houzz Editorial Staff From the slam and squeak of a screen door to the scent of berry pie wafting from its windowsill cooling spot, summer in the kitchen can stir up cravings for times gone by (or at least their style). Whether you pine for the kitchen of your childhood home or…

5 Ways To Make Your Kitchen Less Boring

Designer Ken Fulk isn’t typically one to break with tradition. Especially when it comes to kitchens. “I try to avoid trends. You want to build something that’s going to last for a while and not something that you are going to grow tired of,” he says. But his latest project isn’t just any kitchen. It’s…

7 Ingredients For A Well-Styled Kitchen

  Photography by STUDIO MCGEE   In our opinion, the best kitchens are those that look like the homeowners actually cook! Whether your kitchen is dated, classic, modern, or trendy, styling adds much-appreciated warmth and personality. Nothing beats having friends and family gather in the kitchen to chat and eat, so make it inviting! We…

Where to Put the Microwave in Your Kitchen

By Yanic Simard, Houzz Contributor The classic kitchen work triangle organizes foot traffic from the fridge to the sink to the stove, in an attempt to make cooking and preparing meals flow more smoothly. But what about the other major, although sometimes smaller, appliances that many of us use every day? Take the microwave, for…

10 Ways To Add Personality To Your Kitchen

By Joanna Simmons, Houzz Contributor One of our favorite spaces in the house, the kitchen can also be one of the most predictable. After all, it typically contains some countertop space, a few appliances and lots of storage. But a little imagination and some inventive styling can softly steer this room toward a look filled…

12 Ways To Make Your Kitchen Look Like A Farmhouse

We here at HuffPost Home are head-over-heels for the farmhouse trend. It represents the perfect balance of cozy and chic, lived-in and polished. What more could you want out of your home decor? We think this best-of-both-worlds look is ideal in the kitchen. It’s where you get messy, but it’s also where you entertain. To help…

6 Kitchen Countertop Color Styles To Consider

Yanic Simard, Houzz These days there are countless materials available for kitchen countertops. But instead of giving you the pros and cons of each material, I’m going to break down six popular color styles so you can achieve the look you want with the material that suits your needs. 1. Flecked or Softly Veined White…

“Why would I use Annie Sloan Paint on my Kitchen Cabinets”

“I’m planning to paint my kitchen cabinets. Why would I use Annie Sloan paint and wax vs a high quality paint with polyethylene? Seems like a multi step process and it intimidates me.”

kitchen after pin

This is a GREAT Question…and a real one from on of our followers on our knot too shabby Painters page on Facebook. The answer, in and of itself is a bit long for a facebook post, but definitely blog worthy!

Let me start by stating that I have painted multiple kitchen cabinets. I’ve used traditional latex way back in the day on my parents cabinets, and more recently I used Chalk Paint® on my own kitchen cabinets.

About fifteen years ago, when we painted my mom and dad’s kitchen, it took the ENTIRE family about two weeks. My husband helped out (before we were married…that’s commitment I tell ya’), my sister helped, mom and day obviously were helping and then I was there to help out, too. The process went something like:

  • Remove Cabinets
  • Set up a work station outside with folding tables and saw horses
  • Aggressively clean cabinets using highly toxic TSP type of chemicals
  • Sand original finish…but don’t breathe because sanding dust will be EVERYWHERE
  • Clean…again
  • Prime one or two thin coats
  • Paint two coats
  • Reattach cabinetsThat process took somewhere in the vicinity of 200 man-hours. It was extremely labor intensive. But, the end result looked clean and sleek (not so much anymore…it has been 15+ years, after all).

I have nothing against latex or oil based paints. When applied correctly, they offer great finishes. But, as I said, it’s labor intensive.

So, the real question is WHY DID I USE ANNIE SLOAN PAINT when I painted my kitchen cabinets instead of latex with poly…and why will I (almost) ALWAYS recommend Chalk Paint® for your kitchen cabinet makeover?

MonroviaWorkshop-28

  1.  The prep work is minimal by comparison to other paint products.
    YES! You have to clean.
    YES! You do have to do MINIMAL prep work. Minimal being the operative word.I recommend a thorough cleaning using soap and water. Dish soap on a sponge, Simple Green, Fabuloso…whatever your cleaning product of choice works well to clean off dirty finger prints, grease build-up, oil stains, food spills, etc. Heck, you might decide after you clean the cabinets that they don’t need to be painted after all (Don’t laugh…I’ve heard of that happening)!Once your cabinets are clean, use Denatured Alcohol and a soft cloth to wipe down all of the surfaces. Denatured Alcohol is a natural deglosser and cuts through that last bit of grease and residue left behind while giving you a great surface to start painting.Finally, finish off with a clean water rinse to remove any residual cleaner left behind!CHALK PAINT® HAS GREAT ADHESION AND WILL BOND TO MOST ANY FINISHES…EVEN GREASY, DIRTY OILY FINISHES. BUT, WHEN THE GREASE GETS WIPED OFF OR DIRT RESIDUE IS SCRUBBED DOWN, IT WILL TAKE THE CHALK PAINT® ALONG WITH IT. THAT’S WHY IT IS IMPORTANT TO CLEAN YOUR SURFACE PRIOR TO PAINTING!

    KitchenBefore-3

    My kitchen cabinets before

  2. I was able to paint my cabinets in the comfort of my own home without having the mess of sanding or the aggravation of priming.Not only the ease of use made Chalk Paint® ideal, but because it is water based and VERY EASY to clean, I only had to do minimal prep-work related to taping and covering surfaces. I wasn’t worried about covering the floor or counters with paper because any spilled paint could be wiped off with nothing more than a damp wash cloth…even after it dried.The natural ingredients in Chalk Paint® and zero detectable VOC’s meant that I could paint inside without worrying about my family being exposed to a plethora of paint fumes.I painted the cabinet doors in place. I didn’t have to clean out cabinets and drawers or remove hinges. (Read the original post about how I tackled this project over a 5-day timeline)Kitchen-After-41
  3. Chalk Paint® is highly pigmented which allows for superior coverage as compared to other paint brands.The high pigmentation in many of the Chalk Paint® colors provide that you only need one coat to cover. I picked a color that I knew would provide superior coverage to save on time and effort.Even if you go with a traditional white finish, you’ll only need two coats (occasionally a third depending on the type of brush you use or the original finish) as compared with four+ coats using a latex and primer. I also have some time-saving and cost-saving tips on painting with white paint that applies to any piece you select to paint white (perhaps a separate blog post for a later date).Kitchen-After-47
  4. It’s all about the WAX!THERE IS NOTHING BETTER FOR KITCHEN CABINETS THAN ANNIE SLOAN SOFT WAX!!!Let me tell you why. 


    Kitchen-After-31Wax breaks down over time…this is where I get gasps and wide eyes.

    “What do you mean wax breaks down? I don’t want wax. I need something durable. (insert panic here)”

    The mere fact that wax breaks down with heavy use is its singular greatest benefit when applied to kitchen cabinets because it is a fixable product, whereas polyurethanes and other liquid sealers can not be fixed…they can only be re-applied (after sanding, re-painting and re-sealing).

    Think stains from Crayola markers, Sharpies, blueberries, spaghetti sauce, scuff marks from shoes, dings from careless kids/pets/spouses, etc., etc. etc. Life happens in kitchens! Messes happen! With a wax top coat, your mess can be easily removed with nothing more than a very light sanding and quick reapplication of soft wax. The wax, literally removes stains, markers and scuff marks. This is of course, only necessary if your sponge or washcloth doesn’t clean it out.

    BECAUSE the wax breaks down with use and kitchens get used a lot, you’ll want to mitigate how often you re-wax. I always recommend applying three coats of clear wax on kitchen cabinets over the course of 2-3 weeks. If you build up a nice, durable wax finish from the start, you will likely not have to re-wax your kitchen cabinets for at least a few years!

    Kitchen-After-45

It’s been over four years since I first painted my kitchen cabinets with Annie Sloan Paint. I can attest first hand to the durability of paint and wax and the ease of cleaning them with a houseful of messy kids and large pets!

Is painting kitchen cabinets intimidating? Heck Yeah! Kitchens are important rooms of the house and if you aren’t intimidated by the sheer size of the project, please call and tell me your special secret. Intimidating or not, DIY painted kitchen cabinets are totally doable! And, following the right steps, pretty easy, albeit time consuming.

I want to see your cabinet makeovers! Share before and/or after pictures of your Chalk Paint® cabinet makeovers on our knot too shabby PAINTERS facebook page!


Kitchen DIY Chicken Wire Light Fixture

Using a couple of embroidery hoops, you can make a cool and simple light fixture of a usual bulb. Prepare embroidery hoops (4), wood stain, chicken wire, floral wire and a mini pendant light kit. Start out with four embroidery hoops. Give them a coat of wood stain. Once the stain is dry, use…

Kitchen DIY Chicken Wire Light Fixture

Using a couple of embroidery hoops, you can make a cool and simple light fixture of a usual bulb. Prepare embroidery hoops (4), wood stain, chicken wire, floral wire and a mini pendant light kit. Start out with four embroidery hoops. Give them a coat of wood stain. Once the stain is dry, use some thin silver floral wire to attach two hoops together to create that thick look. Try to space the wire equal distances apart. Follow the same process with the other two hoops. Next, cut the chicken wire to size. To find the right length, unroll the wire around the inside edge of one of the embroidery hoops and cut where the ends meet. Keep reading what to do here.

Kitchen DIY Chicken Wire Light Fixture

Chicken, Fixture, Kitchen, Light, light fixture, Wire

Filed under: Home Decorating

Quick Kitchen Makeovers on a Dime!

The kitchen is the hub of most homes today, and is the room we spend the most time in outside the bedroom! It deserves to be thought of as a style show stopper, and here are some quick and inexpensive ways to achieve that perfect kitchen decorating makeover without doing a remodel that could cost you thousands.

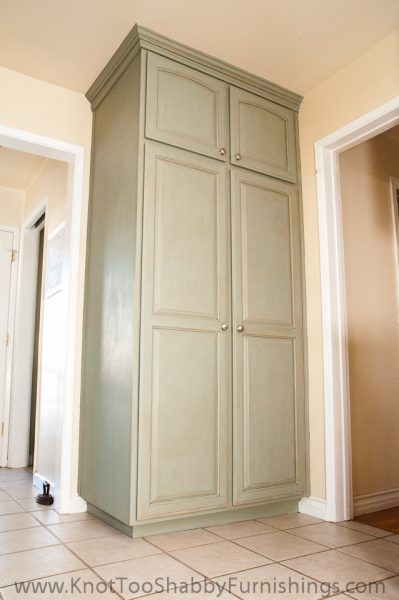
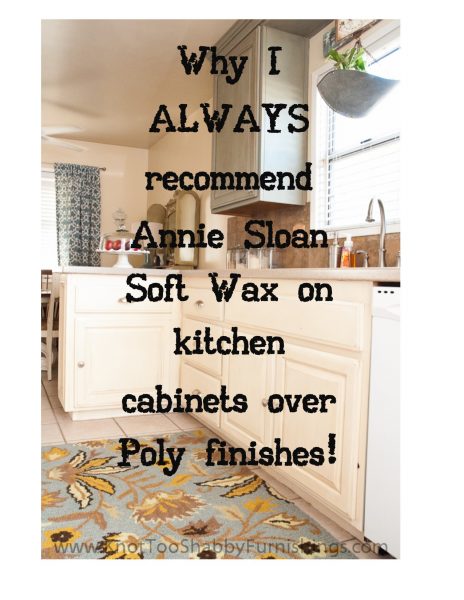
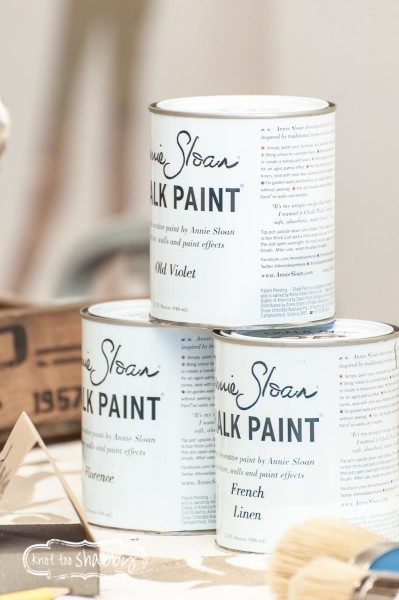
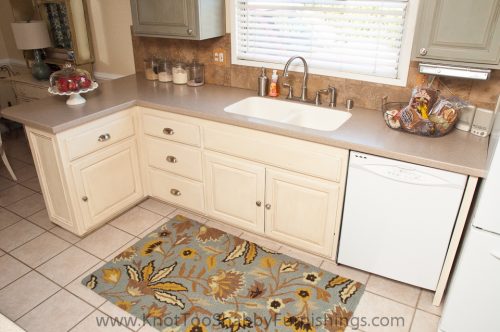
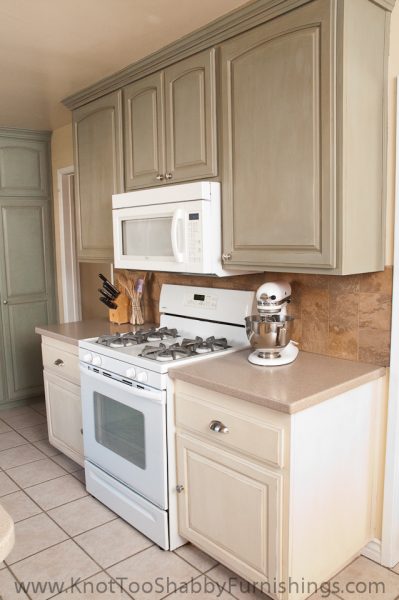
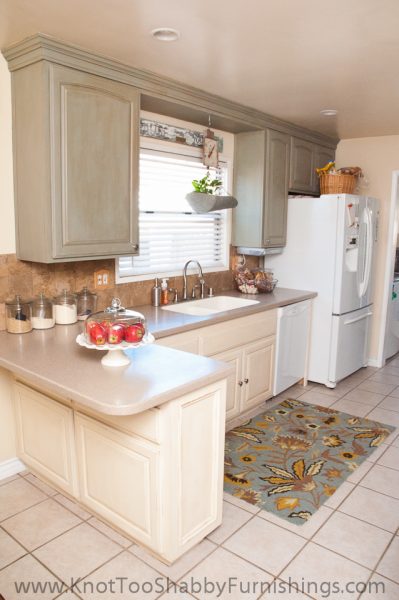
Change the cabinets. Unless you have high quality wood cabinets, paint them! There are so many paint and glaze combinations you could use, the varieties are endless. Just be sure to clean the cabinets well with tsp (found at any paint or discount store) sand, prime, then paint and allow to dry thoroughly before putting hardware and doors back on. A lot of work, but a HUGE reward for a couple of cans of paint.

green kitchen


(adsbygoogle = window.adsbygoogle || []).push({});

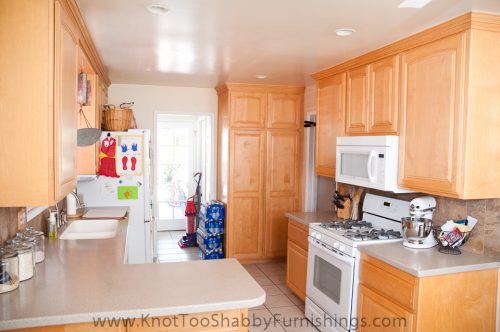
Ashley at ‘Cherished Bliss’ has a tutorial for you on how to paint your kitchen cabinets, and looking at her “after” pic, she knows what she’s doing! Be sure to check out her whole farmhouse kitchen makeover, and her hack on making shaker style cabinets!

Quick kitchen makeovers-1


More tips on painting kitchen cabinets from the experts at ‘BHG’, including how to choose paint colors for your cabinets!

 Quick kitchen makeovers-3


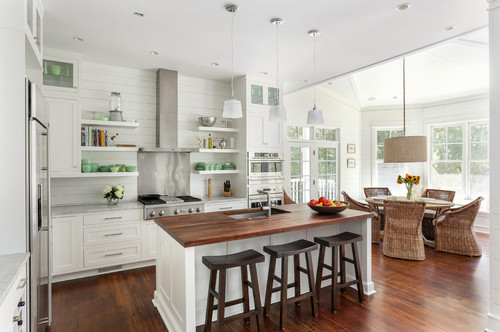
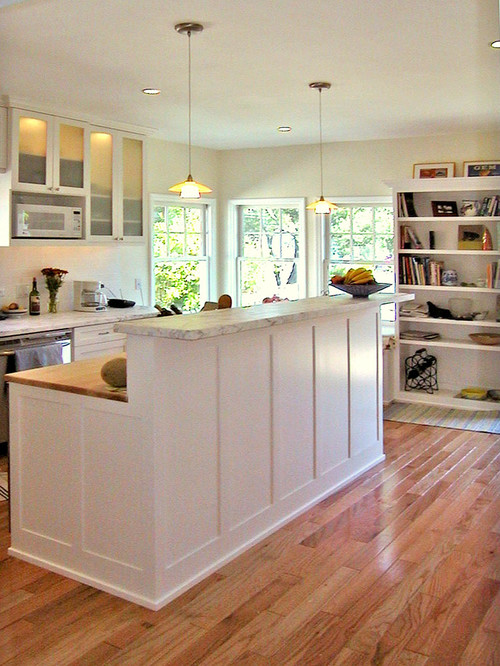
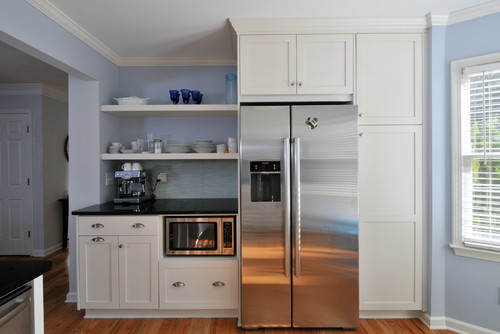
Change the cabinet doors. If you don’t want to repaint the whole set of cabinets, (or even is you do) consider some changes to some or all of your cabinet doors. Remove a door or two altogether, paint the inside of the cabinet a coordinating color, and use as trendy open shelving. You can add cheap stick up lights to the underside of the shelves. Cut out the wood panel and add shirred fabric, or staple wire mesh to the inside frame for an industrial look. ‘BHG’ has some great ideas on DIY cabinet door updates, including this tiling technique!

Quick kitchen makeovers-2


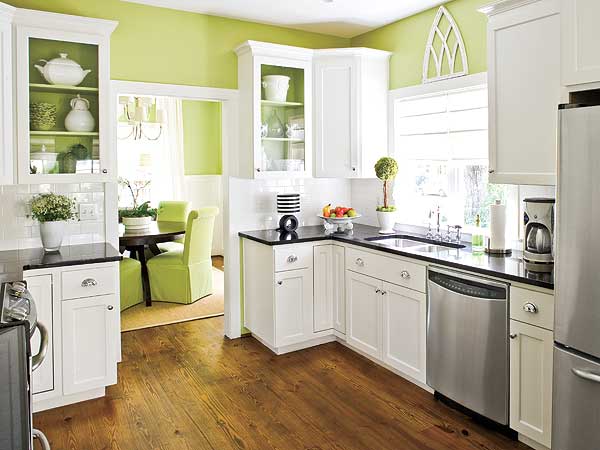
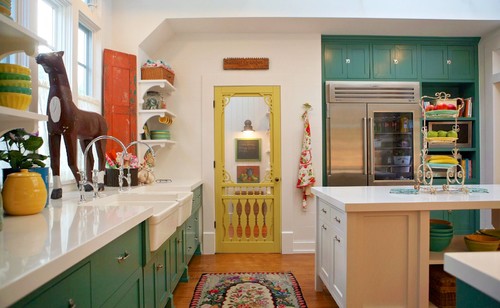
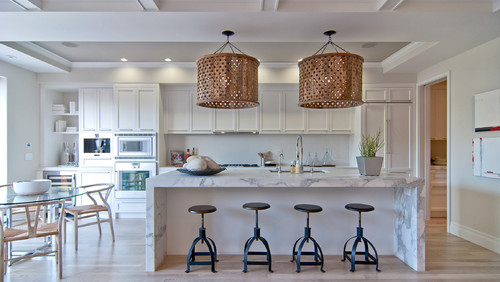
Paint the walls! With the cabinets taking up wall space, it might seem like painting might not make a big difference…it does. It sets off the cabinets, sets a mood, and reduces that clinical feeling utilitarian spaces can often have. Pick a medium tone to rich wall color and go for it! (Because it’s a small area of wall space, you can use richer or brighter tones without worrying about it overwhelming the room.)

Blue kitchen


Add some fabric. Visit your local fabric or discount store and look for a pretty floral, stripe, or print on a white or cream background for a fresh feel. Sew up some curtains or soften cabinets with fabric and add softness and farmhouse charm. Most fabric stores have a discount table, you’d be surprised at the finds! Other options for cheap fabric? Sheets! Discount shops, yard sales, or even your own linen closet might yield some terrific fabric for your re-do!

Quick kitchen makeovers-7

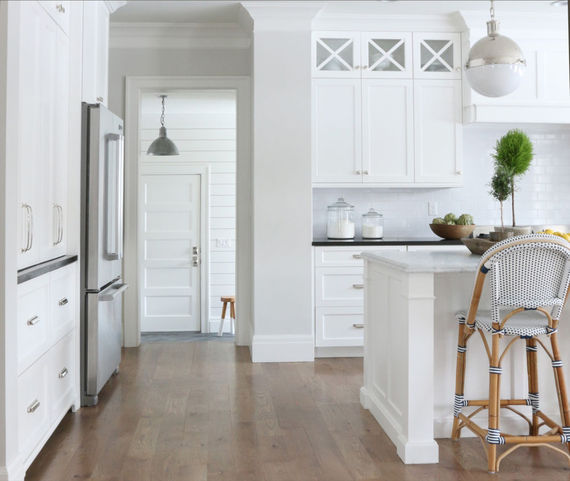
Can you believe this cottage fresh kitchen makeover by Cami from ‘Tidbits’. I’m a big fan of white kitchens and blue glass…Love this!


You can change those ugly vinyl floors! You have options, even if you can’t afford to replace them right now. Self-stick vinyl tiles have come a long way, and can be installed in just an afternoon. Since the floor space in a kitchen in often limited, it shouldn’t cost a lot to recover. Black and white checks are classic, but they have more and more wood and stone looks being produced, that don’t have that shiny “I’m a fake!” feeling to them. Want a hardwood look without the price? Find out how to make this plywood planked floor (yes, plywood!) from Jami at ‘Freckled Laundry’. Love this project!


Another option is to actually paint your vinyl floors. This can produce beautiful custom results, but you’ll have to eliminate kitchen traffic for several days. Strip the floor of any wax or residue. Then coat the floor with a primer made exclusively for non-porous surfaces. I like KILZ or BIN. Let dry at least overnight. Now paint in your desired pattern or color. You can use ¼ inch masking tape to mask off “grout” lines, and then use any faux or traditional technique, from faux stone, to wood grain, to stenciling. Finally, seal with 4-6 coats of a water based polyurethane to protect. Again, let dry well before you open the kitchen to traffic! When the floor starts to look a little dull, just add another coat of poly. By the way, you can also use this technique on laminate counters! Finally, don’t forget those throw rugs! Check discount stores, yard sales, and thrift shops.

Find out how ‘Flea Market Trixie’ did this DIY stenciled floor, complete with free pattern from ‘BHG’.

Quick kitchen makeovers-4


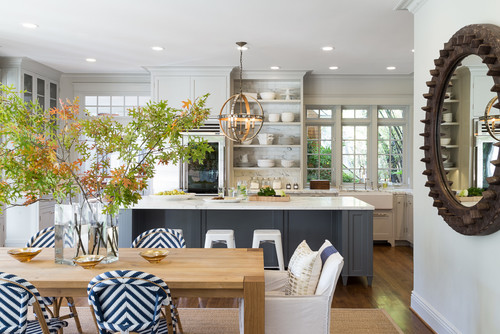
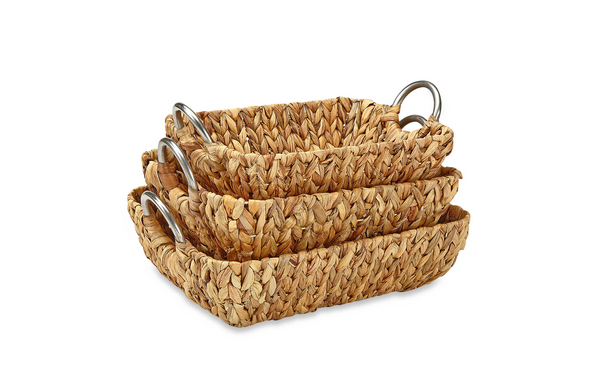
Add accessories! Most people think of the kitchen as a practical space, but accessories are the jewelry of the home. Add personality by hanging some pretty plates from the dollar shop or yard sales, make a rustic wood painted plaque from scrap, or start a collection of antique silverware and hang along the wall. Display your pretty ceramic pieces; check out your discount stores (or your cupboards!) for colored glass pieces to display in the window. Set small-framed prints of your kids on the windowsill, and bring in some greenery or flowers to set on the counter in a pretty creamer. And above all, put those beautiful drawings from your kids up on that refrigerator!!! What accessory could be more special?

Quick Kitchen makeovers-6

Image Credits: Tidbits, BHG, BHG, Freckled Laundry, BHG, BHG


(adsbygoogle = window.adsbygoogle || []).push({});

The post Quick Kitchen Makeovers on a Dime! appeared first on The Budget Decorator.