As I shared last week , updating our exterior has been on my mind a lot. I got a plan and now today, I’m sharing how to make a DIY House Number Sign that has a cute planter and some modern metal vertical numbers. This sign was super easy to build and really completed the big empty space on the side of our door.
We never liked how the previous numbers were faded and sitting above the garage, so this was on our ‘to-do’ list for a long time. When I worked a fun exterior project for Home Depot’s DIY Challenge a couple weeks ago (to be shared in a couple weeks), I knew I needed something simple but with character. This number sign fit the bill!
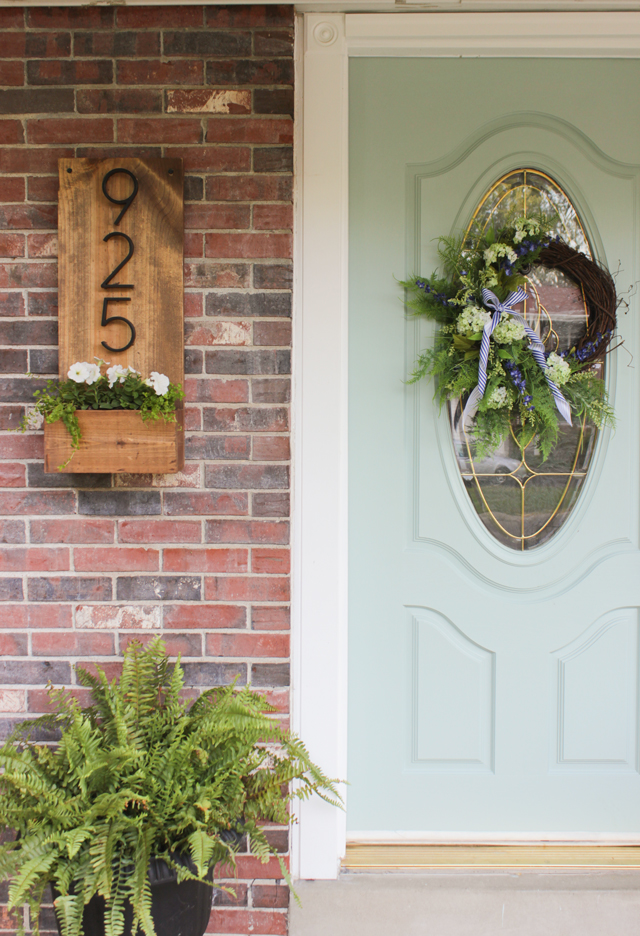
I love the style of these numbers and I found them at Home Depot (they totally remind me of something I’d find at Anthro)!
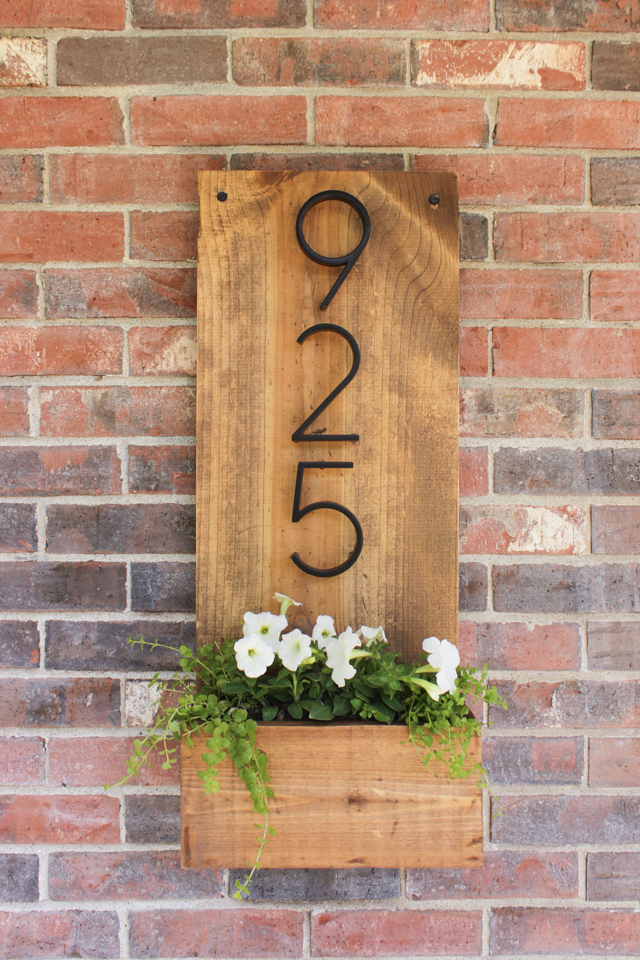
So here is the tutorial…
Tools Needed:
Circular saw
Cordless Brad Nailer (or pneumatic nail gun)
Cordless Drill
Rubber mallet
Measuring tape
1/4″ twist drill bit
3/16″ twist drill bit
9/64″ twist drill bit
3/16″ masonry drill bit
1/4″ hex bit
220 grit sandpaper
Shopping List:
1- 1×12 @ 6′
1- 1×6 cedar @ 6′
1 box 1 1/4″ nails, 18 gauge
1 box 1/4″ concrete anchor screws, 2 1/2″ long
4- 5″ metal numbers with mounting screws
Wood filler (exterior)
Wood glue (exterior)
Clear silicone caulk
Minwax Oil Based Wood Stain- Special Walnut
Thompson’s Timber Oil- Natural
Cut List:
1- 1×12 @ 34″
1- 1×6 cedar @ 11 1/4″
2- 1×6 cedar @ 4″
1- 1×6 cedar (ripped down to 4″ wide) @ 9 3/4″
4- 1×1 square piece of wood
Here are the step-by-step instructions via video!
What do you think? Such a fun and easy update, right?
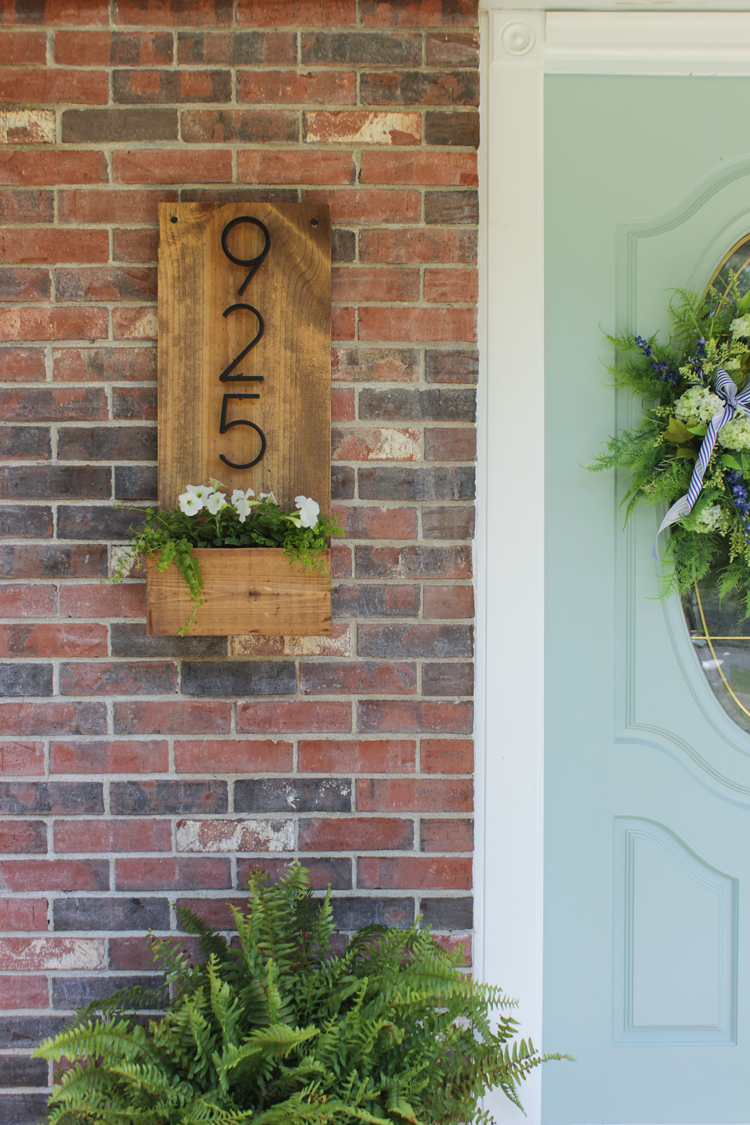
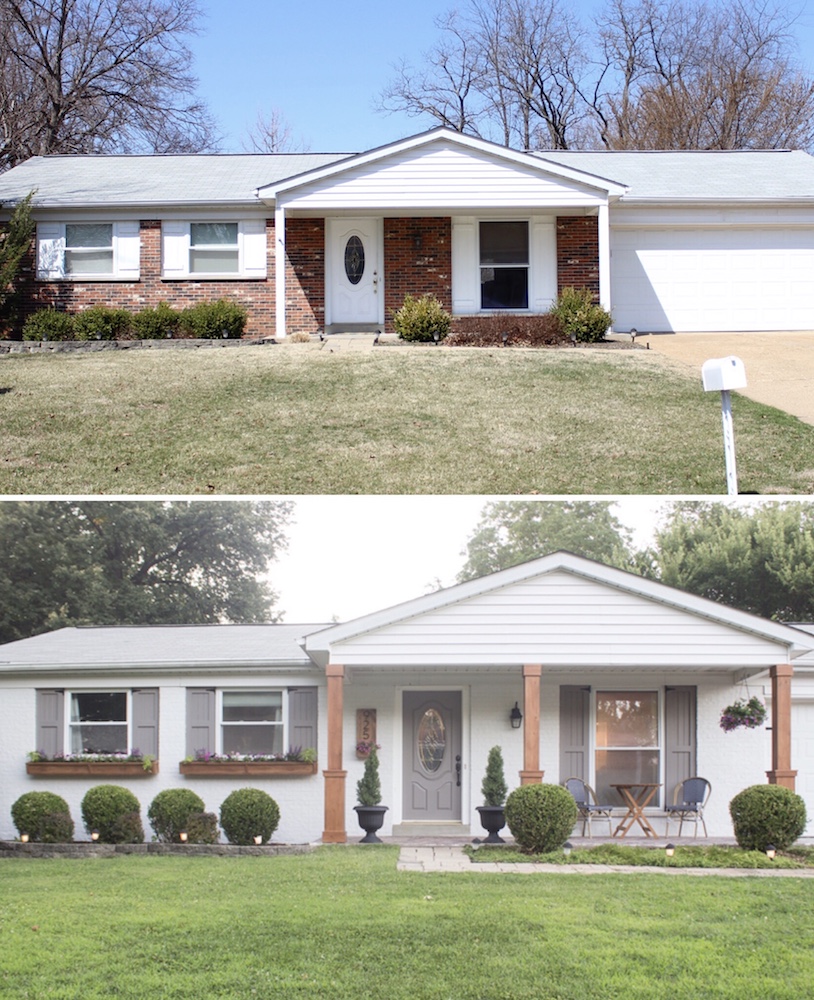
We love it and when we paint the house white, it will really pop. Next up… wrapping the columns in stained wood!
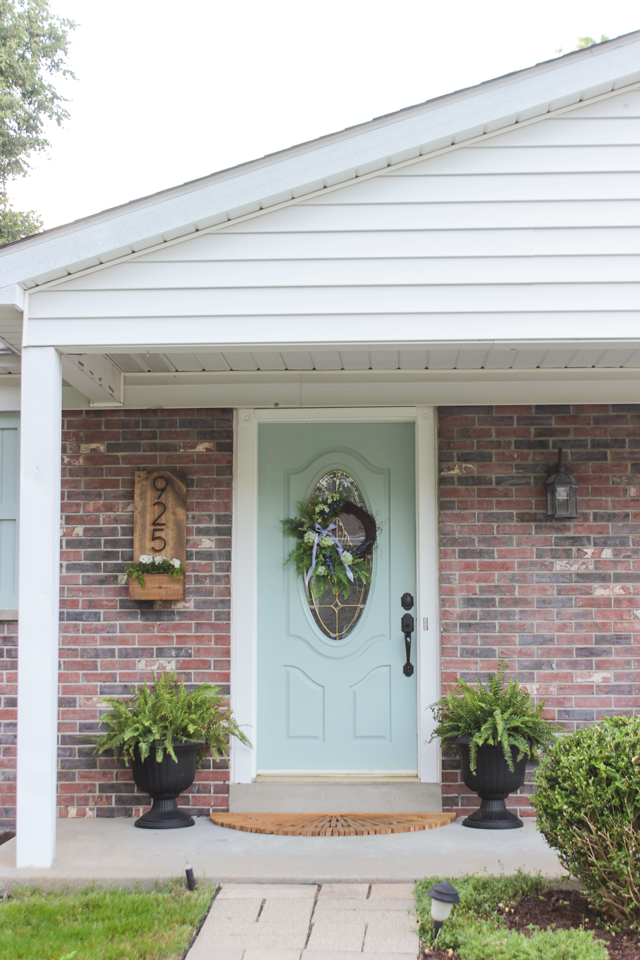
To see how I further updated our home’s exterior look below.
Article source: http://www.shadesofblueinteriors.com/diy-house-number-sign/


