I created my Metallic Rope Throw Basket in partnership with DecoArt . As always, all opinions and ideas are 100% my own.
Reason #642 that I love fall is cuddling up in cozy throw blankets. We really love throw blankets around here. So much so that if you walked into our living room, you might think that there was a herd of kids hiding somewhere underneath what would appear to be a collapsed fort of throw blankets on the couch. Nope, no kids under there… it’s just a menagerie of throws. I try to eliminate the fort look by styling the blankets draped over the corners of the couch, but that doesn’t work so well with the quantity we’re talking about here.
When You Can’t Find it, Make it!
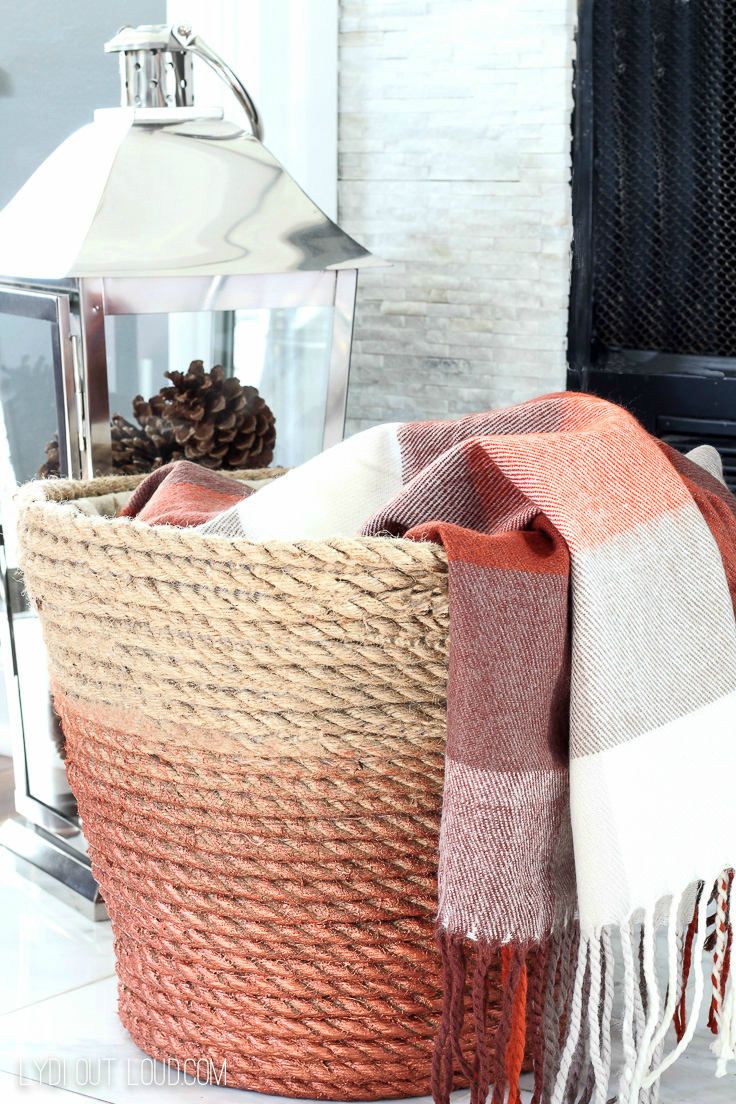
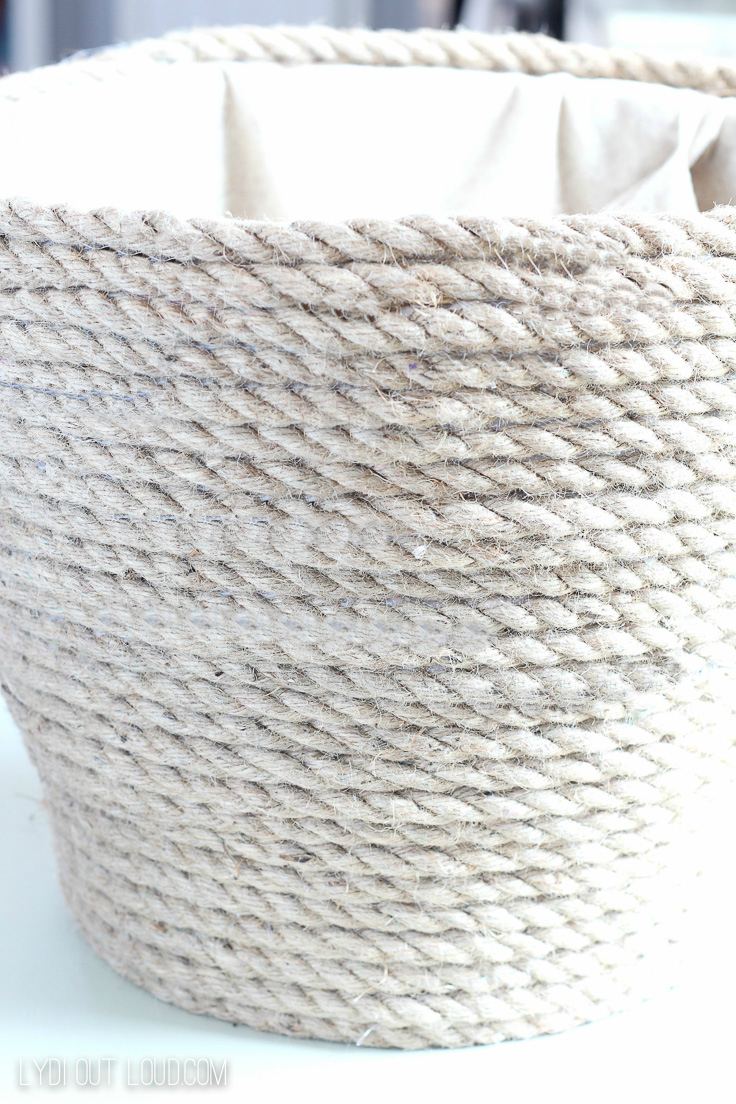
I love the look of a throw blanket draped in a rope basket on the fireplace hearth. As so often seems to be the case when you know exactly what you want, you can’t find it! That was my situation with the throw basket I had envisioned. But you know that isn’t going to stop me, it’s just an excuse for me to make a DIY basket!
I’m loving all things copper and all things jute right now, so I decided to marry them for my blanket basket. Follow along with me and make your own!
DIY Metallic Rope Throw Basket
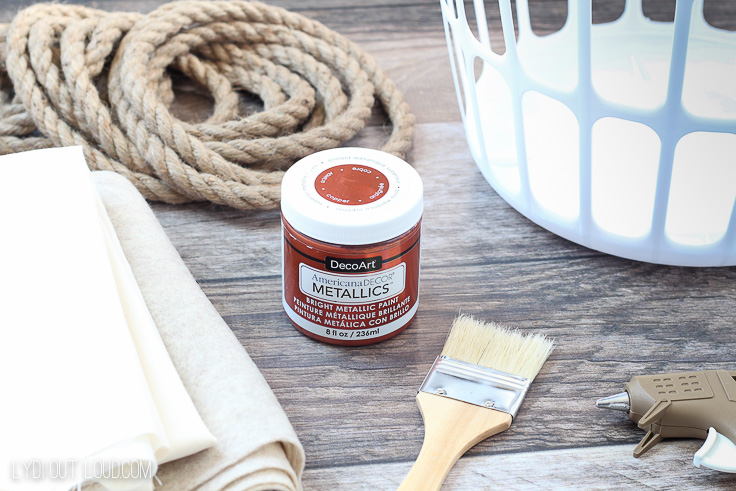
Supplies:
How to Make a Metallic Rope Basket :
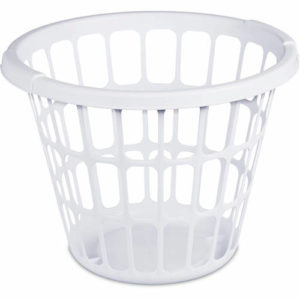
1. With your hot glue gun, attach the felt to the base of the laundry basket, folding and gluing pleats as you go.
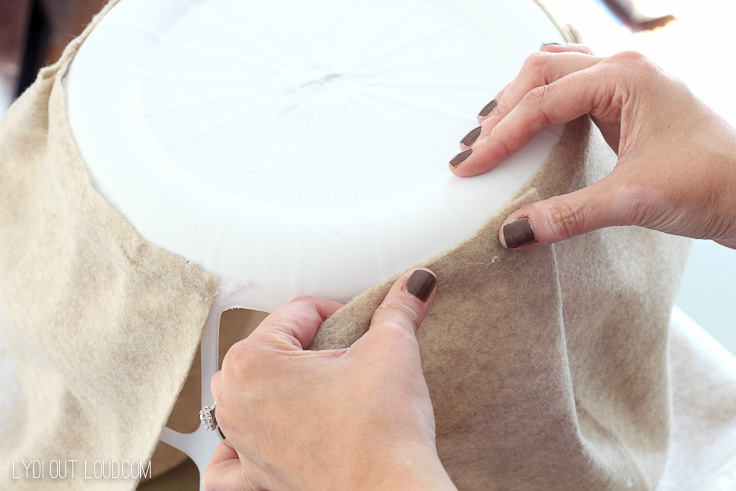
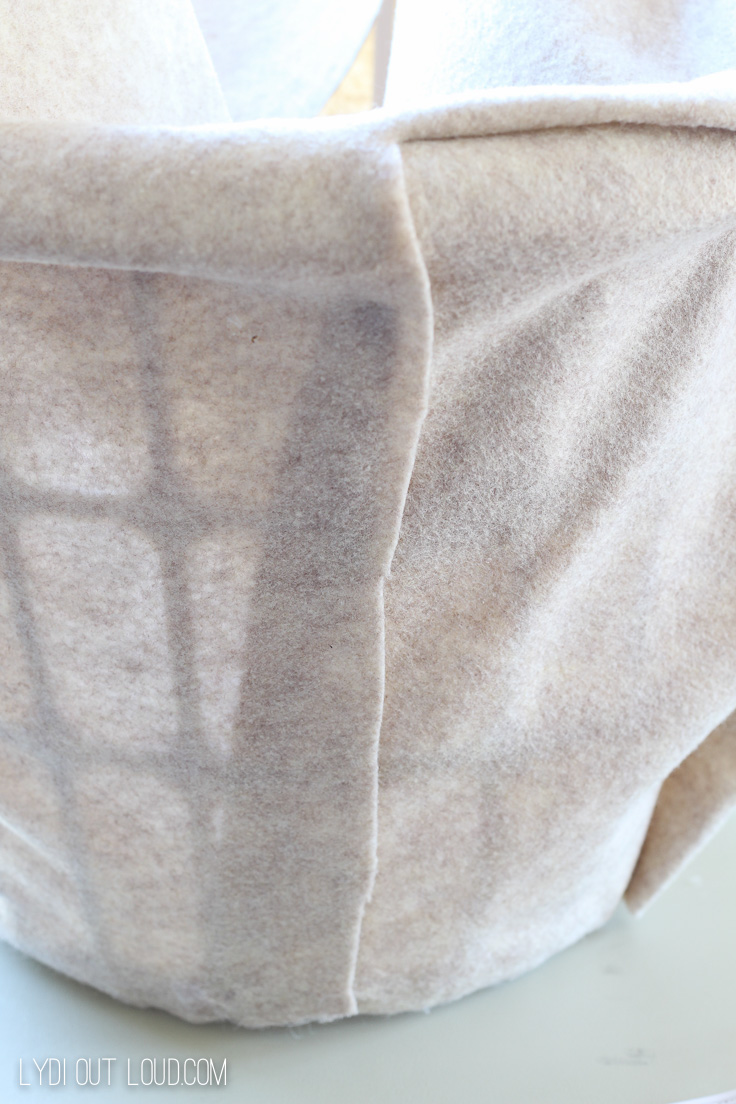
2. Cut off excess material around the side and glue the seam up to the top of the basket. You don’t want to cut off the felt at the top, you’ll use it later.
3. Starting at the base of the basket, hot glue the rope and wrap around the entire basket, stopping when the top is tucked just under the lip of the basket.
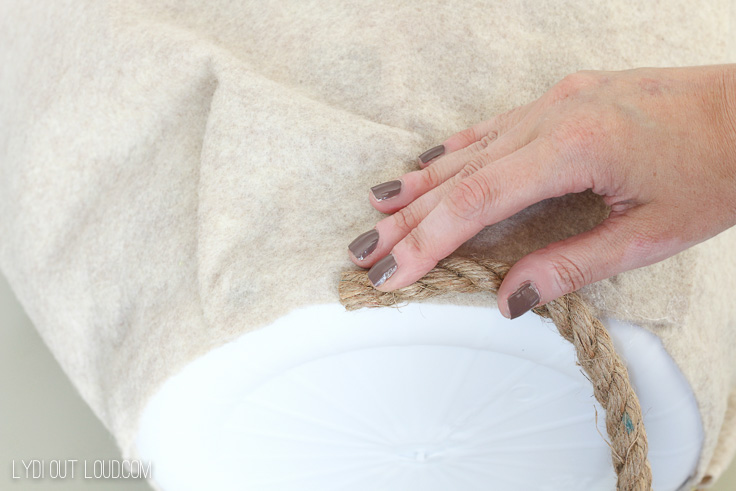
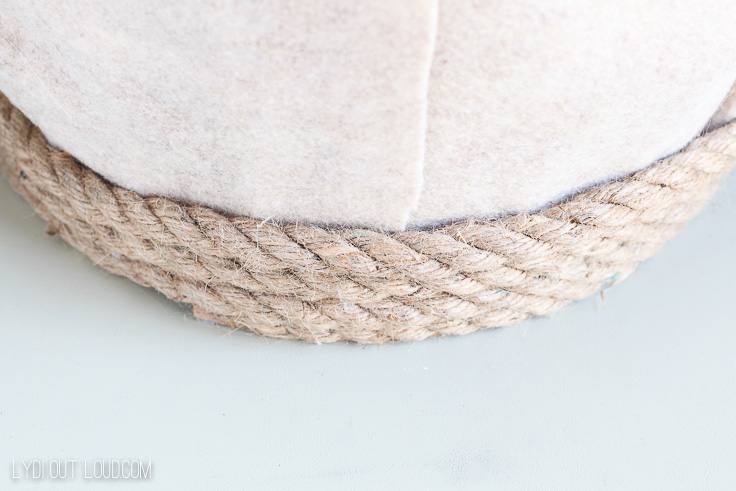
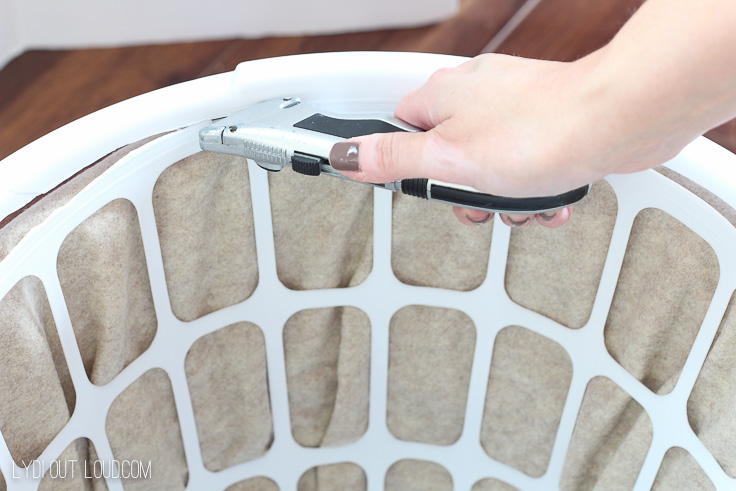
4. Fold the felt back so that it is hanging outside of the basket. Using a utility knife, cut off the top rim/handles of the laundry basket.
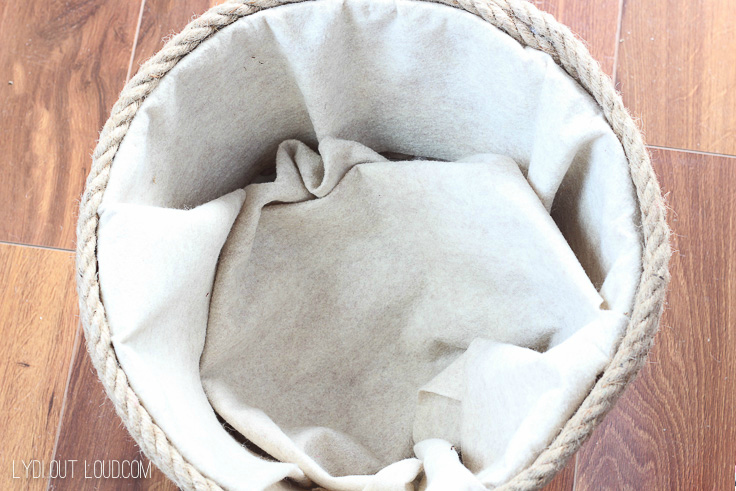
5. Tuck the material back into the basket and poof! It’s your basket liner!
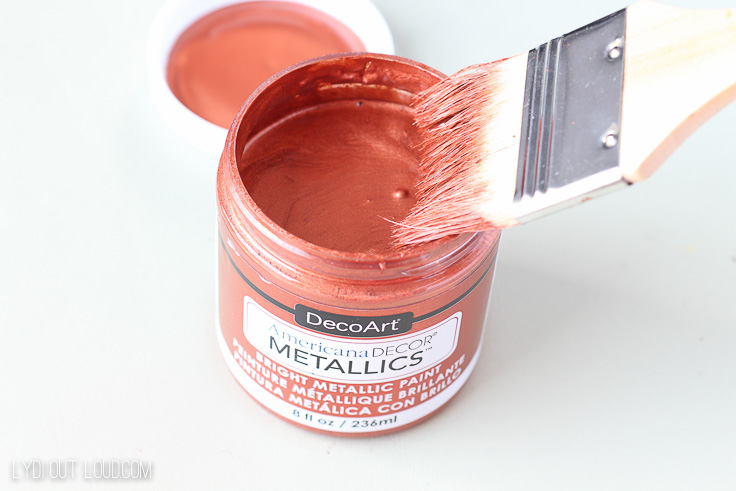
6. Now for best part, the paint! I color block painted the throw basket with a very subtle ombré, starting by adding a small amount of Americana Decor Metallics in Copper to my paint brush by dipping the brush in the jar and wiping off excess.
Starting my color block about a quarter of the way down from the top, I dry brushed the copper paint, starting at that point and working my way down to the base of the basket.
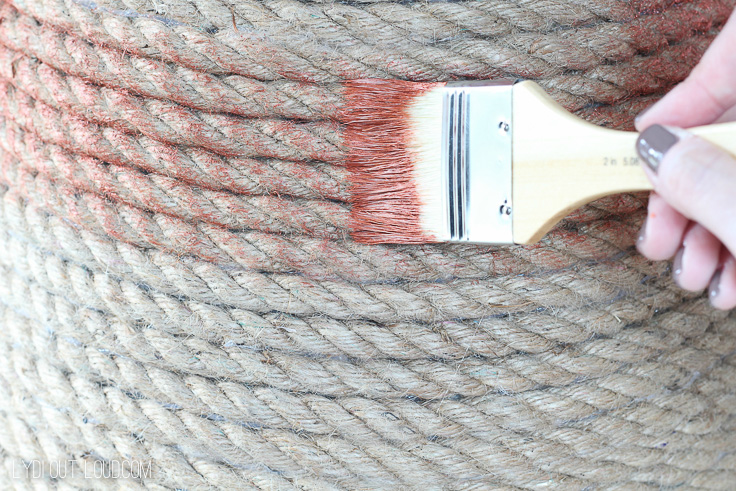
After the entire bottom color block was painted in the wash of copper, I went down to the base of the basket to build up the color. I really smooshed (technical term) the paint at the bottom, gradually lightening the smooshing and lessening the amount of paint I used as I worked my way up, creating the subtle ombré.
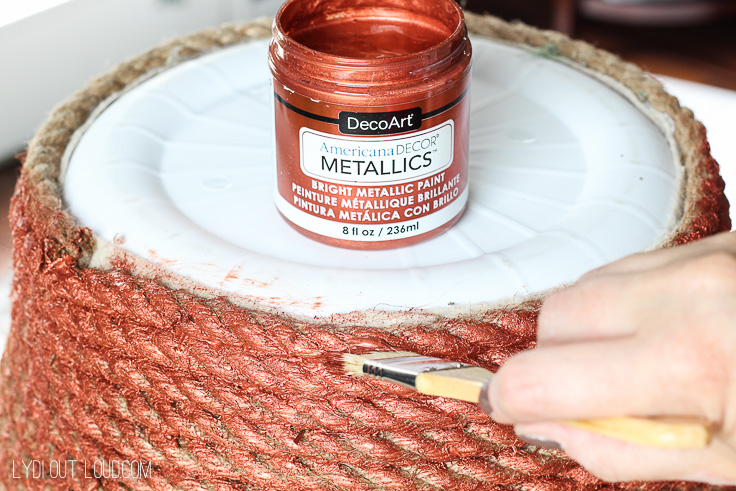
And that’s it, that easy! I really love the contrast in not only color, but in finish and texture as well. This throw basket is exactly what I imagined in my mind, but cost way less than had I actually been able to find it in a store and I had fun creating it. Win and win for the win!
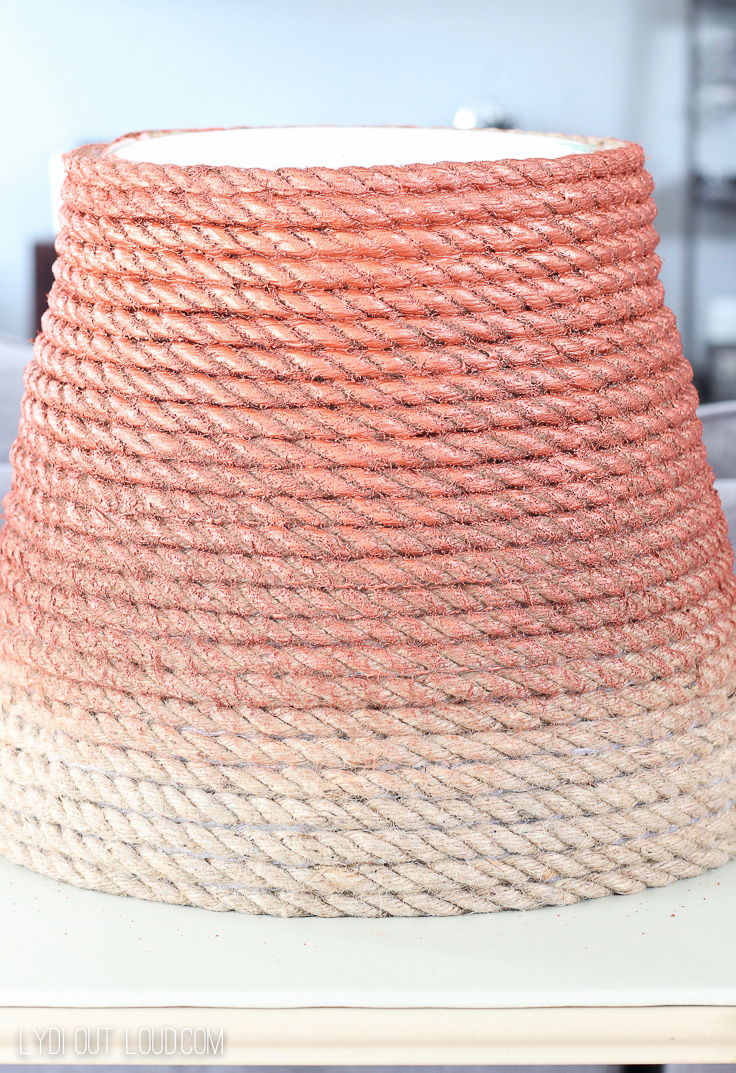
This rope basket is screaming to hold a throw (or 4), don’t you think?
Article source: http://lydioutloud.com/2016/09/15/diy-metallic-rope-throw-basket/


