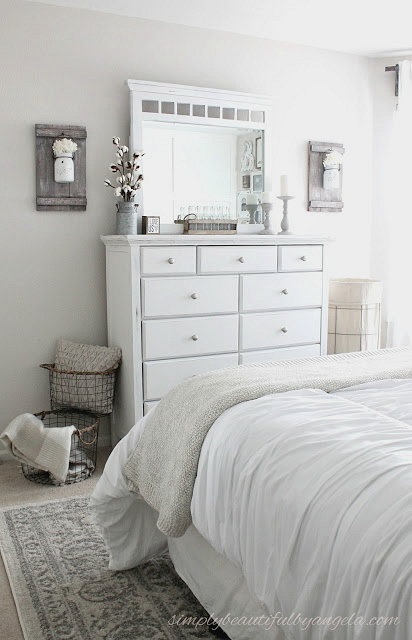
Bear in mind waaaaay back when I shared ourBedroom Transformationwith you all? It looks like that was ages back, right? Well first the holidays happened and after that Lucas’ initial birthday so alas, below I am nearly 3 months later on to ultimately obtain back to sharing a few of the tutorials for the lots of DIY jobs that went right into this area.
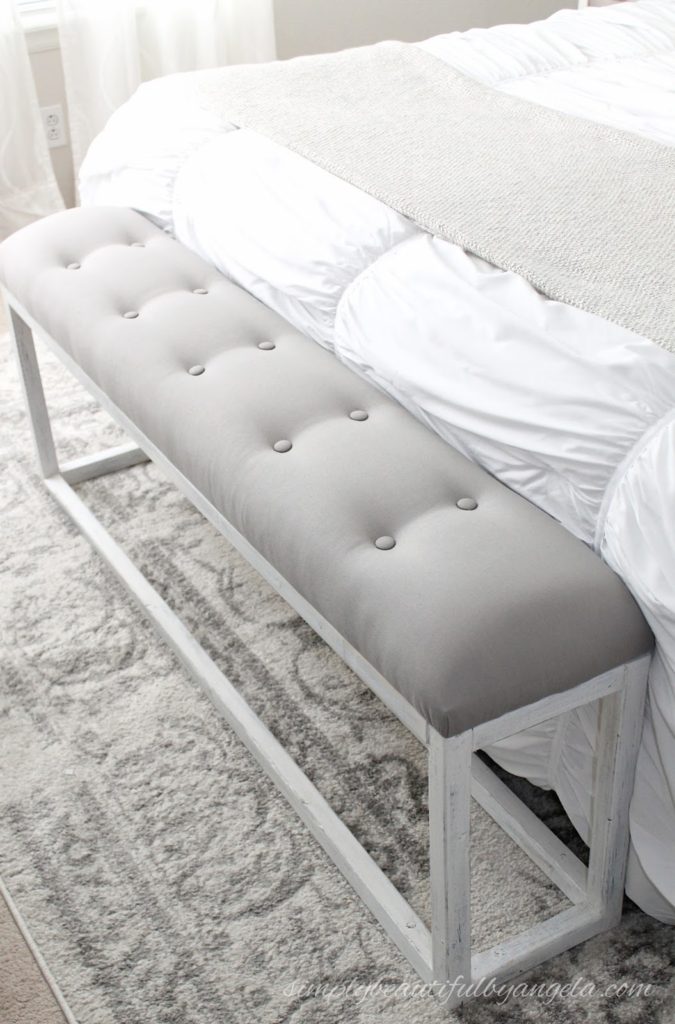
Up today is the bench at the end of the bed!
Throughout my original layout procedure for the One Space Obstacle I hadn’t also thought concerning putting a bench at the end of our bed. If you could remember, that area between our gigantic sleigh bed and also the dresser wasreallyconfined and also the dark furnishings made it also worse.
Nevertheless, when we secured the huge bed structure as well as replaced it with ourDIY Upholstered Headboardall of us of the abrupt had soooo much space! It’s hard to inform in this photo yet it’s the finest that I’ve reached show you the difference.
I have always loved the way that a bench considers completion of the bed. I seem like it kind of ties the entire space together and also acts as a prime focus for the room..
Considering that I didn’t strategy for a bench in the budget plan I didn’t have much money to deal with. As well as after not being able to discover anything lengthy as well as skinny enough online, I obtained creative and also begin thinking up strategies to earn one myself. As well as thankfully it turned out to be specifically what I envisioned!
Materials Utilized:.( Affiliate links could be attended to comfort. For even more information, see my full disclosure.here.).
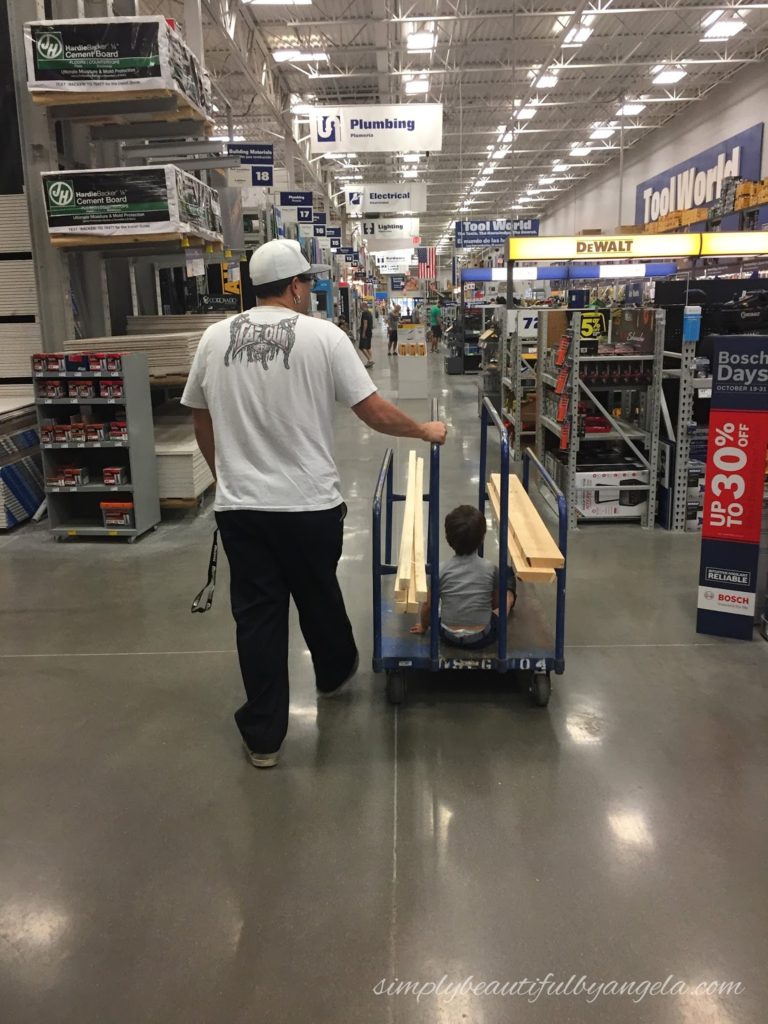
The amount of wood needed for this bench is minimal which is truly good! Simply a few 2 \u00d7 2 furring strips which are around $2 a piece and also a 2 \u00d7 6 which is around $6 ( we had it reduced into 2 5 foot items).
( Tristan loves it when we require lumber because that implies he reaches ride on the flatbed!).
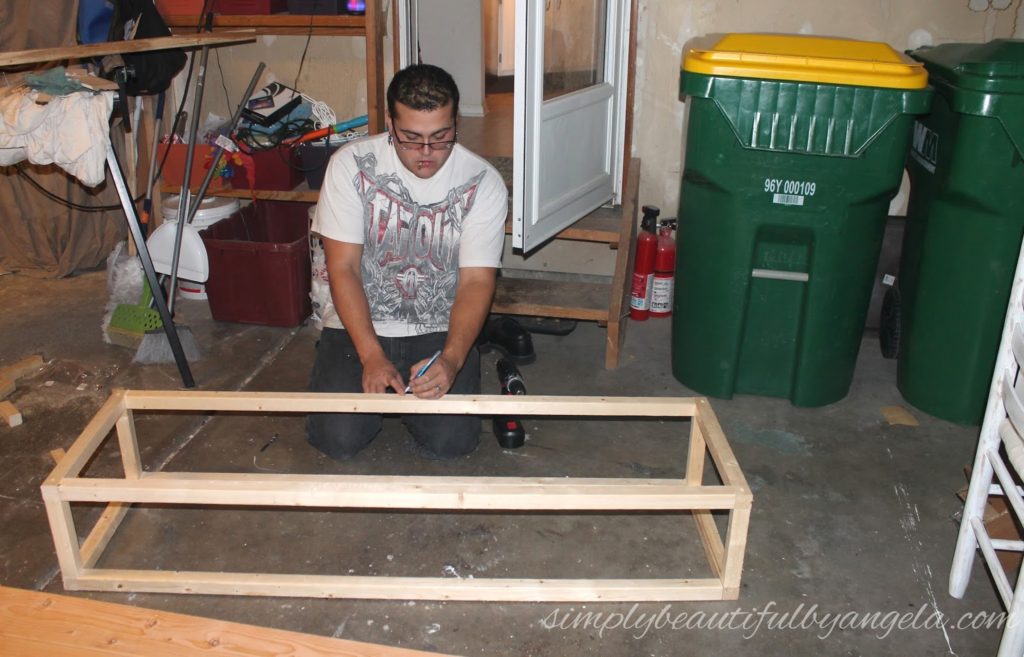
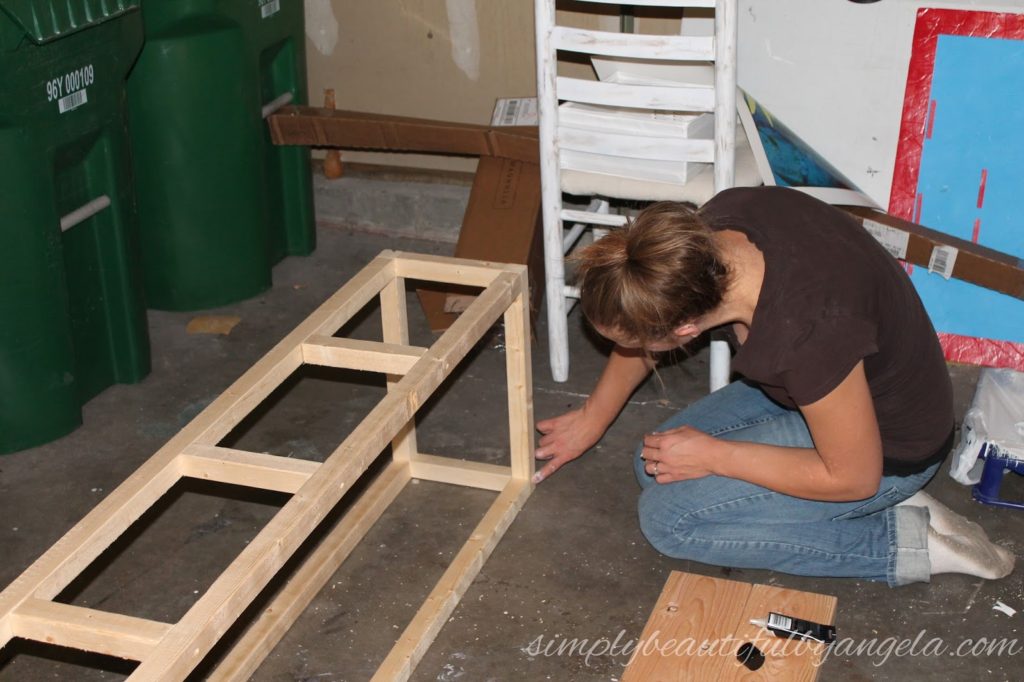
I watched the boys while the hubby assembled the frame for me. I am sooo lucky that he’s always willing to help his crazy wife out with her wild ideas!
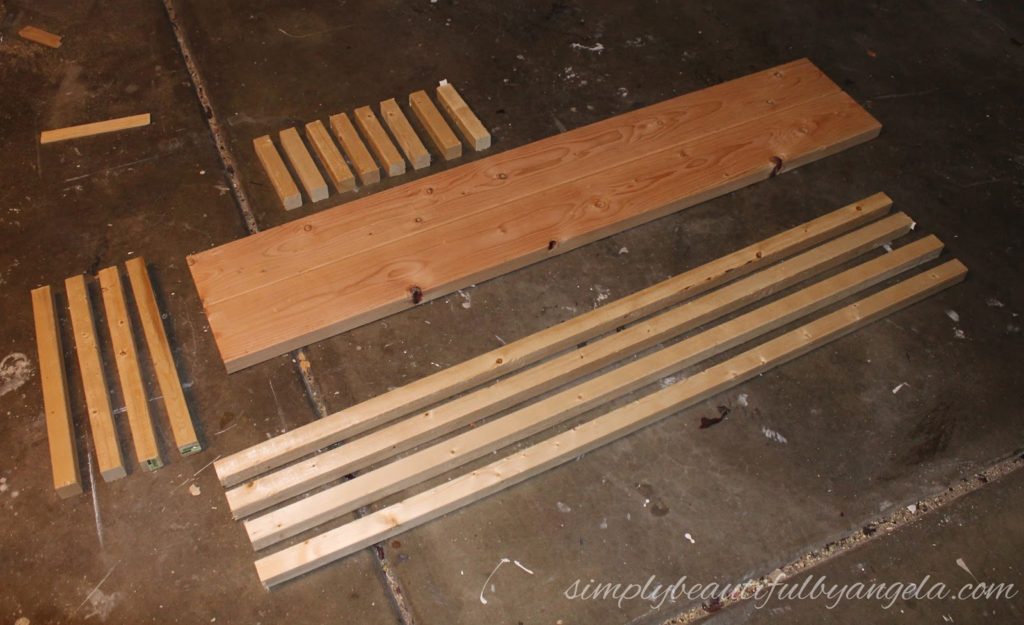
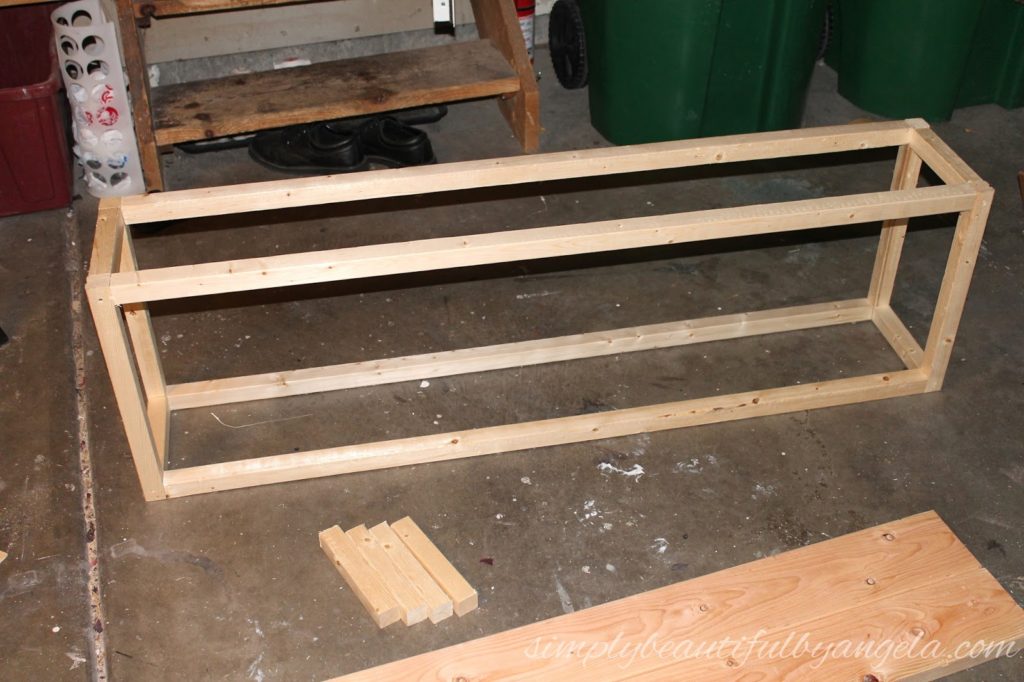
He began but cutting all of the wood as follows:
4-2x2s at 57″
4-2x2s at 18″
7-2x2s at 8″ (8 are pictured but we only ended up using 7)
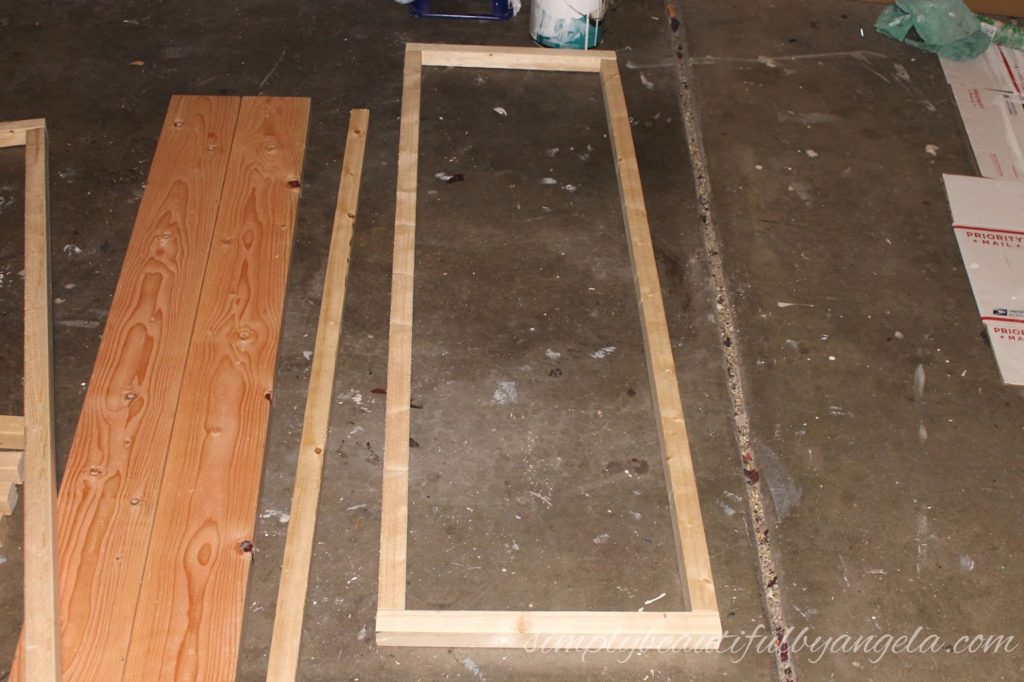
He connected two 18″ pieces to two 57″ pieces using wood screws to create the first side.
( please aim to ex.use our problem of a garage that you’ll get a peek of in these images– it’s most definitely one of the most unpleasant component of your house that.I can’t ever appear to maintain clean or organized!).
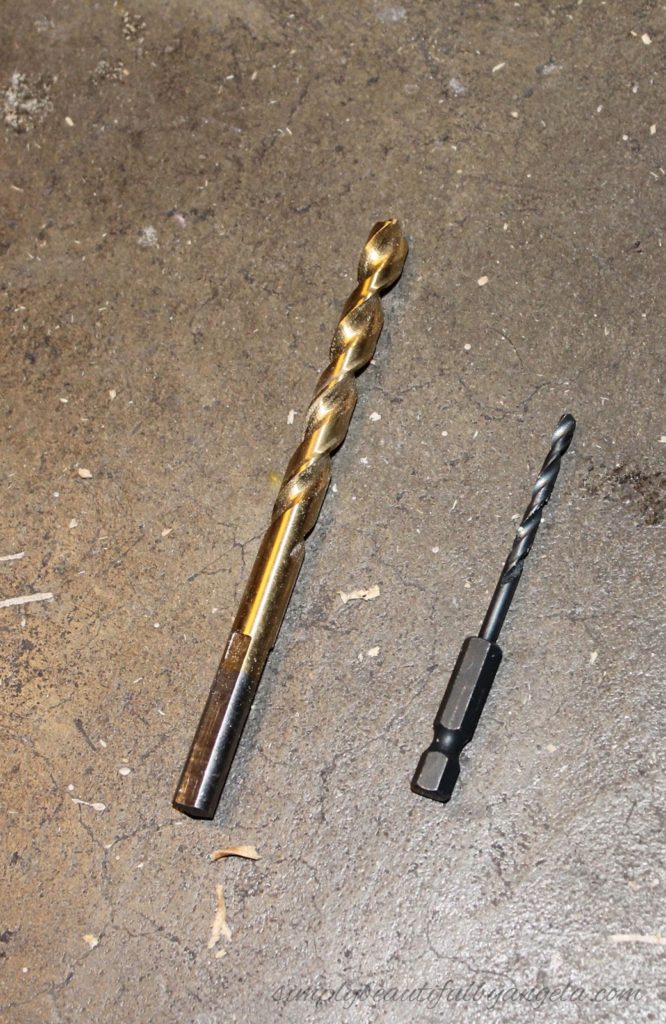
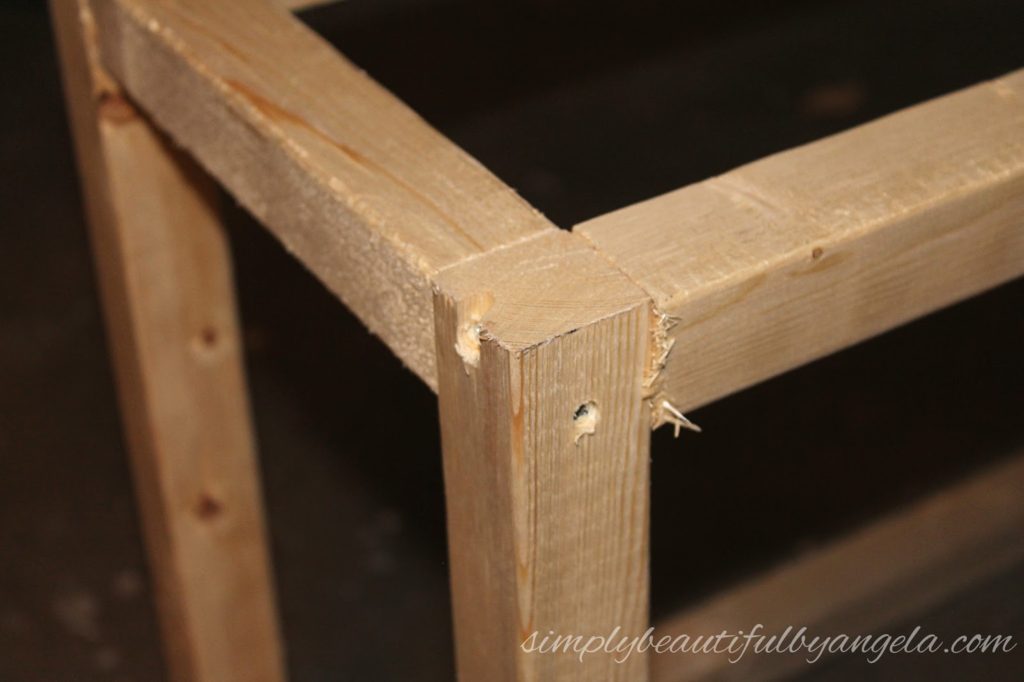
He used a drill bit a little bit larger than the screw heads to create holes to countersink the screws into.
He then did the same thing to create the other side and then connected the two sides using the 8″ pieces.
Finally, he added three 8″ pieces across the top to serve as support.
Here’s my hero focused and hard at work measuring out where to put the supports.
After that it was time for me to take over! I walked around and filled all the openings with timber filler.
More DIY Home Decor Ideas and Resources
WE SPEND MANY HOURS A DAY FINDING THE BEST HOME DECOR RESOURCES. IF YOU FIND THIS ARTICLE HELPFUL, PLEASE SHARE IT SO OTHERS CAN MAKE THEIR HOUSE A HOME TOO
Once that dried I used my trusty orbital sander to go around and sand the entire piece. I didn’t worry about getting it too perfect since I like the rustic look but I made sure to get rid of the excess wood filler as well as any splintering.
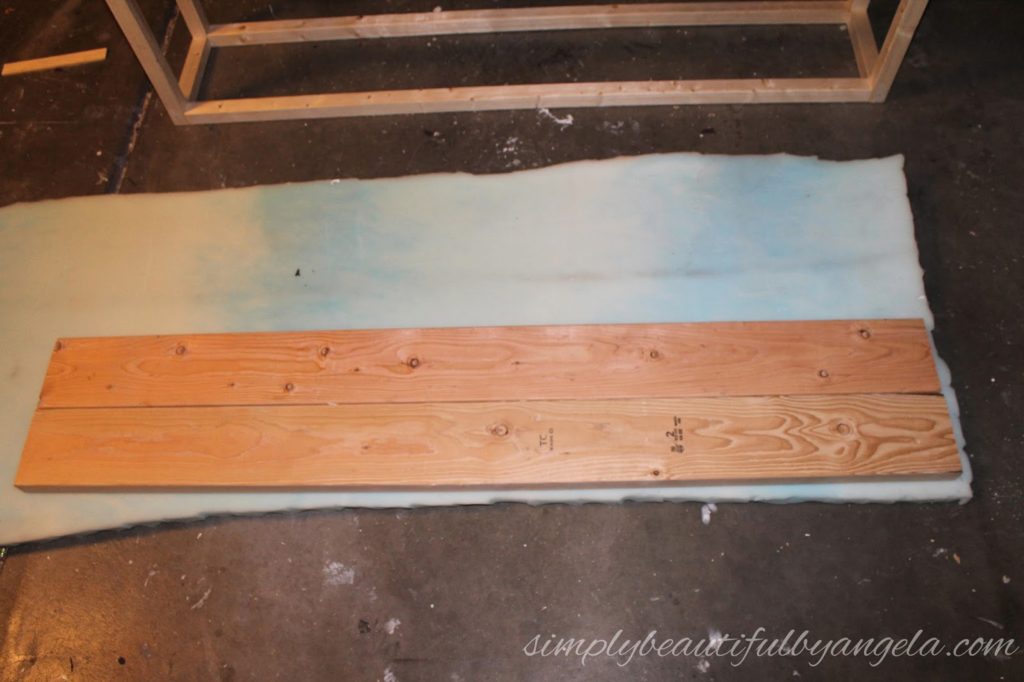
For the top I attached the two 2×6 pieces with liquid nails to make it easier to upholster. If you are just going to stain your top you could just attach the two separate pieces to the frame. Once the liquid nails was dry I sprayed my top with some tacky adhesive and then laid it on some left over foam mattress topper that I had from the headboard.
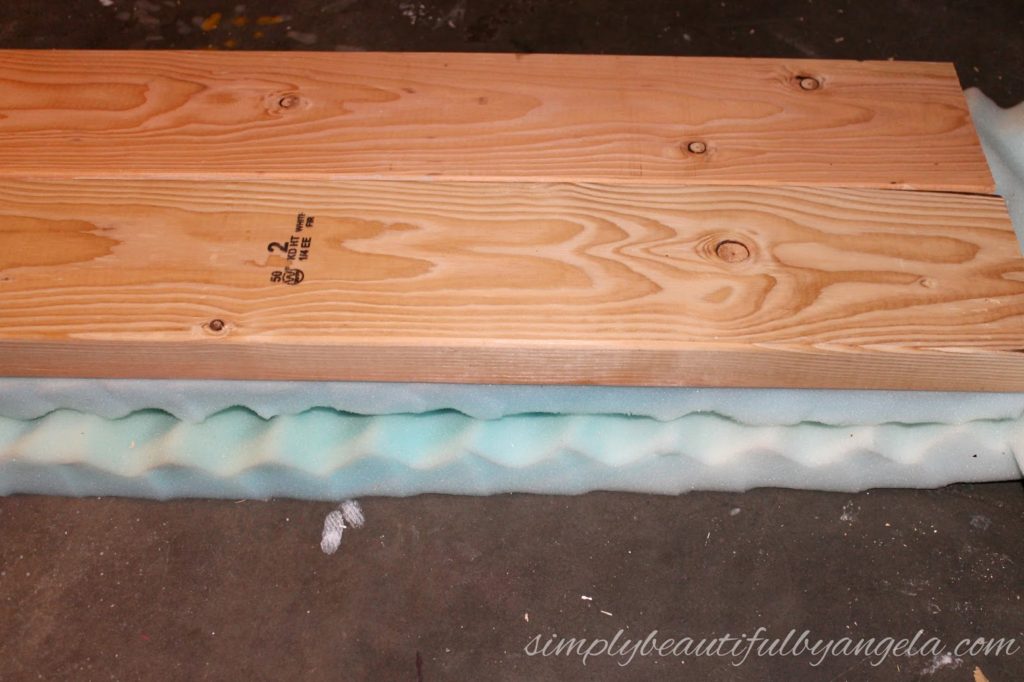
I trimmed it as cleanly as I could. I learned my lesson about sloppy foam edges with the headboard…
Since I had enough foam I doubled it up.
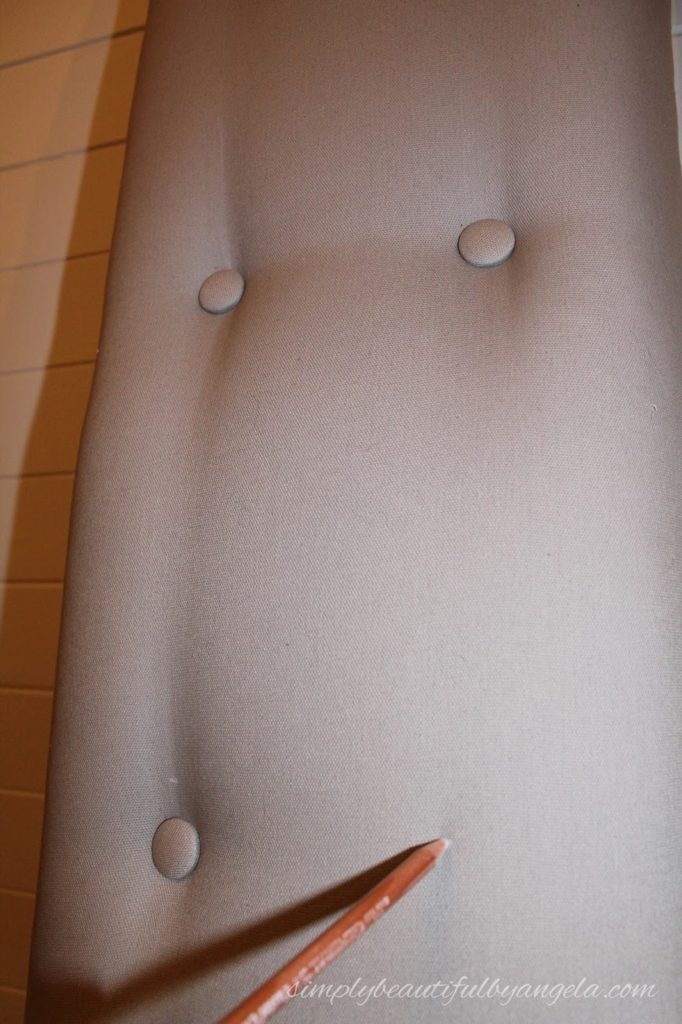
I stapled first the batting and then the fabric. 2 yards of fabric worked perfectly.
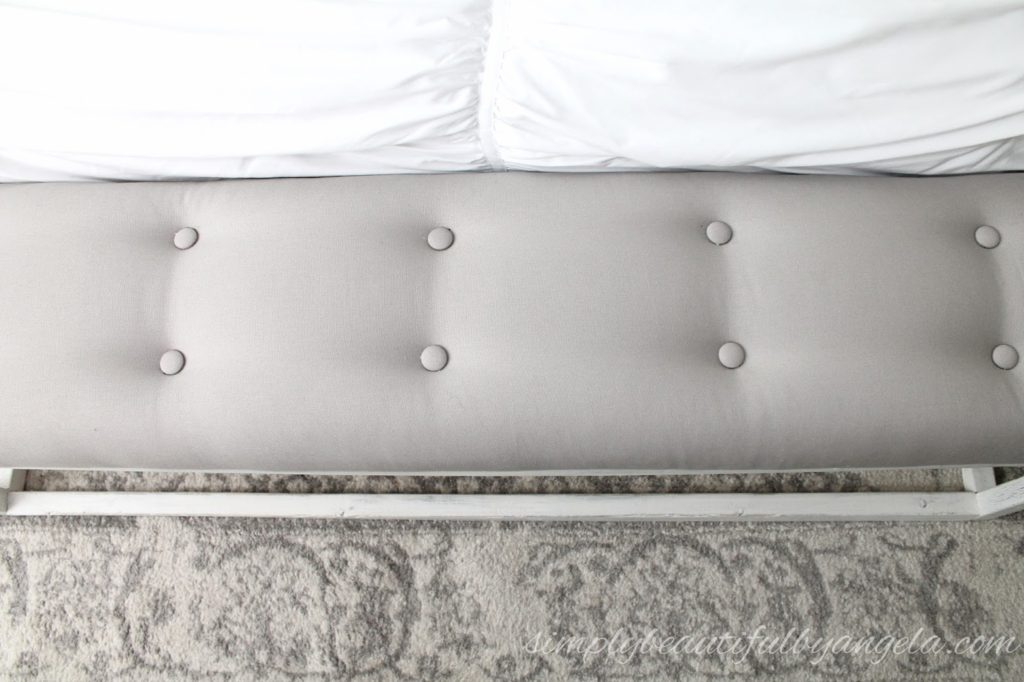
And finally it was time for the tufting! I used the same process as I did for the head board.Given that it was crucial to have 2 straight lines of switches I made certain to mark where each one must go on the front with a chalk pencil..
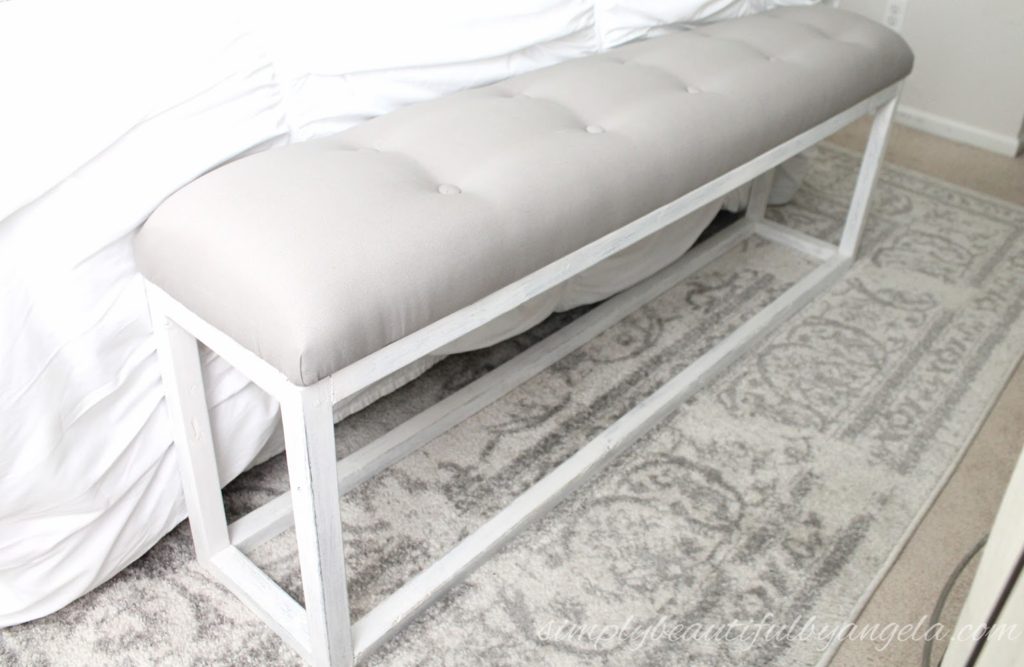
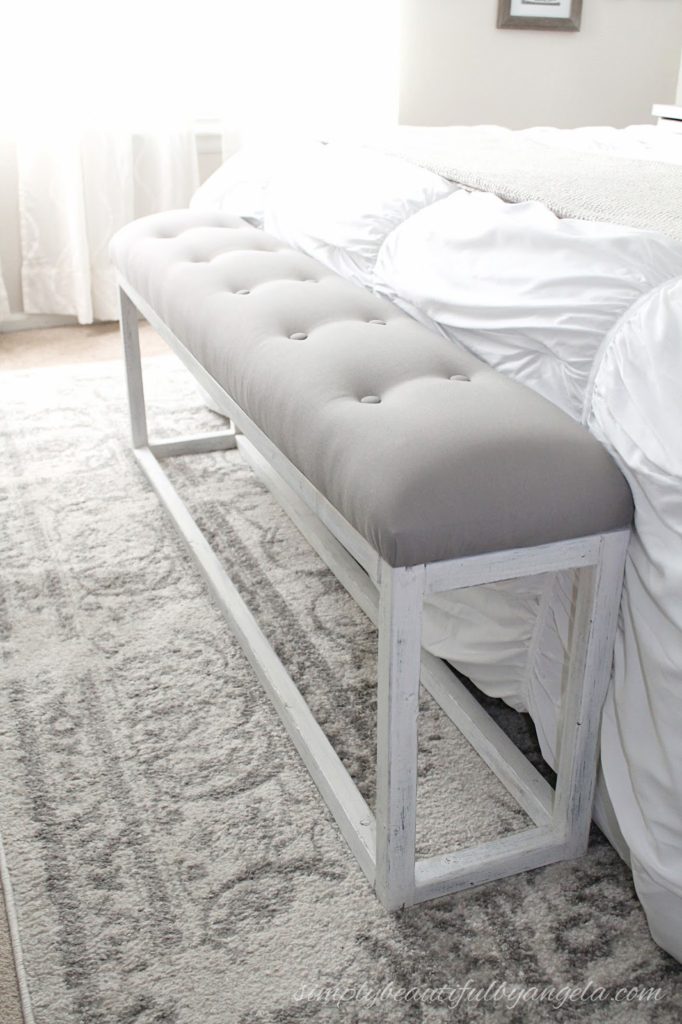
After attaching the top to the frame with wood screws I placed this baby at the end of our bed!
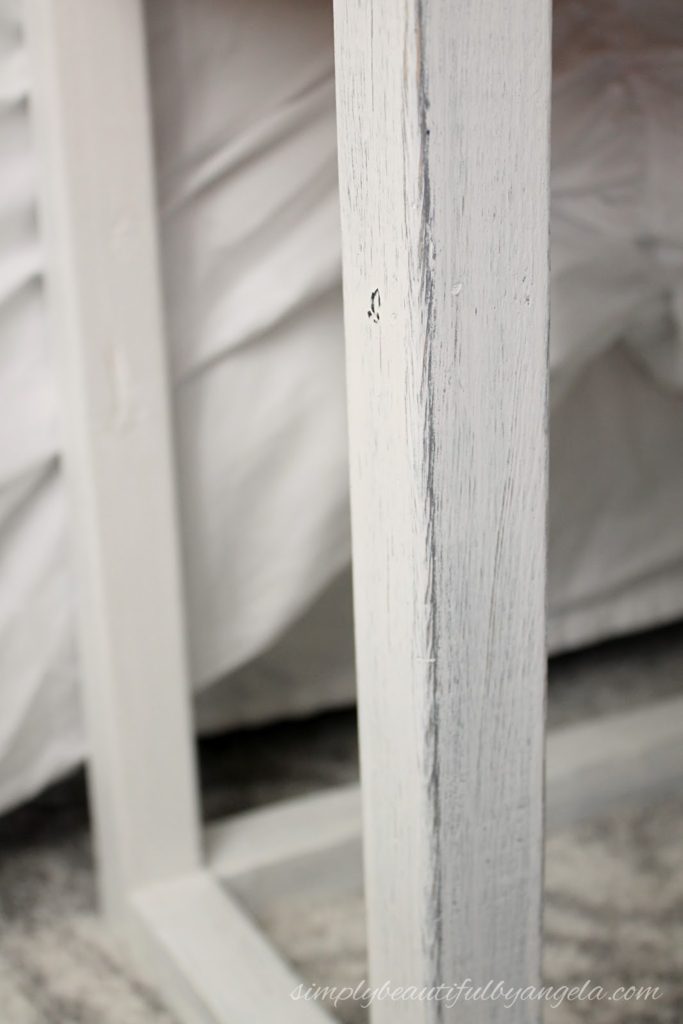
I almost stained the frame but ultimately decided to go with a distressed white and gray painted look.
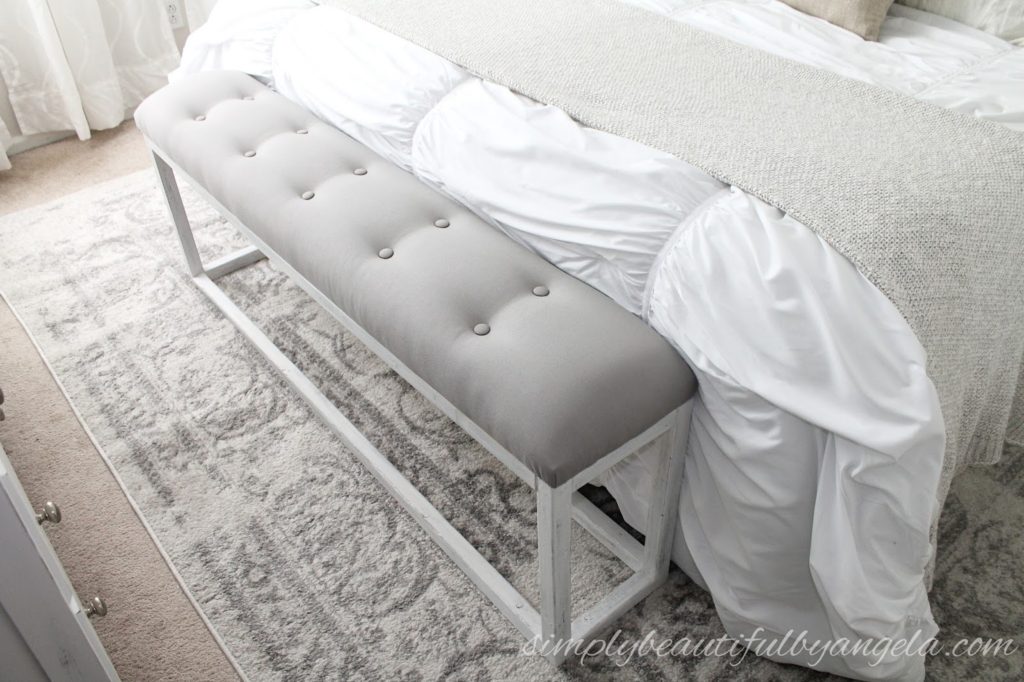
It’s perfect for sitting down to put socks on and to drape our bed throw over when it’s too warm to use it on the bed.
I just adore how it turned out. And since we already had everything except the wood we only spent a little over $16 so it fit right in with our budget!
Have a happy week friends! Linking up to these.outstanding events.