25 Budget Kitchen Ideas That Make an Old Kitchen Look New
Most kitchen renovations cost tens of thousands of dollars and take weeks to complete. But the truth is that a huge portion of what makes a kitchen look dated or tired has nothing to do with the bones of the room. It is the cabinet color, the hardware, the lighting, the backsplash, and a handful of small details that are all very much fixable without touching the actual structure. This list is about working with what you have. The cabinets can stay. The layout can stay. Even the countertops can stay in most cases. What changes is everything on the surface, and surfaces are where kitchens show their age first and where they respond best to affordable updates. These 25 ideas range from completely free to a couple hundred dollars for the bigger projects, and all of them make a kitchen look genuinely newer and more cared for.
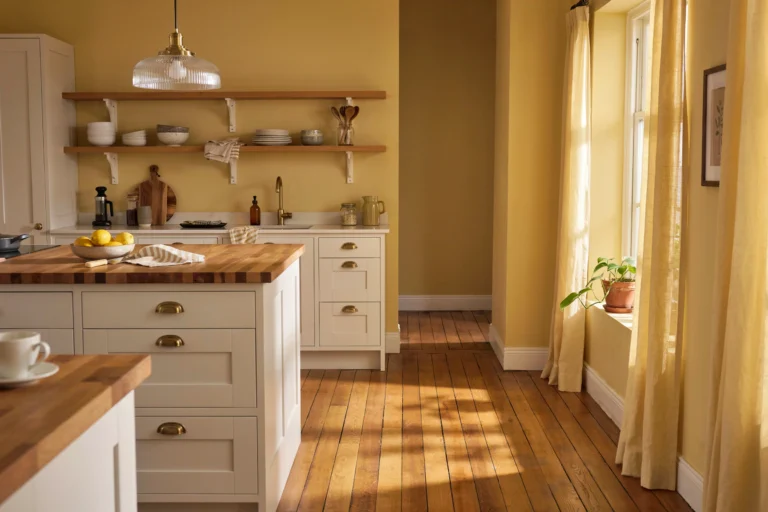
1. Paint the Cabinets
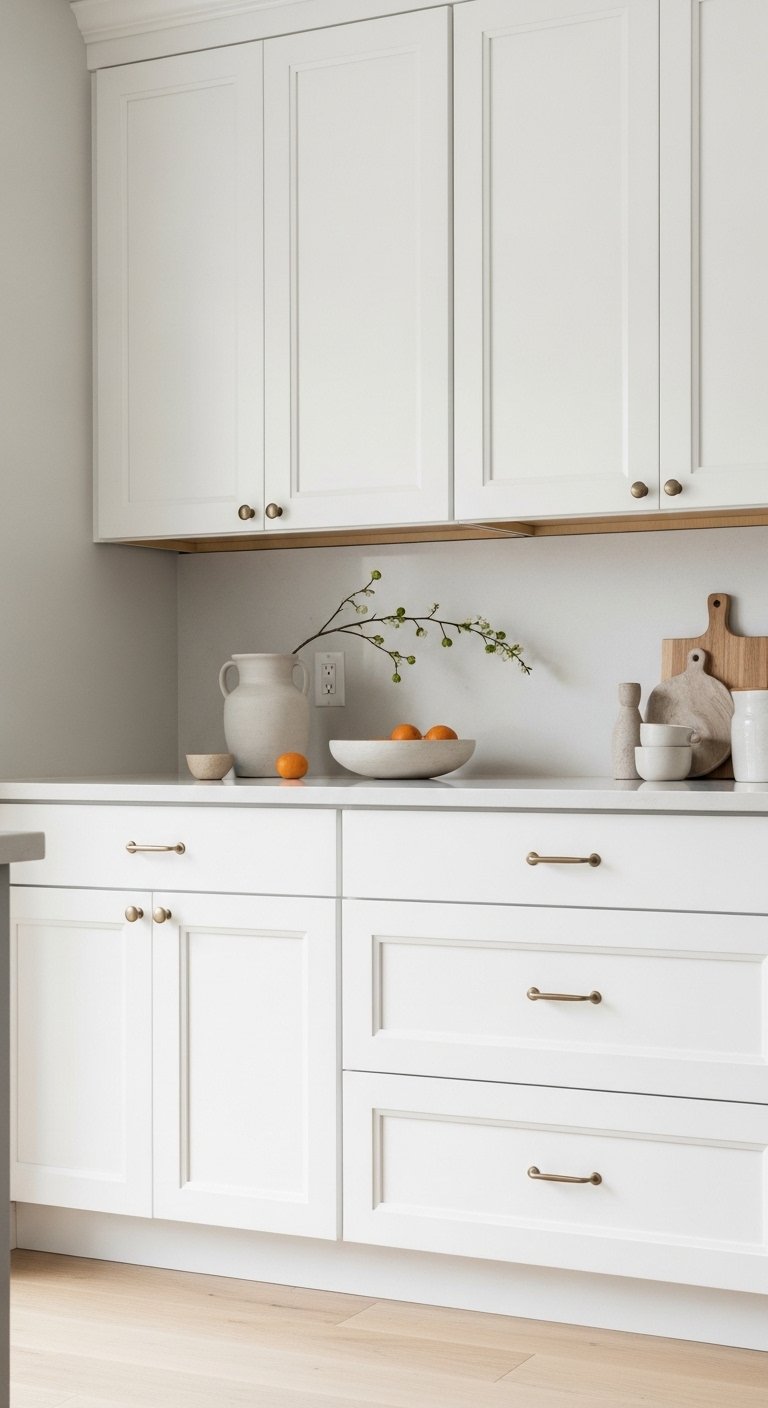
Painting kitchen cabinets is the single highest-impact change you can make to an old kitchen without touching the layout or replacing anything structural. Dated wood-tone cabinets that have aged to a orange or yellow hue can be completely transformed with a coat of white, warm cream, soft sage, or muted navy. The materials needed are a good bonding primer, cabinet-specific paint in a satin or semi-gloss finish, and a small foam roller and brush set. Remove the cabinet doors and paint them separately for the best finish. Lightly sand between coats for a smooth result. The whole project for an average kitchen typically costs between fifty and one hundred fifty dollars in paint and supplies, and the visual change is so dramatic that the kitchen genuinely looks like a different room when it is done. This is the most worth-it DIY project in kitchen refreshing by a significant margin.
2. Replace the Hardware
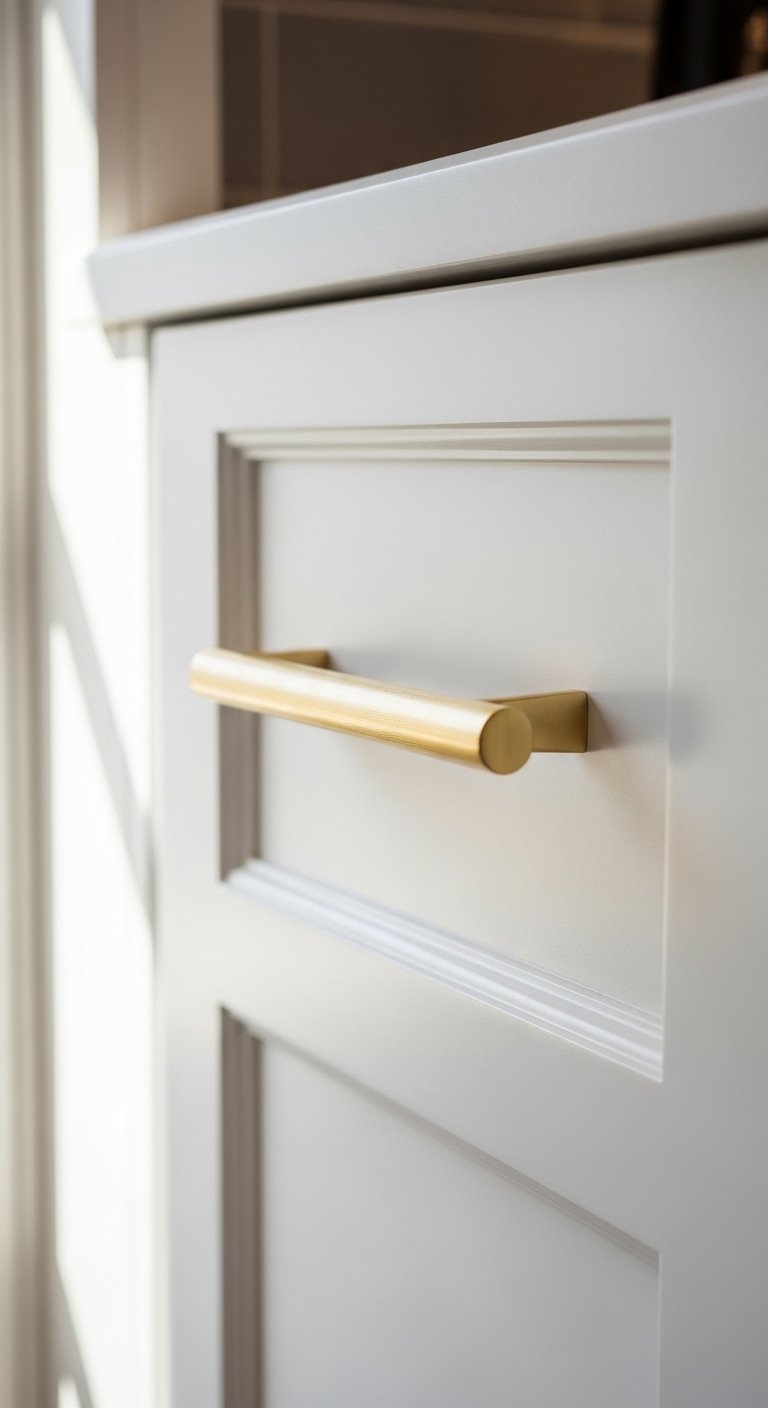
Swapping out old cabinet pulls and knobs for updated hardware is a small job that changes the look of the entire kitchen. Dated brass pulls from the 1990s, worn chrome knobs, or mismatched hardware in varying finishes make even clean, well-functioning cabinets look old. Replacing them with brushed gold, matte black, satin nickel, or ceramic hardware gives the cabinets an immediate update that reads as a design decision rather than a patch job. Measure the hole spacing on your existing pulls before ordering, as most standard cabinets use a 3.75-inch or 5-inch center-to-center measurement. A full kitchen’s worth of hardware typically costs between forty and one hundred dollars depending on the style and number of cabinets. This project requires only a screwdriver and an afternoon. The difference, especially when combined with freshly painted cabinets, is genuinely striking.
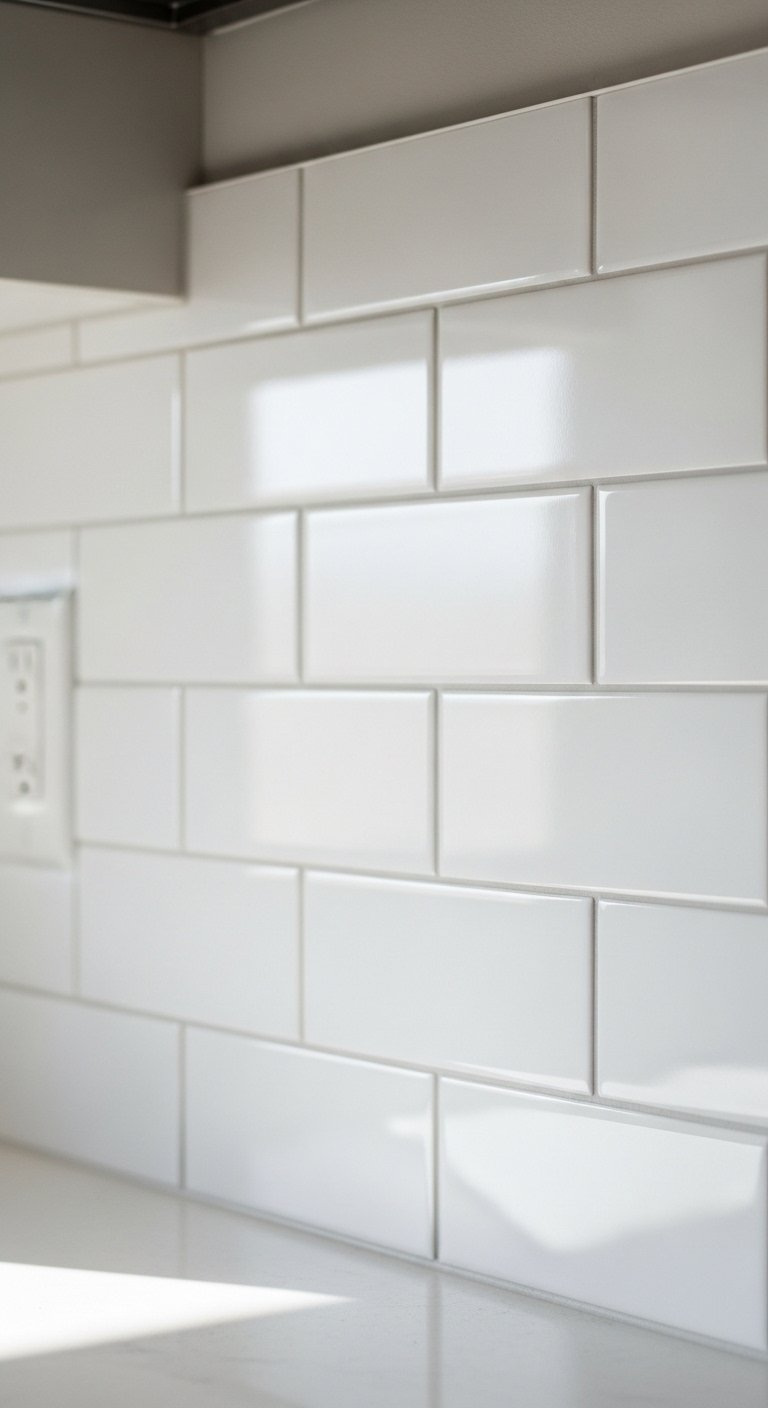
3. Peel-and-Stick Backsplash
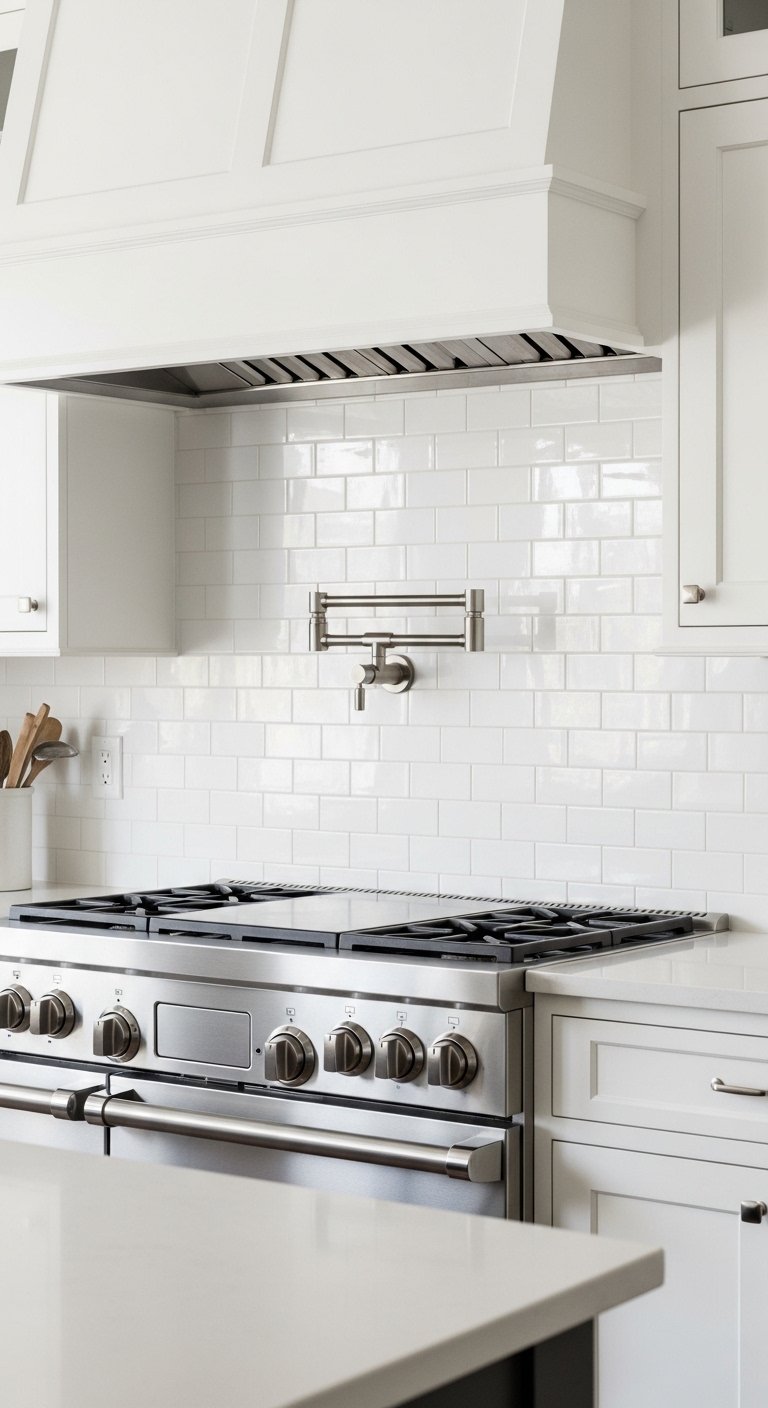
A peel-and-stick backsplash is one of the most popular budget kitchen updates because it gives the visual impact of a tile renovation without the cost, mess, or permanence of actual tiling. Modern peel-and-stick backsplash options have improved significantly and include convincing versions of subway tile, geometric patterns, marble-look tiles, and textured stone. They apply directly to a clean, smooth wall surface and can be cut with scissors or a utility knife to fit around outlets and odd edges. The result looks better from a few feet away than it does up close in most cases, but in normal kitchen use and in photos it reads as real tile. Removing it is also relatively straightforward, making it an excellent option for renters. A standard kitchen backsplash area can typically be covered for between thirty and eighty dollars in peel-and-stick tile panels.
4. Add Open Shelving
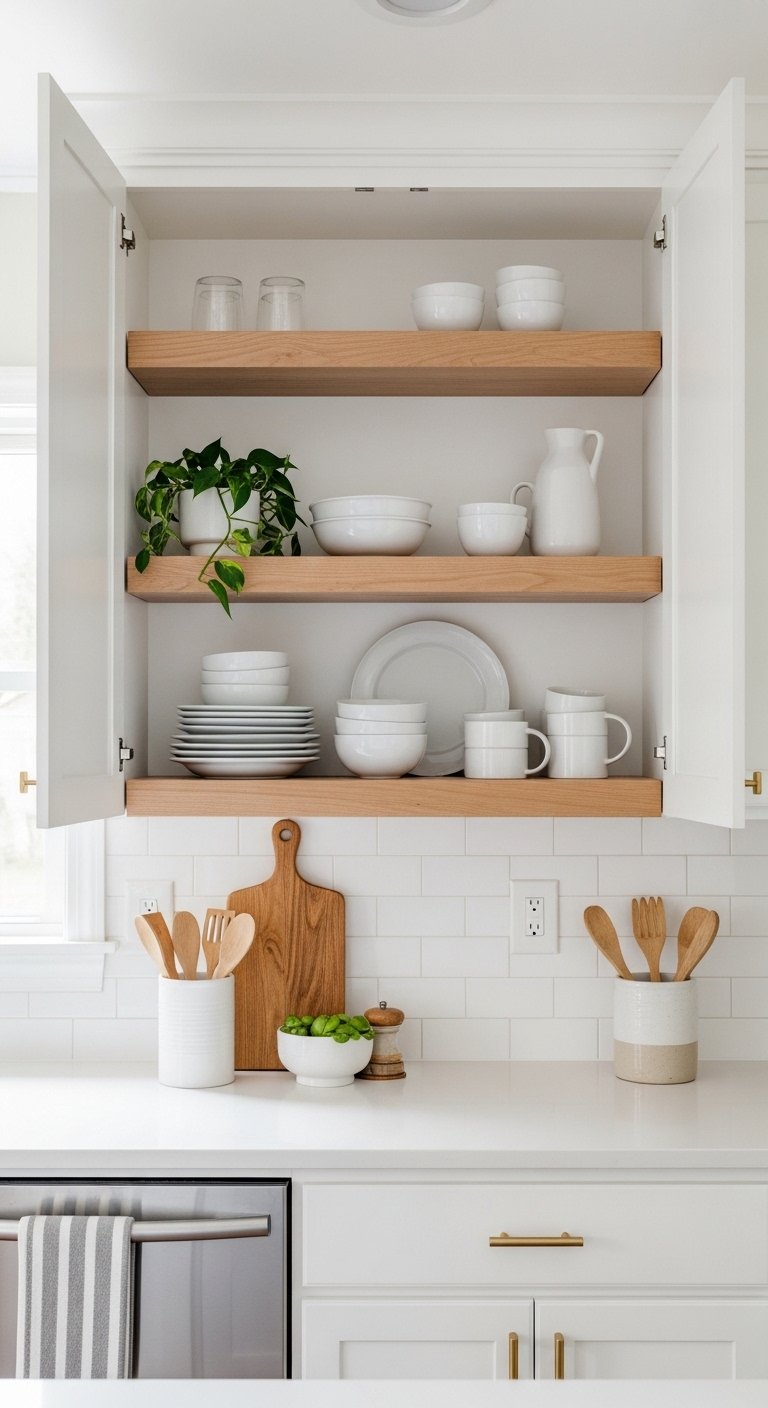
Removing one or two upper cabinets and replacing them with open floating shelves is a budget-friendly update that changes the entire visual weight of a kitchen. Solid upper cabinets feel heavy and can make a kitchen feel boxed in. Open shelves in their place create visual breathing room, make the kitchen feel taller by letting the eye move up to the ceiling, and give you a surface for displaying dishes, plants, and small decor items that make the kitchen feel personal and lived-in. The shelves themselves can be cut to size from standard lumber at a hardware store and finished with paint or stain to match or complement the existing cabinetry. Floating shelf brackets are widely available and affordable. The cabinet removal leaves holes in the wall that need patching and painting, which adds a little time but is manageable for a confident DIYer.
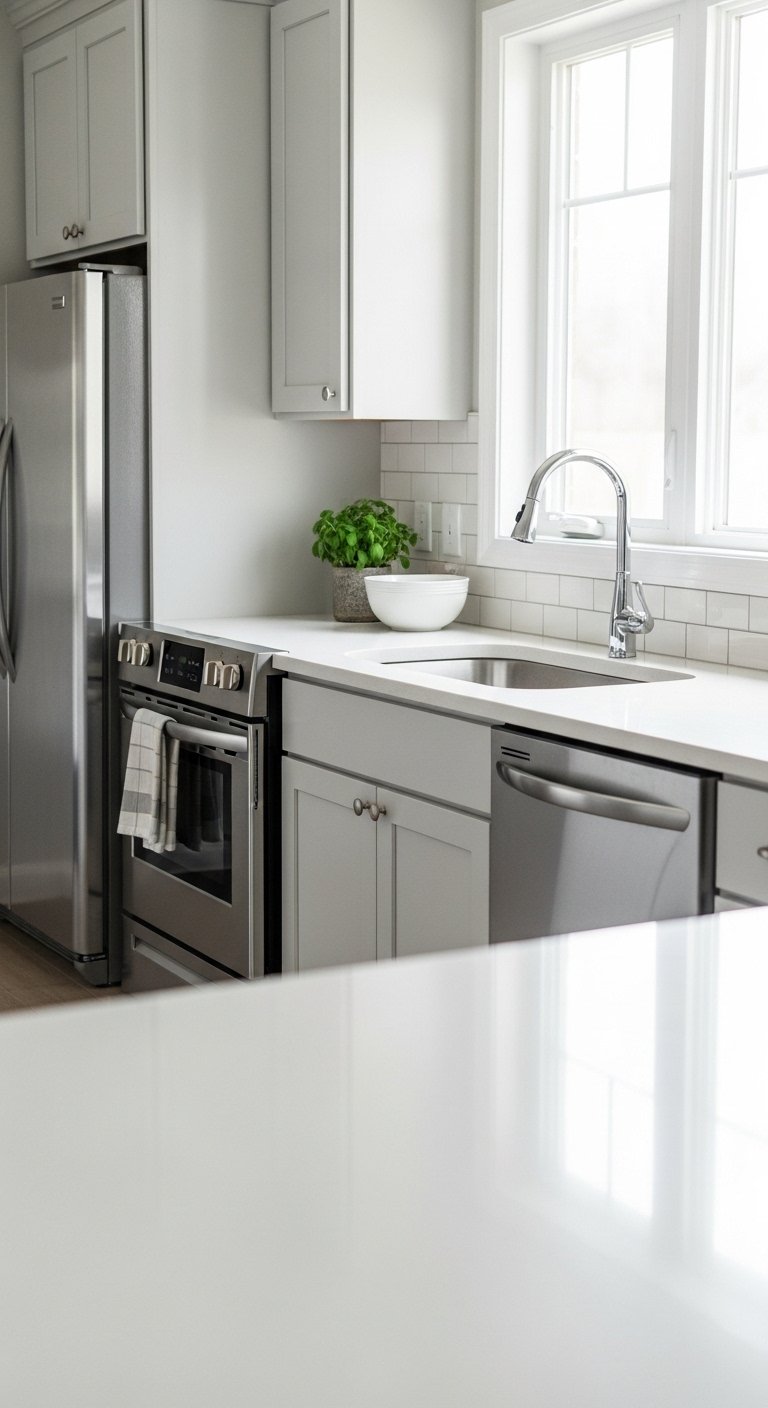
5. Update the Faucet
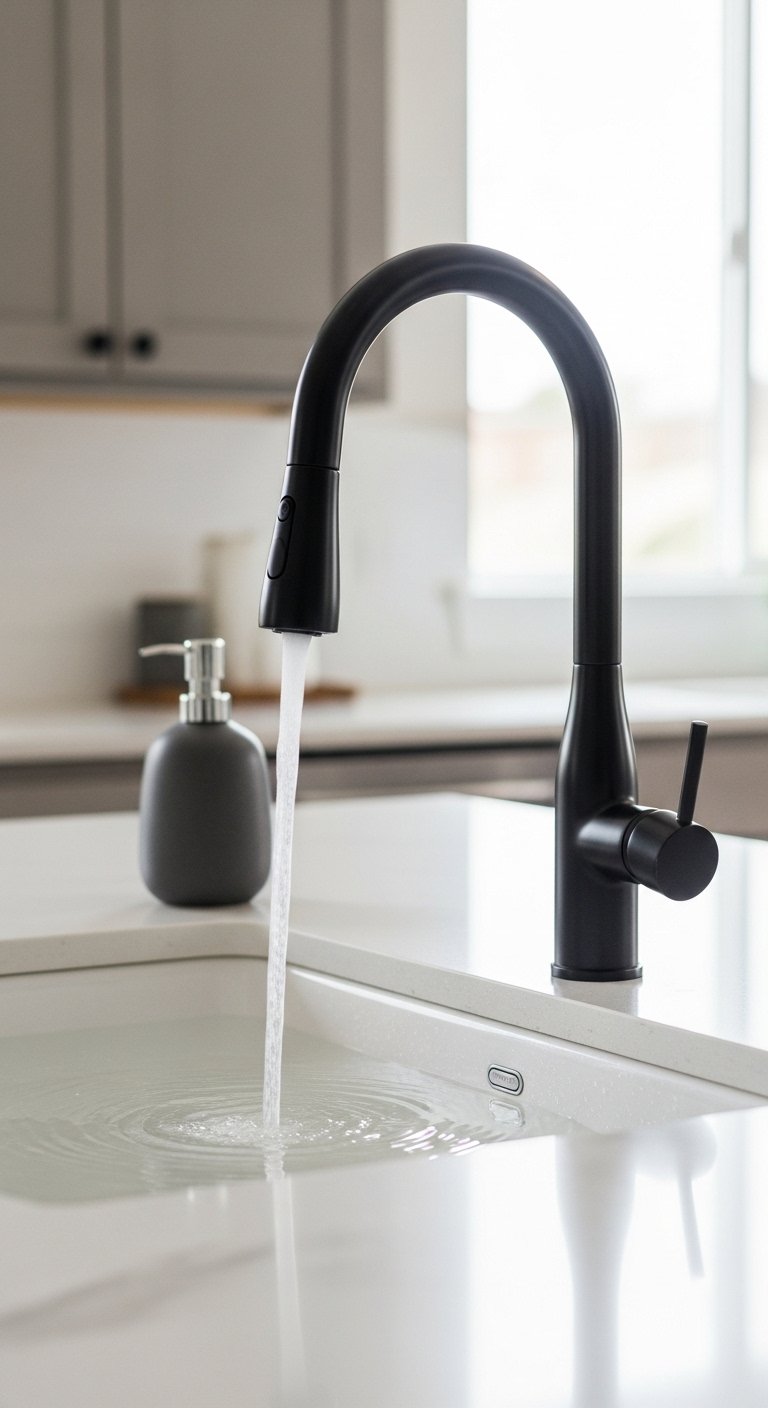
A kitchen faucet is one of those things that ages a kitchen quietly. An old chrome two-handle faucet that has lost its finish or simply looks dated tells the story of the kitchen’s age every time you look at it. Replacing it with a modern pull-down or pull-out faucet in brushed nickel, matte black, or brushed gold takes about an hour to install for anyone comfortable with basic plumbing and costs between forty and one hundred fifty dollars for a good quality option. The new faucet does not just look better. It usually functions better as well, with better water pressure and a more flexible spray head. Choosing a faucet finish that matches or coordinates with new cabinet hardware creates a cohesive look across the kitchen that ties the whole room together. This is the plumbing equivalent of the hardware swap: a small change that makes the space feel noticeably more current.
6. Paint the Walls
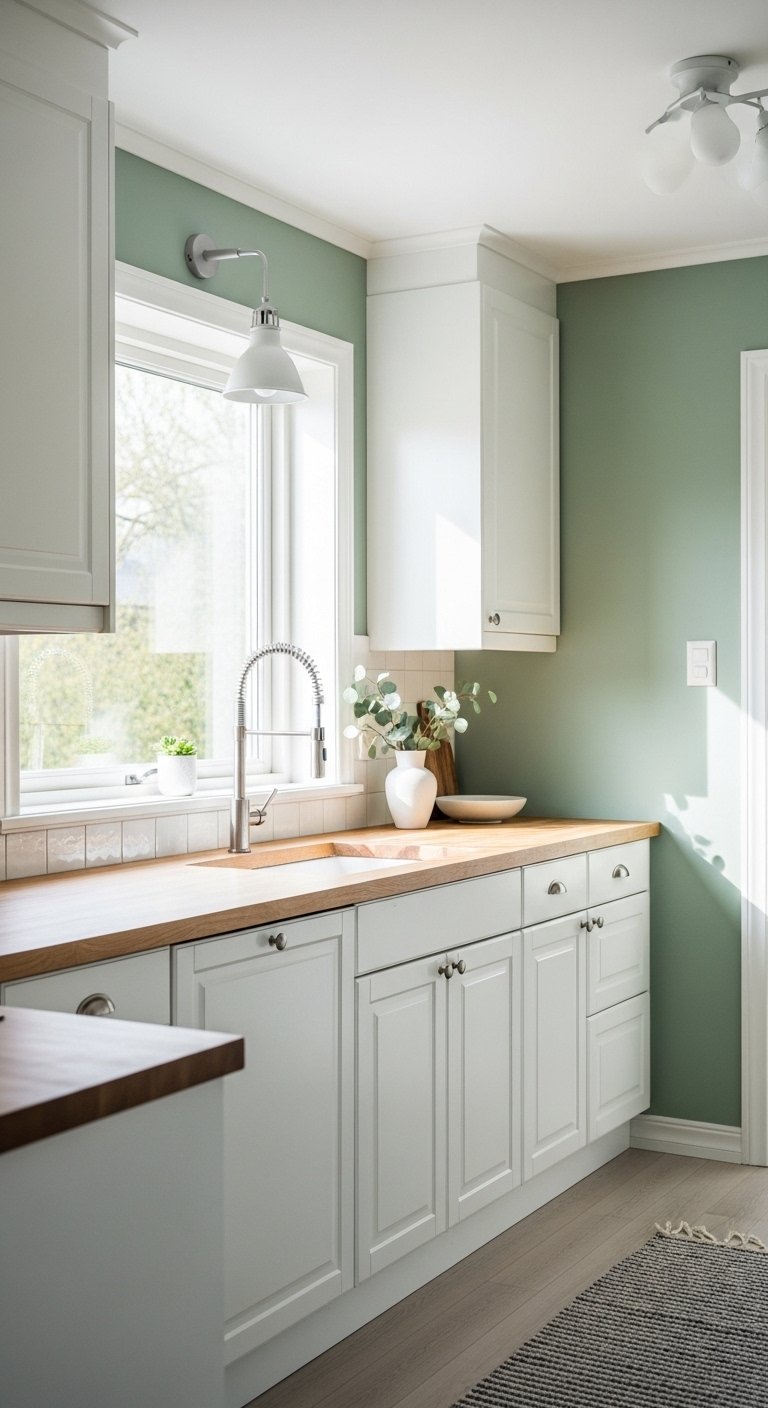
Old kitchen walls often have a color that was chosen to match cabinets or countertops that may have since been updated, leaving a combination that no longer works together. Repainting the walls in a fresh, current color that complements everything already in the kitchen is one of the fastest and cheapest ways to give the whole room a new feeling. Choose a paint that is rated for kitchens or bathrooms so it holds up to moisture and is easy to wipe clean. A satin or eggshell finish is the standard choice for kitchen walls since it reflects a little light and resists grease and steam better than a flat finish. One gallon of paint is typically enough for an average kitchen and costs between twenty-five and forty-five dollars. The painting itself takes an afternoon and the result immediately makes the kitchen feel cleaner and more intentional.
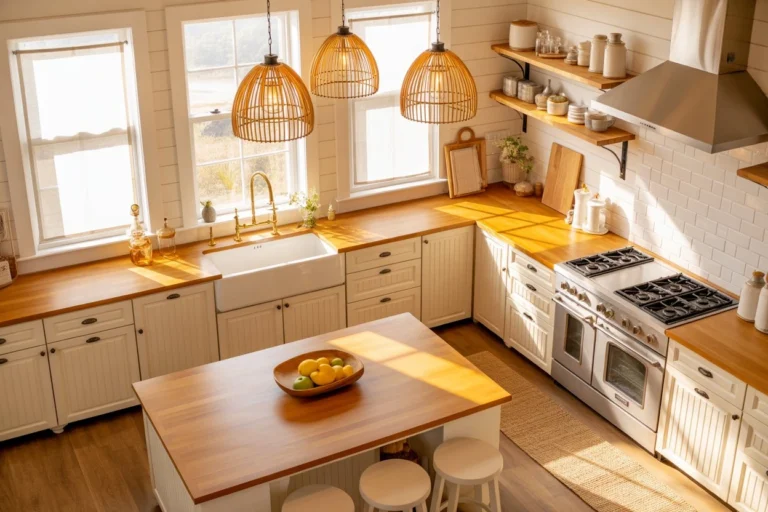
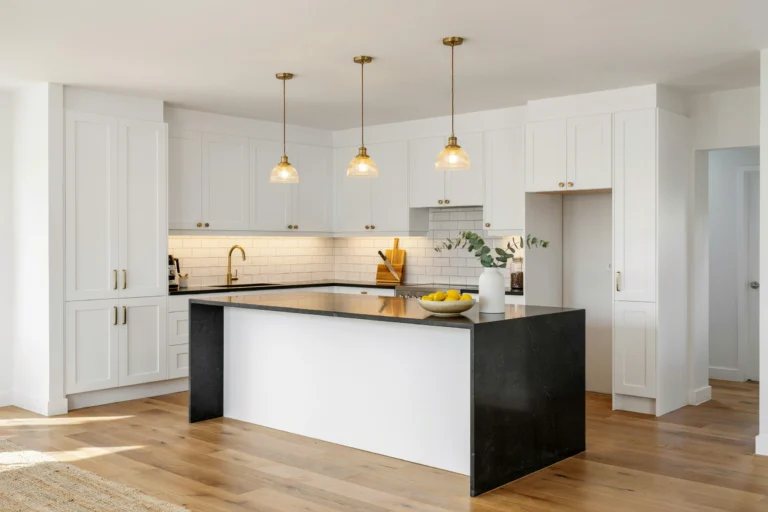
7. New Light Fixture

An outdated overhead light fixture is something most people stop noticing after a while, but guests and fresh eyes pick it up immediately. A flushmount fixture from the 1980s or 1990s with a frosted glass bowl, or a fluorescent tube light in a plain plastic housing, signals the age of the kitchen before you even look at the cabinets. Replacing it with a modern option, a simple drum shade, a brushed nickel semi-flush, a rattan pendant, or a cluster of exposed globe bulbs, costs between thirty and one hundred dollars for most options and takes under an hour to install if you are comfortable working with basic wiring. The new light also usually provides better illumination than the old one, especially if you choose a fixture that accepts higher-lumen bulbs. Pairing a new overhead fixture with under-cabinet lighting is an especially effective combination for both function and atmosphere.
8. Refinish the Countertops
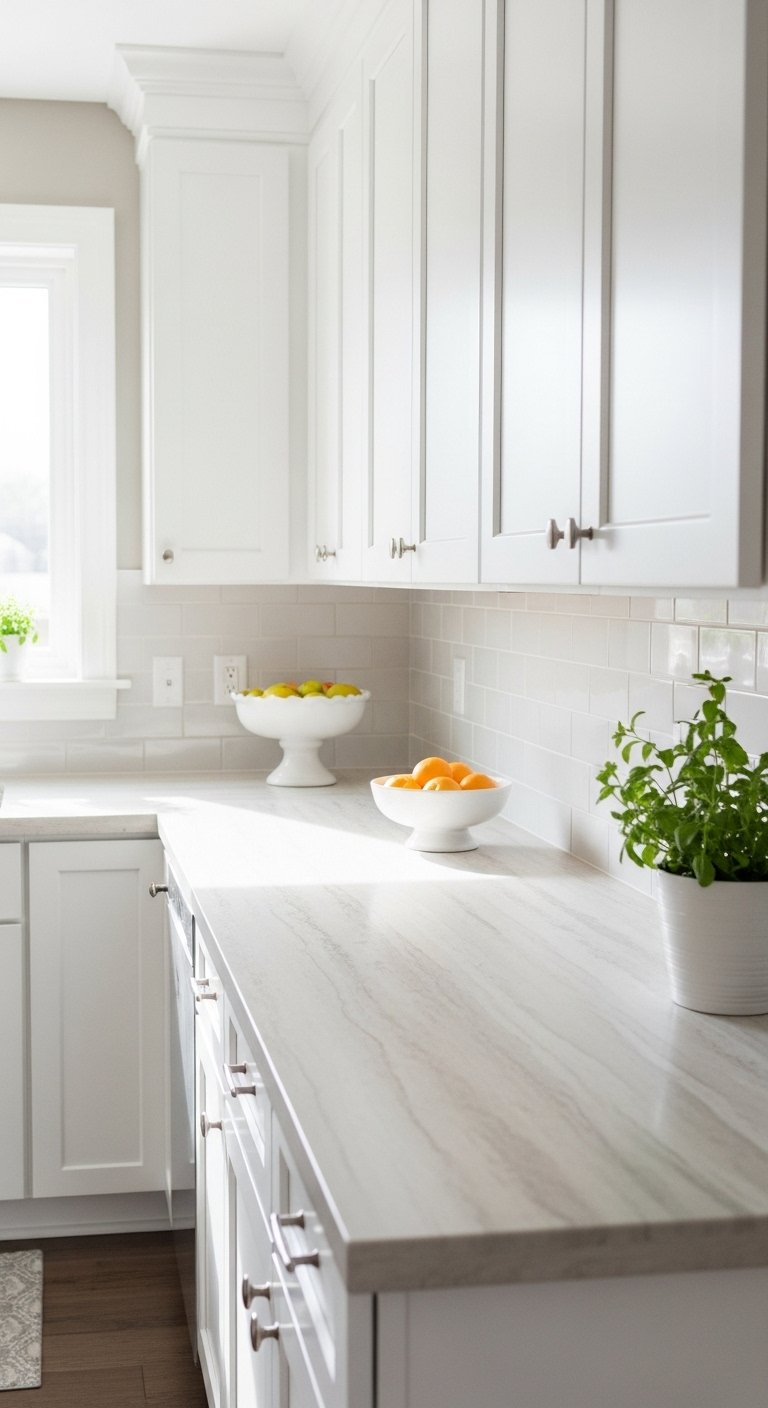
Countertop refinishing kits allow you to apply a new surface coating over existing laminate, tile, or even some stone countertops that are stained, scratched, or simply outdated. These kits use a paintable or sprayable stone-look or solid-color finish that bonds to the existing surface and cures to a durable, heat-resistant coating. The results are most convincing on laminate countertops where the existing surface is smooth and in decent structural condition. The kit typically includes a primer coat, the color coat, and a sealing topcoat. Full application takes a weekend with drying time between coats. A complete countertop refinishing kit for an average kitchen costs between thirty and eighty dollars and genuinely changes the color and general appearance of the counters, even if it does not replicate the look of premium stone up close. Combined with fresh cabinet paint and new hardware, it can make a kitchen look nearly unrecognizable.
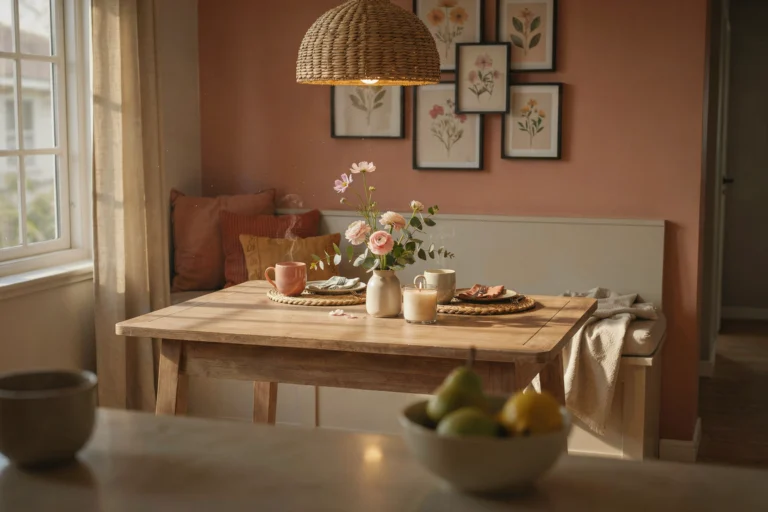
9. Add a Kitchen Runner
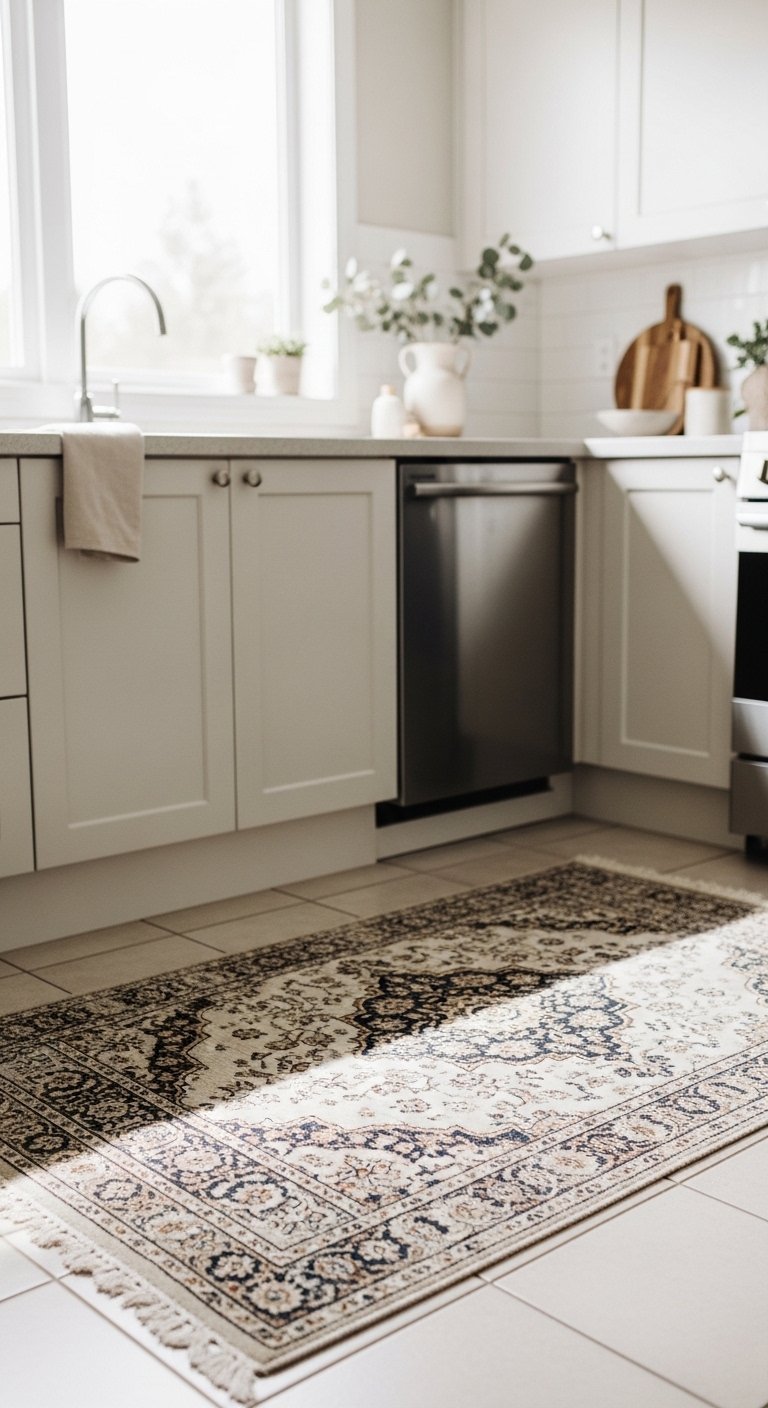
A kitchen runner rug placed in front of the sink and stove adds warmth, color, and visual softness to a room that is typically all hard surfaces. Kitchens with old or worn flooring benefit especially from a runner since the rug covers the most heavily trafficked and visually prominent section of the floor. Choose a runner in a pattern or color that draws attention up and away from the floor itself. A simple striped runner in neutral tones, a traditional pattern in muted colors, or a solid color in a warm tone that complements the cabinetry all work well. Look for runners made from flat-weave cotton or a synthetic blend that is easy to machine wash, since kitchen runners get dirty regularly and need frequent cleaning. Anti-fatigue runner mats are worth considering if you spend a lot of time standing at the sink or stove, as they add both comfort and style.
10. Regrout the Tile
Old or discolored grout between backsplash tiles or floor tiles is one of the most reliable indicators of a kitchen’s age, and it is also one of the most fixable. Grout that has turned gray, brown, or uneven makes otherwise decent tile look dirty and worn regardless of how clean the tiles themselves are. Regrouting is more of a process than some other updates but is very manageable as a DIY project. Use a grout saw or an oscillating tool with a grout blade to remove the old grout from the joints, then apply fresh grout in the same or a new color and seal it when dry. Alternatively, a grout pen or grout paint applied over existing grout that is structurally intact but just discolored is a faster and much less labor-intensive option that can restore the grout to a fresh white or gray with a few passes of a marker-style applicator.
11. Install Open Corner Shelf
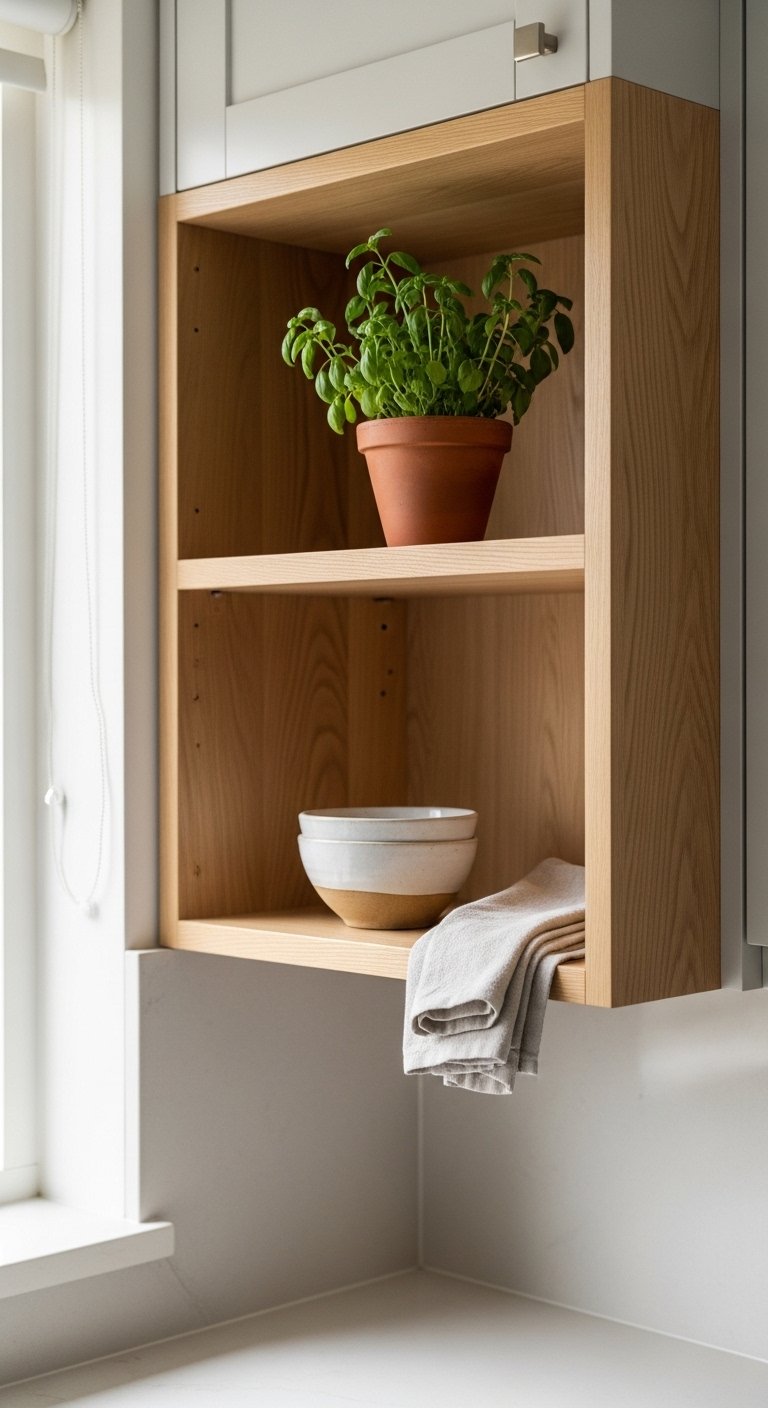
An empty corner in the kitchen, whether at counter level or above it, is an opportunity for both storage and a design moment that makes the kitchen feel more finished and custom. A simple corner shelf with two or three tiers can hold a small potted plant, a row of cookbooks, a jar of wooden utensils, or a collection of ceramics that adds personality to the room without cluttering the counter. Wall-mounted corner shelves are available in natural wood, painted white, and black metal finishes at most home stores for under forty dollars. Installation requires a stud finder and two or three screws per bracket. The addition of a corner shelf also draws the eye to an area that was previously just empty wall and makes the kitchen feel more thoughtfully arranged. This works especially well in kitchens where the walls between cabinets tend to be bare and institutional-looking.
12. Change the Sink
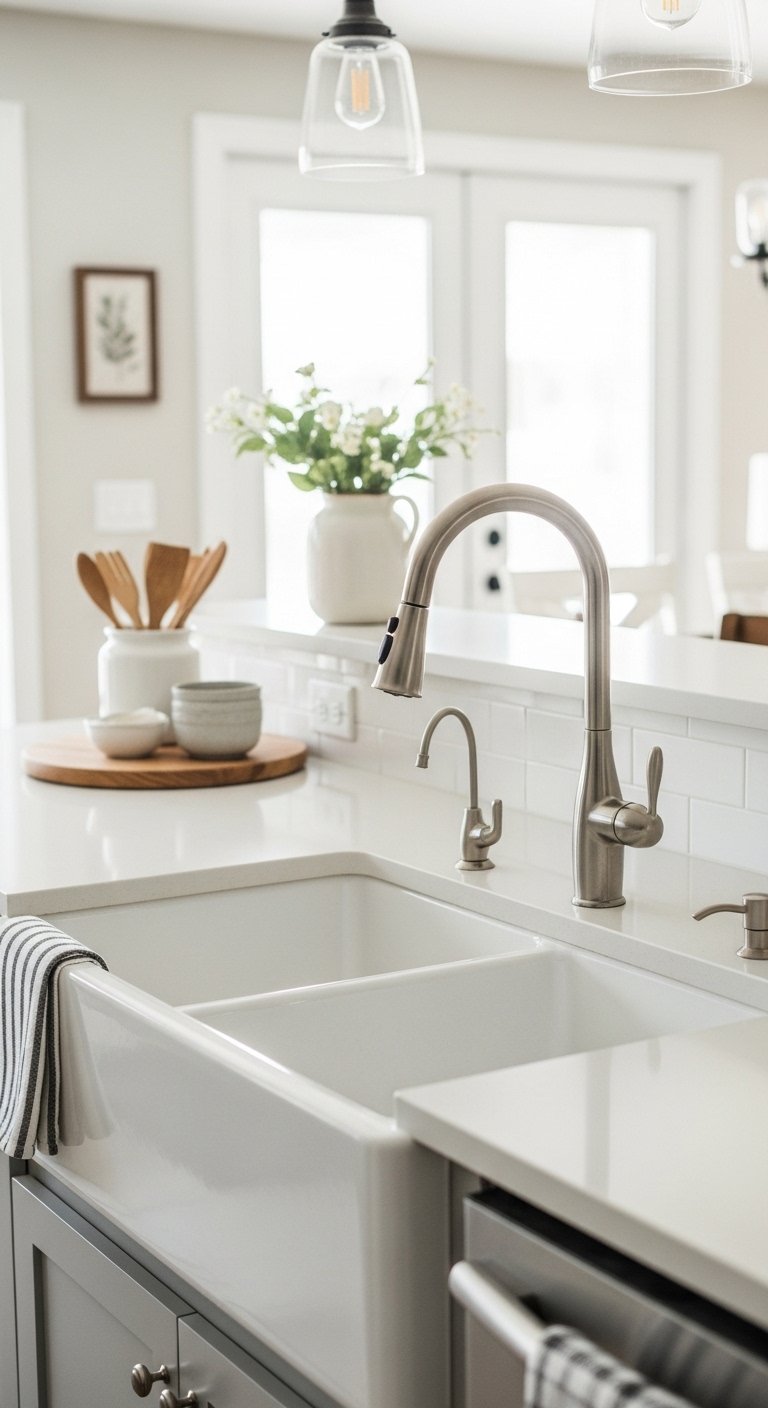
A kitchen sink that is stained, chipped, or simply dated in style is something you look at multiple times a day and never feel good about. Replacing a standard drop-in sink with a fresh version in the same size is a plumbing project that a confident DIYer can complete in an afternoon. The new sink does not have to be expensive to make a big difference. A standard white or stainless steel drop-in sink in a single or double basin configuration typically costs between fifty and one hundred fifty dollars for a quality option. The act of replacing the sink also forces you to clean the surrounding counter area and the cabinet below, which often reveals that the space around the sink was in worse shape than you realized. Combined with a new faucet, a fresh sink completely updates the work zone that anchors most kitchens.
13. Wallpaper One Wall
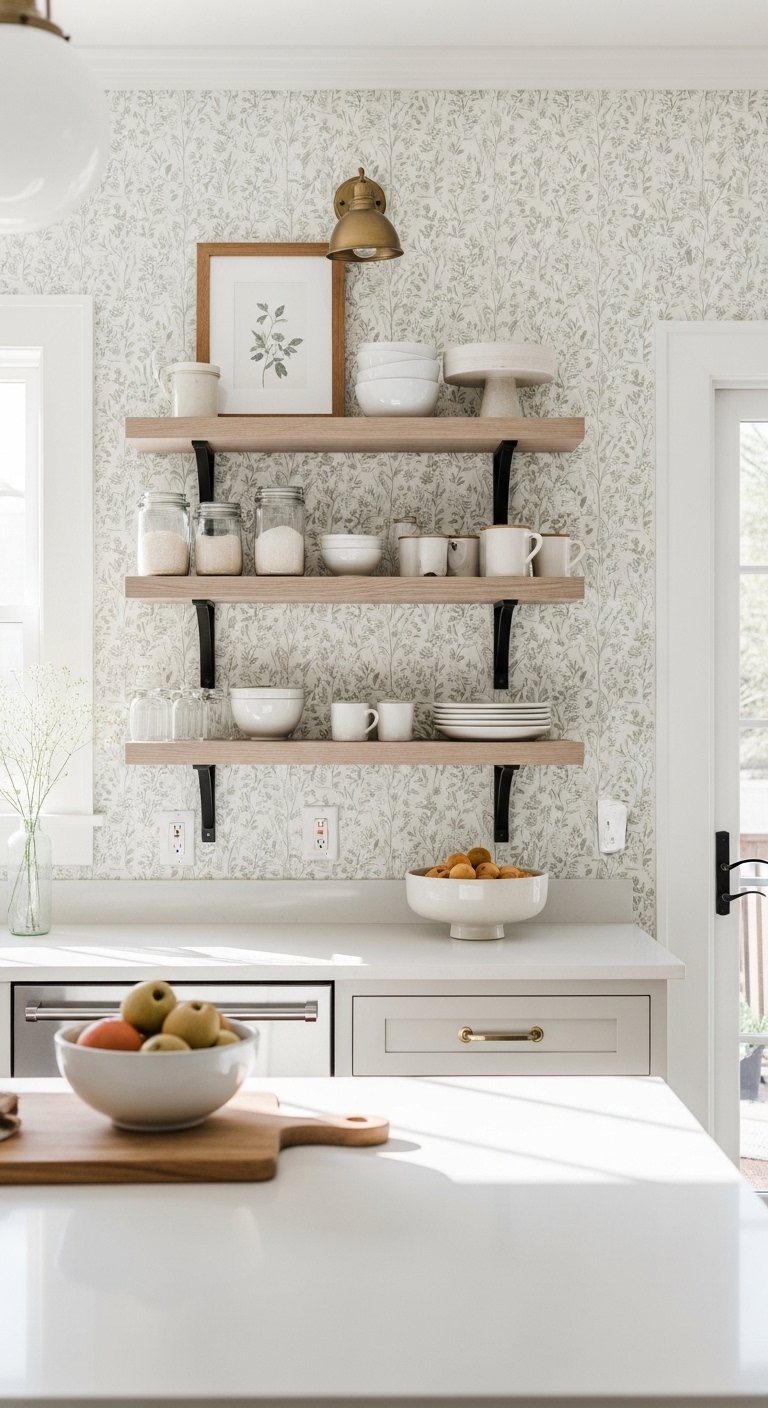
Applying wallpaper to one wall in the kitchen, typically the wall behind open shelving or a blank wall opposite the sink, is a high-impact update that costs relatively little and makes the kitchen feel significantly more designed. Modern peel-and-stick wallpapers have made this a more accessible project since they require no paste, dry time, or special tools. Choose a pattern that adds personality without competing with the existing elements of the kitchen. A subtle stripe, a small-scale geometric, a linen texture, or a simple botanical print all work well in kitchen settings. Coordinate the wallpaper color with at least one other element in the room, like the cabinet color, the rug, or a commonly used dish set, so it reads as part of an intentional palette rather than an afterthought. One wall of wallpaper in an average kitchen requires only two to three rolls.
14. Style the Open Shelves
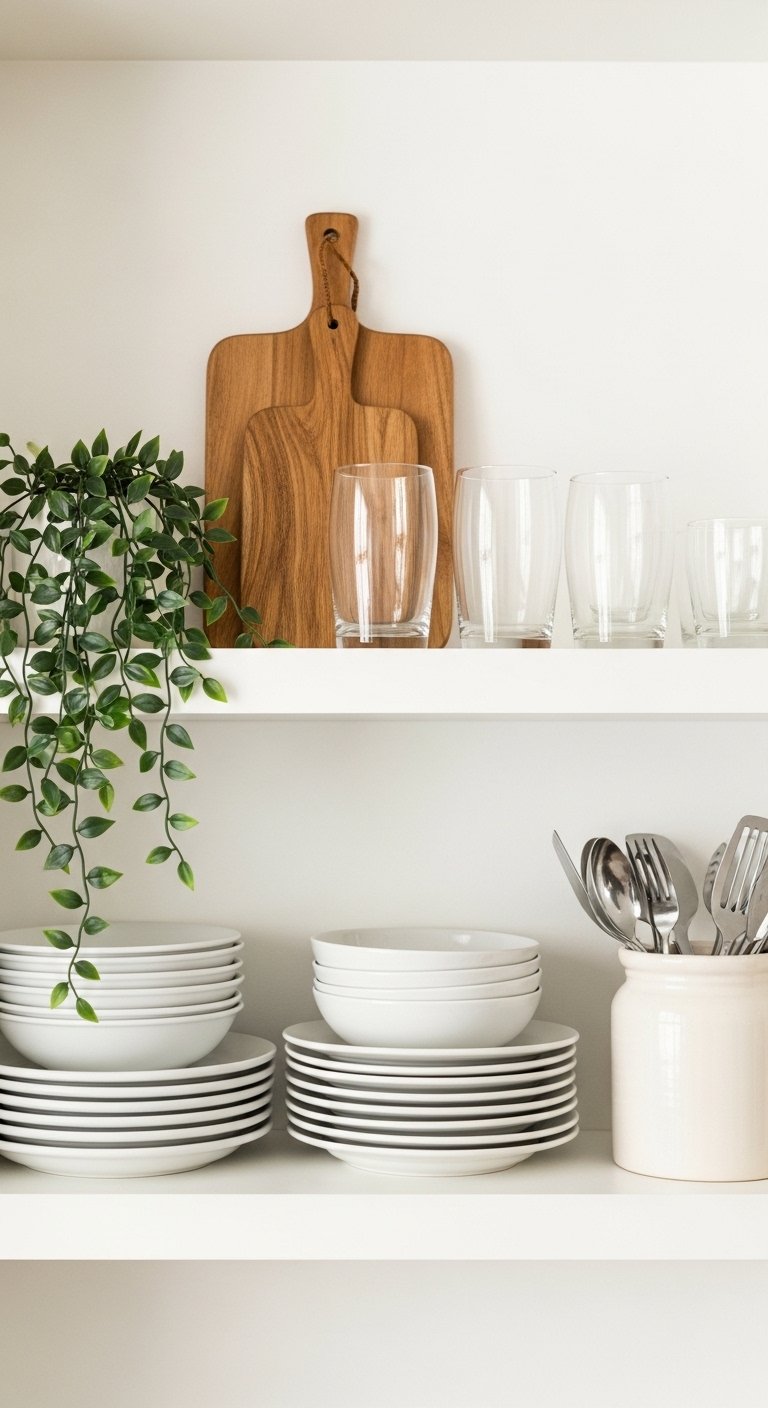
If you already have open shelving in the kitchen that has never been properly styled, taking an hour to arrange it intentionally can completely change how the kitchen looks without buying anything new. The principle behind good shelf styling is simple: mix practical items with a few purely decorative ones, leave breathing room between groups of objects, and use varying heights so the eye has somewhere to move. Stack plates and bowls in neat groups. Line up glasses by size. Add a small plant or a jar of fresh herbs. Lean a wooden cutting board or a cookbook upright against the wall as a vertical element. A simple ceramic crock of utensils, a jar of pasta, and a small vase with a stem or two give the shelf life and character. Pull everything off the shelves first and start fresh rather than trying to work around the existing arrangement.
15. Upgrade to LED Lighting
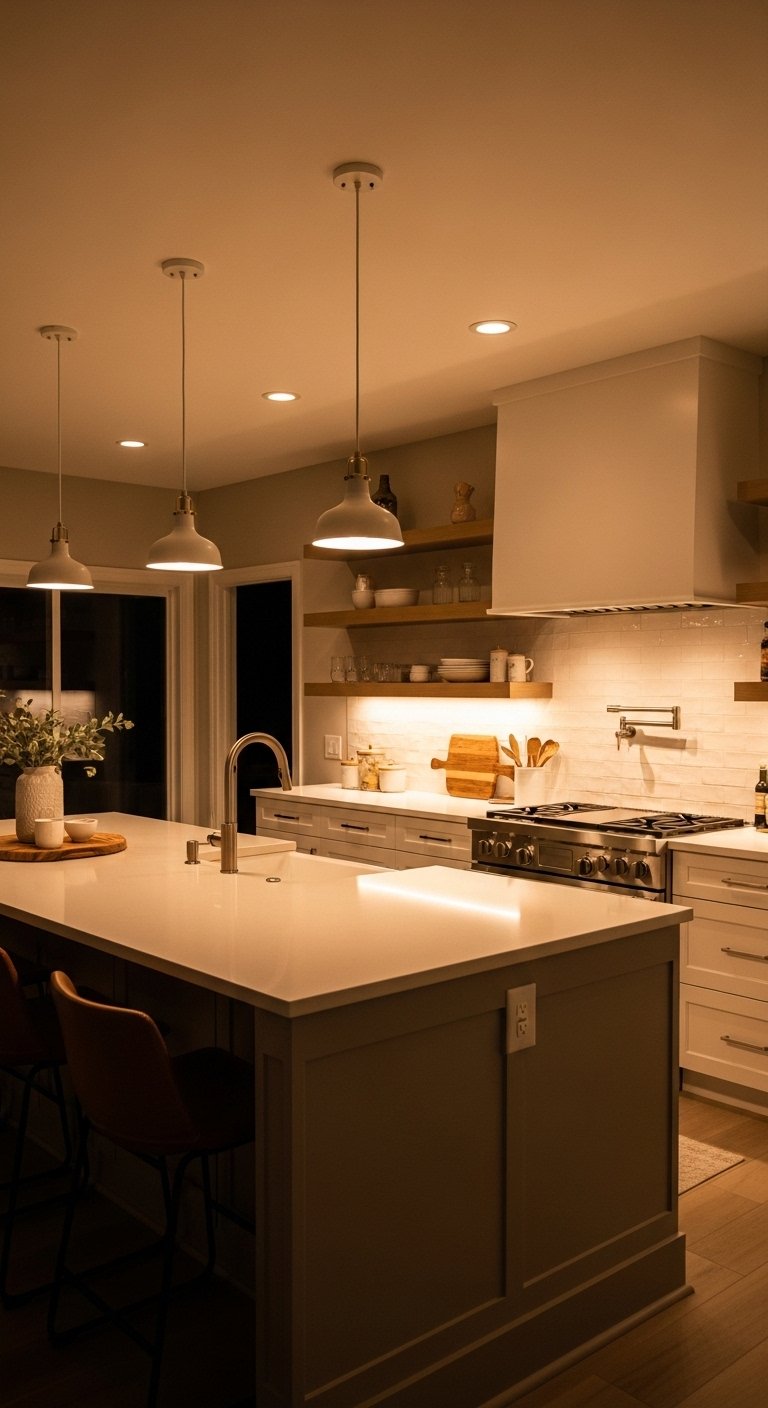
If your kitchen still has incandescent or older CFL bulbs in the overhead fixtures, under-cabinet lights, or range hood, switching everything to warm LED bulbs makes the kitchen look better and function better at the same time. LED bulbs produce more consistent, brighter light than older bulbs at the same wattage, last significantly longer, and in warm tones around 2700K to 3000K they give a kitchen a clean, welcoming quality that cool or daylight bulbs cannot match. Go through every light in the kitchen, including the one inside the range hood, and replace them all with matching warm LED bulbs. The consistency of the light color across the whole kitchen makes a noticeable difference in how the room feels. This change costs under twenty dollars total and is one of those updates where the before-and-after difference is felt more than it is seen.
16. Add a Chalkboard Wall
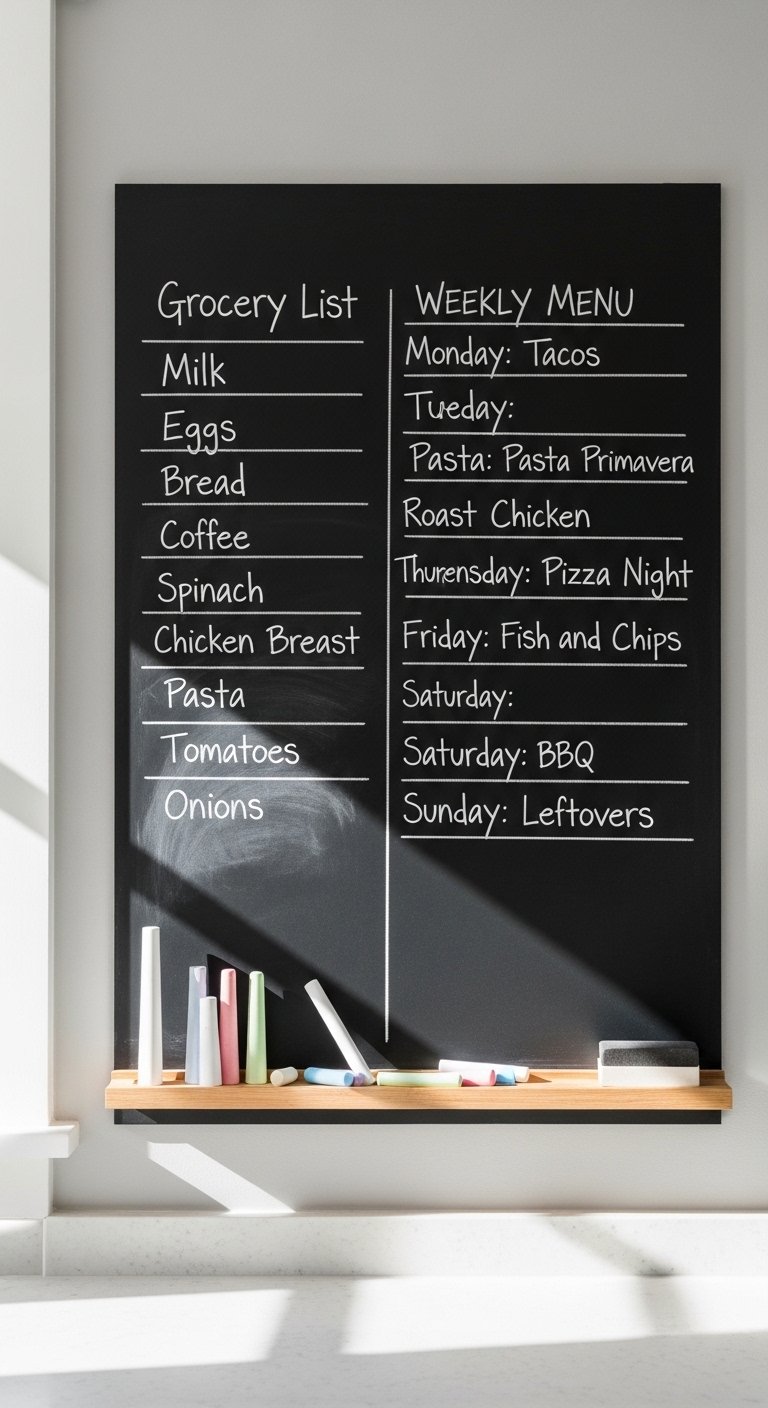
A small section of wall in the kitchen painted with chalkboard paint creates a practical and visually interesting surface for grocery lists, meal planning notes, recipes, and kitchen reminders. This is especially useful in a family kitchen where notes and lists tend to accumulate on random scraps of paper or on the refrigerator door in a disorganized way. A dedicated chalkboard section gives all of that a proper home. Choose a section of wall that is visible from where you tend to stand and prep, ideally near the pantry or the refrigerator. A section that is roughly two feet by three feet is large enough to be genuinely useful without dominating the kitchen. Chalkboard paint costs under twenty dollars for a small can and only requires two coats over a primed wall surface. Season the chalkboard by rubbing a piece of chalk sideways across the entire surface before using it for the first time.
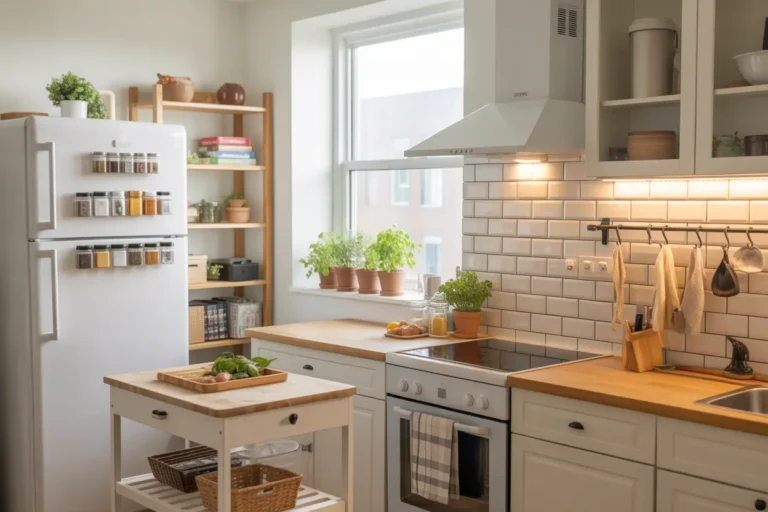
17. Plant a Herb Garden
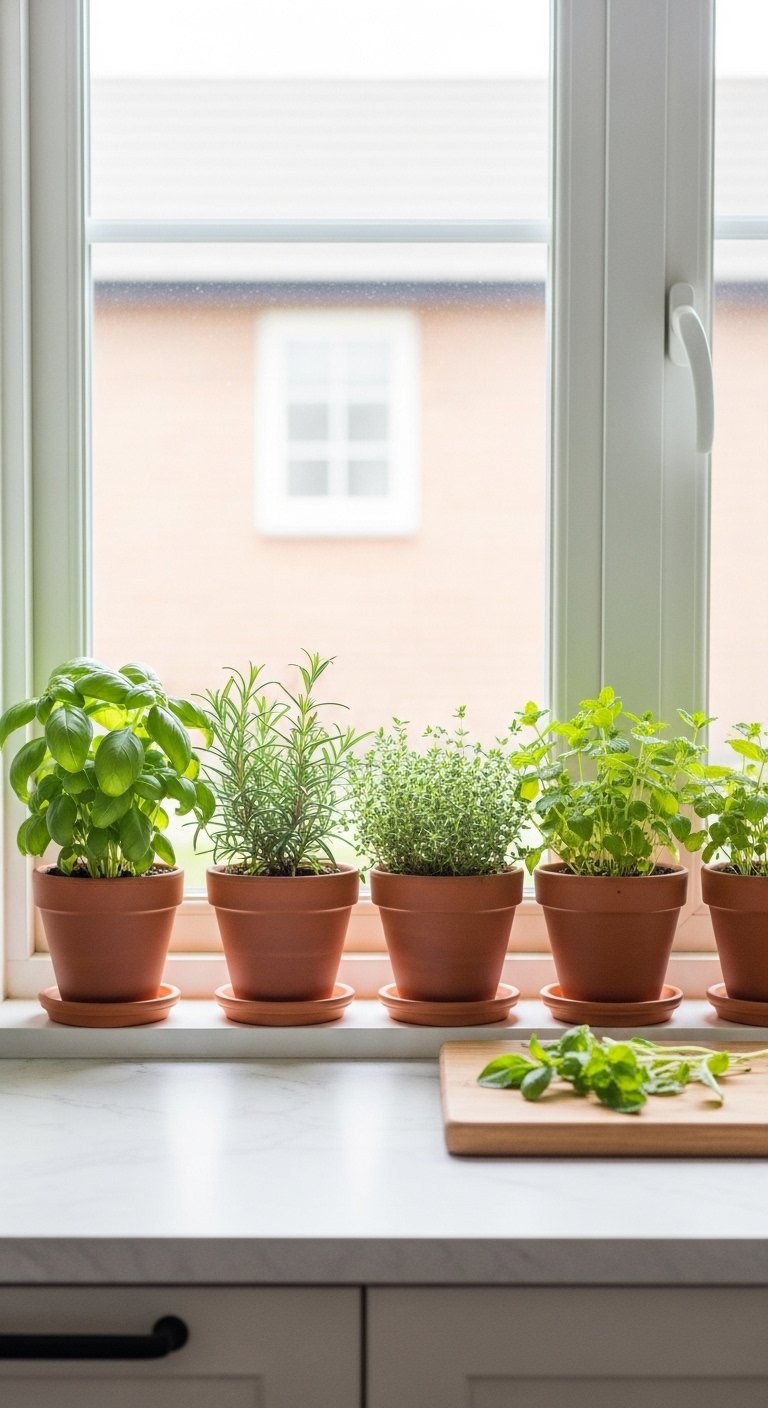
A small indoor herb garden installed near the kitchen window or on a narrow wall shelf is one of the most affordable ways to add life, color, and genuine usefulness to a kitchen. Fresh herbs like basil, rosemary, thyme, mint, and parsley are all relatively easy to grow on a sunny windowsill and are regularly useful in cooking. They also look beautiful in small terracotta pots or ceramic planters arranged on a simple shelf or window sill. A row of matching white or terracotta pots all growing different herbs has a clean, styled quality that looks intentional and warm at the same time. Start with the three or four herbs you use most in cooking so the garden is useful from day one and grows through regular harvesting. Seeds are very inexpensive and small starter plants are available at most grocery stores for just a few dollars each.
18. Hang Open Pot Rack
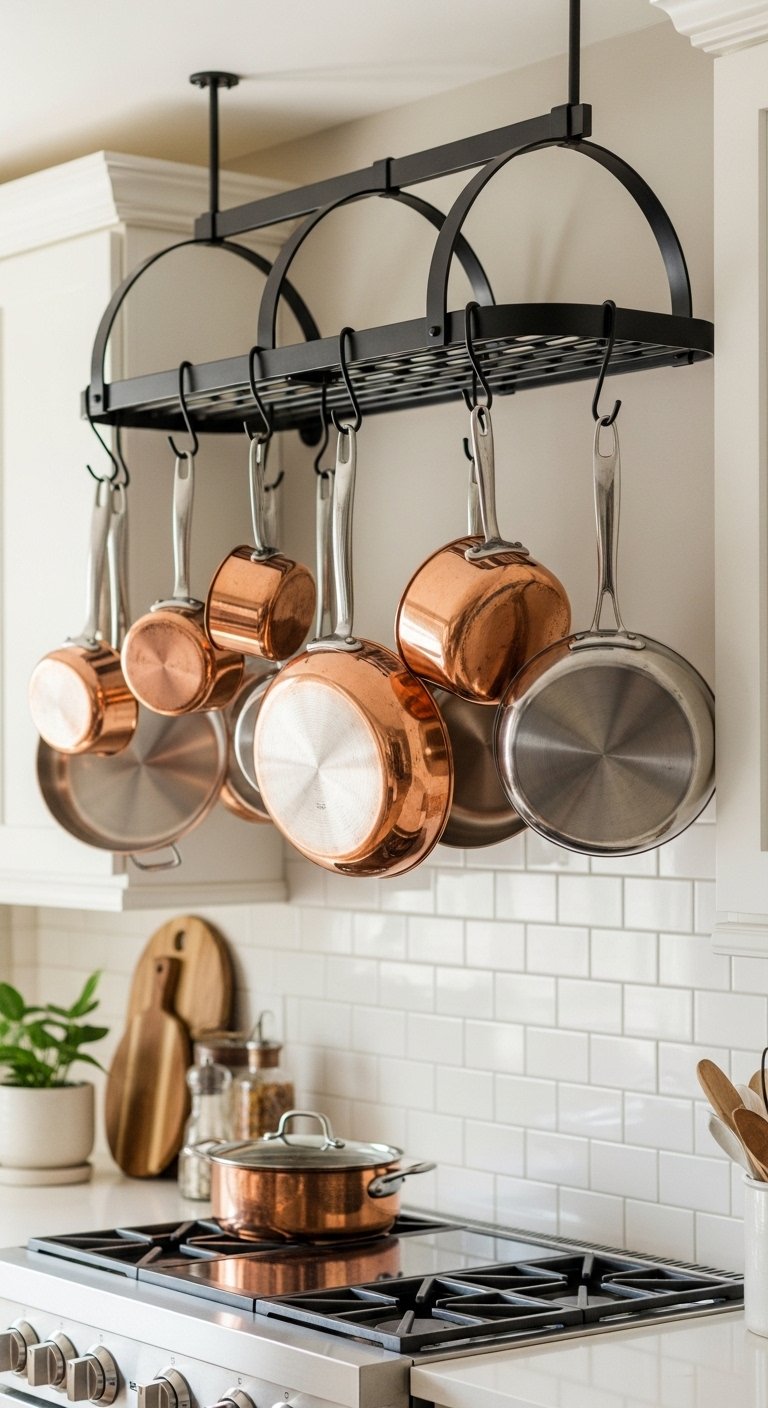
A wall-mounted pot rack installed on the wall beside or above the stove changes both the function and the look of a kitchen. Functionally, it moves the pots out of the cabinets and onto the wall where they are visible and instantly accessible during cooking. Visually, a rack hung with a collection of pots, pans, and utensils gives the kitchen a warm, working kitchen quality that no amount of purely decorative styling can fully replicate. It signals that the kitchen is a place where real cooking happens. Wall-mounted racks come in single-rail or double-rail configurations and mount into wall studs for secure hanging. Look for a rail with S-hooks in matching metal so the pots can hang at different heights and be repositioned as your collection changes. Combined with a fresh coat of cabinet paint and new hardware, a pot rack completes a kitchen refresh with a distinctly functional and character-rich detail.
19. Replace Outlet Covers
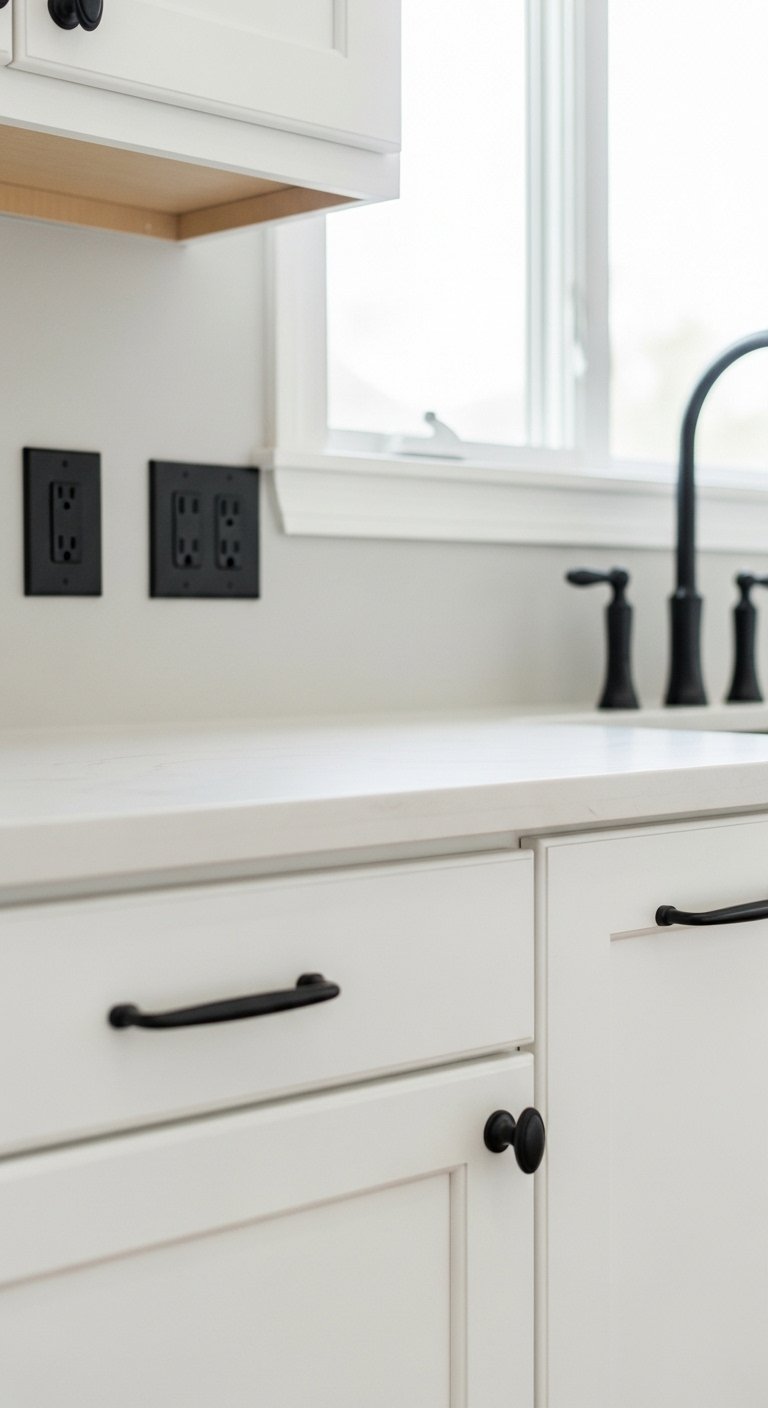
This is one of the most overlooked kitchen updates, and it is one of the cheapest. Old outlet covers and switch plates that have yellowed, cracked, or simply do not match the updated aesthetic of the rest of the kitchen stand out in a finished room as small but noticeable relics of the original design. Replacing every outlet cover and switch plate in the kitchen with fresh ones in a coordinating color or finish, like white for a clean neutral look, brushed nickel for a metallic kitchen, or matte black for a modern aesthetic, costs under twenty dollars total and takes under an hour with a single screwdriver. Swap them all at once rather than doing them gradually so the entire kitchen has consistent hardware from day one. When combined with new cabinet hardware and a fresh faucet, updated outlet covers contribute to a cohesive and intentional look throughout the whole room.
20. Freshen the Caulk
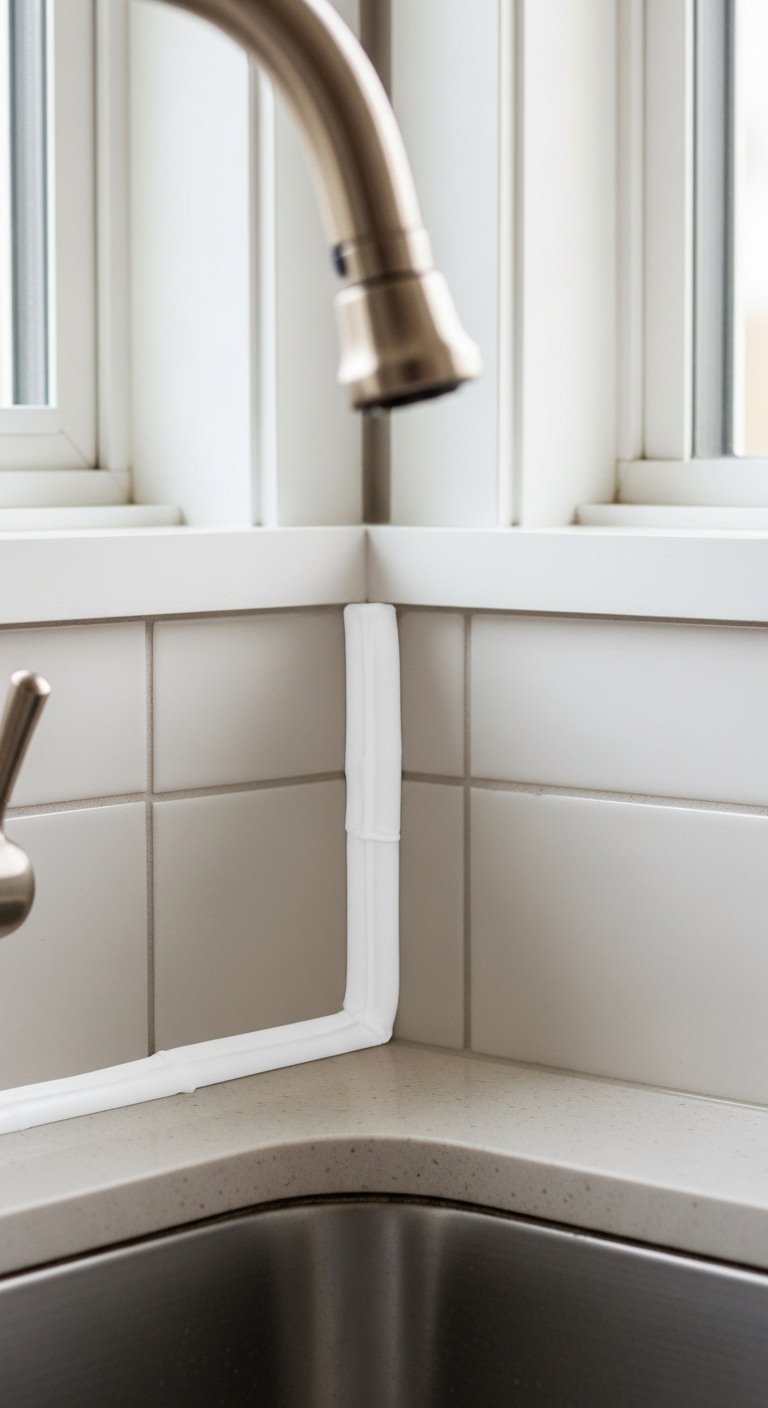
The caulk around the kitchen sink, along the backsplash edges, and at the junction of the countertop and the wall darkens and discolors over time, and old caulk has a way of making even a clean kitchen look grimy. Removing old caulk and applying a fresh bead of bright white or clear caulk takes about an hour and costs under ten dollars in materials. Use a utility knife or a caulk removal tool to scrape out the old caulk completely, clean the surface with rubbing alcohol to remove any residue, and apply a smooth new bead of kitchen and bath caulk using a caulk gun. Smooth it with a damp fingertip before it sets and let it cure for the time specified on the package. The result is a clean, sharp line that makes the whole surrounding area look freshly installed. This small maintenance update has a cleaning and refreshing effect that is immediate and noticeable.
21. Display Pretty Dishware
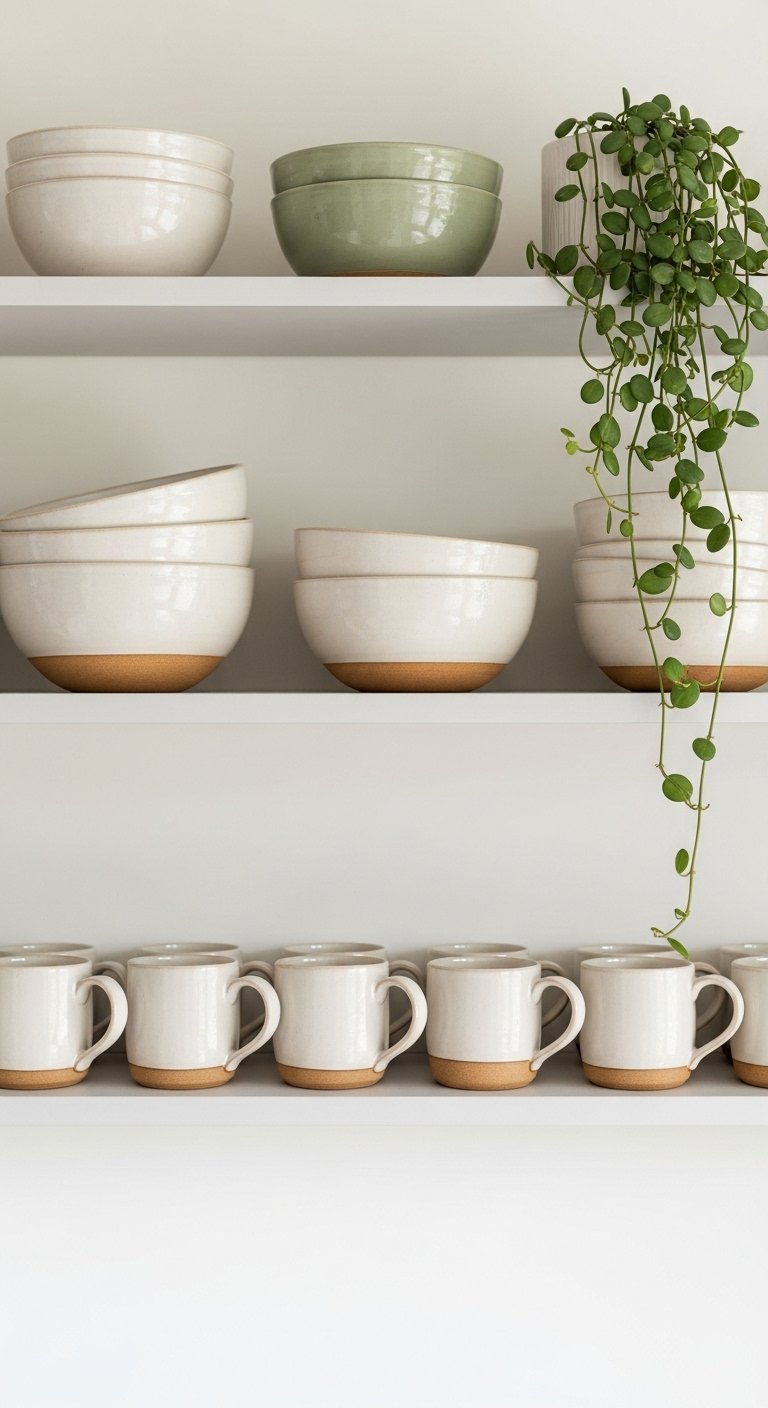
If you have attractive dishes, a colorful set of mugs, or a collection of ceramics that you genuinely like the look of, displaying some of them openly on a shelf or inside a glass-front cabinet costs nothing and adds color and personality to the kitchen. This is different from generic decor in that you are using objects that belong in the kitchen and serve a real purpose. Stacked white plates on an open shelf look clean and graphic. A row of mismatched vintage mugs hung on simple hooks has an eclectic warmth. A collection of handmade ceramic bowls grouped on a shelf with varying heights adds texture and a sense of collection. The key is to display only what you genuinely find beautiful and to keep the arrangement edited rather than crammed. The best-looking displays always have a little breathing room between the pieces so each one registers as intentional.
22. Add a Kitchen Clock
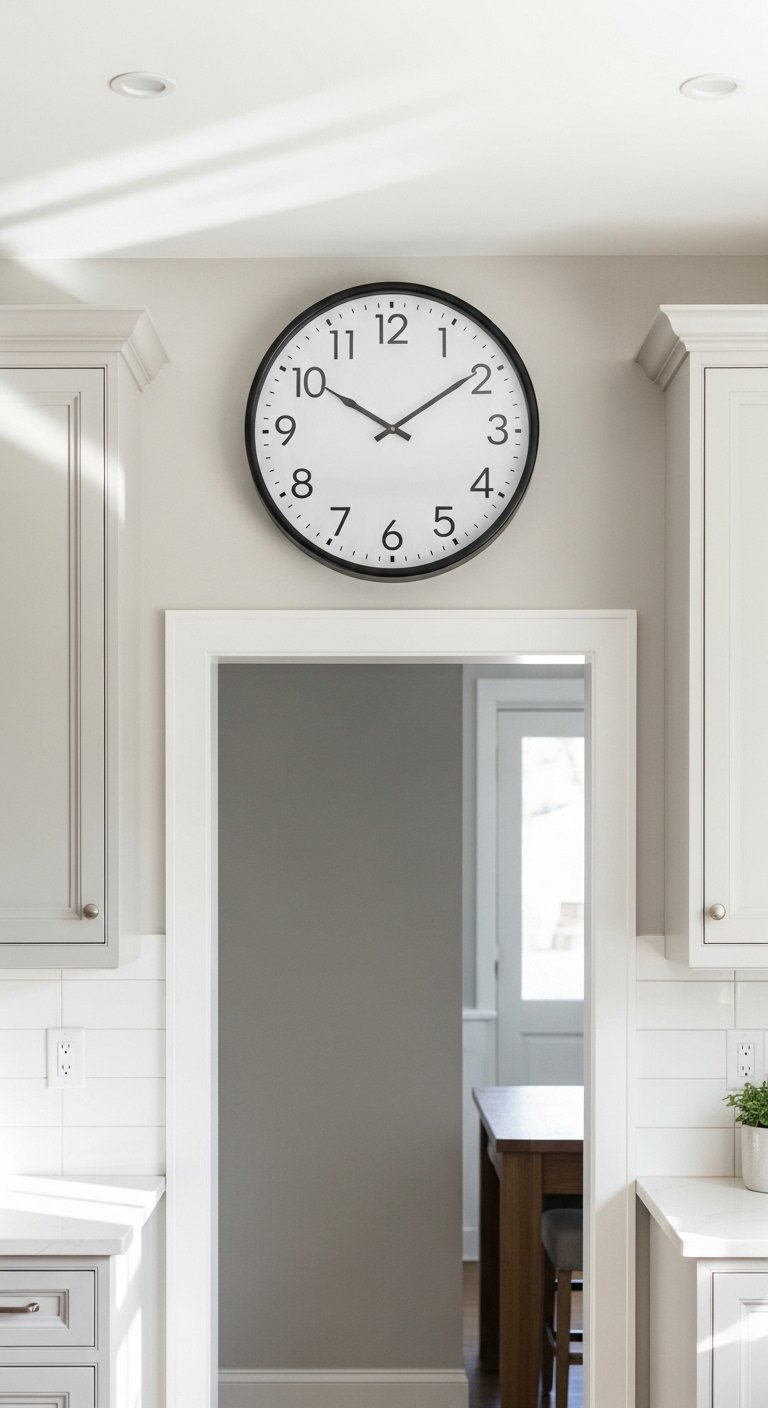
A large wall clock in the kitchen serves as both a practical tool and a decor element that fills empty wall space in a way that looks considered rather than decorative for its own sake. A clock has a reason to be in the kitchen and reads as a natural, purposeful addition rather than something hung just to fill space. Large clocks with clean faces in simple finishes like matte black, natural wood, or white with black numerals all work well in a range of kitchen styles. Look for a clock face that is at least ten to twelve inches in diameter so it reads clearly from across the room. Place it on a wall that is visible from the main work area, above a doorway, in an empty stretch between upper cabinets, or on the wall opposite the stove. A good kitchen clock is available for between fifteen and forty dollars and adds a finished, well-thought-out quality to the room.
23. Stage the Countertops
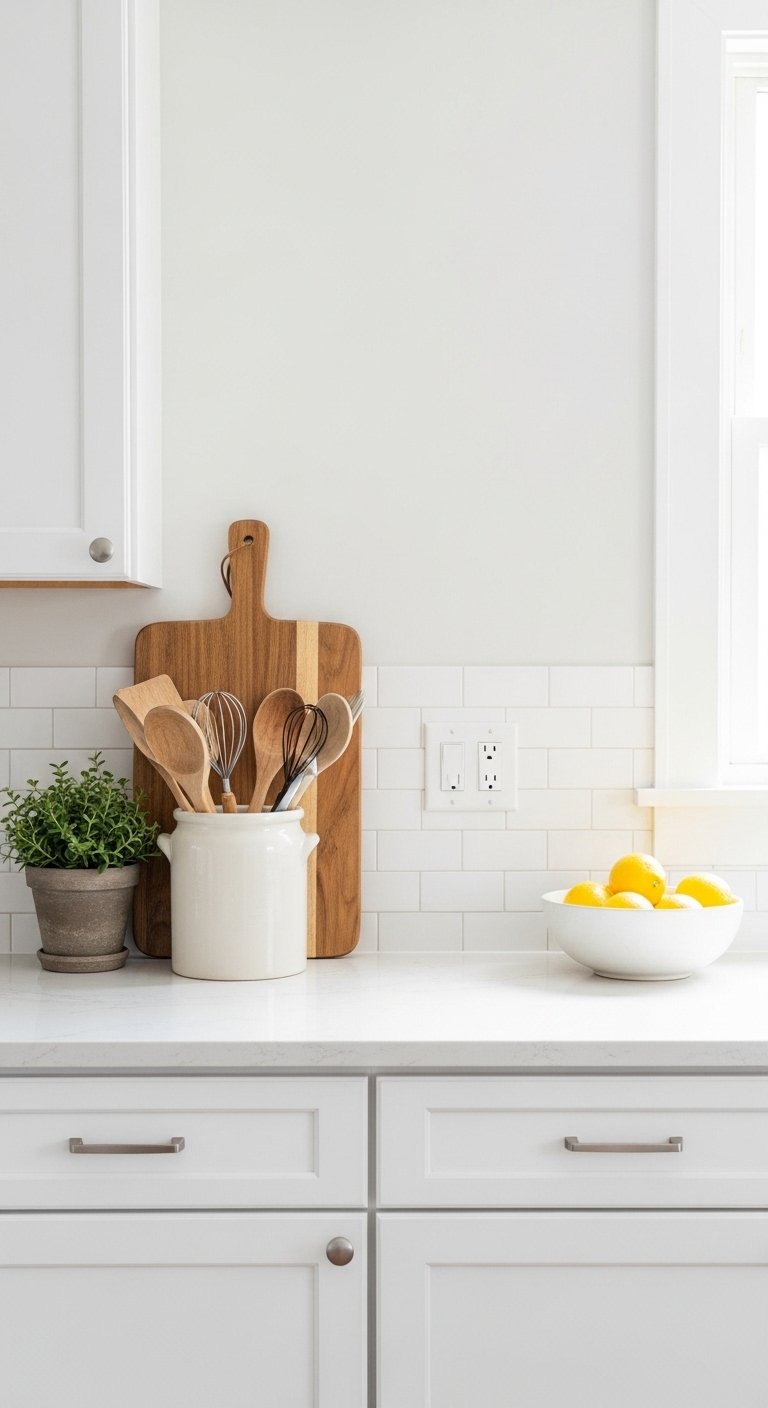
Countertop styling is one of those things that photographs beautifully and makes the kitchen look like a room people take care of. The principle is similar to staging a home for sale: you keep only the most attractive and functional items out, group them intentionally, and leave the rest of the counter clear. A wooden cutting board leaning against the backsplash, a simple ceramic crock with cooking utensils, a small potted herb, a fruit bowl with a few pieces of fruit in it, and a clean dish cloth folded over the oven handle are all the countertop needs to look styled and lived-in without looking cluttered. Remove everything else and store it in cabinets or drawers. The clean counter makes the kitchen look larger and better maintained, and the curated groupings give it personality. This costs nothing and takes about fifteen minutes.
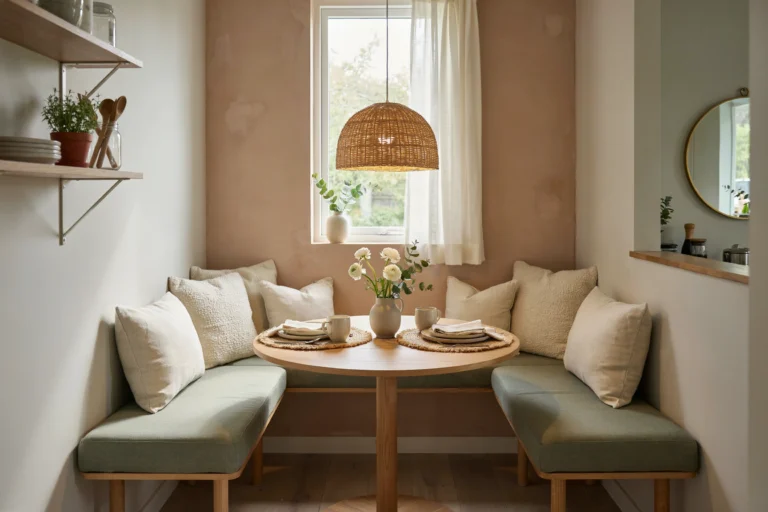
24. New Window Treatment
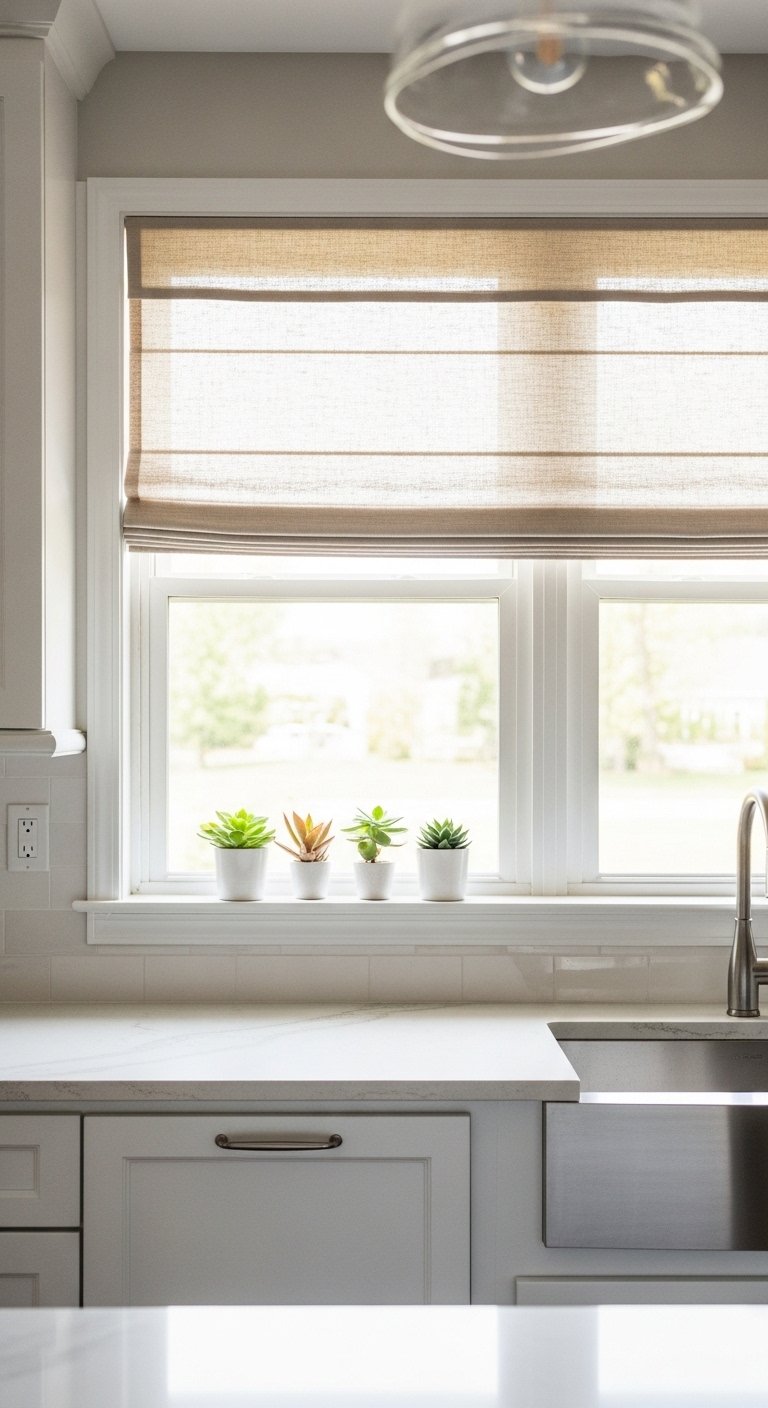
An old or absent window treatment in the kitchen is a detail that reads as unfinished even when everything else is in decent shape. Replacing faded, dated curtains or adding a treatment to a bare window adds a finished quality to the room that makes it look more like an intentional living space and less like a purely utilitarian one. For kitchens, the best window treatments are ones that let in plenty of natural light while providing some privacy when needed. A simple Roman shade in a linen or cotton fabric, a cafe curtain that covers only the lower half of the window, or a pair of lightweight cotton curtain panels on a slim rod all work well. Keep the color and pattern simple so the treatment complements rather than competes with the kitchen’s existing palette. A basic curtain panel or Roman shade for a standard kitchen window is available for under thirty dollars at most home goods stores.
25. Deep Clean Everything
This idea is free, and there is a real argument to be made that it is the most transformative one on the entire list. A kitchen that has accumulated grease on the range hood, dust on the top of the refrigerator, grime in the corners of the backsplash, and sticky residue on the cabinet fronts looks old and tired regardless of its actual age or the quality of its finishes. A thorough deep clean, starting with degreasing the range hood and the stovetop, scrubbing the inside and outside of appliances, wiping down every cabinet door front with a degreaser, cleaning the grout lines with a brush, and polishing the sink and faucet, restores the kitchen to a clean baseline that makes every other update you make on top of it look better. A kitchen that is truly clean looks cared for and current even when the finishes are modest or the layout is older.
An old kitchen does not need to stay looking old. Most of what ages a kitchen is surface-level, and surfaces are exactly what these ideas address. Start with the changes that will have the biggest visual payoff in your specific kitchen and build from there at whatever pace your time and budget allow.