I’ve seen lots of great projects. End tables, curtain rods, paper towel holders. Even dog beds.
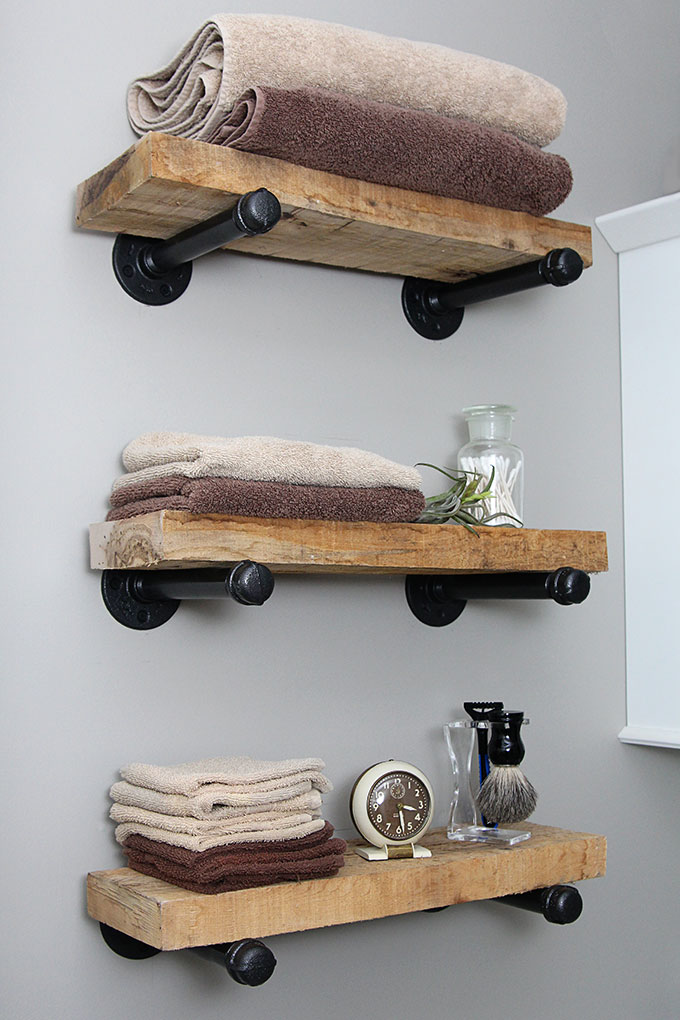
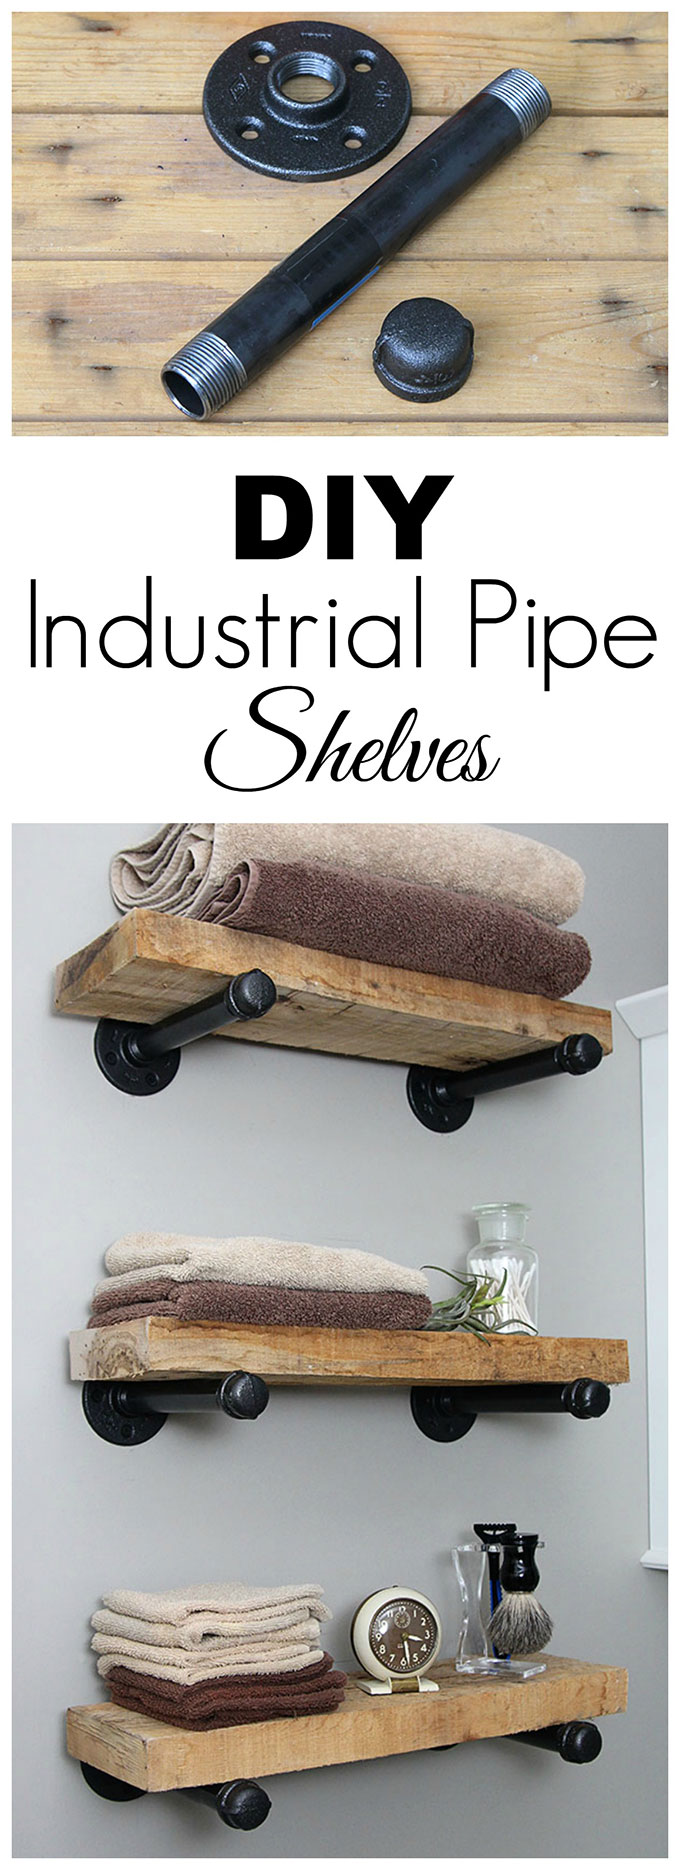
So I got busy in the bathroom last weekend building some new industrial pipe shelves.
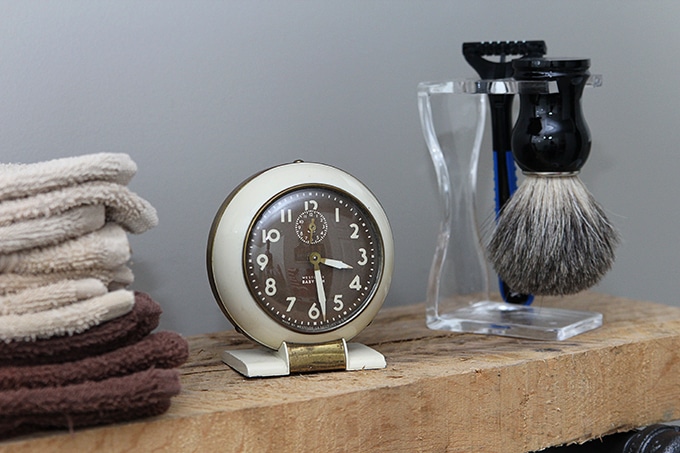
Because hey, if you’re going to use plumbing pipe for a DIY project anywhere in your house, it might as well be in the bathroom.
A couple years ago when we renovated my son’s bathroom and made it handicap accessible, we opted to use vintage gym baskets as shelves. You can see more of that initial renovation on my Industrial Style Child’s Bathroom post.
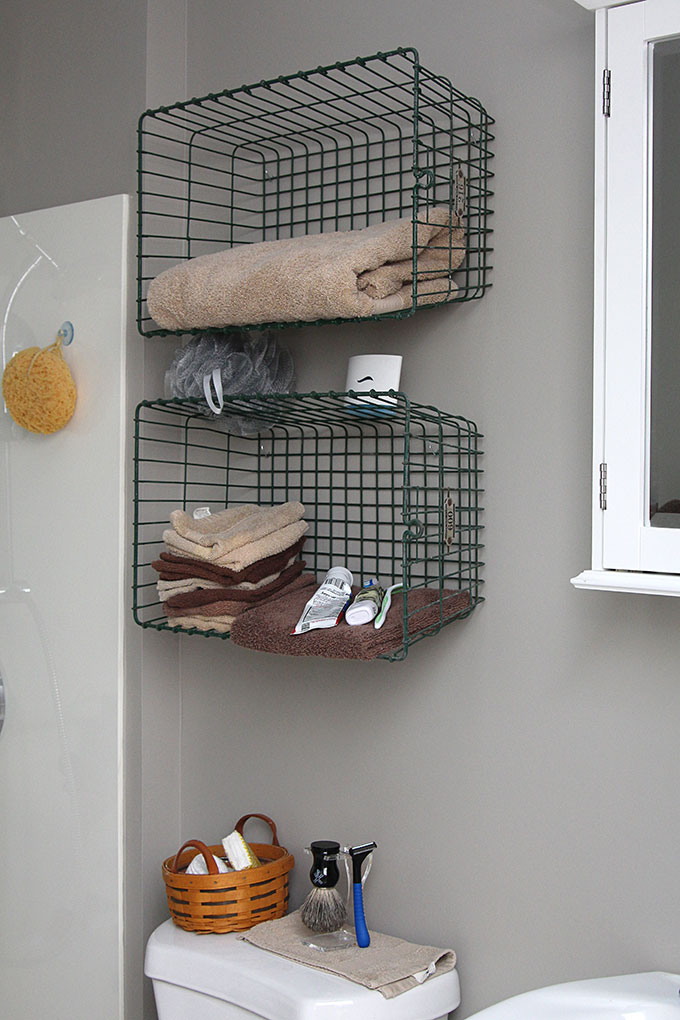
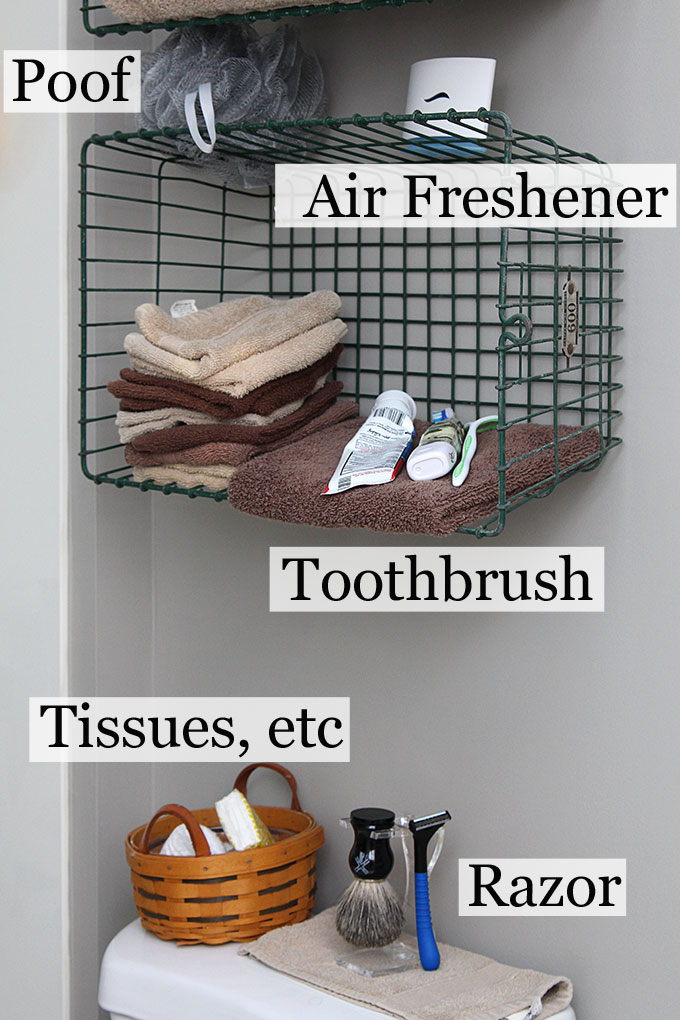
The problem was a gym basket, as fun as it looks, just doesn’t have enough usable surface area to be used as a shelf.
There I said it. Gym baskets just don’t work that well.
I can not tell you how many times I sat down on the potty, bumped the toilet lid and the razor fell over and hit me in the back. And since this doubles as a guest bathroom, you just can’t be having razors cutting everyone’s back all up.
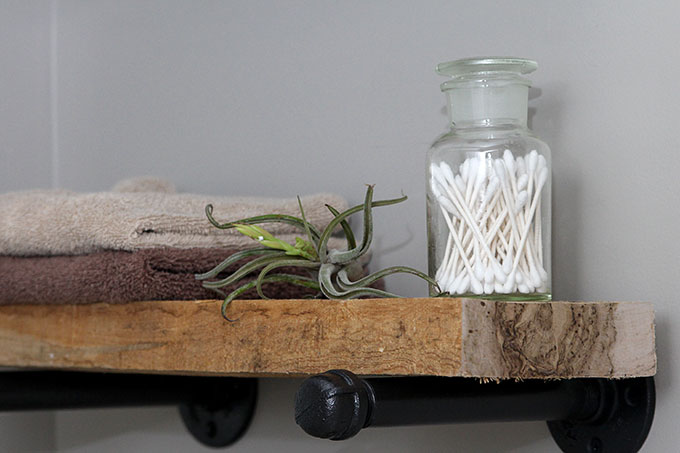
So we decided to ditch the vintage gym basket look and go for a more traditional shelving idea. Well, as long as you consider industrial pipe and reclaimed lumber traditional.
DIY Industrial Pipe Shelves Tutorial
Supplies:
For 3 shelves we used
- 6 3/4″ Floor Flanges
- 6 3/4″ Caps
- 6 3/4″ x 8″ Nipples
- 1 1/4″ x 8 – 3.18 cm Coarse Thread Drywall Screws
- 1 Board cut to the length you need (in our case we used reclaimed lumber that was roughly 2″ wide x 6″ deep x 5′ long, cut in thirds – if you buy a new board from the hardware store, have them cut it to length for you)
- Black Spray Paint (I used less than 1 can of Rustoleum’s Universal Hammered Paint & Primer In One in the black color)
- Measuring Tape
- Phillips head screwdriver, handheld or electric as you prefer
- Pencil
- Level
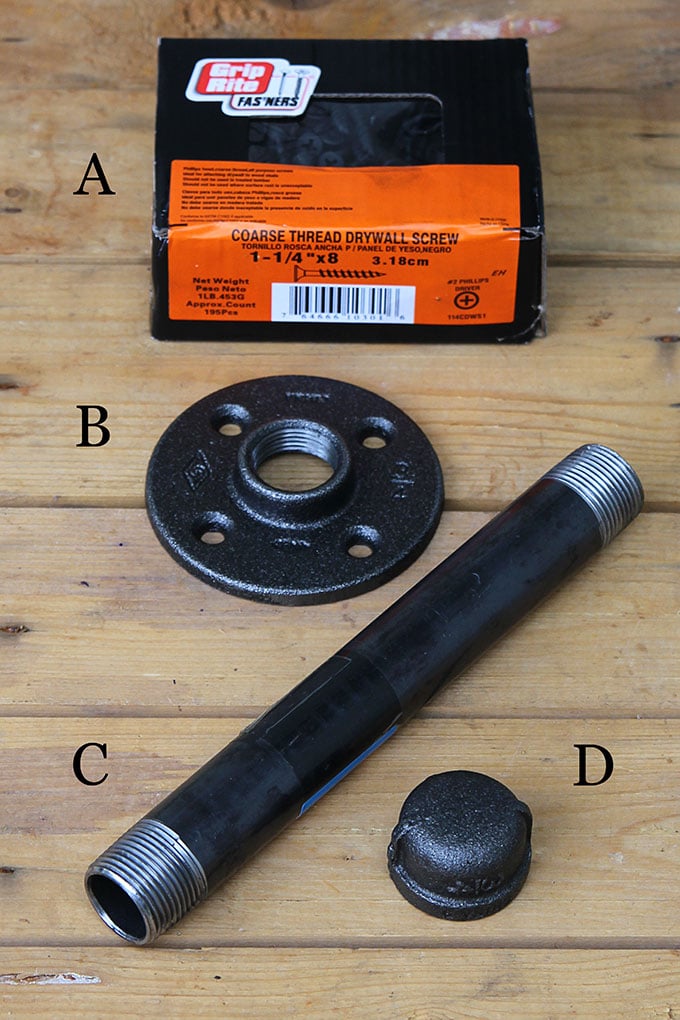
(A) Coarse Thread Drywall Screws / (B) Floor Flange / (C) Nipple / (D) Cap
Instructions:
- If you have shelves already in place, remove those shelves and patch any holes if necessary
- Wipe the grease and grime off your plumbing parts. I used soap and water for the floor flanges and the caps and since the nipples had tape wrapped around the price stickers, I used some Goo Gone on those. I think they are covered in greasy stuff so they don’t rust while at the store, which reminds me, be careful when carrying them around the store while wearing a white shirt. Been there, done that, not doing it again.
- Screw one floor flange and one cap onto each nipple (ouch). These will be your brackets.
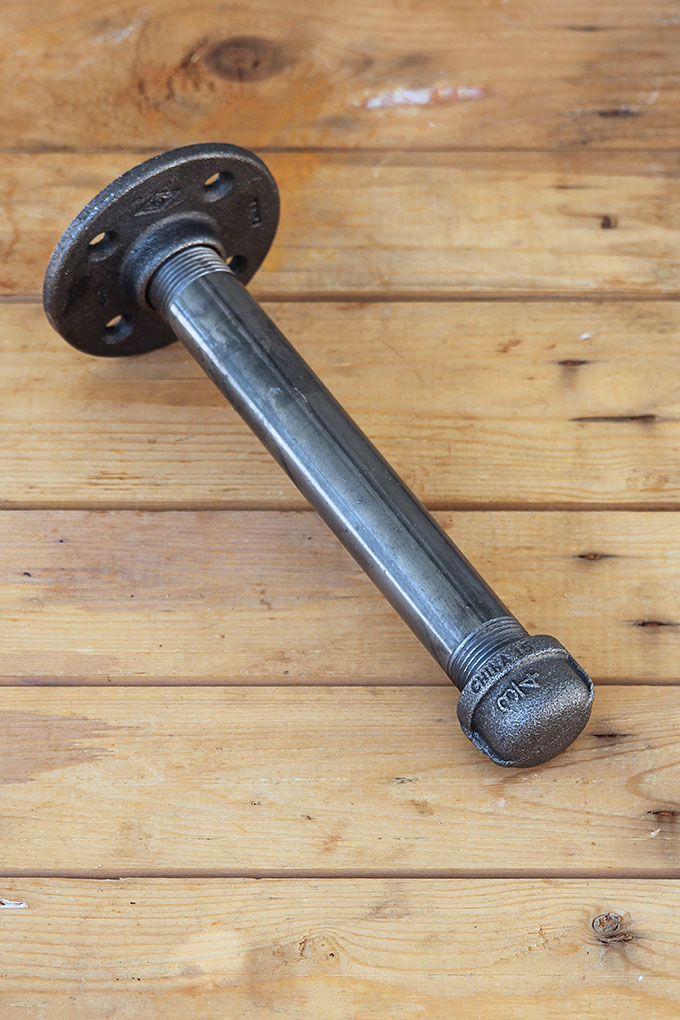
- Spray paint the brackets and allow to thoroughly dry.
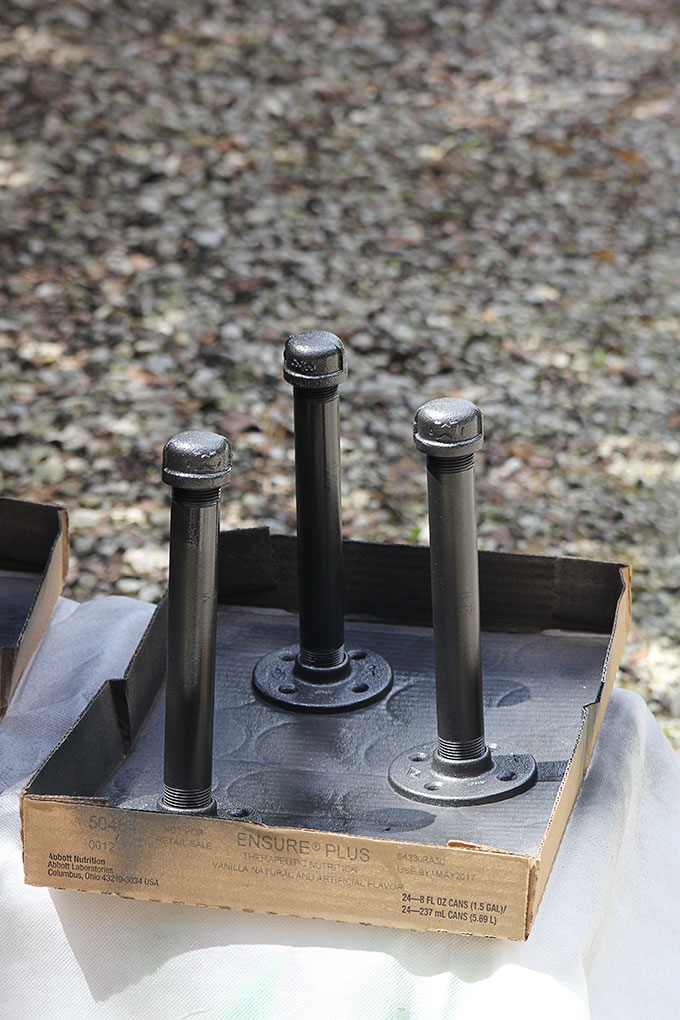
- Decide where you want shelves to be.
- If possible, try to align your flanges with wall studs. We were only able to do this on one side of the shelf, due to the size of the shelves, but still felt they were pretty darn sturdy. You may want to use dry wall anchors if you are unable to hit a stud with your placement of the brackets.
- It looks best to have at least 2 1/2″ – 3″ between the outside of the bracket and the outside end of the board.
- Position your first bracket on the stud and screw into place.
- You can use a pencil to mark the floor flange holes onto the wall if you want to drill pilot holes first. I went straight into the drywall without pilot holes though. I’m wild like that.
- Hold your second bracket in place, put the board on top of the bracket and the level on top of that. Once the board is showing it is in a level position, screw the 2nd bracket into place.
- Screw remaining shelves into place the same way making sure they are spaced equal distances apart and all the brackets are placed vertically in line with each other.
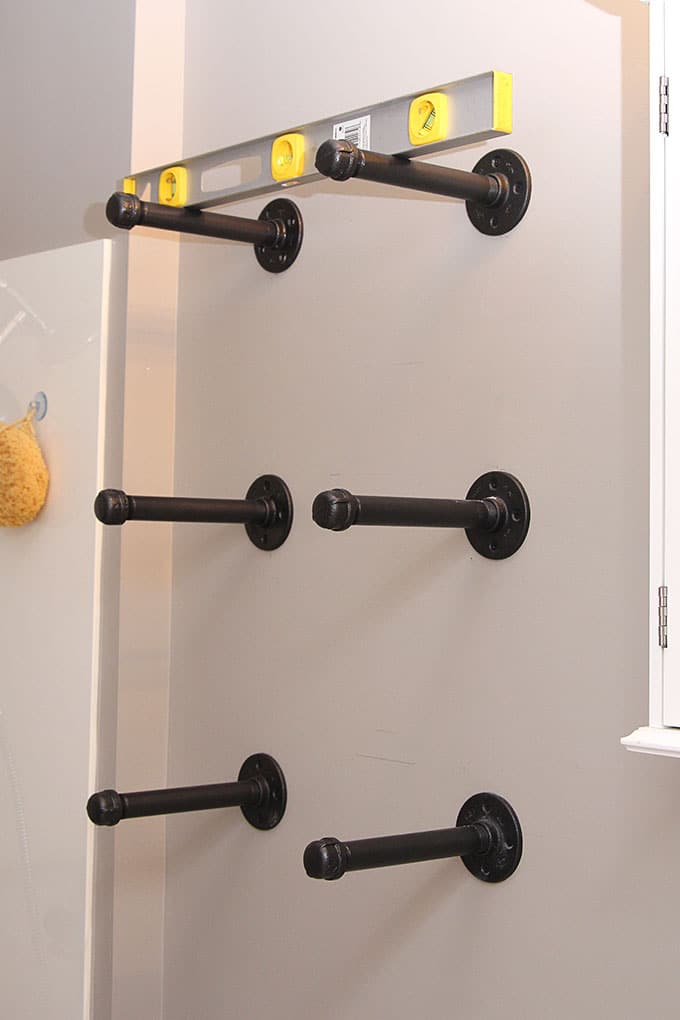
- Stand back and admire your handiwork.
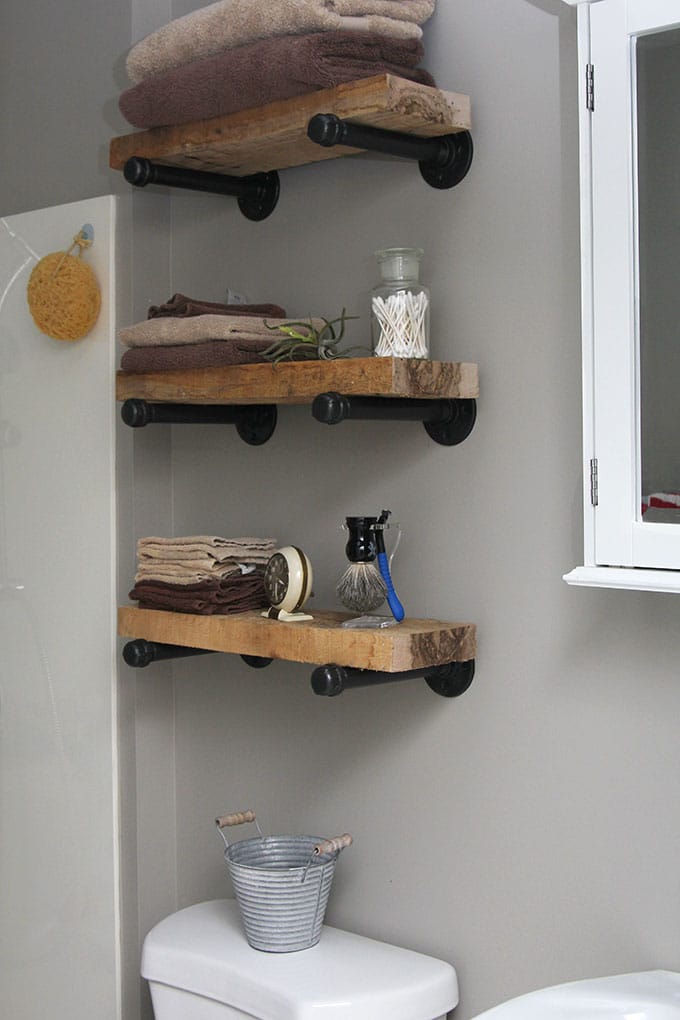
Really these industrial pipe shelves are probably one of the easiest DIY projects out there. They give you so much bang for your buck!
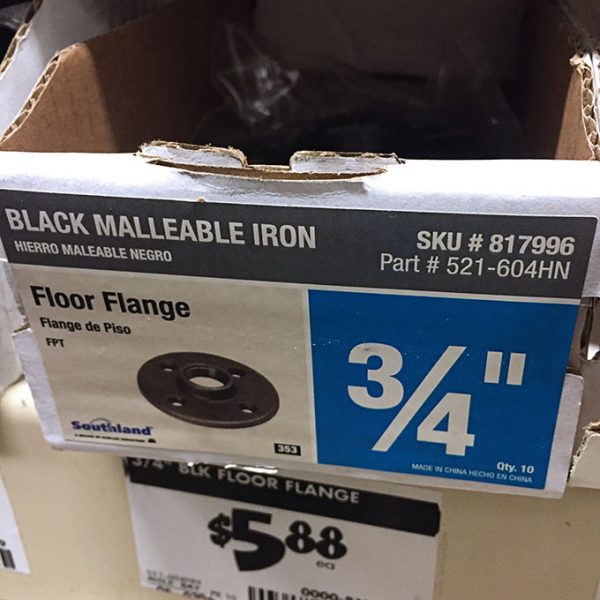
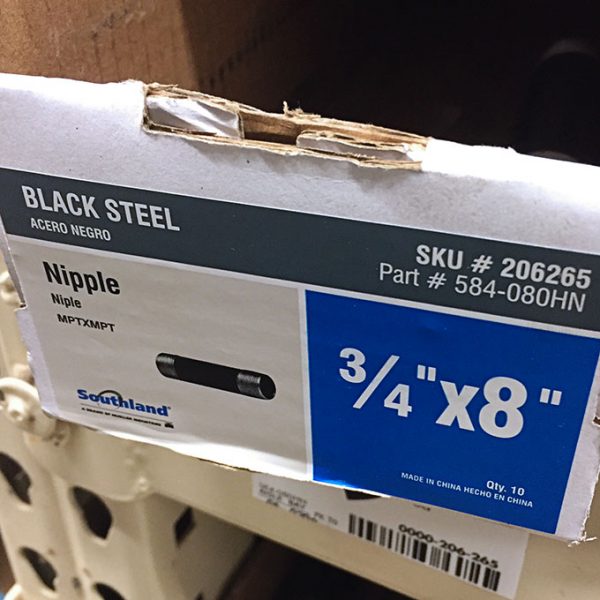
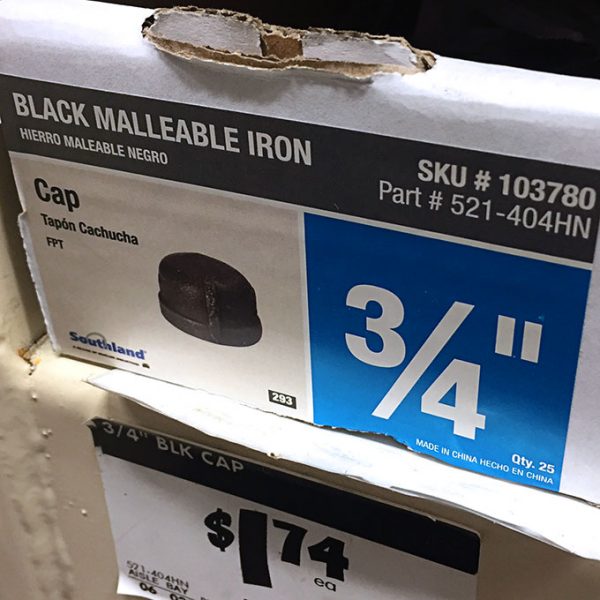
And just in case you need a visual reference, this is what the plumbing pipe items look like on the shelf at Home Depot.
- Floor Flanges
- Nipples
- Caps
Don’t forget, you can shop online at Home Depot and have the items all ready for you to pick up. Saves you from wandering down the aisles looking for this and that or waiting for your online order to arrive via UPS!
How To Use Home Depot’s
Order Online & Pick Up In Store Option
It’s really easy to order online with Home Depot and then pick up your order at your local store. All you have to do is put it in the shopping cart called Pick Up In Store Today.
Here are where the items for this project can be found online:
Once you have picked out all your items and put them in the Pick Up In Store Today shopping cart, just Check-Out like normal. Your items will be waiting for you all nice and neatly put together at the front counter at your Home Depot store. I love having them do all the shopping for me and then I can just quickly pop in, grab my cart full of stuff up front and get back home FAST.
Remember – put your items in the shopping cart called Pick Up In Store Today and it will be ready for you when you get there.

Have you taken the plunge and made anything fun out of plumbing pipe lately? (You know, there are really no good plumbing puns out there if I have to resort to a plunge reference!)
EDITED TO ADD:My number one asked question about this project is what to do if you want to attach the pipes to the boards.
Now in my case, the weight of the boards are enough to keep the wood in place and I don’t have anyone in the house who would be pulling down on the shelves or trying to climb up on them.
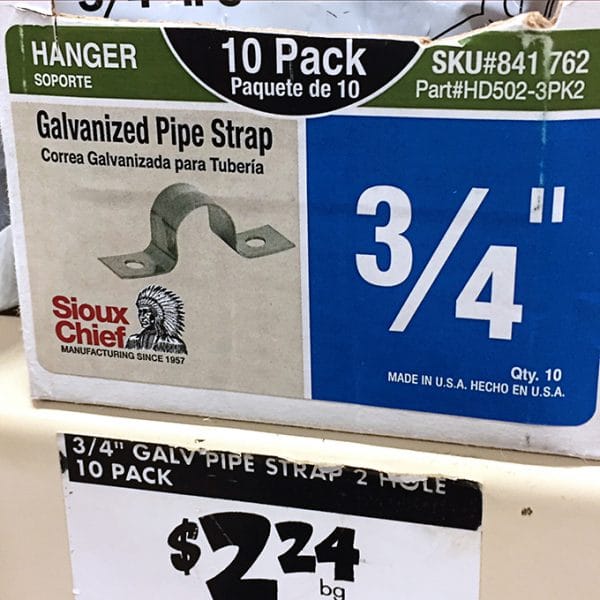
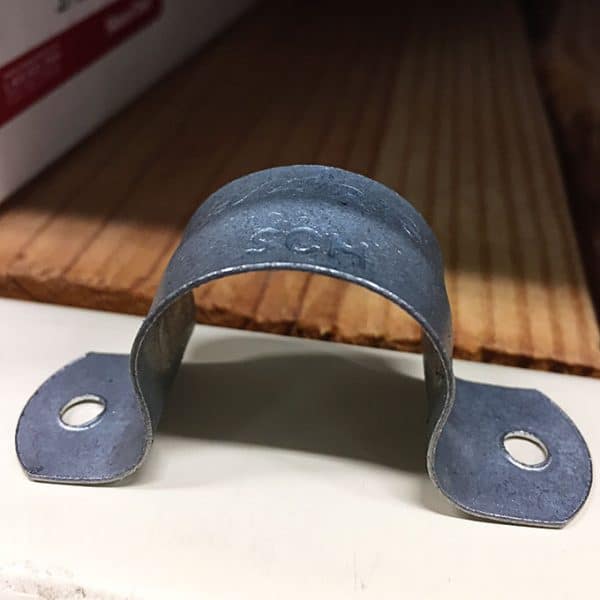
But if you want to secure the wood to the pipes, you can attach pipe straps to the bottom of the wood, by placing a strap around each pipe and screwing them up into the wood shelves. Below are photos of what the part looks like on the shelf at Home Depot.
- Pipe Straps
- Out Of The Package
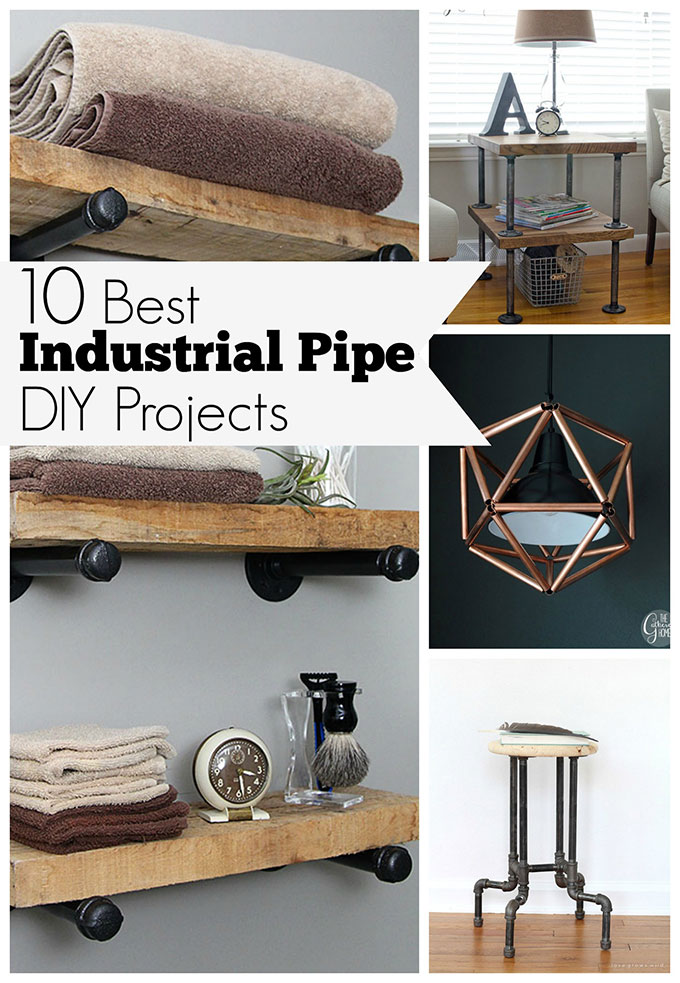
UPDATE: I’ve collected some other Industrial Pipe Projects for you from around the internet and listed them in my 10 Best DIY Industrial Pipe Projects .
Article source: http://www.houseofhawthornes.com/diy-industrial-pipe-shelves/
