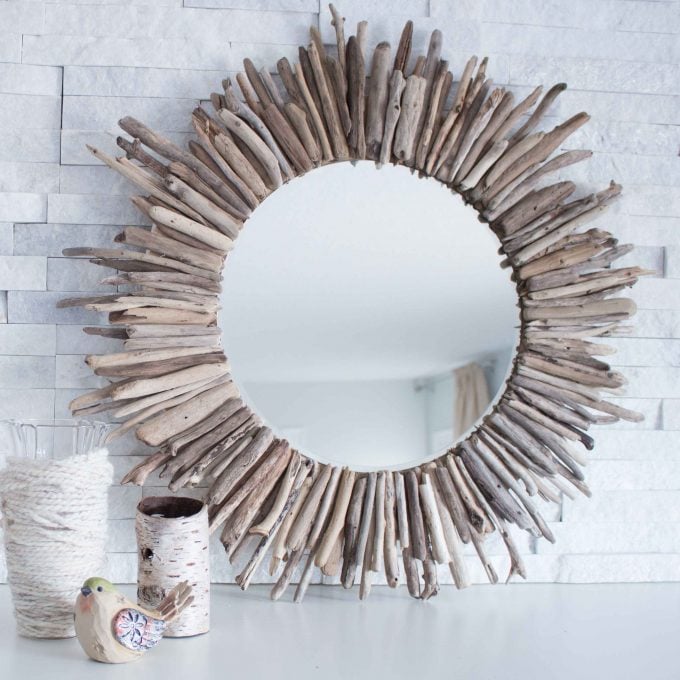
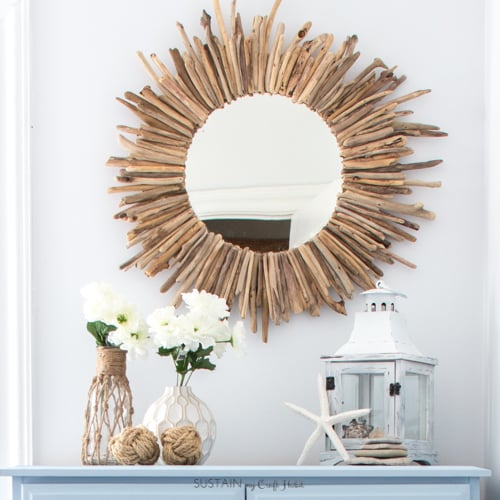
As a number of you currently following along have probably gathered by now, we LOVE driftwood! And we like to utilize it several ways to make all kinds of stuff, such as our driftwood lavender window wreath , driftwood Christmas tree , and our driftwood tree accessory and the job shown here. The list goes on and on and on and high up on that list has been to make a driftwood mirror!
For those of you stopping by for the very first time, we’ll let you in on one of our most preferred previous times … collecting driftwood along the coasts of Lake Huron. The chance does not happen almost as typically as we would like but when it does, we jump at the chance to walk the beach with our bags in hand. Afterwards, we enjoy to joke about what a hard day at the office it was!
This DIY driftwood mirror tutorial is among the most popular on the blogs. If you ‘d choose to purchase rather than DIY,.scroll to the bottom of the post for our driftwood mirror shopping guide.
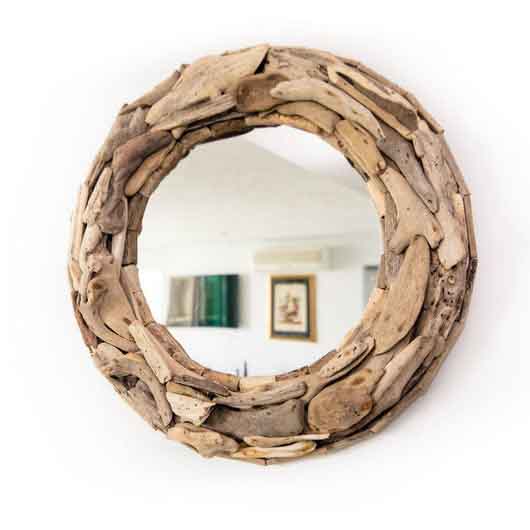
Making this round driftwood mirror has been on our minds for a while. So in time we have actually collected and arranged driftwood specifically to use for this job. When we came across a variety of numerous sized flat mirrors at, and. Michaels we knew it was time to make one! This particular task used up about 150 individual driftwood pieces.
We enjoy to share a free, 5-page task workbook for this DIY seaside design project. We’ll send it straight to your email box! You’ll likewise get our weekly amazing e-mail with incredible and motivating Do It Yourself, crafts and house decor concepts weekly.
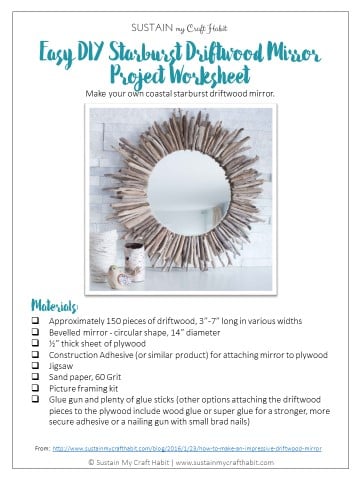
Products Needed for this Do It Yourself Driftwood Mirror
- Various driftwood pieces– sized 3 to 7 long in different widths.
- Diagonal mirror– round shape, 14 diameter. *.
- Building and construction Adhesive. * (or comparable item) for connecting mirror to plywood.
- 1/2 thick sheet of plywood.
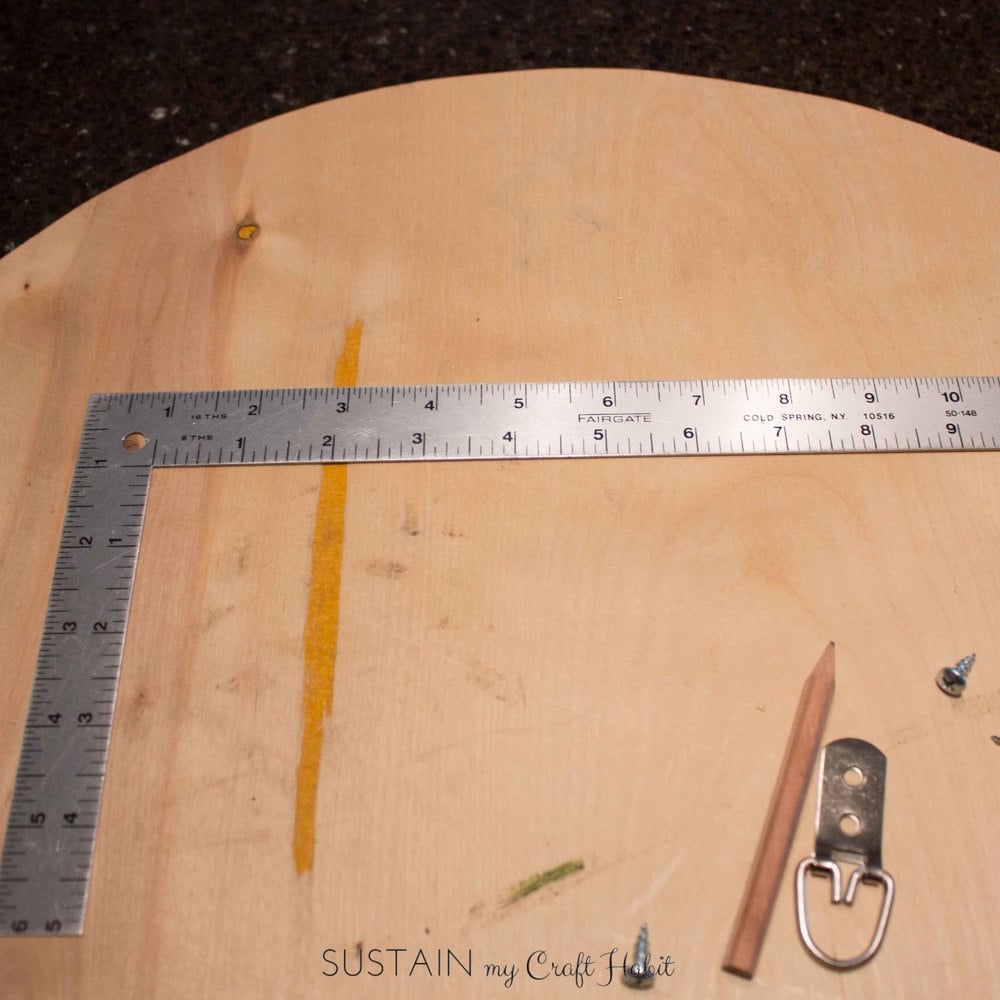
- Picture framing kit. * (this one from Amazon holds up to 30 pounds).
- Jigsaw.
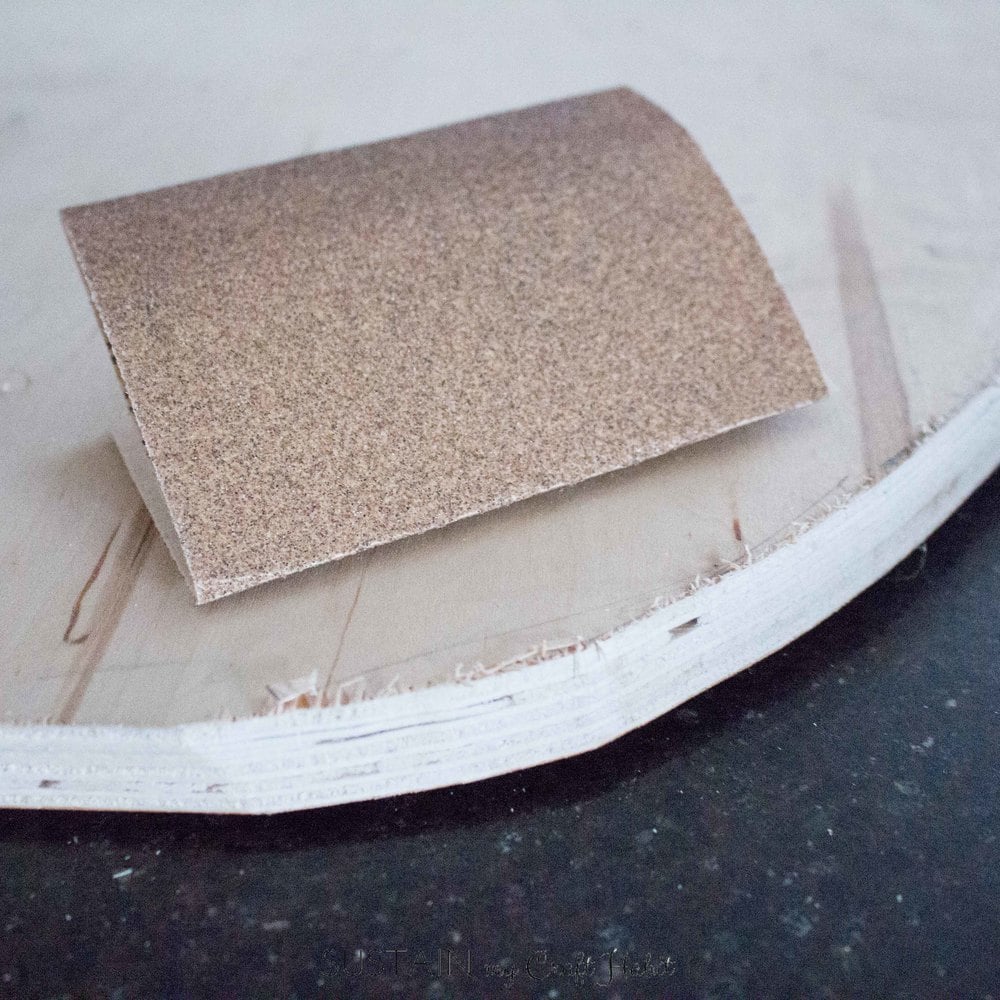
- Sand paper; 60 Grit.
- Glue gun and lots of glue sticks.
- Some other suggestions for using the driftwood are 1. use a wood glue or super glue for a more powerful, more safe adhesive or 2. nailing gun with small brad nails.
How to Make a Driftwood Mirror.
Action 1: Prepare the Mirror Base.
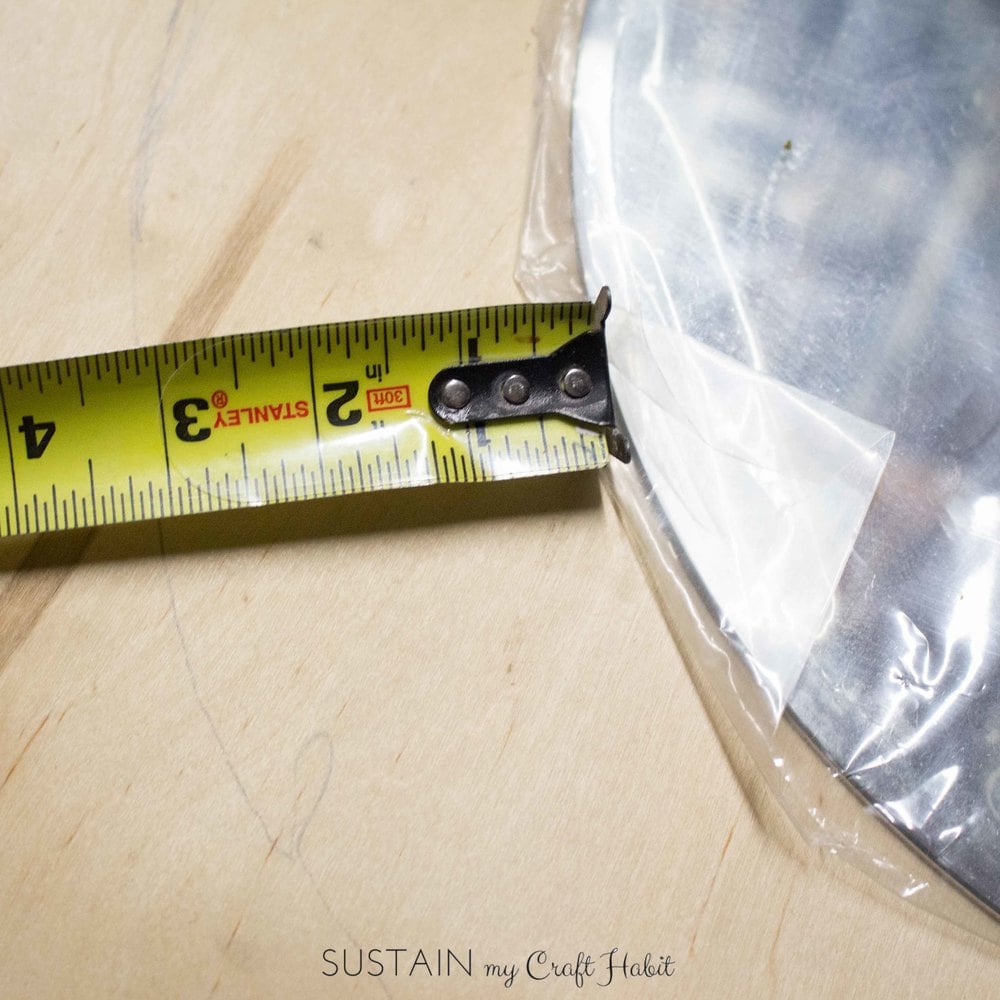
We utilized a 1/2 thick sheet of leftover plywood and suffice in a circular shape to match the mirror shape. Because we wanted 2 1/2 of plywood to show beyond the mirror all around, the ended up size of the cut out plywood is 19. Here’s the mathematics behind it: 14 for the size of the mirror + 2 1/2 (exposed plywood) + 2 1/2 (exposed plywood) = 19.
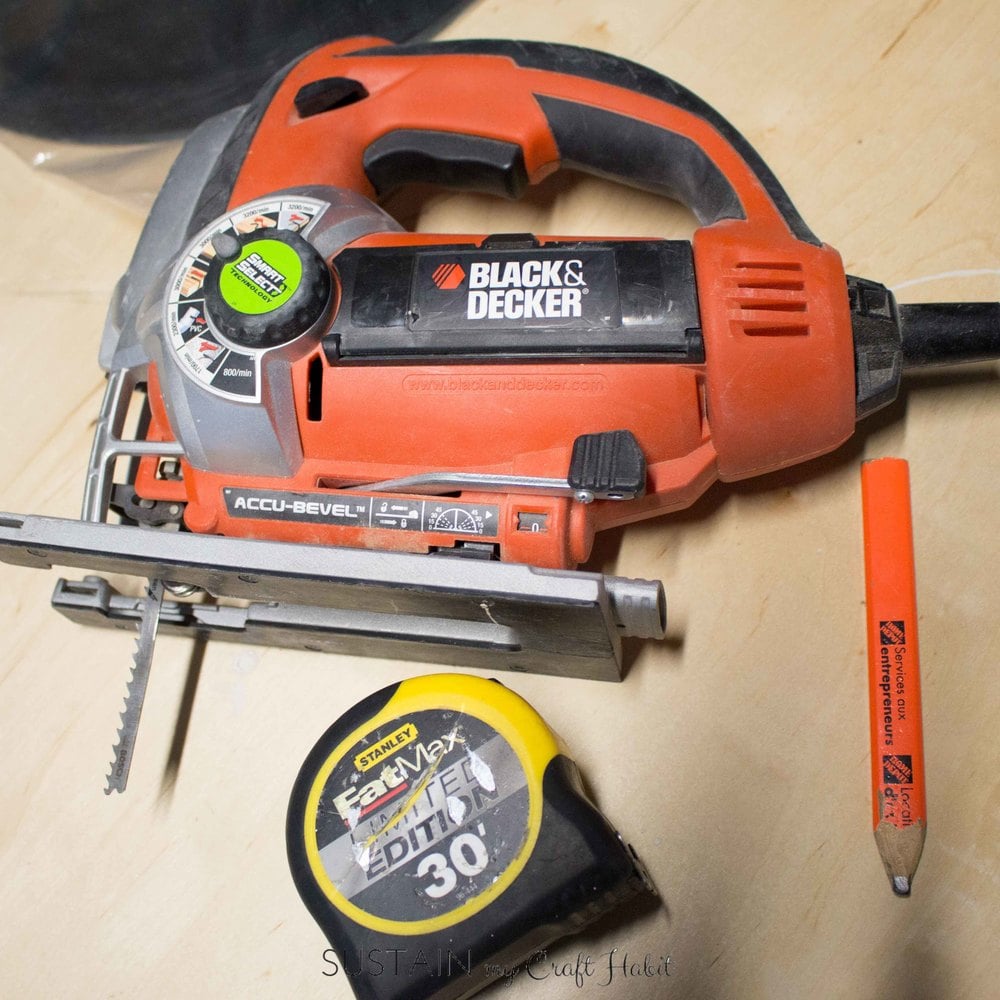
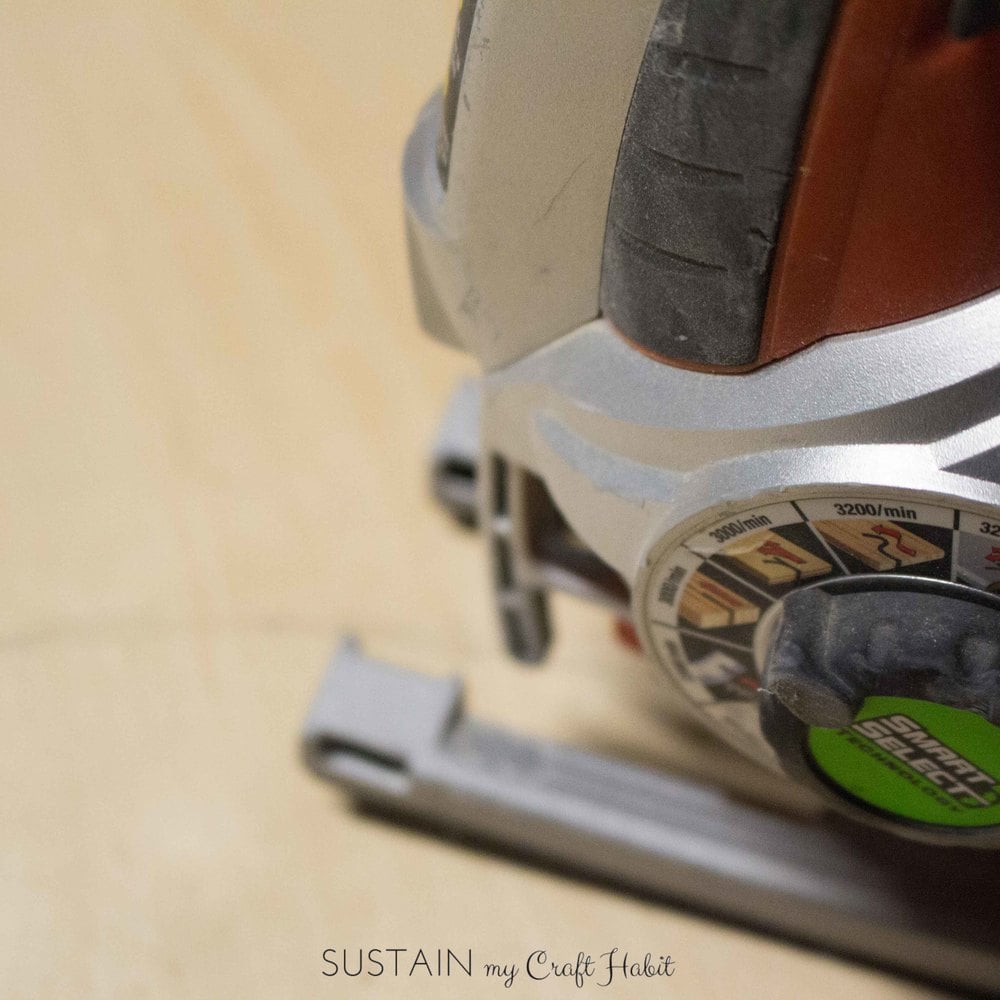
Using a jigsaw, we cut along the significant line to create the base. [We’ll confess, we had one of our useful spouses assist us with this step:-RRB- One day we’ll develop the nerve to operate our own jigsaw.] Once the base was cut, we carefully sanded down all the edges for a smooth surface. We utilized 60 grit, about a medium grade sandpaper to do this.
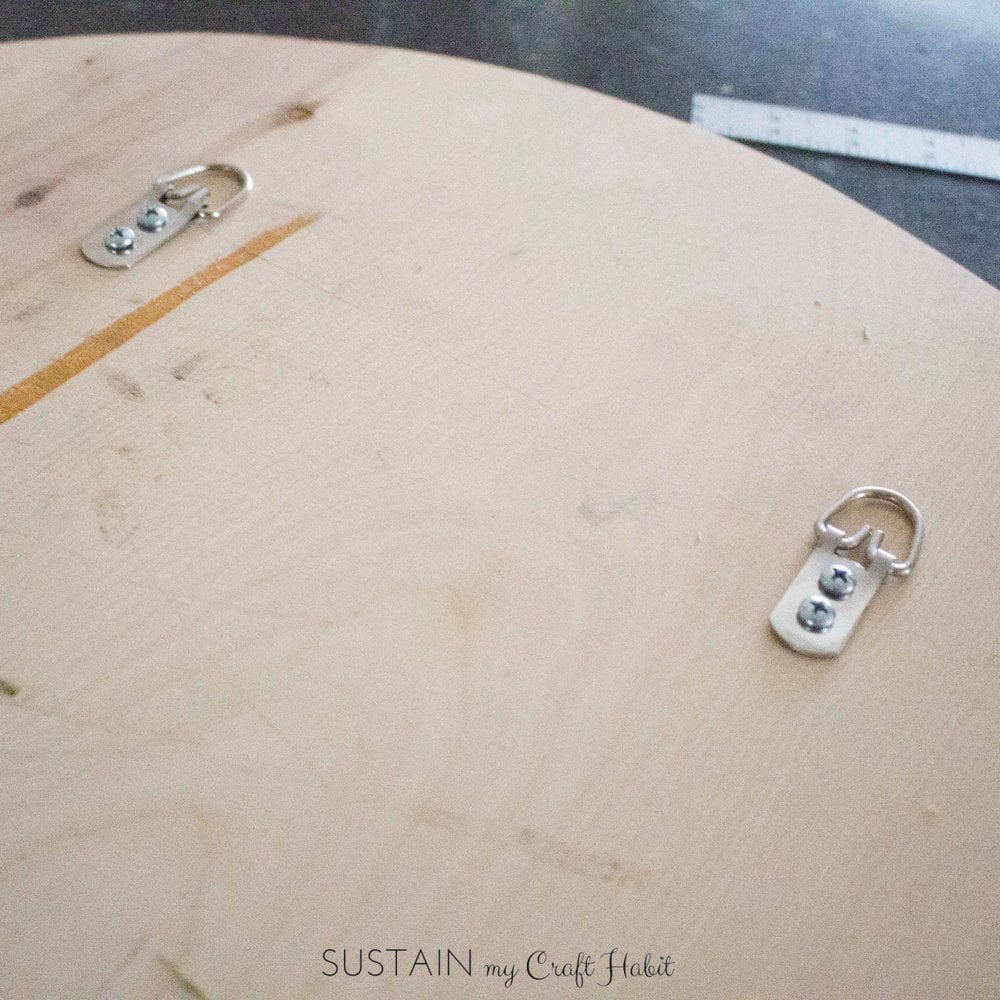
We got a picture framing kit at the closest home hardware store. And following the guidelines on the back of the package, we added two sets of hooks to the rear end of the base. This was the side that was hung up versus the wall.
Action 2: Connect the Mirror to the Base.
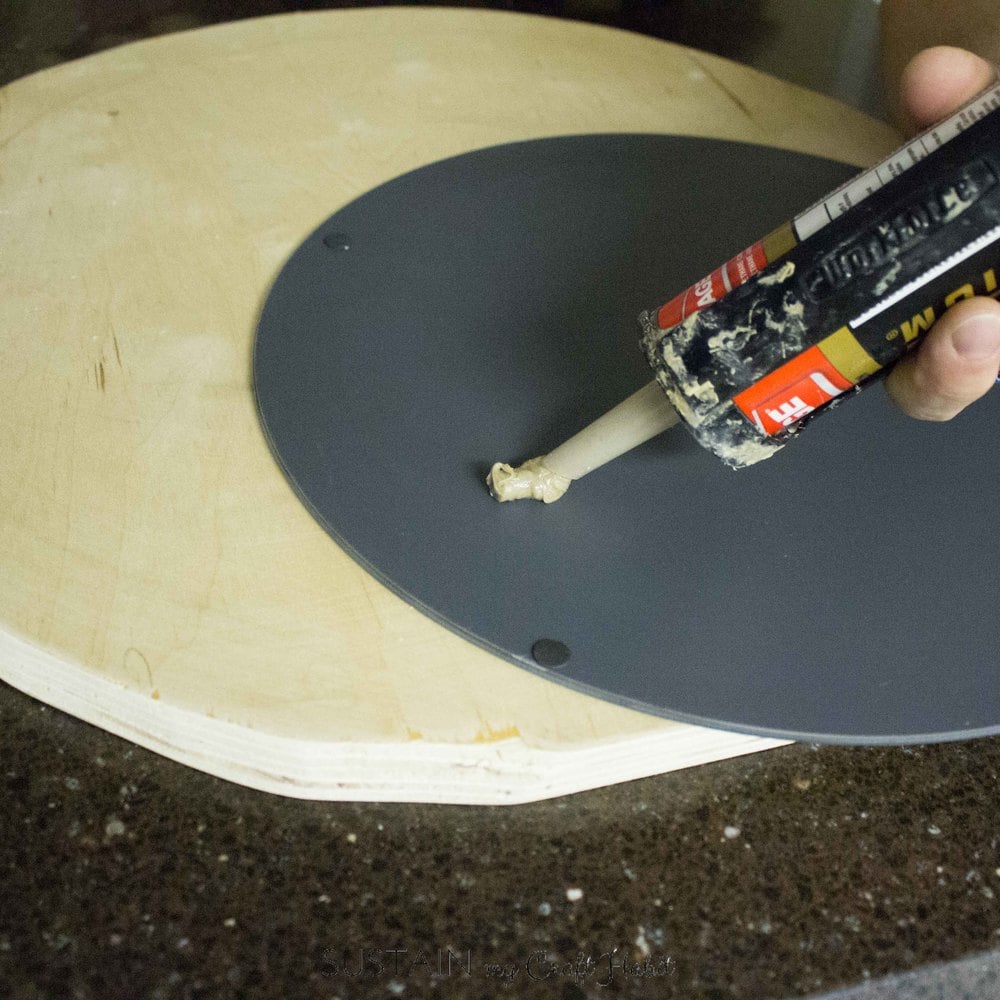
To use the mirror onto the base, we carefully turned the mirror right side down on a smooth surface, taking care to ensure the mirror didn’t get scratched or broken!
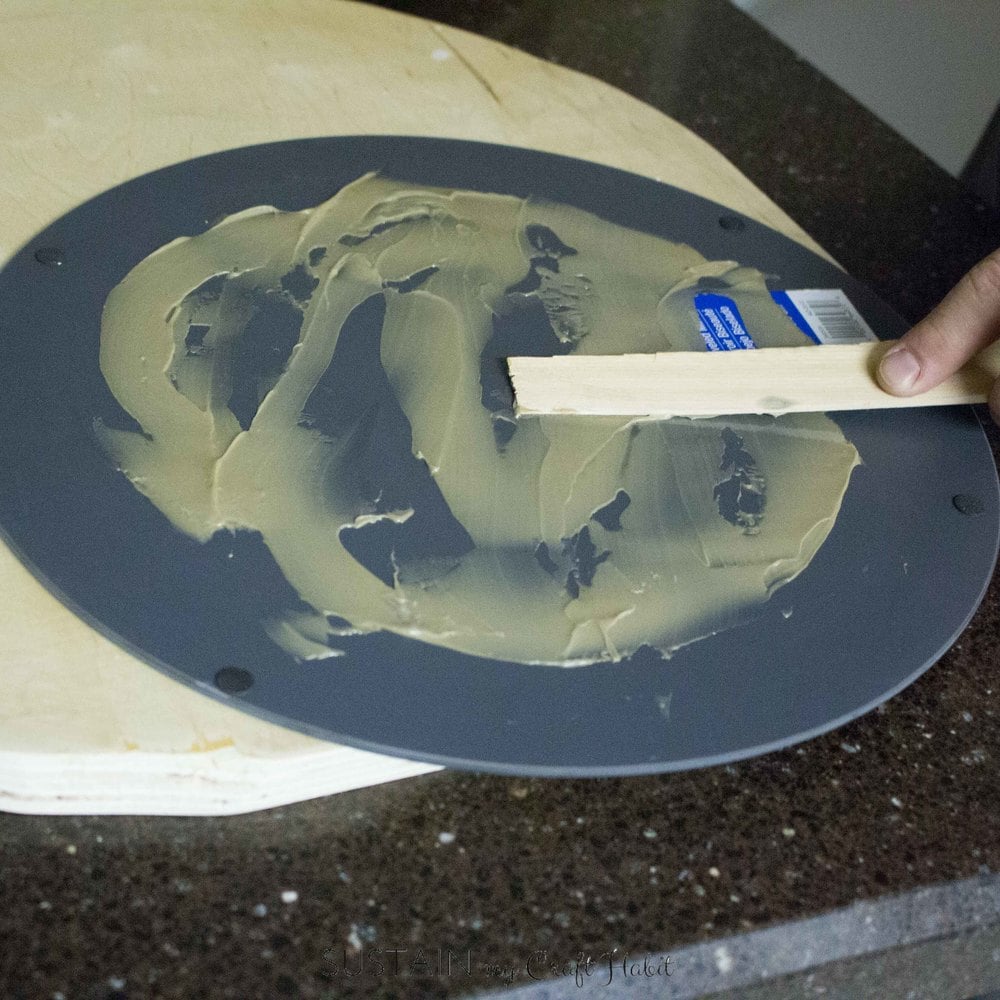
Using the building adhesive, we squeezed a great quantity of the glue onto the back of the mirror and spread it out with a flat spatula (a paint stick would likewise do).
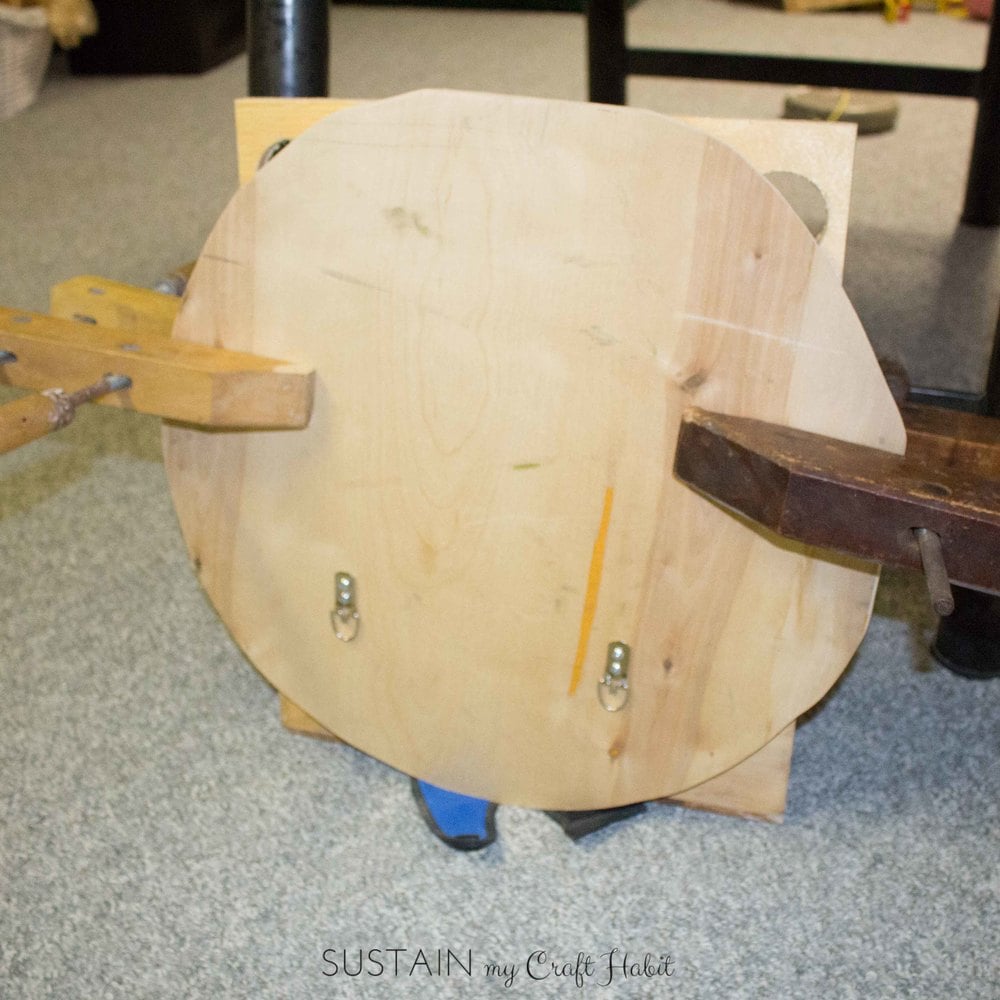
Again, we carefully turned the mirror back over and put it focused on top of plywood. We required to clamp the plywood and mirror together and allowed it to dry for a number of days before carrying on to the next steps (aka the enjoyable part!).
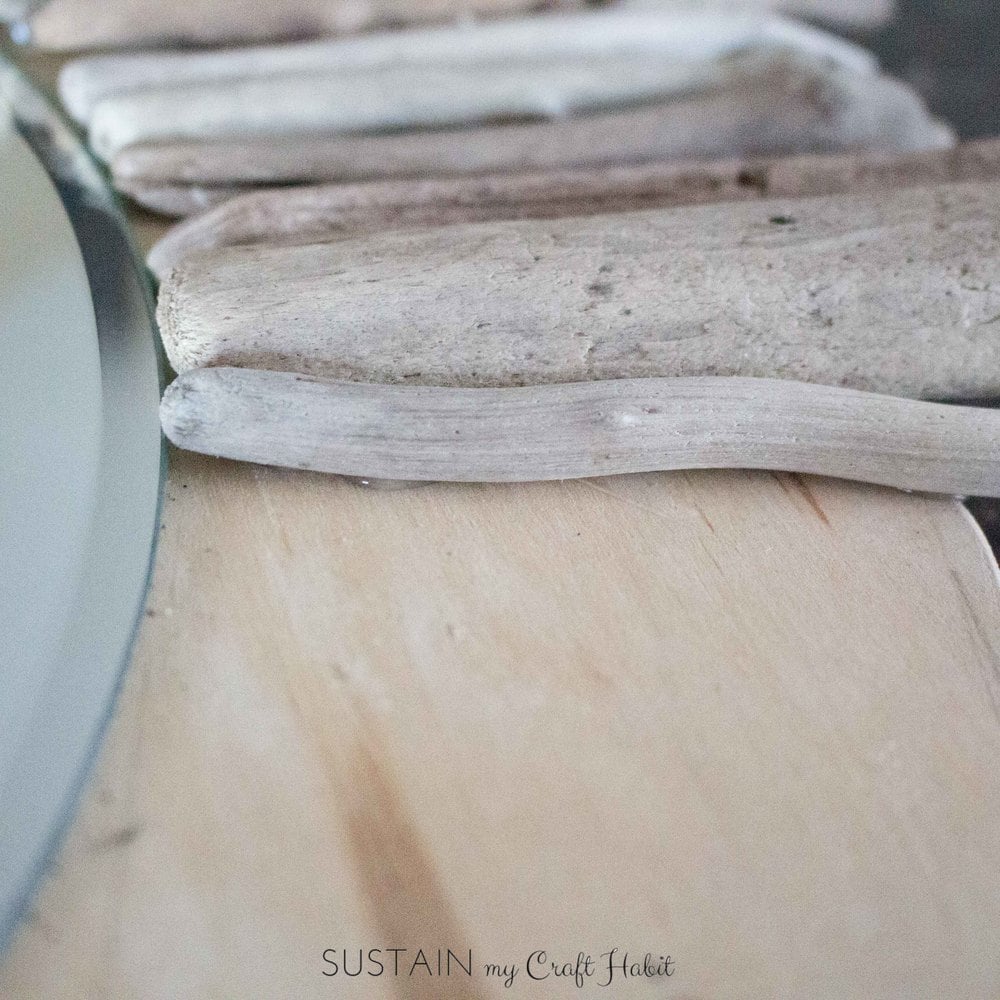
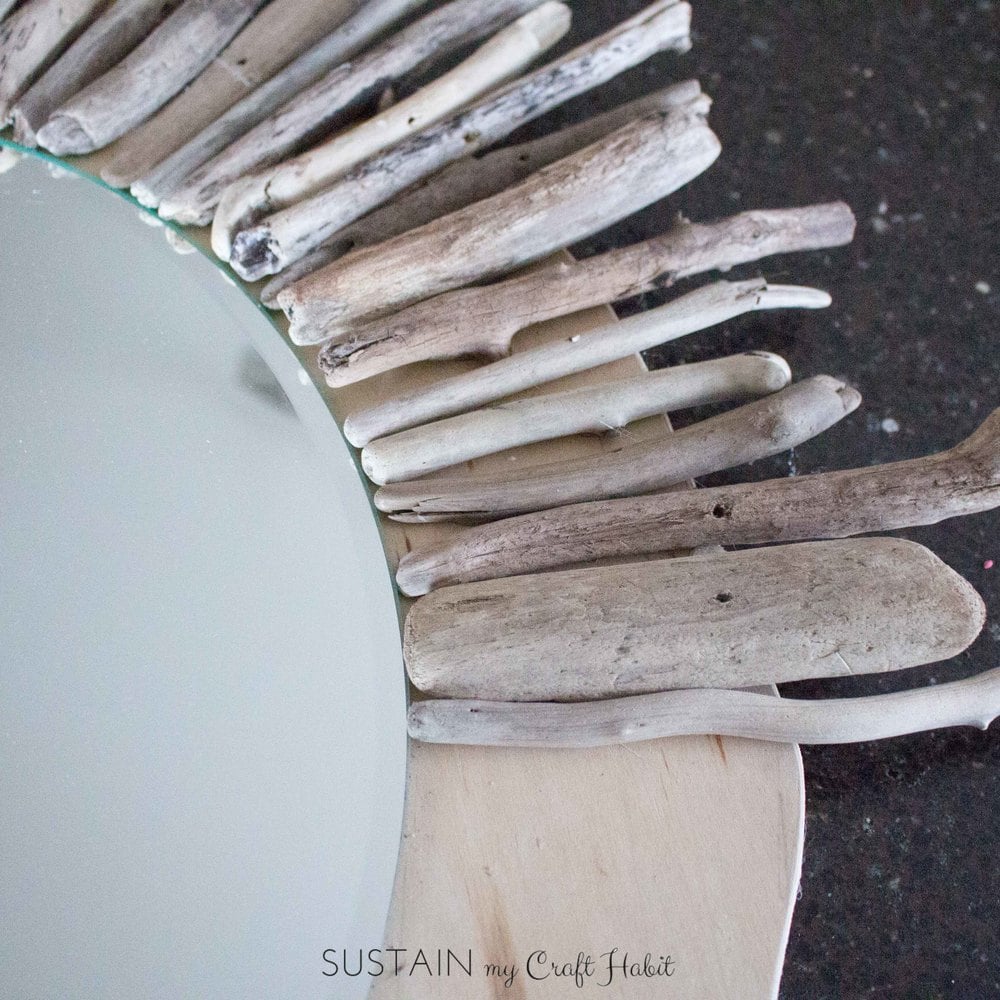
Step 3: Connect the Driftwood Pieces.
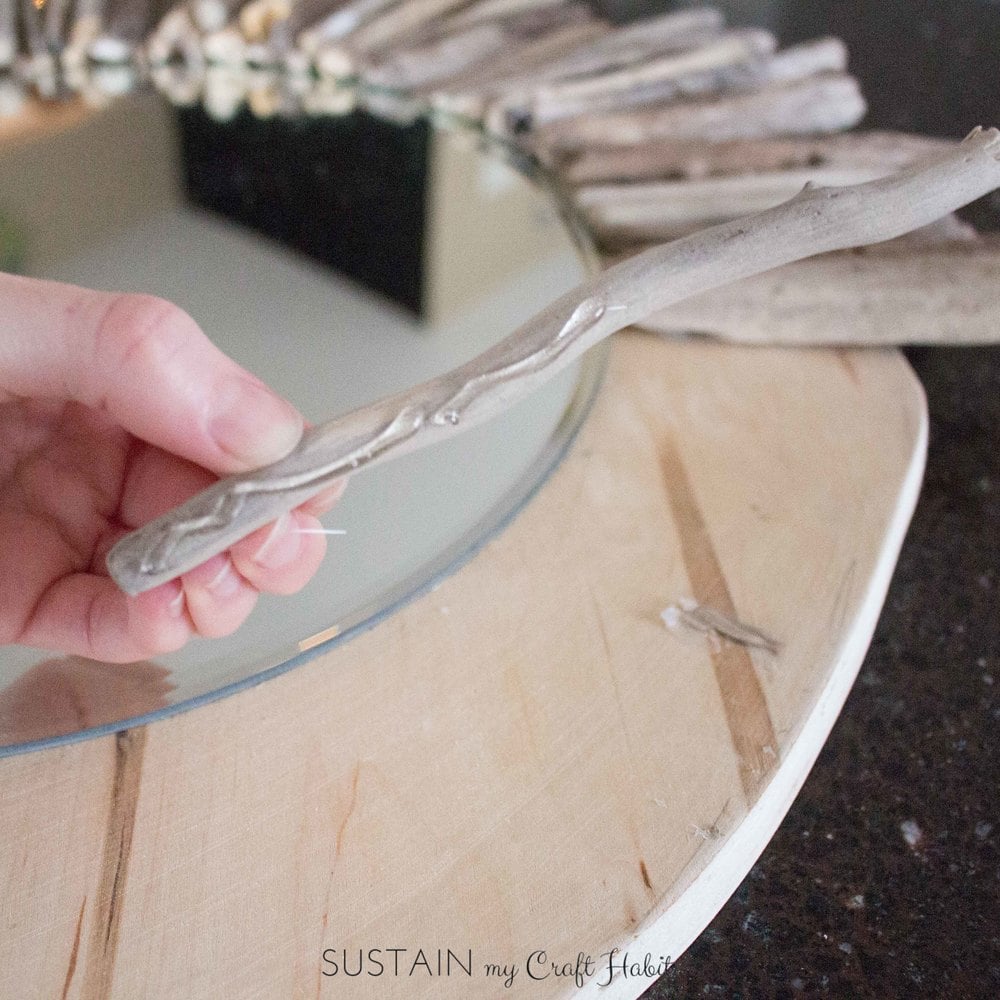
When the mirror was secured in location we got rid of all the clamps and laid the mirror best side up. Utilizing a hot glue gun (or you could utilize among the other options suggested in the materials list above), we started to apply the longer driftwood pieces to the exposed plywood base. We continued to work around the circle.
We layered shorter driftwood pieces on the top and in between the longer driftwood pieces to hide the exposed plywood below. The finished driftwood mirror was somewhat vulnerable so we discovered we had to be really careful when moving it around because hot glue is not the strongest adhesive. When the mirror was hung in place, the hot glue did what it needed it to!
We discovered. this helpful. post. from Adhesives.org that lays out all the different kinds of glue. and appropriate uses for each. We ‘d suggest a wood glue or incredibly glue if you ‘d rather use a more powerful adhesive for your DIY driftwood mirror.
You have to see our DIY driftwood wall art idea video if you liked this DIY driftwood mirror job. Be sure to register for our YouTube channel for more coastal-inspired Do It Yourself ideas. !
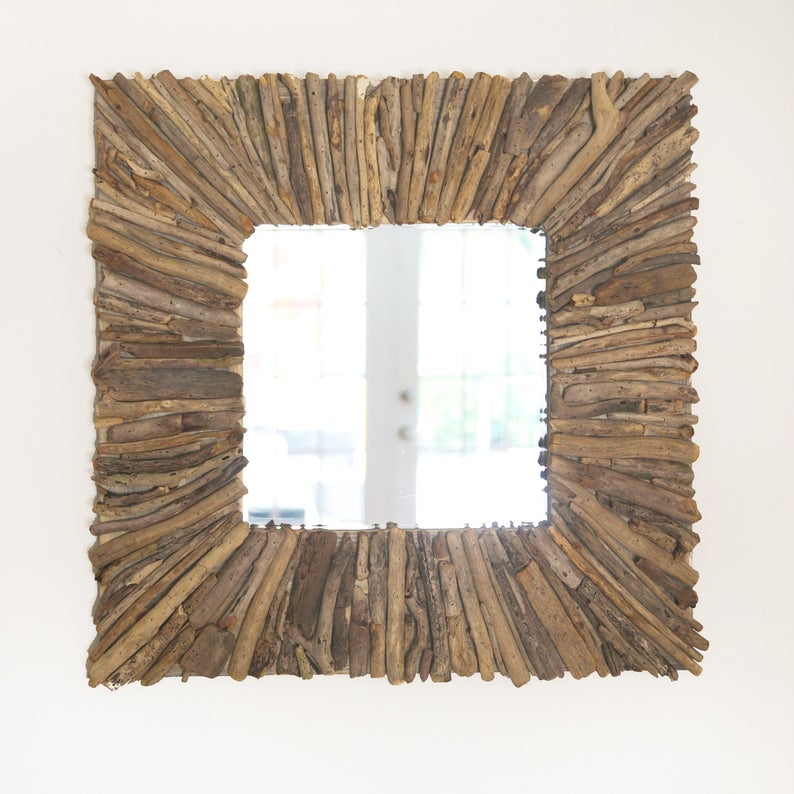
Where to Buy a Driftwood Mirror
Here are a few of our preferred sources for driftwood mirrors
Etsy.com.
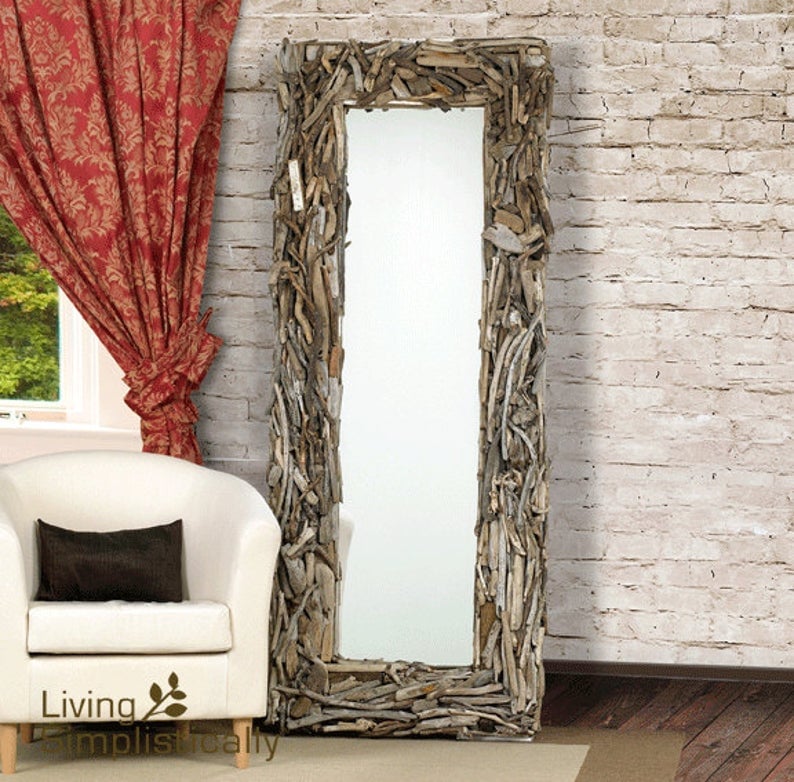
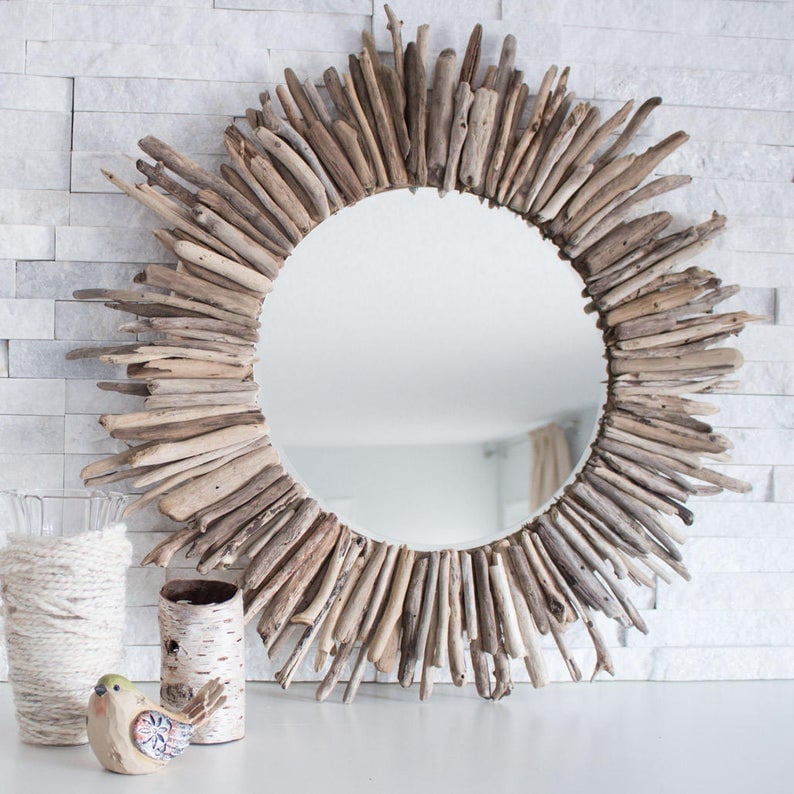
- Driftwood Mirror
Article source: https://www.sustainmycrafthabit.com/blog/2016/1/23/how-to-make-an-impressive-driftwood-mirror#_a5y_p=4980025


