I would like to dedicate this post to my mother, who passed away April 17th, 2016. This one’s for you, Mom. ♥
Once upon a time, I created a super-organized pantry. Then I moved. (Sigh.) But new beginnings bring new opportunities, so here’s my new and improved pantry. After much searching for different ways to organize spices and such, I tweaked some Pinterest ideas, and here’s what I ended up with.

Let me first say that I had some reservations about this project, not because of the building of the racks, but because of the uncertainty of mounting them on a hollow-core door. If you have the same hesitation, don’t sweat it because mounting the units was easy, and they feel very safe and secure.
This project requires only basic carpentry skills. And if you’re reading this tutorial, you will also benefit from my mistakes, as I’ll also be sharing with you what not to do. You’re welcome.
My projects are usually pretty inexpensive because I use leftovers from previous projects, treasures from garage sales, and special finds from curb shopping. (I pull a ridiculous amount of wood off of curbs.) That being said, this project is no exception and cost me less than $25. A wire-coated rack would cost two to three times that much, and wouldn’t be specific to your needs like one you can make yourself.
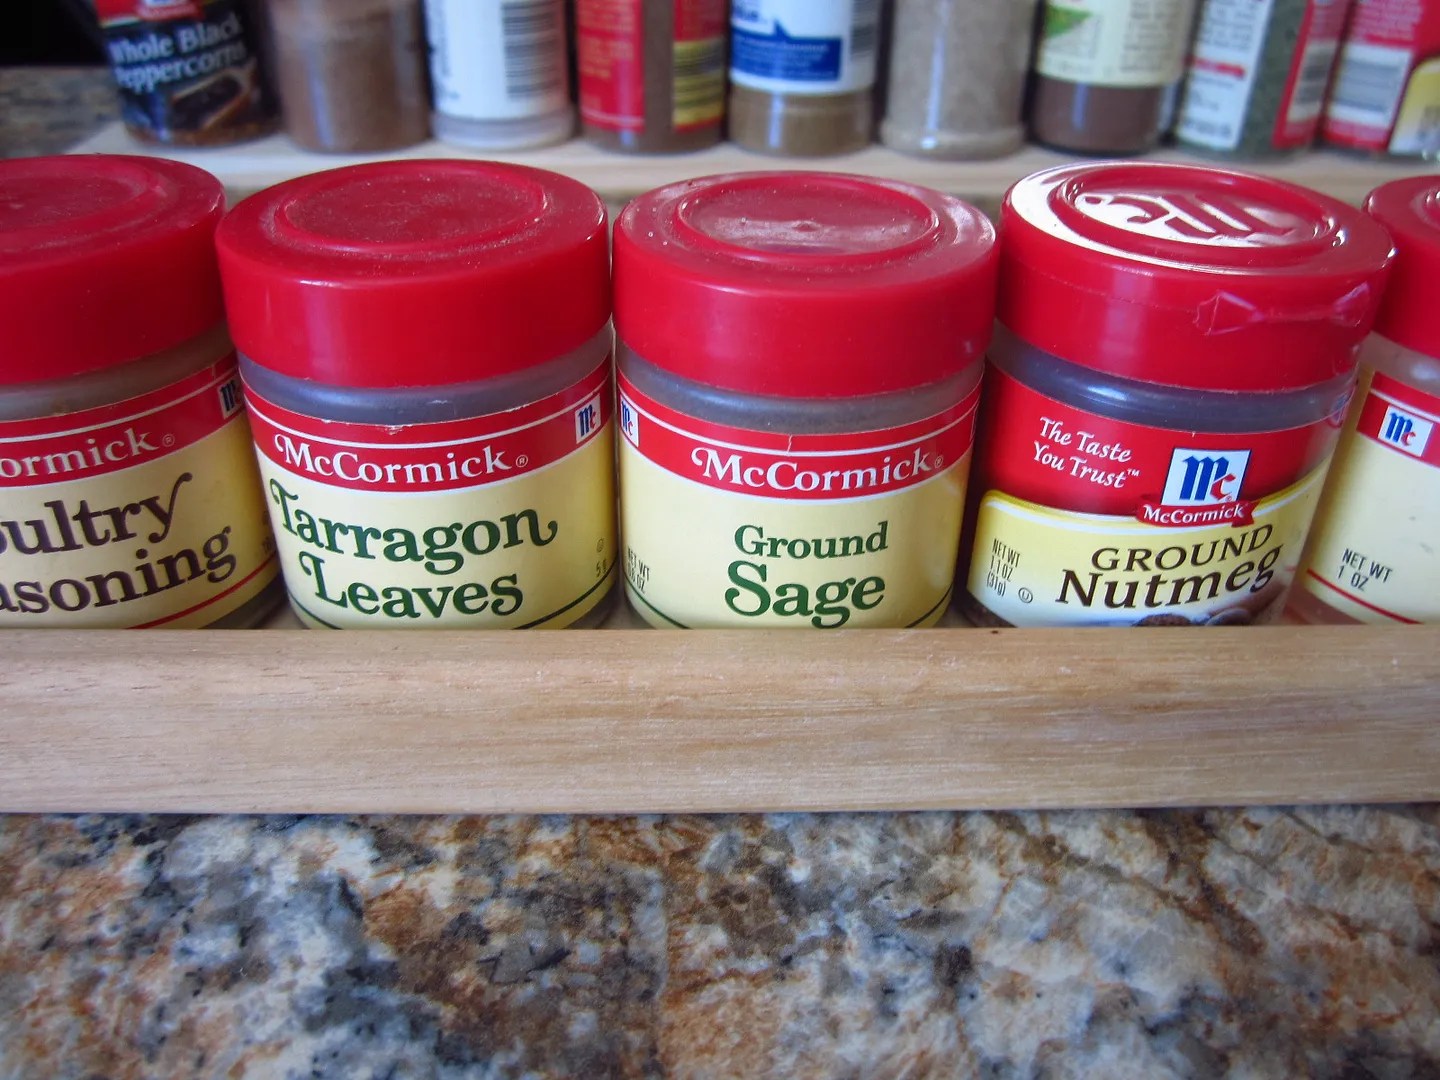
First, I gathered up all of my spices and other items that I wanted to store in the racks, so I would know how to space the shelves and how much wood I was going to need.

I found it helpful to draw a simple sketch, although I did change some of the shelf spacing as I got further into this project. (Incidentally, the second set of numbers on my rough sketch don’t add up to the total shelf dimensions, as they were measurements of the spaces not including the wood. My math isn’t that bad.)

Since I was doing this project without help, and because of my irrational fear of mounting something on a hollow core door, I decided to break this down into two more manageable units rather than one big one. That turned out to be a very good thing.
Since spices are small and lightweight, I used thin pieces of wood to build the top section. I used Pine Mull Casing scraps that I had leftover from another project.
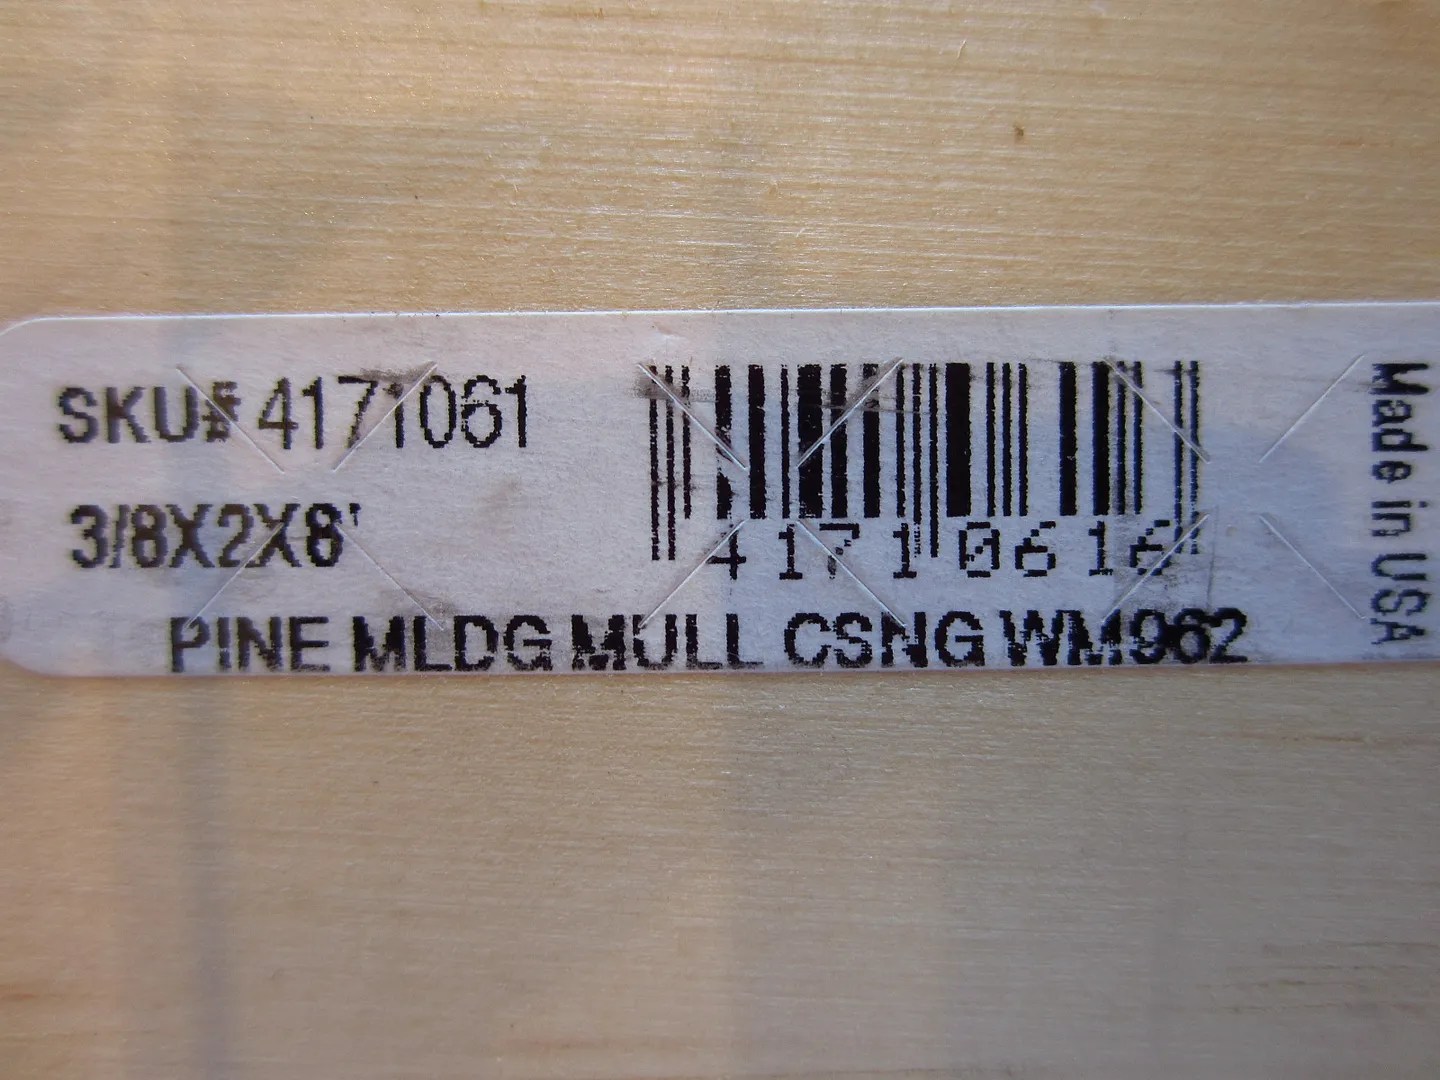
I have no clue what mull casing’s intended purpose is, but I’m pretty sure it wasn’t created for DIY spice racks. It resembles lattice, but is thicker. I strongly suggest not attempting to use lattice for this project because nails need to be driven into the skinny side of the wood, and lattice is too thin. The mull casing measured 3/8″ thick, and just shy of 2″ wide—just like it said on the sticker in the last photo. Imagine that.


Most of the spice racks I saw on Pinterest used wooden dowels to hold the spices in place, which is nice because a small dowel won’t cover up too much of a spice container’s label. However, I chose not to use dowels for four reasons. I would have had to use a wider, bulkier piece of wood to construct the frame if I went with dowels, since a dowel eats up shelf depth; because they are a son-of-a-gun to paint; because I didn’t want the stress of trying to drill the mounting holes perfectly even on the side boards and because I had something else on hand that I could use for free.
And my free dowel substitute was…(da, da-da, daaaaa), wood from a clothes-drying rack. Yes siree, ladies and gentlemen. Recycling at its finest. I disassembled the pieces, and spackled over the center holes to make them disappear. The end holes were cut off when I cut the pieces down to fit the units. I know what you’re thinking. But for the record, I’ve used these before on a similar project, and once they’re painted up, they look great. I also liked these because the edges were routed. If you don’t happen to have a broken clothes drying rack lying around, screen molding or another small piece of trim would be another option.
 I used the recycled wood pieces for the bars that hold in the taller spices, and to make a ledge to hold my smaller spices on the shelves without covering their labels.
I bought bead board paneling for the back of the shelves. Not only did it keep the shelving unit square and more secure, but it was what I screwed into to attach it to the door. Plus it looks sweet! Home Depot sells 32″ x 48″ sheets of bead board for $10, and they cut it to size for me. I laid everything out to get an idea of spacing.

The bead board on my top unit was 18″ wide x 32″ tall, and the bead board for the bottom unit was 18″ wide by 30″ tall. My pantry door measured about 24″ x 7′, which left roughly three inches of space on each side to allow the door to open and shut freely. Very important.
I suggest priming and painting the wood pieces before you cut them. You can paint it in half the time with a lot less mess. I didn’t paint first because I was on a roll and didn’t want to stop, but this is one of those important do-as-I-say-not-as-I-do suggestions.
I cut all my pieces making sure that all of the shelves were exactly the same length, and making sure that the two side pieces were exactly the same length. If the boards are not of equal length, you will not be a happy camper when you assemble them.
For the small spice containers, the space between shelves (not including the shelf itself–air space only) was about 3 3/4″, and for the taller spice containers, the space was 6″. That spacing allowed just enough “headroom” to be able to lift the taller containers up and over the bar that kept them from falling out.
Next I pre-drilled all my nail holes. Simply put, I stink with a hammer. And since there wasn’t much room for error on this thin wood, I needed the nails to go in very straight. Also, the nails were tiny and would bend easily if I didn’t have pre-drilled holes. Bending nails while hammering them is my specialty.

I pre-drilled two holes per shelf on the pieces of wood that formed the sides of the unit, and partially inserted my nails. I knew that assembling this was going to be a balancing act, and I didn’t want to be scrounging for nails while trying to hold the boards, with a hammer clenched between my teeth.


I glued the end of every board I nailed. And yes, I did get this unopened glue for $1 at a garage sale (note sticker). If you are buying wood glue for this project, make sure to get paintable glue.

Then I nailed and nailed…
A smaller upholstery hammer worked best for the small nails.


Then I laid my rack on the bead board to make sure it was square.

I loosely tacked the bead board to the shelf to keep it square while the glue dried, although that probably wasn’t necessary since it was pretty square on its own. ( Can you say OCD?) I tacked it loosely so that after the glue set up, I could remove the bead board, and paint it more easily.


Next, I repeated the same process for the bottom unit, only I used 1 x 4 pine instead of mull casing in order to accommodate larger items.

Next I primed, and then painted using a latex semi-gloss paint from Sherwin Williams in the color “Pure White”. You must prime raw wood before painting it if you want your paint to adhere.
The bead board was already white when I bought it, but I painted it so that when I had paint touch-ups after I mounted it (fingerprints, glue, hammer marks), the whites all matched. And you will have paint touch ups, trust me. I made sure I painted the edges of my bead board since they’ll be visible.


After the paint dried, I assembled all the wood pieces. I used nails and glue to attach the bead board backing. I also drove a nail through the back of the bead board and into the center of each shelf to prevent the shelves from sagging or warping over time.

Then came the scary installation part. This was especially nerve-racking for me because I had just installed new interior doors. And if that weren’t enough, they were special ordered from Lowe’s, so if I messed up the door, it was going to be awhile before I could get a new door to try again. Pressure. Here are the hollow-door anchors I used. A package of four was under $2 at Home Depot.

Basically, how these work is you hold your item to be hung, up on the door. You drill through your item and into the door where you want your screws to be. Remove the item, install the anchor into the hole you drilled in the door and then put the item back up and screw it on. Boom. Done. But not so fast.
I drilled holes for the mounting screws through the bead board backing where I felt the screws would be hidden behind the spices. I did this without holding the shelf up to the door since I knew it would be difficult for me to hold up the shelf and drill at the same time. Not a great idea.

Unfortunately, I didn’t take into account where the recessed panels on the door were. So when I held the drilled shelf up to the door, re-drilled through the existing holes in the bead board and into the door, the holes ended up in a recessed panel. I will admit a swear word left my lips on that one. So I ended up drilling two more holes in my bead board and my brand new door. (Personal thank you to whoever invented spackle.) Here’s a picture of where you don’t want your holes to end up.

I decided to use three anchors for each shelf unit, but four–one in each corner–would have been better.
Since my door had a handle rather than a knob, I had to be sure to place the bottom unit low enough so that it didn’t interfere with the handle’s operation.

I was still leery of this whole hollow door issue, so I decided it best to install the lower shelf first. A screw-up down low wouldn’t be as noticeable.
I stacked pieces of wood on the floor under the shelf, so I wouldn’t have to try to hold it while I was drilling. I made sure it was at the desired height, centered and level on the door. Next I drilled through my existing holes in my bead board (the second set–ugh) and into the door.

I removed the shelf from the wood stack, and screwed the wall anchors into the holes I had drilled in the door. The creaking noises during the screw turning made me cringe a bit, but I kept plugging away—ever so gently.


Since hollow core doors these days are sort of cardboardish, I was left with fuzzies around the anchors. My OCD was wanting to give that thing a hair cut, and I openly admit I started to remove it with a utility knife. But I got a grip and quit because that tiny bit of “squish-out” is never going to be seen—ever.
I propped the shelf back up on the piece of wood, lined up the holes in the bead board with the wall anchors (I could actually see the anchors through my drilled holes if I looked closely) and installed the screws.
I repeated the process with the top shelf. Installing the bottom unit first, turned out to be a good idea because I could balance the top unit on it while I leveled and drilled.

Lastly, I painted the screws and touched up the paint as needed.
I had actually stopped using most of my spices after I’d moved because it was such a hassle to find what I needed. You can see why from this “before” photo.

And here are my after photos.


It took me about a day and a half from start to finish for this project. That included figuring out how to space everything, a trip to Home Depot for supplies, painting, assembling and hanging. It was well worth the time, as these storage units have made my life so much easier, and now I have two empty cupboards in my kitchen!

If this project seems too complicated for you, and your spice cupboard is a wreck, you may want to check out my simpler “no construction” Dollar Store idea for storing spices by “Clicking Here“.
This post was written by Tracy Evans who is a Certified Home Stager, Certified Redesigner and Journeyman Painter. Feel free to visit her website at www.HelpAtHomeStaging.com to view more before and after pictures of her projects. And if you enjoy gardening, you may want to visit her gardening blog at MyUrbanGardenOasis.
Article source: https://homestagingbloomingtonil.wordpress.com/2016/08/20/diy-pantry-spice-rack/


