DIY Home Decor Categories

Fixing Up Your Bathroom To Sell Your House

Everybody from your real estate agent to your mother-in-law has probably been telling you that kitchens and bathrooms sell houses — but the only problem is that your bathroom isn’t exactly a showpiece in its current state. Even though you understand how important the bathroom is to selling, you aren’t sure what to change. If you decide to take on a bathroom remodel, what are your options? What works best? To make your property as attractive as possible in the minds of buyers, here’s where to focus your efforts:

  1. Fix What’s Broken. Whether it’s a lack of bathroom storage space or a faulty showerhead, when something in the bathroom isn’t in proper working order, that’s a turnoff to potential buyers. You’ve been using the bathroom, so consider what doesn’t work well. Could new bathroom vanities make the room more functional, adding space to store cosmetics and other supplies? Could little shower updates like a new showerhead or new caulking make enough of a difference to make the bathroom impressive? Do you need a new toilet or to replace chipped tile? Start your remodeling project by thinking about what people want to see in sinks, showers, tiling and so on. Then, at the very least, make your bathroom one where everything is fixed.
  2. Out with the Old. Vintage bathrooms can be fun and funky, but if it’s maximum selling power you’re after, be sure to update. Consider remodeling the bathroom from an outdated room into a sleek, modern masterpiece — at Modern Bathroom, we can help you determine how best to move from an old-fashioned look to a contemporary style. Whether it’s by replacing the flooring, refinishing the tile or overhauling the room top to bottom, we’re here to help.
  3. Appearances Matter. When talking about resale value, looks are important. Potential buyers evaluate bathrooms in terms of visuals — the colors, the style, the layout and the fixtures. To capture their interest, pay the most attention to the aesthetics of your bathroom, even more than to the high-end features no one sees. Buyers like to see new cabinets, new vanities, new showers, etc., because updated signals quality and value. If it’s within your budget to take on a complete bathroom remodel, it might be worth doing.
  4. Small Details Matter. While new vanities and new tiling are the kinds of upgrades everyone notices quickly, don’t neglect the little touches like cabinet hardware, sink faucets and bathroom mirror frames. The small details in your bathroom design can either complement or take away from the room’s value — let yours be assets instead of hindrances.

When it comes to replacing bathroom vanities or updating showers, Modern Bathroom is proud to be your No. 1 resource. Backed by years of experience in the industry, we have a team of experts committed to quality on every job — so when you want to take on a bathroom project in the Los Angeles area, come to us.

Contact us today!

How to Shop the knot too shabby BAZAAR Like a Pro

This is the week where I lose sleep just thinking about the knot too shabby BAZAAR! I’m in good company too! I’d venture to guess that a number of the vendors experience the loss of sleep making last minute booth preparations and mental to-do lists when they should be catching some much needed zzz’s!

As a knot too shabby BAZAAR shopper, you probably aren’t losing much sleep over this event! But, that doesn’t mean that you can’t make plans and preparations. Here’s all you need to know about how to make the most of your shopping experience at this week’s MAIN EVENT in the Glendora Village!

WHAT (is the event): The Annual knot too shabby BAZAAR is happening this Saturday rain or shine.

Bazaar-270

WHO (is participating): Local artisans selling refinished furnishings, vintage finds, and handmade goods. All are welcome to attend–admission is free!

I donut know any better cookies to bring to the #knottooshabbybazaar next Saturday than these ????????

A photo posted by Kelsey E. Robison (@gingersnapmarket) on Apr 3, 2016 at 2:05pm PDT

WHERE (is it happening): In the Glendora Village on the vacant lot at the corner of Glendora Ave. and Bennett Ave.

WHEN (is it taking place): 9:00am – 4:00pm this Saturday, April 9th, 2016.

Arrive early to:

Looking to have fun with friends? Shop mid-day to:

The Lobos Truck will be offering burgers, wings, and their famous wachos (waffle fries + nachos).

Bargain-hunter? Shop the final hour to:

  • Score the best discounts
  • Learn the winner of the #knottooshabbyBAZAAR Furniture Makeover Competition and recipient of a $100 gift certificate

HOW (to shop the event):

  1. Bring cash. Most vendors will be able to accept credit cards, but as they say, “cash is king!” You’ll have more negotiating power with cash. And, if you find that you don’t have quite enough, knot too shabby will serve as ATM…so-to-speak. You can bring your credit or debit card to the shop and we’ll offer a credit to cash transaction.
  2. Wear comfortable shoes.
  3. Bring your dogs!

Bazaar-June14-357

WHY (should you come):

  1. It’s free to attend! We’re skipping ticket sales to you can save your money for shopping.
  2. We’ll be giving away #knottooshabbyBAZAAR Bucks in mystery amounts all day while supplies last–everyone’s a winner! Just find us at the knot too shabby booth to pick up your bucks in amounts from $3 all the way to $25.
  3. It’s fun for the whole family!

Bazaar-Apr15-23

Answering Your Questions About Laminate Wood Flooring

Buy Laminate Flooring | Hardwood Floor Brands

As you shop for laminate flooring for your home, you may ask yourself a few questions. There’s no shame in being curious about laminate flooring, we understand that you want to make the best possible investment in flooring for your home. If you find yourself asking questions about laminate flooring, we have answers. Here are some of the most popular laminate flooring questions and the answers you’re looking for.

laminate vs hardwood flooring

How is laminate flooring made?

Laminate flooring is man-made, which allows it to be tougher and more resistant than natural flooring counterparts. Most of the laminate flooring you will find is crafted from resin and fiber, then coated with a top layer and printed with an attractive design.

What are the benefits of laminate flooring?

Laminate flooring has many perks, including its simple maintenance. Laminate flooring can effortlessly be cleaned, allowing your home to feel bright and relaxing with ease. Laminate flooring is perfect for active households for this reason. Laminate flooring is also durable, allowing it to stand up well against heavy traffic.

Are laminate floors easy to install?

Before you purchase your flooring, you want to be sure you can install it with ease. Fortunately, you can do exactly that with laminate flooring. Laminate floors likely come in interlocking pieces, which make them notably easy to install. If you hire a trained technician to install your laminate flooring, they can install this flooring in your entire home over the course of one or two days.

Now that your questions about laminate flooring have been answered, you’re ready to shop. Find the perfect laminate flooring for your home at flooring.org. We have an extensive selection of laminate flooring perfect for each and every room in your home. Feel free to check out our selection on our website or give us a call at 1-800-689-9006 for more information. We hope to hear from you soon!

2017 Color & Pattern Trends

This year’s trending colors and patterns are inspired by nature. From refreshing greens to wood and stone finishes, it’s all about bringing a little bit of the great outdoors…indoors.

Greenery

This happy hue is Pantone’s Color of the Year. Greenery is a refreshing color inspired by nature and meant to symbolize a fresh start. It looks beautiful in indoor and outdoor spaces and is a great complement to a springtime dining table. Incorporate this color into your home with linens and accents big or small.

section01_header

section01_products

  1. Jute Glass Sphere
  2. 4-Pack Madison Sage Placemats
  3. Ceramic Pineapple Lantern

Plus, you can find more Color of the Year inspiration here!

Lavender & Light

This hue brings serenity to any home. From light purples to deep plums, layering in different shades will add a fresh feel to your décor. Bring this look to life using throw pillows, candles and even real lavender.

section02_header

section02_products

  1. Plum Scented Candle
  2. Agate Decorative Box
  3. Ombre Plum Pillow

Neutral & Natural

These shades of beige are anything but boring. Place neutral pieces into your home to bring the outdoors in, and pair them with succulents and other greenery. The key to this trend is textures – embroidery, fur and jute will add dimension to this monochromatic look.

section03_header

section03_products


  1. Natural & White Embroidered Pillow
  2. Round Metal Tray with Cork
  3. Oatmeal Faux Fur Pillow


 Faux Finishes

Faux finishes inspired by natural elements like wood and stone will continue to be a big trend for 2017. Decorative bowls and vases in wood, cement and marble are easy ways to incorporate this trend.

section04_header

section04_products

  1. White Ceramic and Wood Vase
  2. Wood Paulowinia Tray
  3. 2-Tone Marble and Cement Vase

Tropical Touches

Bring balmy beaches home with this pattern trend. Tropical leaves are making their way on to all kinds of décor, from canvas prints to vases and linens, in all kinds of colors. This pattern goes great with bright colors and with a range of wood tones, so your home can feel like a resort.

section05_header

section05_products

  1. Ceramic Palm Leaf Vase
  2. Faux Tropical Leaf Paradise Palm Accent Plant
  3. Tropical Leaf Table Runner

What trends are you bringing home in 2017? Share your new look with us using #AtHomeStores.

The post 2017 Color & Pattern Trends appeared first on At Home Blog.

Dark and Dramatic Bathroom Moodboard

Dark & Dramatic Bathroom Moodboard The Decor Guru Asian modern natural gray wood masculine styling

I’ve been crushing on dark rooms lately. Alas, painting one of my rooms a luscious, dark hue would be impractical. Since I live in a rental, it would take an enormous amount of time & energy to do it and then paint it back to the original barfy beige.

So I kept my fantasies of a dark, seductive room in my head, where 978,345 other thoughts reside. Until my old man started talking about making over his bathroom. I gently pitched the idea of a dark room to him and let it simmer (which may be the best way EVER to do something you want). A few weeks later, he mentioned painting the room a deep hue and I did a happy dance in my head. My glee probably showed on my face as well; I do wear my heart on my sleeve.

And so it was. I started perusing the interwebs immediately for inspiration and items to use. I even let him help a little, allowing him to pick the vanity. Continue reading to see the decor I’ve picked out and how it will all play together.

Originally, my fantasies involved painting with deep jewel tones. I’d have loved a dark, moody teal, but the old man was interested in a more subdued look for the bathroom. Thus, I chose Valspar’s New Spruce. It’s reminiscent of a hunter green or pine green, but with a touch of blue. I love complex colors that you can’t quite define.

I chose an Asian art-inspired shower curtain to serve as the room’s focal point. The dark walls really showcase the artwork featured on the curtain. It’s somewhat pricey to me at $55, so I may see if it’s something I can DIY.

I love a room that can seamlessly combine several styles. In lieu of adding more Asian decor and the room feeling too matchy, I chose items that are nature-inspired. Brigette at Free People has a tutorial I’ll use to the create the oil diffuser with branches. The woven baskets, stone bath accessories, and faux-stone flooring also add to the natural energy of the room.

One of our first steps of the makeover will be painting a test patch in the room. Doing a trial run will be very helpful, especially for such a deep color. If the color doesn’t translate well, I’ve chosen some others that are similar. And if all else fails and the old man doesn’t like it, he’s certifiably crazy I think a medium gray would work well on the walls.

Dark & Dramatic Bathroom Moodboard The Decor Guru Asian modern natural gray wood masculine styling

Sources: 1, 2, 3, 4, 5, 6, 7, 8, 9,10, 11, 12, paint, flooring.

I can’t wait to keep you posted on the room’s updates as we go!

Thanks for visiting! Let’s stay connected!

 Linked to:

Up to Date Interiors: The Creative Circle

My Romantic Home: Show and Tell Friday

The Pin Junkie: Friday Link Party

Kitchen Table Art: Making Monday

Rae Gun Ramblings: Block Party

Carrie This Home: Frugal Crafty Home Blog Hop

Huckleberry Love: Much Ado About Monday

Fluster Buster: Creative Muster

Ginger Snap Crafts: Wow Me Wednesday

Filed under: Bathroom, Color, Moodboards

Passive Heating and Cooling Strategies Produce Efficient Pennsylvania Farmhouse

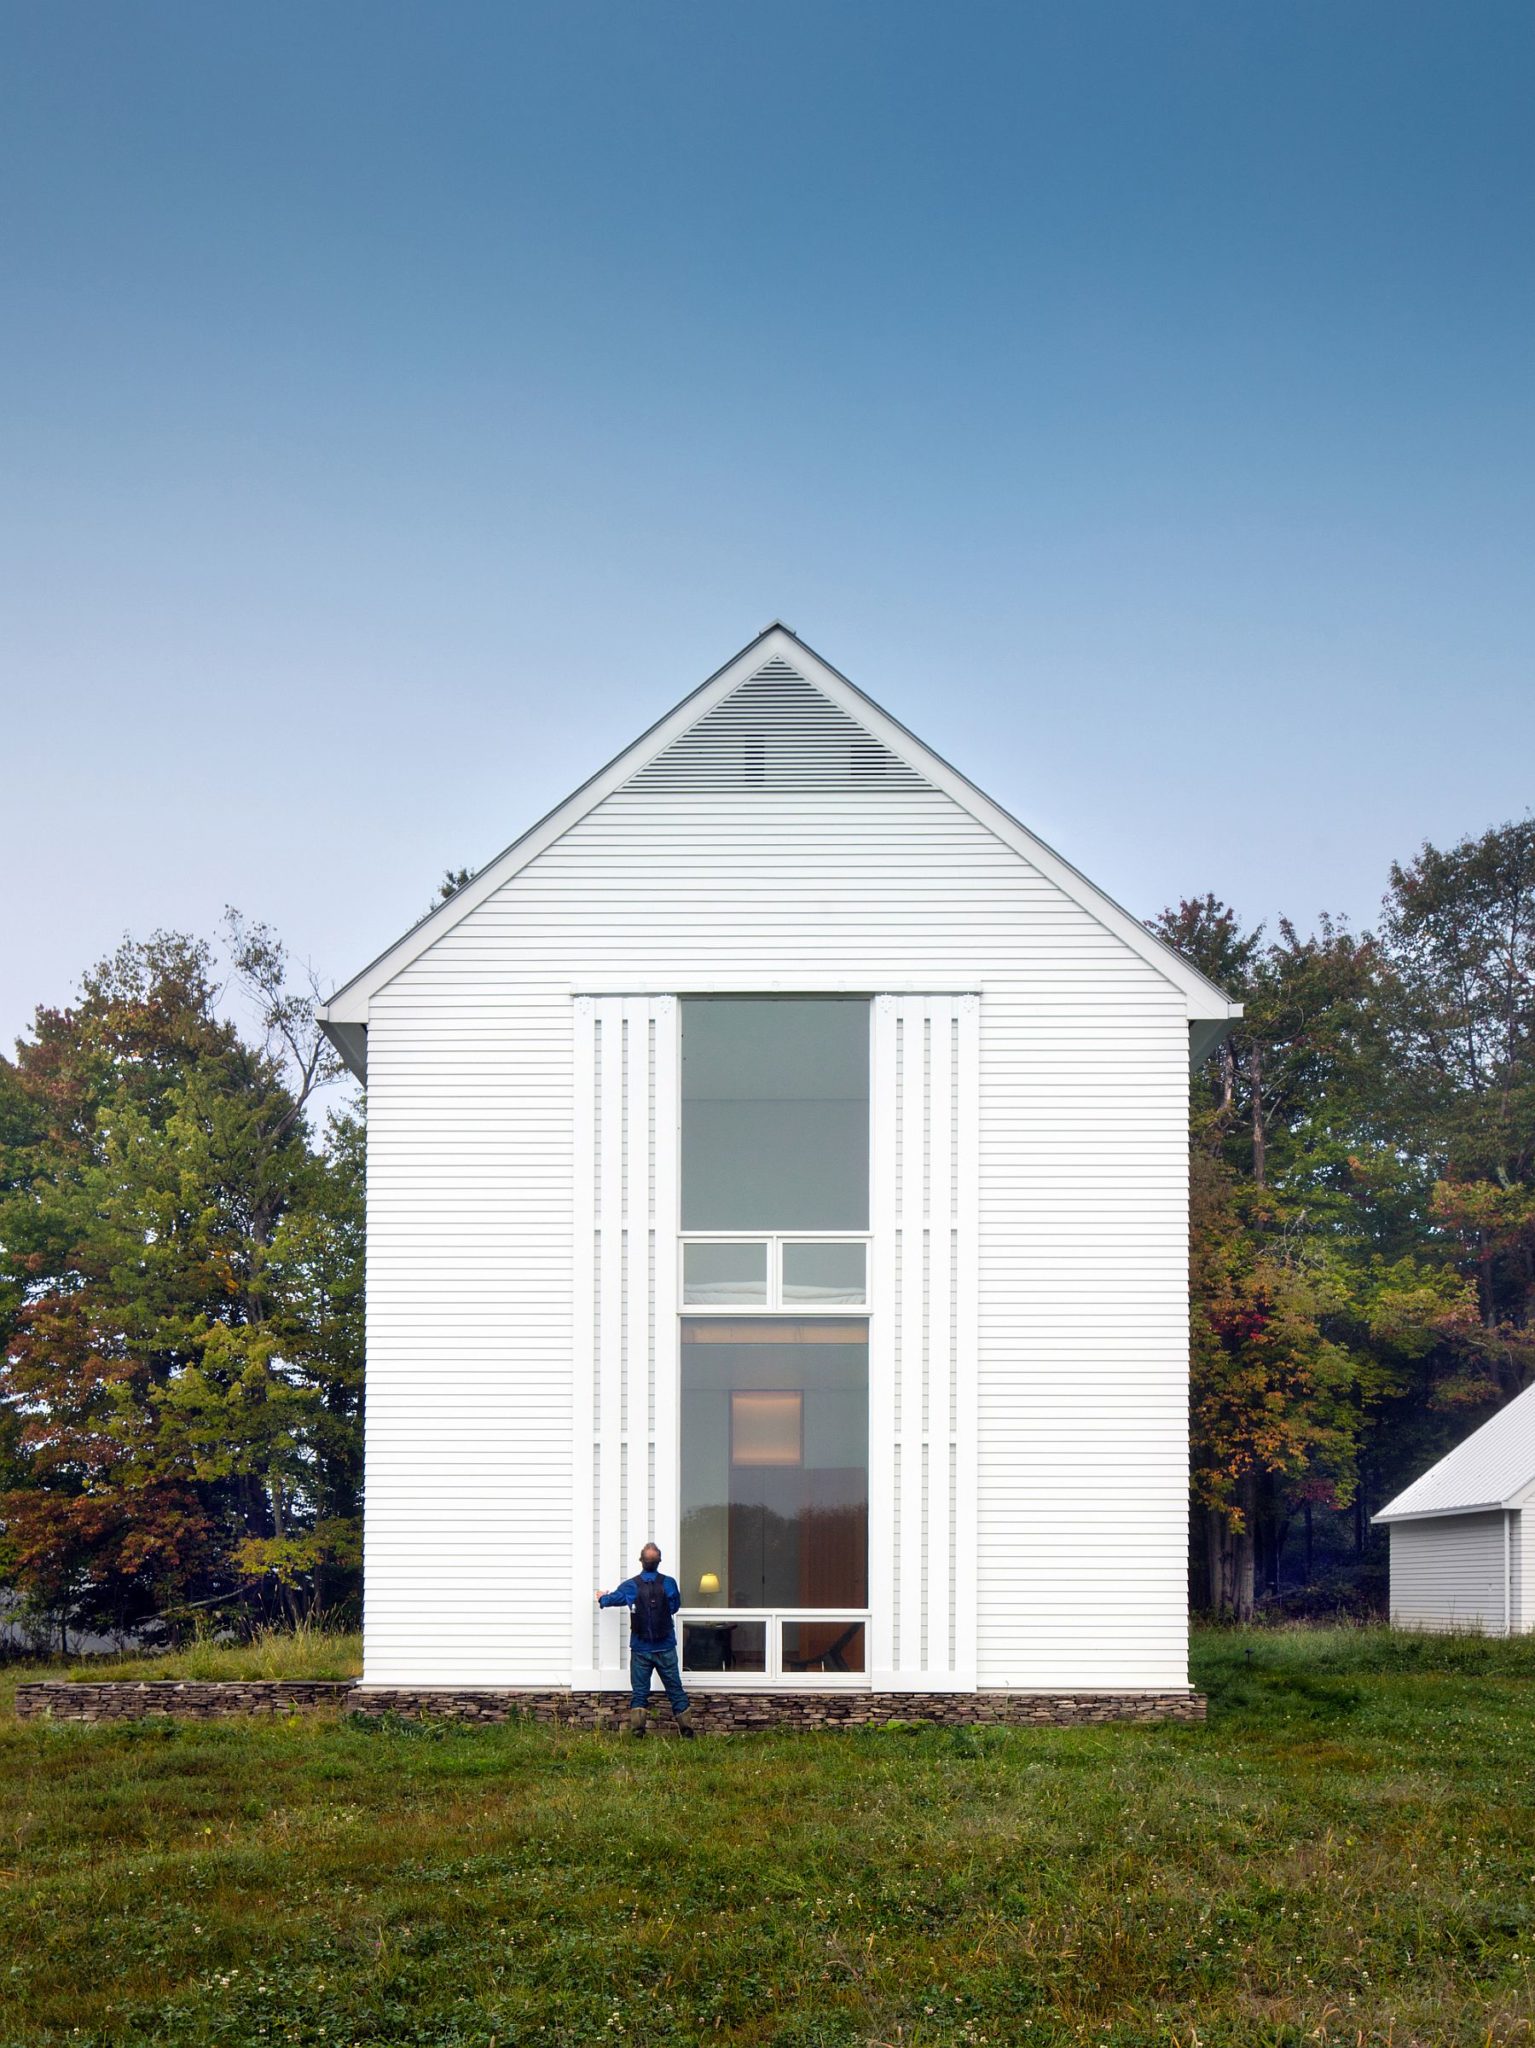
Borrowing from the aspects of neighborhood farmhouse design and incorporating modern upgrades that enhance its aesthetics and ergonomics, Cutler Anderson Architects conjured up and brought to lifestyle the stunning Pennsylvania Farmhouse.
Situated on a vast 280 acre farm in the town of Lakewood,…

Borrowing from the aspects of neighborhood farmhouse design and incorporating modern upgrades that enhance its aesthetics and ergonomics, Cutler Anderson Architects conjured up and brought to lifestyle the stunning Pennsylvania Farmhouse.

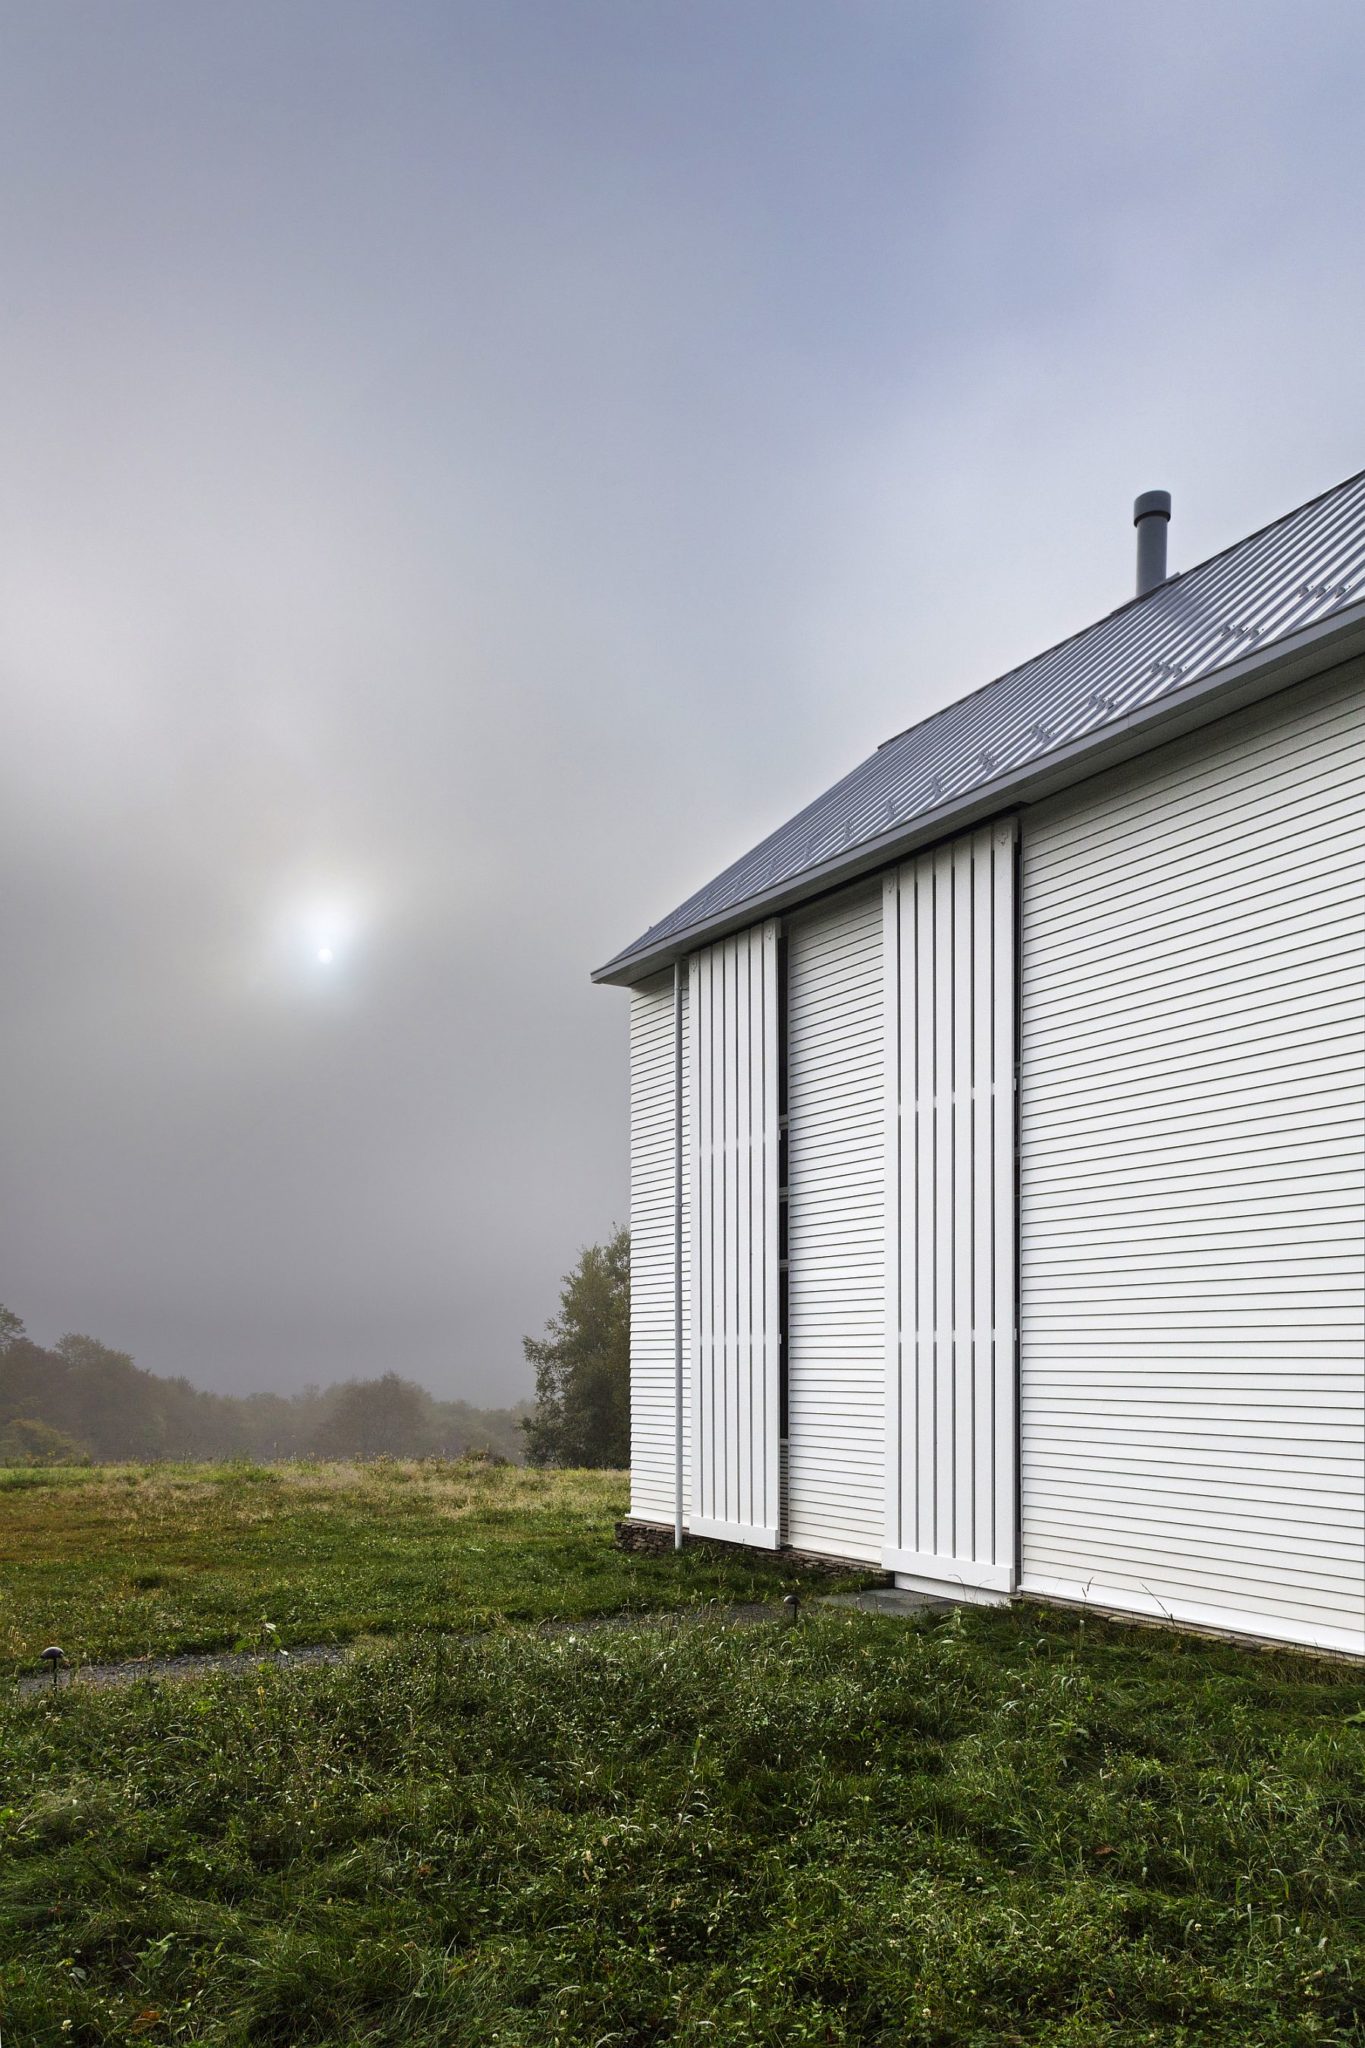
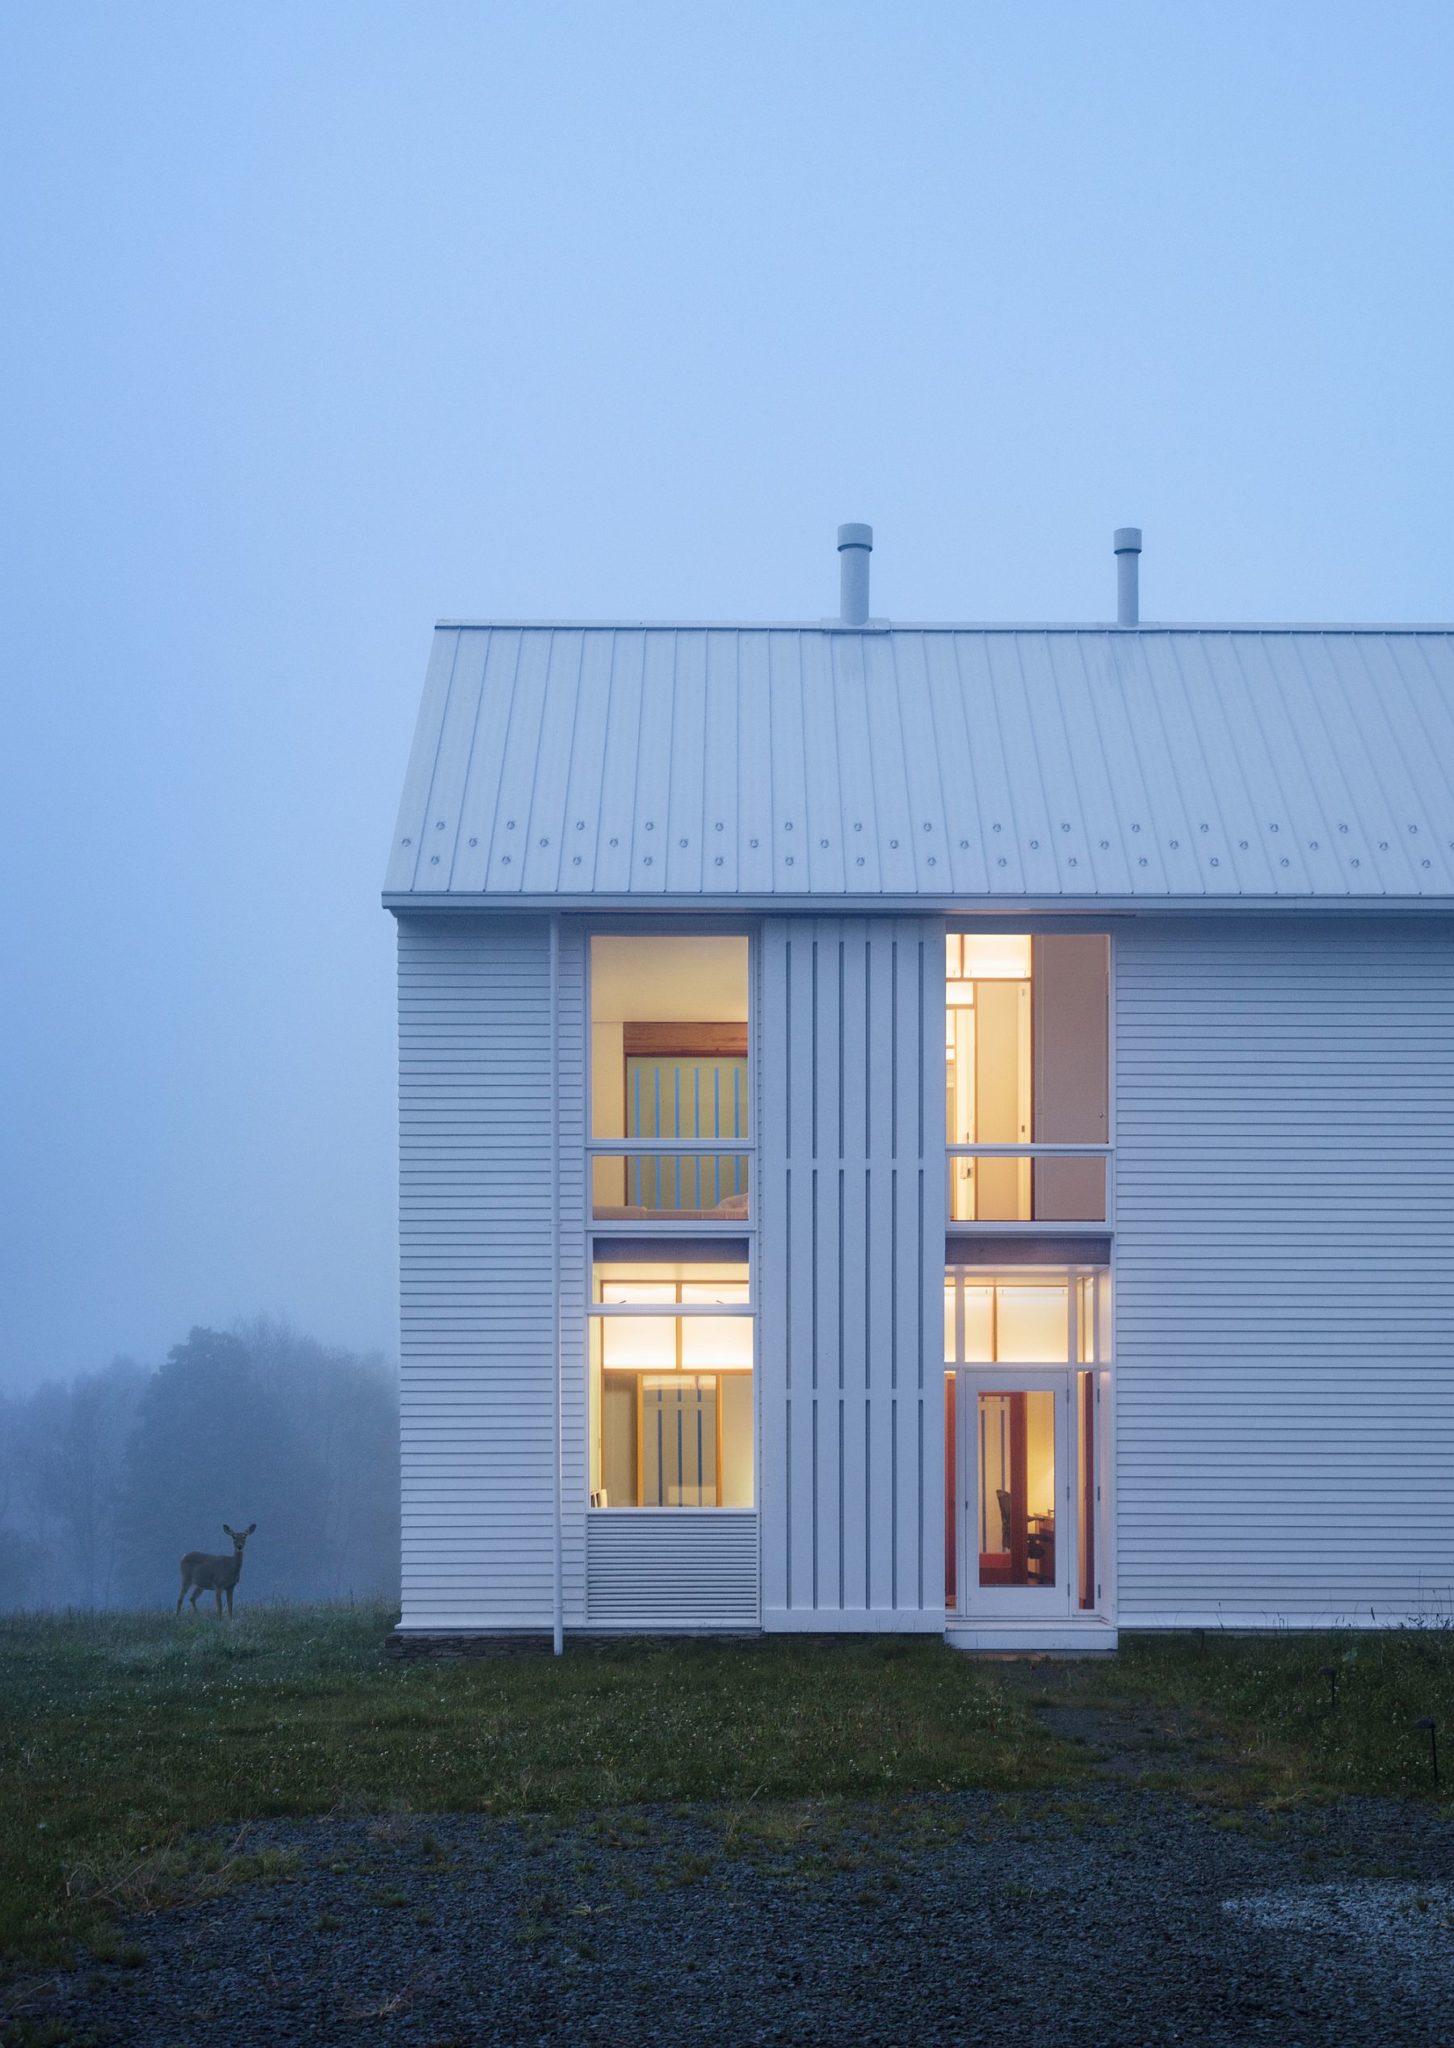
Situated on a vast 280 acre farm in the town of Lakewood, Pennsylvania, this contemporary farmhouse blends simplicity of layout with comfort, energy-efficiency and sensible architecture that responds to the specific needs of the web site. Passive solar heating and cooling methods play a main component in shaping the family members home, as rolling sunshades and screens had been used to shape the chic, white residence.

Picture perfect Pennsylvania Farmhouse set in a scenic backdrop Passive Heating and Cooling Methods Create Efficient Pennsylvania FarmhouseImage-best Pennsylvania Farmhouse set in a scenic backdrop

With large glass windows that carry ample sunlight during winter months and a program of shades that can very easily switch among privacy and unabated views, this four-bedroom family farmhouse proves to be incredibly adaptable. A ground source heat pump and a wood-fired boiler provide additional heating in the winter months although the intelligent technique of shades make certain that there is totally no necessity of air conditioning in the summer season months. Essentially, this is a farmhouse that cuts back on electrical power consumption and aims to lessen its carbon footprint as considerably as feasible. [Photography: David Sundberg / ESTO]

Associated: Contemporary, Power-Productive Home Heating With Timeless Elegance

Present day Pennsylvania Farmhouse in the charming tiny town of Lakewood

Present day Pennsylvania Farmhouse in the charming tiny town of Lakewood

Huge glass windows and rolling screens generate a lovely residence in Pennsylvania

Huge glass windows and rolling screens generate a lovely residence in Pennsylvania

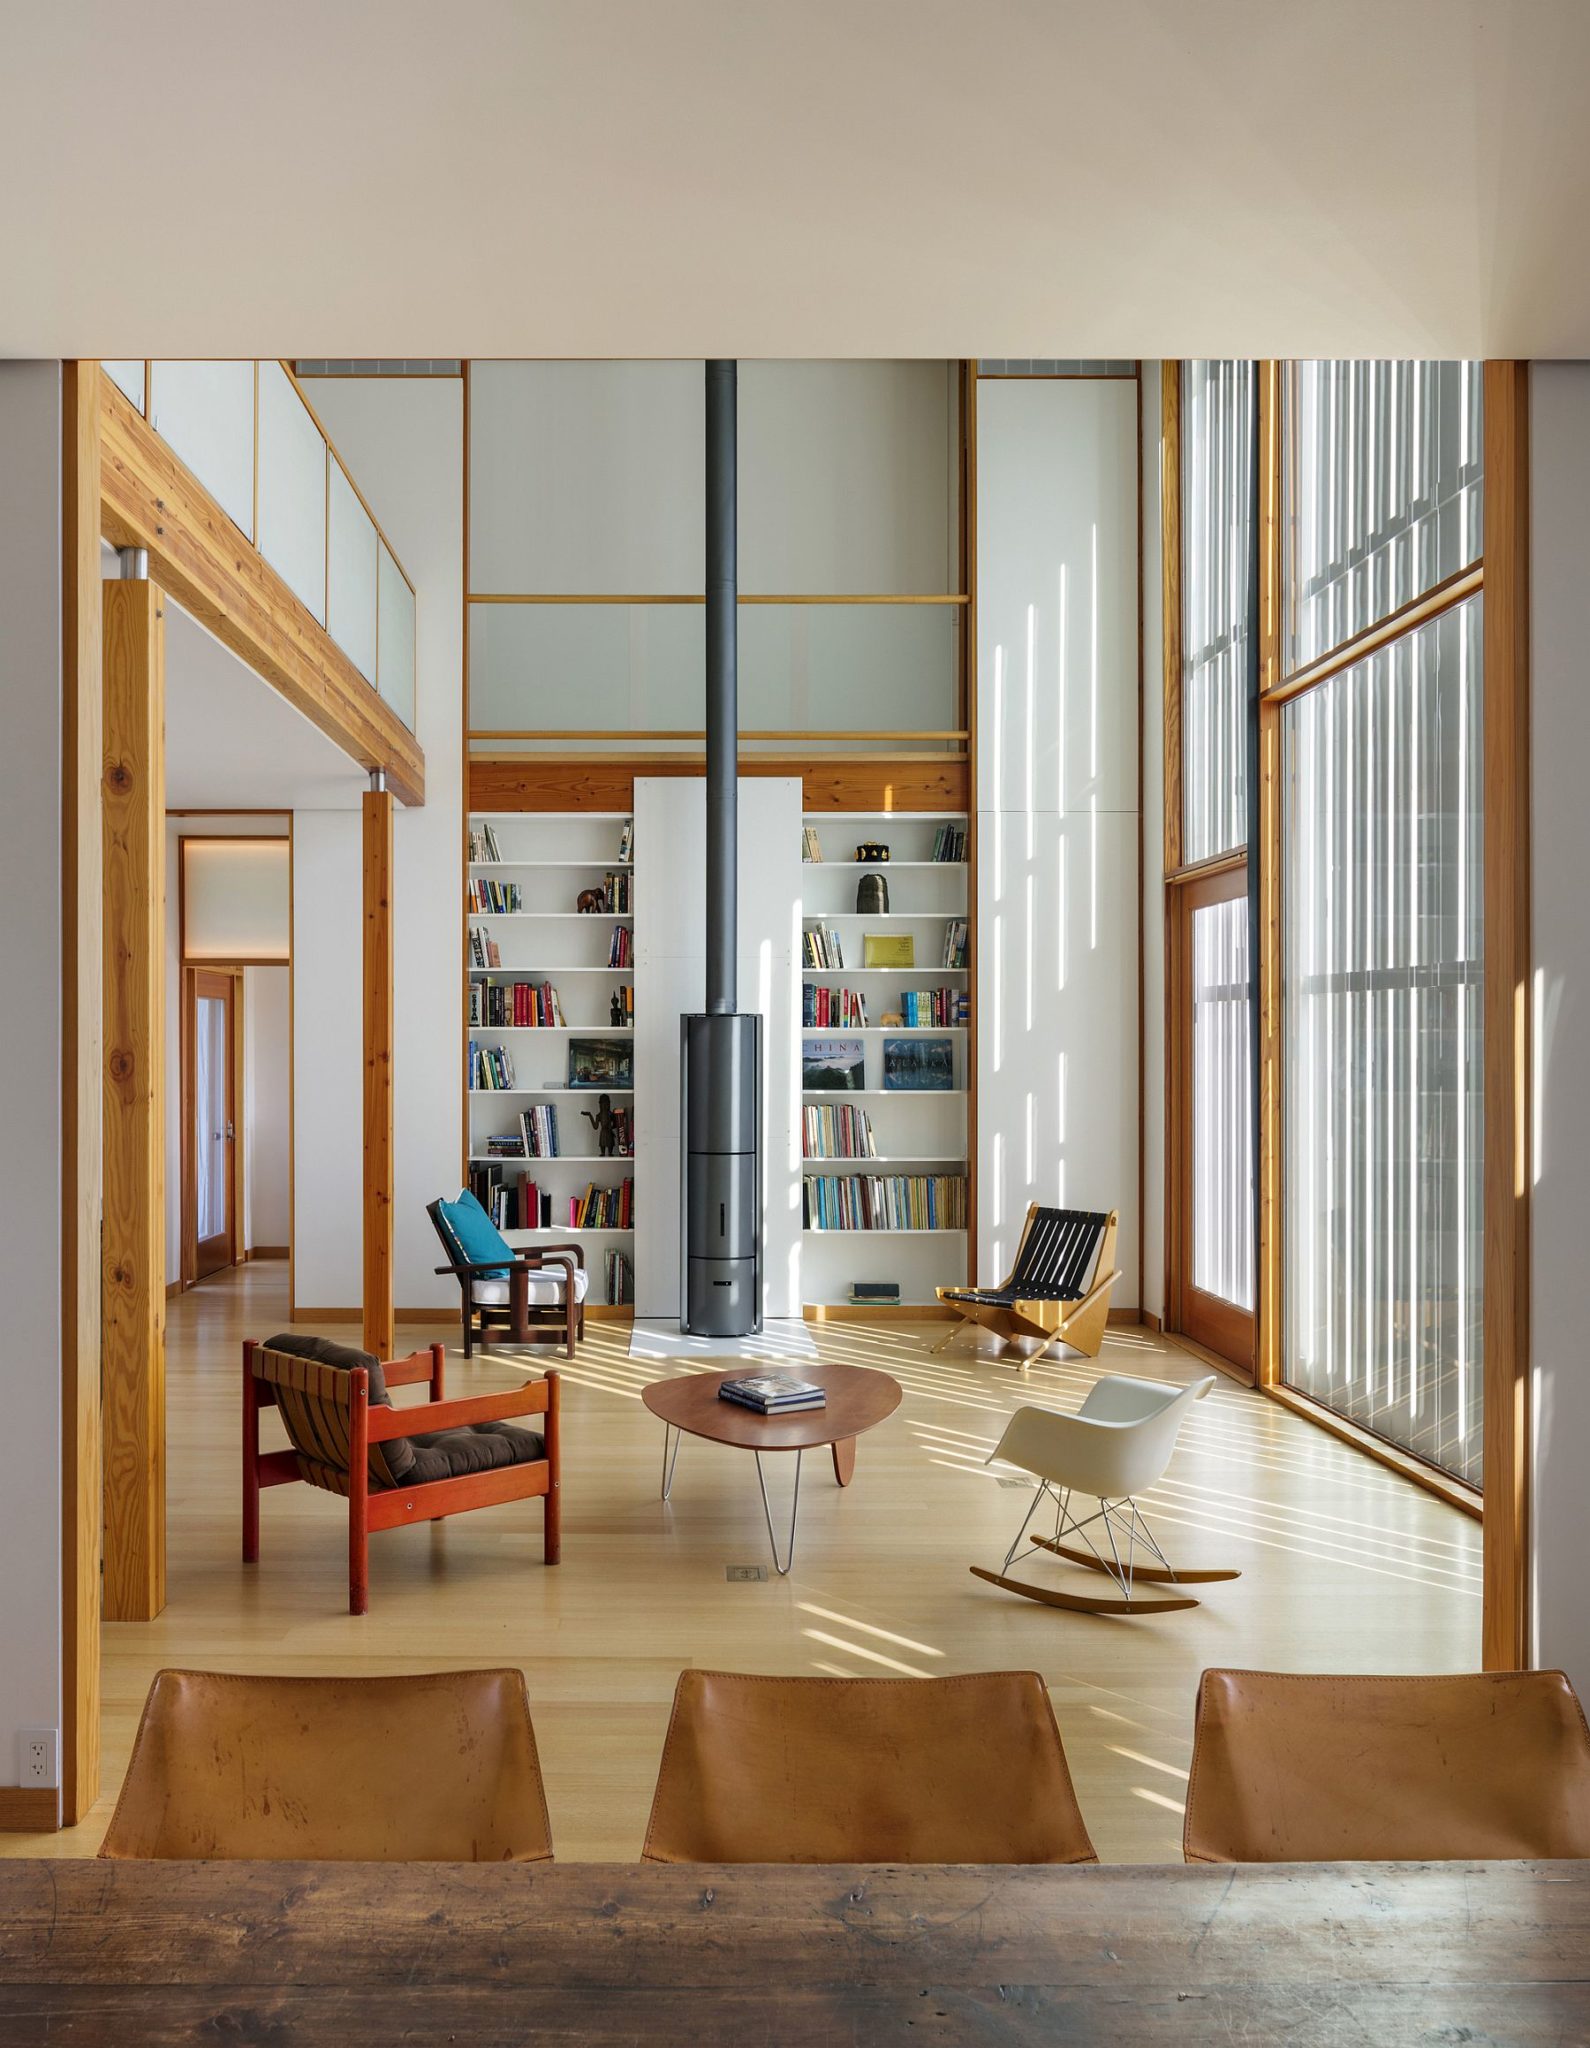
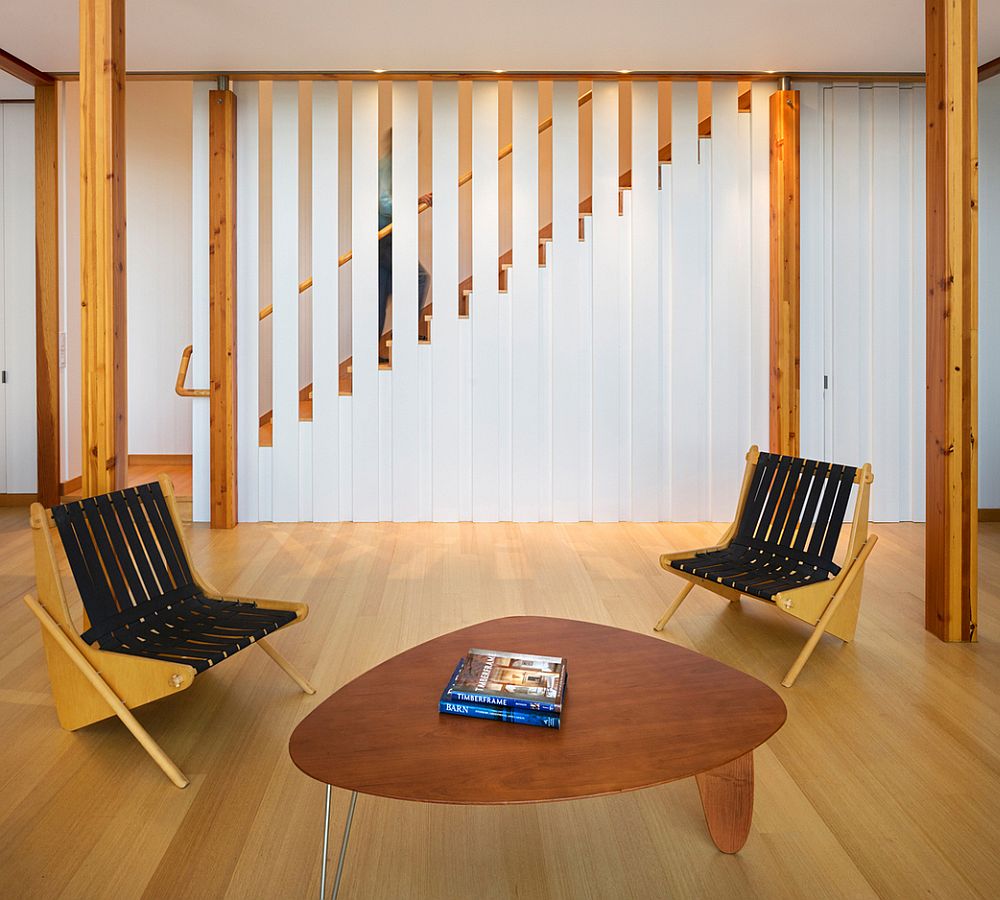
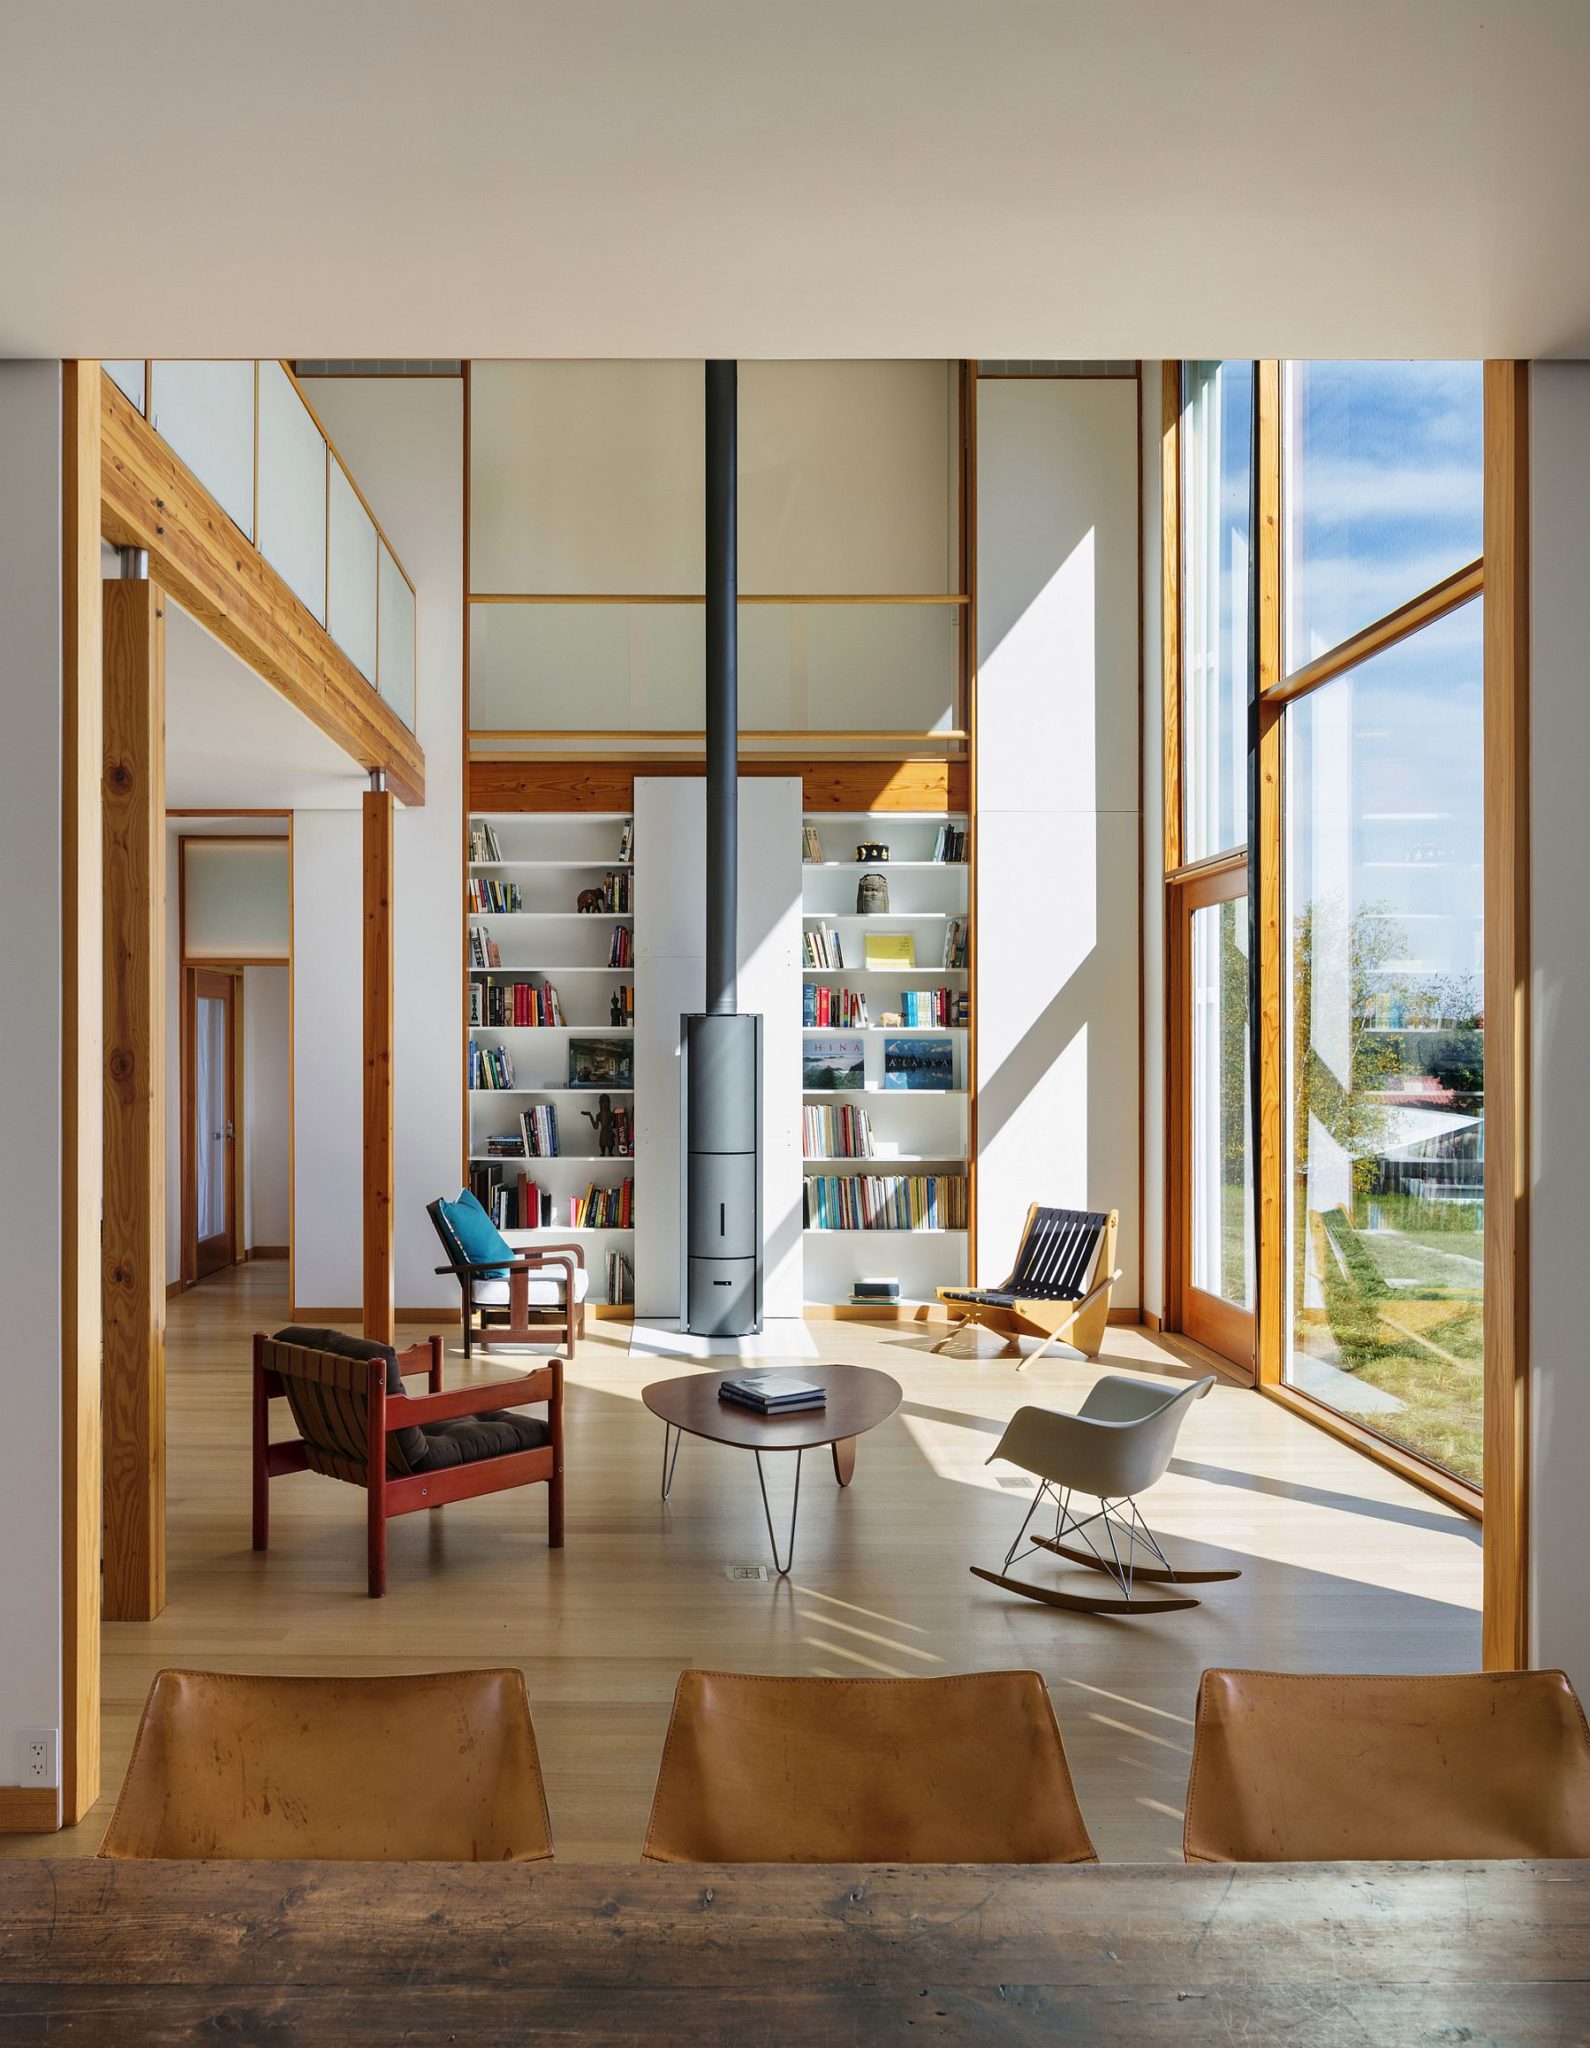
Double height residing area of the farmhouse in white with wooden accents
White and wood interior of the Farmhouse family property

White and wood interior of the Farmhouse family property

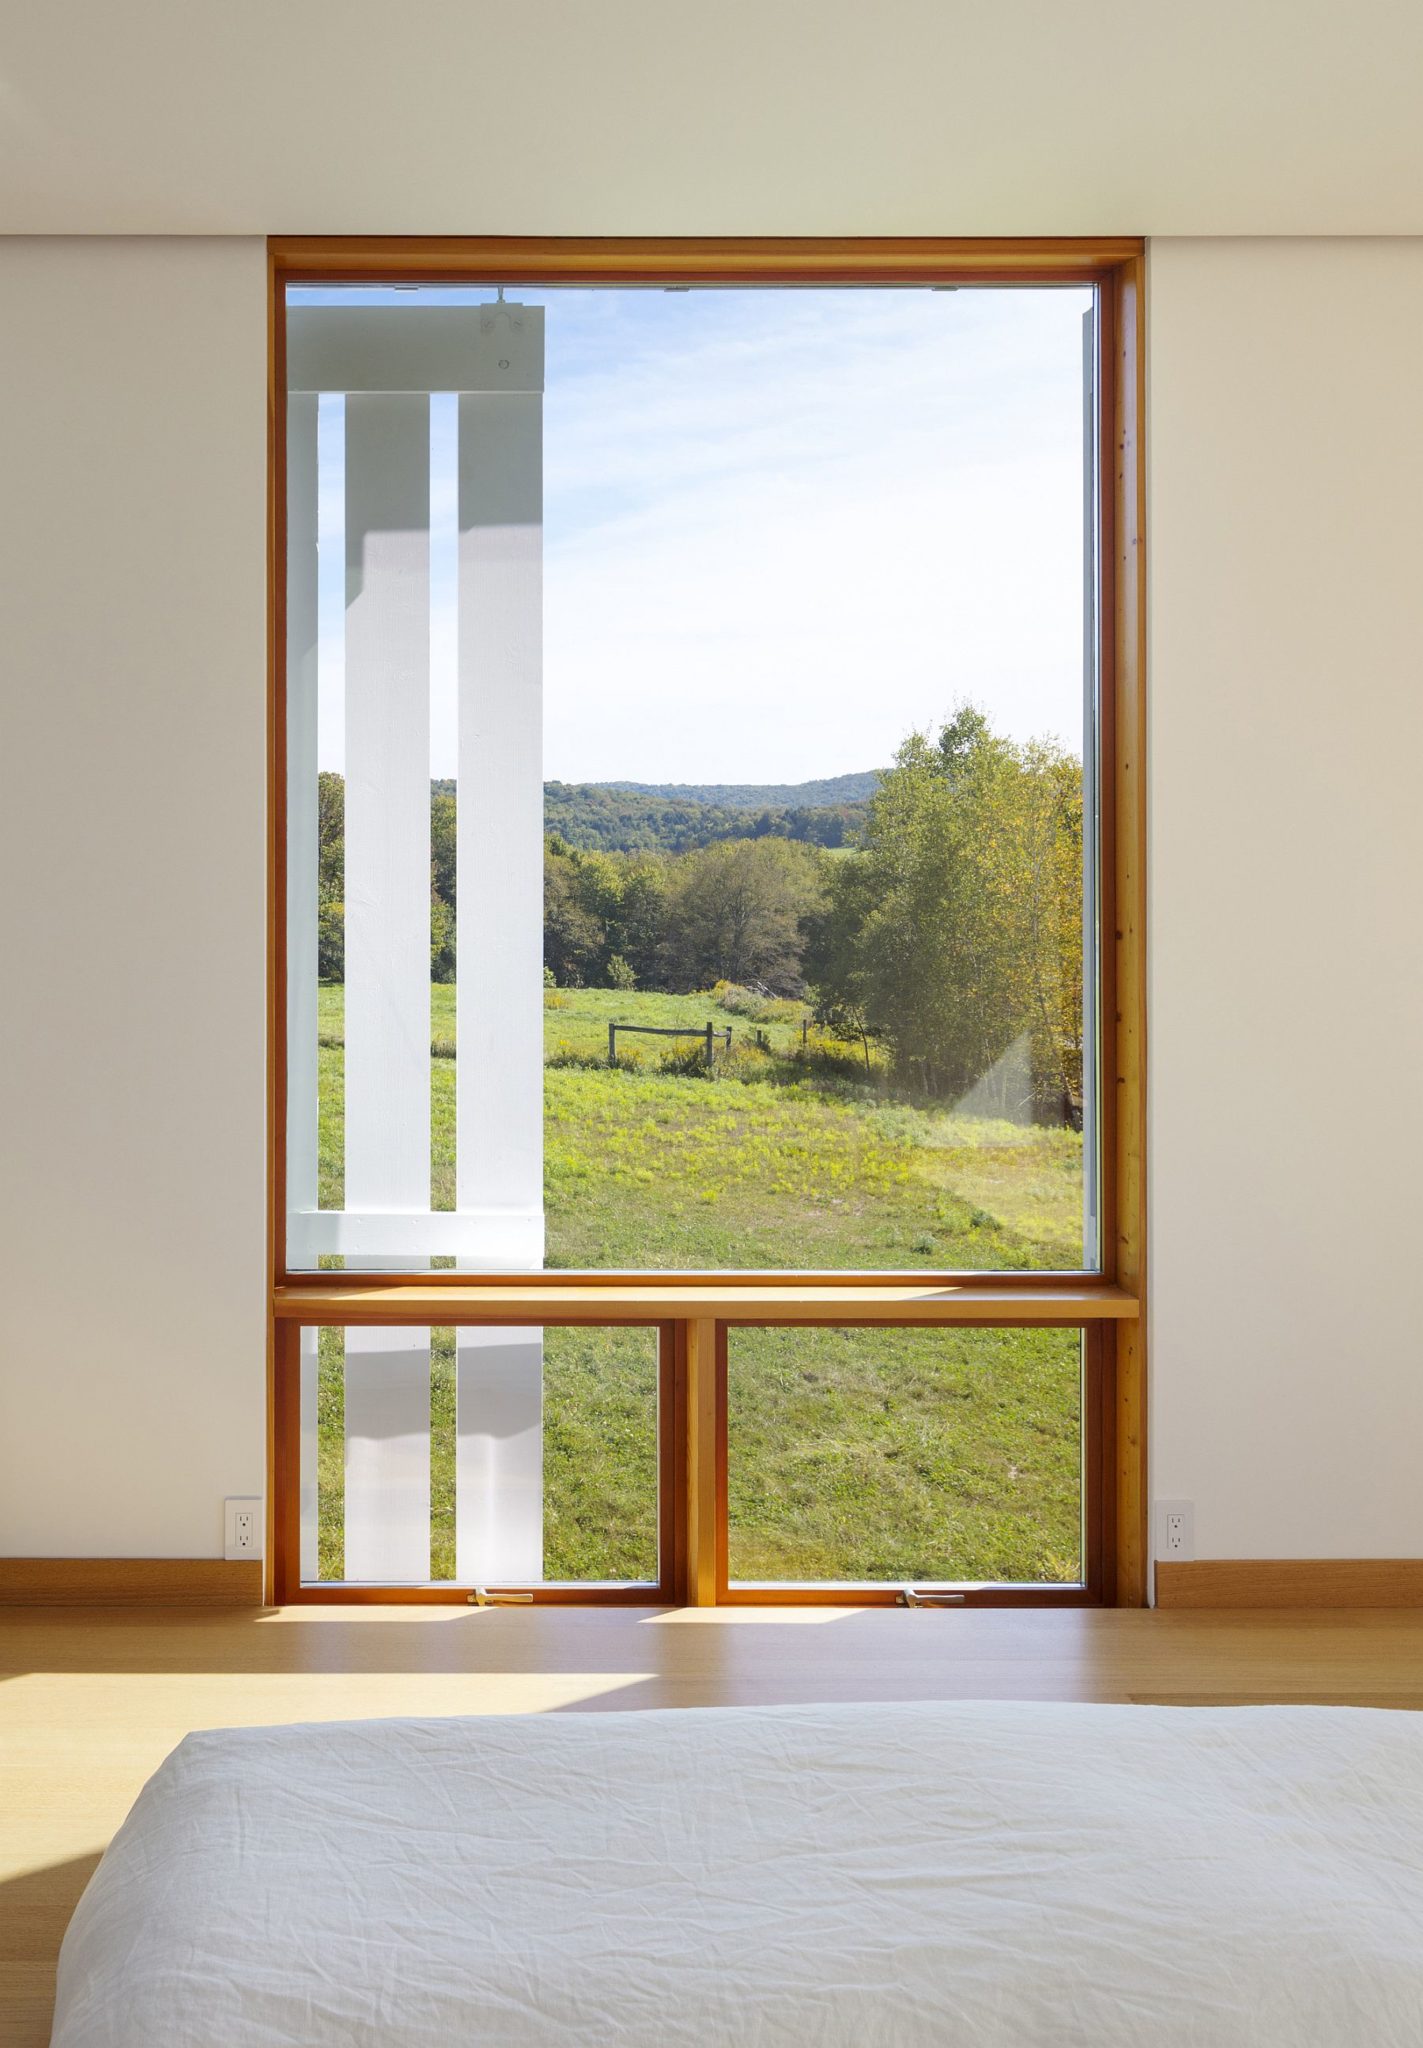
See of the green landscape from the bedroom window

See of the green landscape from the bedroom window

All-natural sunlight in winter heats the living location

All-natural sunlight in winter heats the living location

Towards the end of the development phase, the contractor presented anecdotal proof that when the sunshades have been closed on hot summer days, the within temperature was reduced by as a lot as twenty degrees F. Presently there is no air conditioning in the building but the ambient within temperature would seem cozy for all occupants.

Related: Inspired, Modest-Price range Modern Residence with Efficient Sustainability

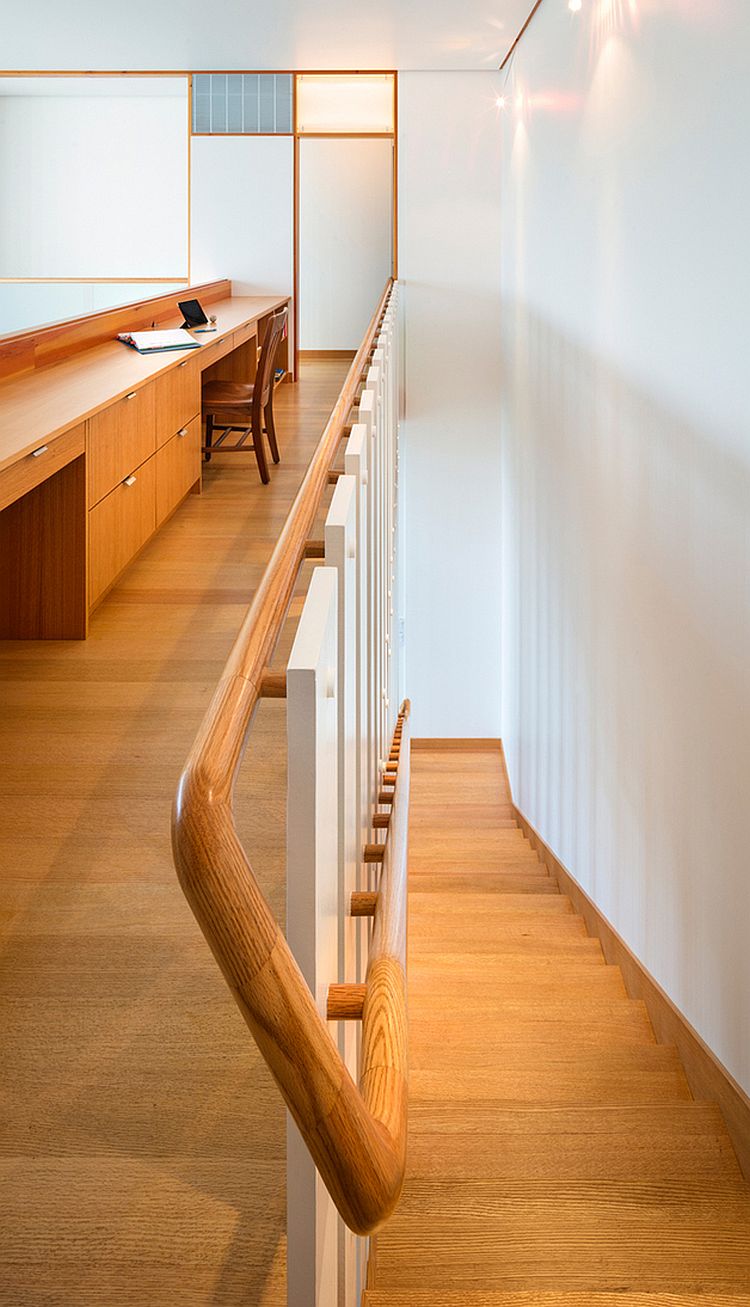
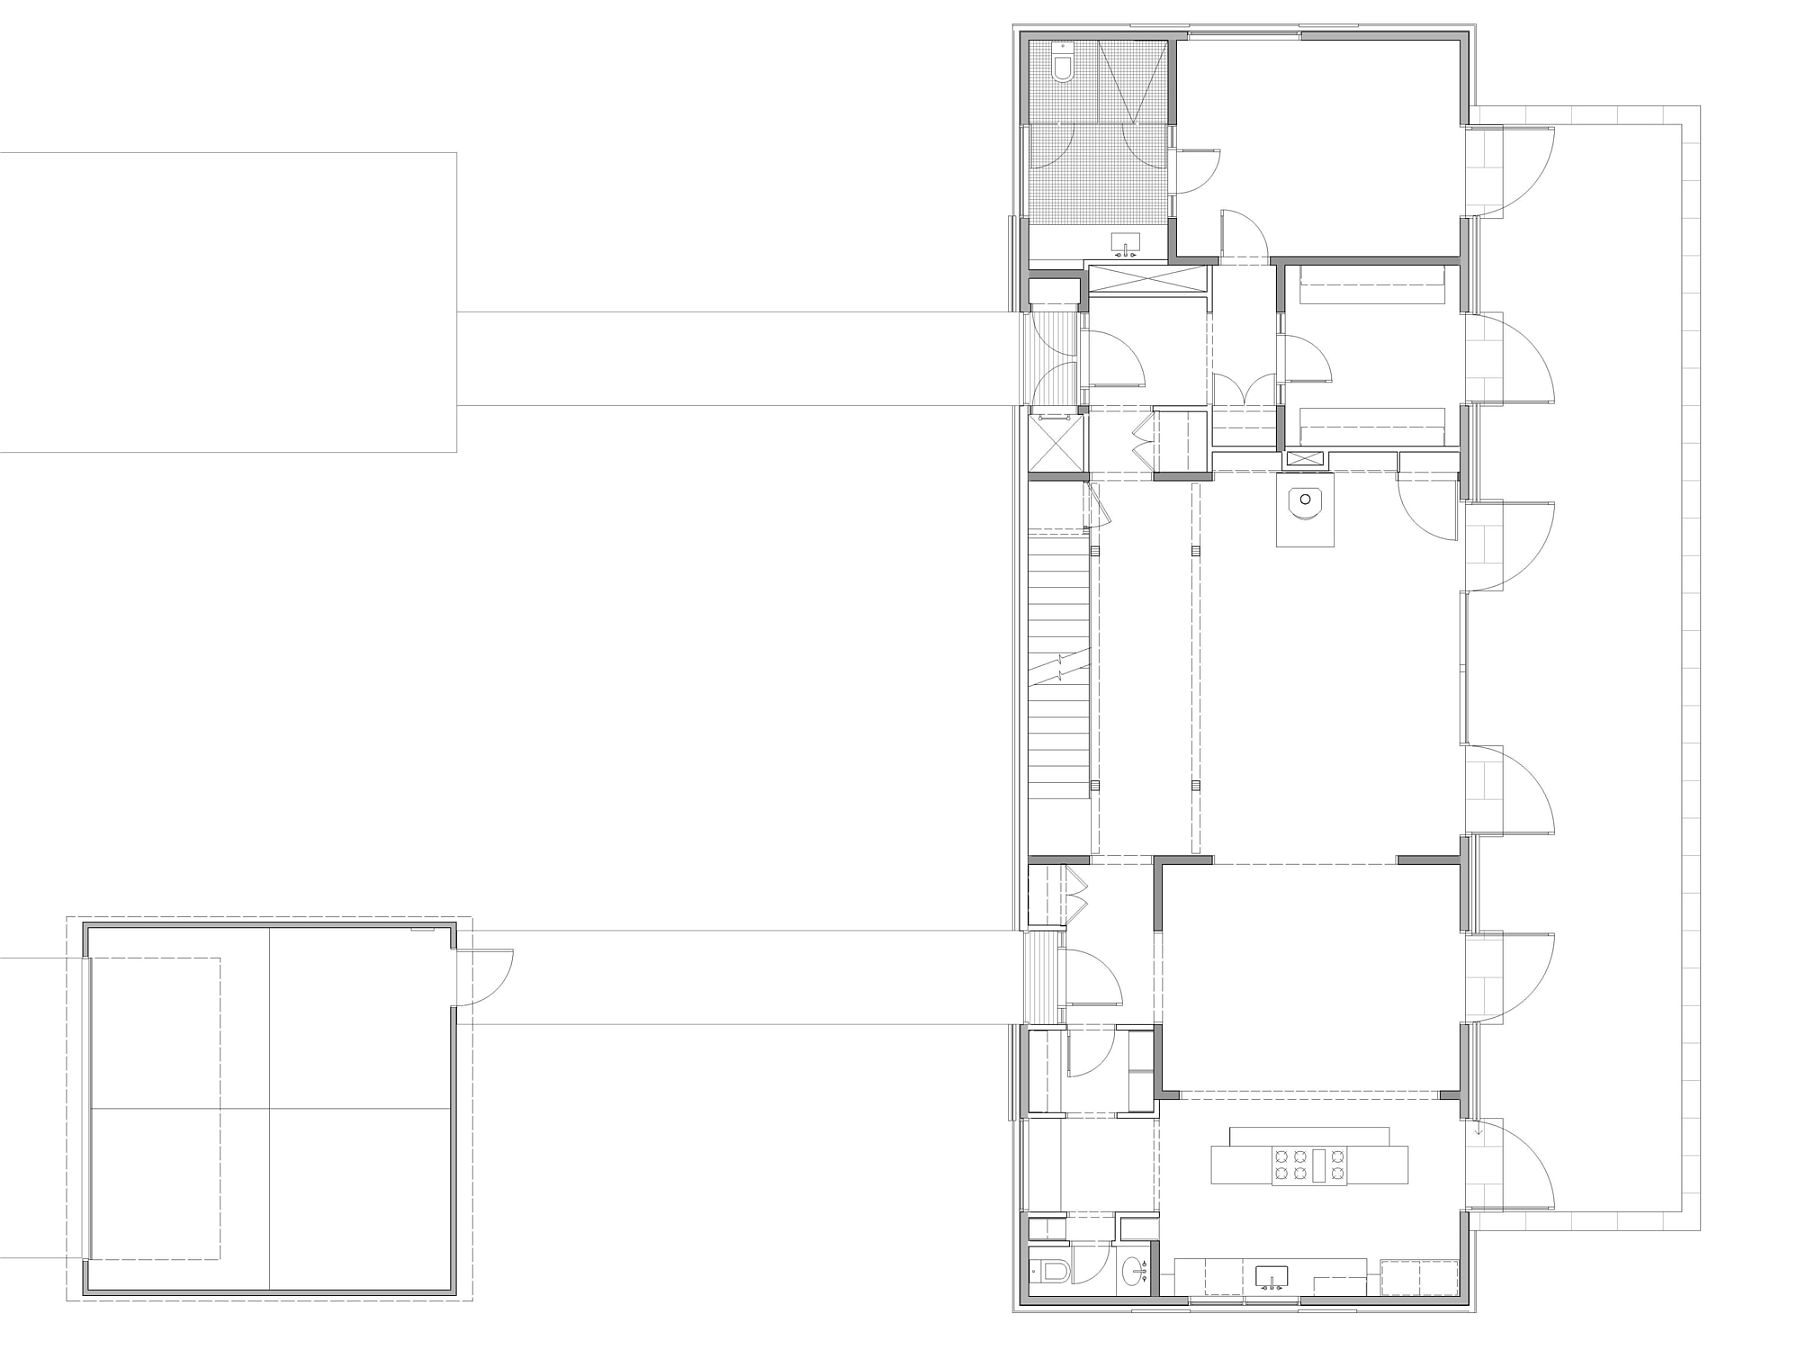
Upper level workspace that is polished and minimumRolling screens in white shape the exterior of the farmhouse design modern houseWarm lighting adds elegance and elegance to the Pennsylvania FarmhouseLower level floor strategy of the Pennsylvania FarmhousePlan of the deep-properly heat exchanger that controls the temperature indoors

Liked the story? Share it with close friends.

bedroom window, Cooling, Efficient, Farmhouse, farmhouse design, Heating, modern house, Passive, Pennsylvania, Pennsylvania Farmhouse, Produce, Strategies, white residence

Filed under: Home Decorating

Give New Light To An Old Lamp Shade Using Stencils

Cutting Edge Stencils shares stenciled lamp shade ideas to spruce up an old lamp shade. http://www.cuttingedgestencils.com/wall-stencils-stencil-designs.html

Cutting Edge Stencils Shares Stenciled Lamp Shade Ideas!

Good Morning, my DIY crafters! Our stenciling light bulb recently went off and it got us thinking about lamps.  Do you have a lamp shade in your life that could use a little facelift?  Cutting Edge Stencils is here to help you liven up those plain lamp shades with a pop of color and a pretty stenciled pattern.  A project like this is super easy and it’s great for first time stencilers.  To show you what a fab idea it really is, we’ve rounded up inspirational lamp shades that will have you flipping the stenciled switch in no time!

Stencil ideas to spruce up an old lamp shade! http://www.cuttingedgestencils.com/wall-stencils-stencil-designs.html

Creative Ways to Reinvent Your Lamp Shade

Creative queen, Ashley, from the blog Mommy by Day Crafter by Night, added a little color and dimension to her plain, white lamp shade with our Casablanca Craft pattern and some turquoise paint! To get this look, try painting Benjamin Moore’s bahaman sea blue 2055-40.  The results are adorable!

Use the Casablanca Craft Stencil from Cutting Edge Stencils to get this look! http://www.cuttingedgestencils.com/craft-furniture-stencil.html

Clever crafter Katie, from the blog Sew Woodsy, found a floor length light fixture at the curb during a dog walk.  She was pleasantly surprised that the lamp worked however the lamp shade needed to be replaced.  After struggling to find one that she liked, she decided to stencil her own.  Katie used our intricate Zamira stencil in a sophisticated shade of blue, like Benjamin Moore’s midnight navy 2067-10. So pretty, right?

Use the Zamira Craft Stencil on your lampshade to add a Moroccan pattern like this one! http://www.cuttingedgestencils.com/craft-stencil-zamira.html

And can we tell you how excited we were when we spotted this bold red beauty?  Kim, one of our favorite die-hard crafters and blogger behind A Girl With a Glue Gun painted this drum-shaped shade.  She used our Houndstooth Stencil in a super saturated shade of crimson like Benjamin Moore’s candy cane red 2079-10. It’s gorgeous!

Stencil a lamp shade using the Houndstooth Stencil from Cutting Edge Stencils! http://www.cuttingedgestencils.com/houndstooth-craft-stencil-pattern-DIY-decor.html

Shantelle from Home Decor Made EZ, needed a floor lamp that would coordinate with her living room but she was on a tight budget.  After searching high and low, she decided to craft her own shade using our Casablanca Craft Stencil in a classy, golden-neutral like Benjamin Moore’s sulfur yellow 2151-40. Perfecto!

Use the Casablanca Craft Stencil to get this look! http://www.cuttingedgestencils.com/craft-furniture-stencil.html

Annette, the craft-star from Pacific Fabrics and Crafts, is totally on board when it comes to painting an old lamp shade with a stencil.  She writes, “This project couldn’t be easier and you will LOVE the new looks you can create.”  For her stencil project below, she used our Brocade No.1 Stencil in a hue similar to Benjamin Moore’s hale navy HC-154.  It rocks!

Use the Brocade No.1 Stencil from Cutting Edge Stencils to stencil a lamp shade. http://www.cuttingedgestencils.com/Brocade-stencil-damask.html

So that’s it folks! We hope you enjoyed our roundup of stenciled lampshades.  If you’re looking to create your own stenciled shade then check out Sew Woodsy’s post, How-to Stencil a Lampshade Tutorial.

Which one of these stenciled lampshades would you LOVE to recreate?  We’d love to read your comments in the section below!

Still looking for more stenciling fun?

  • Shop our stencil designs and find the perfect stencil for your project!
  • Follow us on Pinterest to see awesome inspirational photos!
  • Have you completed a stencil project? Come share it on Facebook!

Thanks for reading, and good luck stenciling!
Michelle and the Cutting Edge Stencils Crew

Selecting Sink Styles To Match Your Home

From modern to traditional, thinking about home style seems obvious when you’re shopping home plans or evaluating different architectural options. However, the overall style of your home actually matters for all aspects of its design, right down to the bathroom sinks. With that in mind, how can you select bathroom sink styles that are right for your home? Whether you’re building or remodeling, here are some tips for picking the best sinks to complement the rest of your residence.

  1. Know Your Style.

    If you’ve already picked fixtures for your kitchen or other bathrooms, start there. What shape, colors, design, etc., of sinks did you pick? If you went with an under-mounted stainless steel kitchen sink that has squared corners, for example, you went with a sleek and modern kitchen sink look. If you have white, decorative pedestal sinks in the powder rooms, you may have a more cottage-like, charming feel. Paying particular attention to the sinks already in place in the home, figure out what style most appeals to you. If, on the other hand, this bathroom will be the first style choice you’re making, browse the Internet or bathroom stores to explore possibilities and determine what look you like best.

  2. Know Your Options.

    Understanding all the possibilities is crucial when you’re trying to determine style preferences. There are under-mounted sinks, set beneath the countertop in a vanity; as well as above-counter sinks, which place a sink directly on top of the counter. Pedestal sinks stand alone, without storage space, but can create a strong statement and a more minimal bathroom look. Other options include one-piece console sinks, vessel bathroom sinks and drop-in sinks, each of which has a distinct look and feel.

  3. Think about Space or Budget Limitations.

    A double vanity won’t fit in a tiny bathroom any more than a pedestal sink will provide sufficient storage space for a huge one. Before picking the sinks for your new bathroom, determine what limitations you are facing. From the room’s square footage to the amount of money you have to invest, knowing your constraints can provide helpful parameters from which to make your decisions.

  4. Choose Colors.

    Looking at the bathroom as a whole, think about what colors and materials you like best. Will you want the color of the countertops to contrast or match the color of the sink? Do you want all the bathroom fixtures to go together? From brushed nickel to stainless steel, there are various different fixtures available, just as there are various colors of sink, from white to black and everything in between. Think about your sink choice in relation to the bathroom as a whole, then consider all the bathrooms in the home. Finally, think about it in relation to your entire home’s sense of style.


Are you building or remodeling a home and looking at bathroom options? Go to Modern Bathroom to browse bathroom sinks of all kinds, such as the glass vessel sink and more. We make it possible for you to save up to 70 percent, while also offering free shipping and a low-price guarantee.

Click here to view sinks!

Our Favorite Valentine’s Day Themes

Valentine’s Day Gift Ideas 2017

Get those greeting cards and chocolate hearts ready, because Valentine’s Day is approaching! Whether you’re shopping for one special person, or need some ideas for friends and family, here are some great gift ideas.

section01_header

section01_products

  1. You & Me Pillow 13″ X 22″
  2. White Heart Candle Holder
  3. Gold Metal Cube Heart
  4. Gray Ruffle Heart Pillow 
  5. Ceramic Marble Heart
  6. Rustic Heart Bell Figurine

All Heart

There’s no denying it, hearts are the ultimate symbol for love. A heart-shaped gift lets him or her know how much you care, whether stitched on a pillow or brought to life in a statue or figurine.

section02_header

section02_products

  1. Love Mirror Sign 14″X11″
  2. Love Throw Pillow
  3. Metal Bird Love Table Decor
  4. Love Glass Bottle
  5. LED Love Sign 35″X14″
  6. Love Sign

Say it with Flowers

Flowers and floral designs make great gift ideas year ‘round, but never more so than on Valentine’s Day. Flowers deliver the message of love to that special person in your life, but they’re also a great way to show affection to a friend.

section03_header

section03_products

  1. Love Flower Shadowbox
  2. Iron Gold Flower Candle holder
  3. Ceramic Blue Vase
  4. Ceramic Flower Tealight
  5. Ceramic Blue Flower Vase
  6. Floral Ripple Canvas Trunk

Shades of Love

Expand your options by choosing items in the traditional colors of love. Red and white are timeless hue selections, but lately pink has become a popular choice as well.

section04_header

section04_products

  1. I Love You Diffuser
  2. White Mongolian Fur Pillow
  3. Pink XOXO Accent Art 11″X14″
  4. Pink Hello Gorgeous Pillow
  5. White Vase
  6. Red Glass Hurricane 

Show off your finds by tagging us #AtHomeStores.

The post Our Favorite Valentine’s Day Themes appeared first on At Home Blog.

Weekend DIY Project: Stenciled Canvas Wall Art

Create custom wall art using stencils from Cutting Edge Stencils like this Birch Forest stenciled canvas. http://www.cuttingedgestencils.com/allover-stencil-birch-forest.html

Create Your Own Canvas Wall Art Pieces with Cutting Edge Stencils!

Happy Friday, my DIY decorators!   Cutting Edge Stencils recently came across this saying on Pinterest, The Earth Without Art is Just “eh.”The Earth without art is just 'eh' saying.

Aside from the cute chuckle we got from reading it, we also had a bit of an aha moment.  We’re huge art lovers and we can’t imagine what our world would look like without it.  In fact the only thing we love more than art, is stenciled wall art!  Why, might you ask? Because stenciling a piece of wall art is not only a great way to creatively enhance your space but it’s also an easy project especially for a first time stencilers.  Today, we’re going to share four of our favorite stencils  to use when stenciling a piece of canvas art.  Let’s take a look…

Create custom wall art using stencils from Cutting Edge Stencils like this Birch Forest stenciled canvas. http://www.cuttingedgestencils.com/allover-stencil-birch-forest.html

Magnolia Vines Stencil:

Have you ever thought about getting a group of your girlfriends together for a craft night? Sounds like fun, right?  First up on your list of projects could be stenciled wall art!  This is exactly what Jessica, the crafty blogger behind The Lovely Side, did with a group of her girlfriends.  The girls spread drop cloths across the living room floor and then they painted mounted canvases using acrylic paints and stencils like our Magnolia Vines Stencil.  We think it’s a CRAFT-tastic idea!

Stenciled Wall art using the Magnolia Vines Stencil from Cutting Edge Stencils. http://www.cuttingedgestencils.com/japanese-flower-stencil.html

Zinnia Grande Stencil:

This simple flower pattern is a great choice for beginners because it’s fun, easy, and looks great in all types of spaces from living rooms to little girl’s rooms.  The project on the left was stenciled by one of our creative fans, Deanna.  To get a similar look, try stenciling the Zinnia Grande pattern in various shades of pink like Benjamin Moore’s italiano rose 2087-30, autumn red 2087-40, and watermelon red 2087-20.  We love how this funky design looks in her living room!

The project on the right was painted by stencil queen Kimbo, the blogger behind Girl and Glue Gun.  You might remember her Houndstooth lamp shade we featured not too long ago. Well she created this lovely Zinnia Grande stenciled wall art for her daughter’s room.  First she painted the canvas baby pink by Americano and then she applied DecoArt Dimensional Paste.  She applied the paste as if she were frosting a cake, and let it dry.  Kimbo says, “So pretty. So interesting. I want to make a bazillion of them.”  We couldn’t agree more!

Stenciled wall art ideas that use the Zinnia Grande Stencil from Cutting Edge Stencils. http://www.cuttingedgestencils.com/flower-stencil-zinnia-wall.html

Birch Forest Stencil:

Now here’s a great stencil that can serve a duel purpose, just like it did for Liz, the crafty DIYer behind the blog Smart Girls DIY.  She used this stencil to create a custom canvas wall art for her dining room.  First she coated the canvas with a metallic paint color and then she painted the Birch Forest Stencil in an eye-catching teal.  It’s teal-rific, don’t you think?  Once she got the knack for stenciling, she painted a focal wall in her living room!

Use the Birch Forest Stencil from Cutting Edge Stencils to create custom DIY wall art! http://www.cuttingedgestencils.com/allover-stencil-birch-forest.html

Moroccan Dream Stencil

Are you looking to add lots of color with your stenciled canvas art?  Then you’re going to like our next project. Meet Beth, the decorating enthusiast behind the blog Home Stories AtoZ. She was asked to help makeover the Nicholas House, a homeless shelter for families in Atlanta.  Since 35 of the 50 residents in the home are children, she wanted to create a dining room that screamed fun, happy, yummy, family, and smiles.  Beth originally thought she would stencil the whole wall, but quickly realized the project time frame didn’t allow for it.  She did the next best thing and stenciled a colorful canvas using our Moroccan Dream stencil.   Beth definitely achieved the bright and cheery look she was going after.  The space looks gorgeous!

Use the Moroccan Dream stencil from Cutting Edge Stencils to create custom diy wall art. http://www.cuttingedgestencils.com/moroccan-stencil-design.html

Which stencil would you use to create a custom piece of wall art? We’d love to read your thoughts in the comments below.

Can’t get enough stencil fun?

Thanks for reading, and happy stenciling!
Michelle and the Cutting Edge Stencils Crew

Congoleum Triversa Rigid Vinyl Plank Flooring

Congoleum Triversa Rigid Vinyl Plank is an innovative waterproof flooring which brings the natural beauty of hardwood to any room in your home.

Seven of the colors are in super wide 9-inch planks while the other five colors are 7 1/8-inch wide planks. The subdued colors, natural texture and low sheen make for a refined and sophisticated floor. The added advantage of a pre-attached natural cork backing make it quiet and comfortable underfoot.

Durability

• 20 MIL WEAR LAYER WITH URETHANE

  1. • Long lasting surface with lifetime residential warranty
  2. • Easy to clean and impervious to stains
  3. • Ultimate scuff resistance

• DESIGN REALISM

  1. • Authentic natural designs highlighted by realistic texture
  2. • Luxurious low luster finish

Stability

• HIGH DENSITY CORE

  1. • Better looking end results
  2. • Prevents subfloor telegraphing
  3. • No transition strips needed in large installations
  4. • Stable construction, no expansion or contraction

• SPEED & EASE OF INSTALLATION

  1. • No need for product acclimation
  2. • SmartLock TM Clic locking system
  3. • Minimal subfloor preparation

Versatility

• NATURAL CORK BASE

  1. • Mitigates hollow tap noise often associated with laminate floor
  2. • Installs over virtually any subfloor
  3. • Helps mask subfloor imperfections
  4. • Meets ASTM standard for sound dampening
  5. • Mold and mildew resistant

View all of the colors

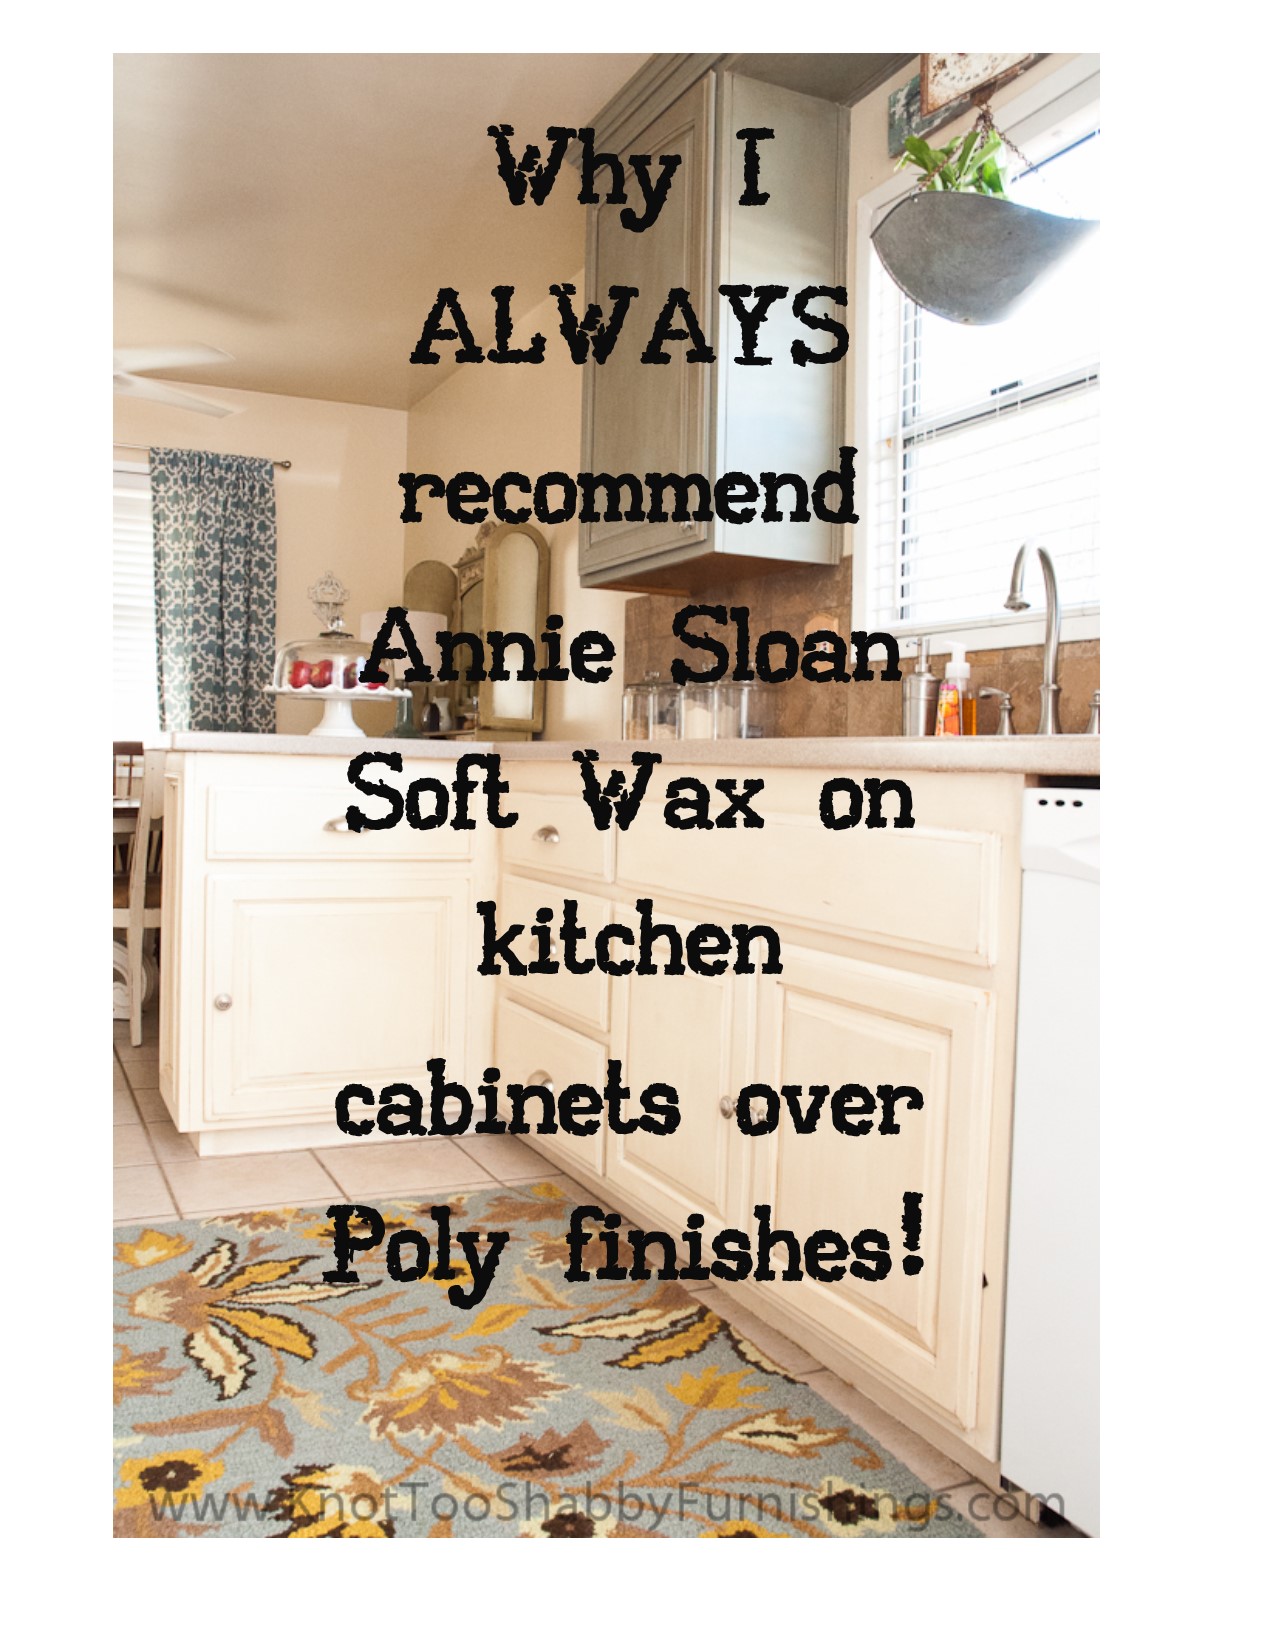
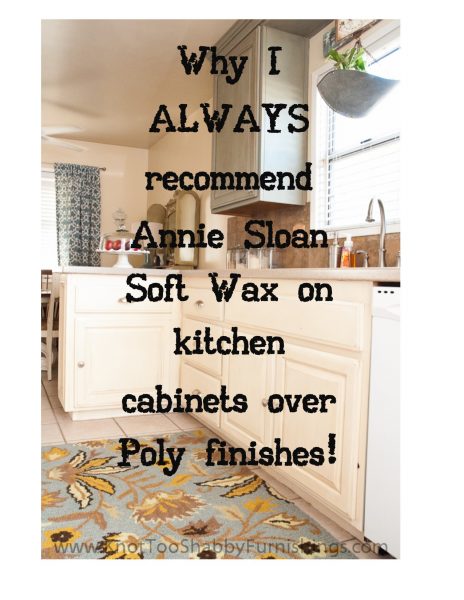
“Why would I use Annie Sloan Paint on my Kitchen Cabinets”

“I’m planning to paint my kitchen cabinets. Why would I use Annie Sloan paint and wax vs a high quality paint with polyethylene? Seems like a multi step process and it intimidates me.”

kitchen after pin

This is a GREAT Question…and a real one from on of our followers on our knot too shabby Painters page on Facebook. The answer, in and of itself is a bit long for a facebook post, but definitely blog worthy!

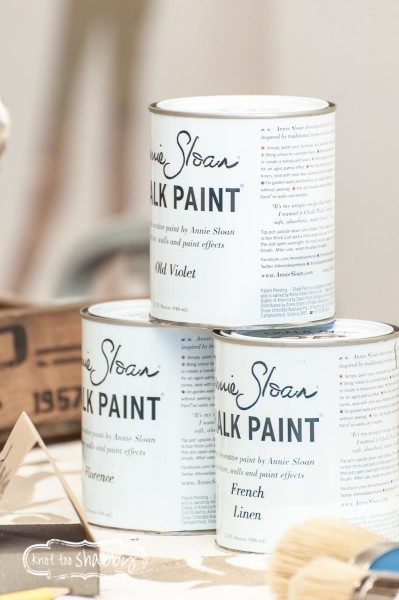
Let me start by stating that I have painted multiple kitchen cabinets. I’ve used traditional latex way back in the day on my parents cabinets, and more recently I used Chalk Paint® on my own kitchen cabinets.

About fifteen years ago, when we painted my mom and dad’s kitchen, it took the ENTIRE family about two weeks. My husband helped out (before we were married…that’s commitment I tell ya’), my sister helped, mom and day obviously were helping and then I was there to help out, too. The process went something like:

  • Remove Cabinets
  • Set up a work station outside with folding tables and saw horses
  • Aggressively clean cabinets using highly toxic TSP type of chemicals
  • Sand original finish…but don’t breathe because sanding dust will be EVERYWHERE
  • Clean…again
  • Prime one or two thin coats
  • Paint two coats
  • Reattach cabinetsThat process took somewhere in the vicinity of 200 man-hours. It was extremely labor intensive. But, the end result looked clean and sleek (not so much anymore…it has been 15+ years, after all).

I have nothing against latex or oil based paints. When applied correctly, they offer great finishes. But, as I said, it’s labor intensive.

So, the real question is WHY DID I USE ANNIE SLOAN PAINT when I painted my kitchen cabinets instead of latex with poly…and why will I (almost) ALWAYS recommend Chalk Paint® for your kitchen cabinet makeover?

MonroviaWorkshop-28

  1.  The prep work is minimal by comparison to other paint products.
    YES! You have to clean.
    YES! You do have to do MINIMAL prep work. Minimal being the operative word.I recommend a thorough cleaning using soap and water. Dish soap on a sponge, Simple Green, Fabuloso…whatever your cleaning product of choice works well to clean off dirty finger prints, grease build-up, oil stains, food spills, etc. Heck, you might decide after you clean the cabinets that they don’t need to be painted after all (Don’t laugh…I’ve heard of that happening)!Once your cabinets are clean, use Denatured Alcohol and a soft cloth to wipe down all of the surfaces. Denatured Alcohol is a natural deglosser and cuts through that last bit of grease and residue left behind while giving you a great surface to start painting.Finally, finish off with a clean water rinse to remove any residual cleaner left behind!CHALK PAINT® HAS GREAT ADHESION AND WILL BOND TO MOST ANY FINISHES…EVEN GREASY, DIRTY OILY FINISHES. BUT, WHEN THE GREASE GETS WIPED OFF OR DIRT RESIDUE IS SCRUBBED DOWN, IT WILL TAKE THE CHALK PAINT® ALONG WITH IT. THAT’S WHY IT IS IMPORTANT TO CLEAN YOUR SURFACE PRIOR TO PAINTING!

    KitchenBefore-3

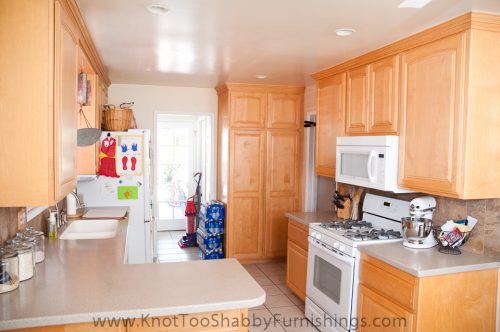
    My kitchen cabinets before

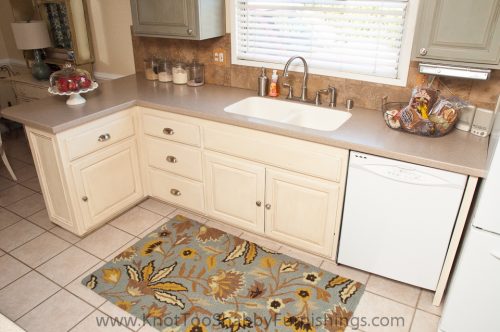
  2. I was able to paint my cabinets in the comfort of my own home without having the mess of sanding or the aggravation of priming.Not only the ease of use made Chalk Paint® ideal, but because it is water based and VERY EASY to clean, I only had to do minimal prep-work related to taping and covering surfaces. I wasn’t worried about covering the floor or counters with paper because any spilled paint could be wiped off with nothing more than a damp wash cloth…even after it dried.The natural ingredients in Chalk Paint® and zero detectable VOC’s meant that I could paint inside without worrying about my family being exposed to a plethora of paint fumes.I painted the cabinet doors in place. I didn’t have to clean out cabinets and drawers or remove hinges. (Read the original post about how I tackled this project over a 5-day timeline)Kitchen-After-41
  3. Chalk Paint® is highly pigmented which allows for superior coverage as compared to other paint brands.The high pigmentation in many of the Chalk Paint® colors provide that you only need one coat to cover. I picked a color that I knew would provide superior coverage to save on time and effort.Even if you go with a traditional white finish, you’ll only need two coats (occasionally a third depending on the type of brush you use or the original finish) as compared with four+ coats using a latex and primer. I also have some time-saving and cost-saving tips on painting with white paint that applies to any piece you select to paint white (perhaps a separate blog post for a later date).Kitchen-After-47
  4. It’s all about the WAX!THERE IS NOTHING BETTER FOR KITCHEN CABINETS THAN ANNIE SLOAN SOFT WAX!!!Let me tell you why. 


    Kitchen-After-31Wax breaks down over time…this is where I get gasps and wide eyes.

    “What do you mean wax breaks down? I don’t want wax. I need something durable. (insert panic here)”

    The mere fact that wax breaks down with heavy use is its singular greatest benefit when applied to kitchen cabinets because it is a fixable product, whereas polyurethanes and other liquid sealers can not be fixed…they can only be re-applied (after sanding, re-painting and re-sealing).

    Think stains from Crayola markers, Sharpies, blueberries, spaghetti sauce, scuff marks from shoes, dings from careless kids/pets/spouses, etc., etc. etc. Life happens in kitchens! Messes happen! With a wax top coat, your mess can be easily removed with nothing more than a very light sanding and quick reapplication of soft wax. The wax, literally removes stains, markers and scuff marks. This is of course, only necessary if your sponge or washcloth doesn’t clean it out.

    BECAUSE the wax breaks down with use and kitchens get used a lot, you’ll want to mitigate how often you re-wax. I always recommend applying three coats of clear wax on kitchen cabinets over the course of 2-3 weeks. If you build up a nice, durable wax finish from the start, you will likely not have to re-wax your kitchen cabinets for at least a few years!

    Kitchen-After-45

It’s been over four years since I first painted my kitchen cabinets with Annie Sloan Paint. I can attest first hand to the durability of paint and wax and the ease of cleaning them with a houseful of messy kids and large pets!

Is painting kitchen cabinets intimidating? Heck Yeah! Kitchens are important rooms of the house and if you aren’t intimidated by the sheer size of the project, please call and tell me your special secret. Intimidating or not, DIY painted kitchen cabinets are totally doable! And, following the right steps, pretty easy, albeit time consuming.

I want to see your cabinet makeovers! Share before and/or after pictures of your Chalk Paint® cabinet makeovers on our knot too shabby PAINTERS facebook page!


4 Miss Mustard Seed’s Milk Paint Tips for Busy Moms

School  has started. Fall sports are starting within weeks. Homework. Orthodontic appointments. Piano Lessons. Awana. Sunday School. More homework. Chores. That’s just what my kids are committed to during the week. How in blazes does any mom find the time to finish their own projects amidst a busy life?

I can’t even pretend to know what you’re schedules look like, but I can offer a few bits of advice on how you can manage to find the time to work in a little Miss Mustard Seed’s Milk Paint DIY amidst your busy schedules.

busy moms

1. Have an idea of what you want your project to look like BEFORE you come shop for supplies

 

Let me start by saying that I love engaging with customers about their projects. We explore colors, fabric swatches, iPhone photos of their rooms and pieces (and occasionally photos of other…how should I say it…things…which is why I will NEVER look at your phone while you scroll through photos. It just saves us both from a potentially embarrassing moment).

45-60 minutes later, after waffling over this color and that color, they leave with a few bags of supplies and a heap of information (and I have the picture of you know who’s you know what forever burned into my memory…sobs).

If you are a busy mom and you only have 30-45 minutes to stop by and pick up your project supplies, know before you head on over what it is you want your project to look like. Believe me…I’m not that interesting and you don’t want to be spending your morning or afternoon with me talking your ear off about the finer subtleties of light vs. medium distressing, color theory or the differences between antiquing finishes and industrial finishes.

Bring photos of the piece(s) that you are painting along with your Pinterest images of the inspiration pieces you are trying to replicate. If I can see what you are painting and what you want it to look like, it is super easy and quick for me to point you to the right color, determine whether you need bonding primer, should seal it with wax or hemp oil or may achieve a sweet look with a wax puck.  You’ll be in and out in a jiffy and on to the next errand!

2. Understand your substrate
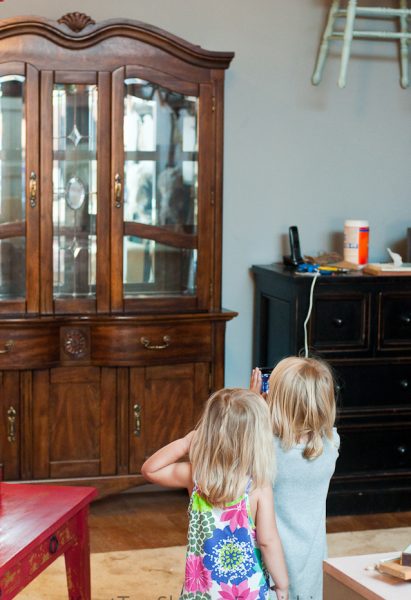
 

Substrate generally describes the base material that you are painting. For example, most furniture substrates are either waxed wood, varnished wood or raw wood. Knowing the difference will help you to determine not only the best product to use, but the best process. When using MMSMP, understanding the different substrates may be the difference between a project that takes a couple of hours or one that ends up taking a couple of days because you didn’t understand the type of surface you were painting, therefore requiring a total project redo.

When I teach MMSMP Workshops, I use the phrase, “more shine, more prime.” In a nutshell, the shinier your substrate is, the more bonding primer you’ll need to add to your paint for good adhesion. The less shiny…or the more raw or worn the substrate is, the less likely you will need any bonding primer.  This is a really simplistic way of looking at it and there are a dozen and one variables that may need to be considered, but it’s a good rule of thumb to start with if you are new to milk paint.

3. Organize your project into smaller and manageable chunks of time

I know that I could never get my own kids to leave me alone for the solid 3-4 hours that it takes to see a project to completion…at least not without duct taping them to a chair and sticking them three feet from cartoons. But, that’s not how I roll (or is it….mwahahahah).

But, I usually can count on them being occupied by a task for at least 45 minutes. That’s all I need to get a decent start! And, if you’re kids don’t absolutely drive you batty when they try to “help,” give them a simple task that will assist you with the project. For example, mine were satisfied with taking off knobs and handles. They thought they were cool stuff getting to use high tech equipment like a screwdriver.

So, here’s how I divide my project into mini-tasks that each take about 30-45 minutes each (depending on the size of the piece you are tackling):

Prep Time
-Set up your designated work station, preferably someplace that can keep your piece of furniture and supplies handy for a day or two.
-Clean your piece well to remove any grease and grime
-Lightly sand the surface to give your piece more tooth for the milk paint to grab on (if you are painting raw wood, you won’t need to sand at all).
-Rinse off any residual cleaner and sanding dust with a damp cloth.
-If you need to tape off any areas like glass doors or mirrors, do that step now
-Remove hardware (set aside in a small bowl to keep them together…says every person who has ever lost the last knob or it’s screw…mmmhmm…it happens!)
-Clean up the prep mess
-Set aside all of the supplies needed for the actual painting (i.e., paint, pitcher of water, mini whisk or mixer, clean brushes, paper towels or rags, spoon to scoop paint, and container to mix paint).

Paint Time

-Mix up your batch of paint (about equal parts powder to water)
-Go fold a load of laundry or empty the dishwasher, take out the trash…something that will take you about 15-20 minutes. You want that time set aside for the powder to dissolve into the water. If you neglect to let your paint “set-up,” you’ll be painting with a chunky batch and likely to see color variation throughout your piece of furniture.
-Paint your piece. Milk Paint dries quickly. Chances are, by the time you are finished with your first coat, you’ll be ready to start the second coat if needed.
-Don’t forget to mix your paint as you go to keep all of the ingredients equally distributed throughout your mixture.

Finishing Details and Clean Up
-Once the paint is dry, lightly sand to add light distressing, remove any chippng paint and to smooth the paint finish.
-Add your top coat; if your substrate was a more worn or dry finish, hemp oil is an ideal top coat. If you were painting over a shinier surface, then I recommend sealing with beeswax or Tough Coat (as a reminder, you never wanted to put Tough Coat over a wax finish).
-Let the wax harden for about 30 minutes, or allow the oil to soak in or the Tough Coat to dry. While that is happening, begin cleaning your work space and supplies.
-When your space is clean, lightly buff your piece with a soft cloth…old t-shirts and socks work well.

4. Give your freshly painted piece time and space to fully cure

In simple terms, curing is a chemical process that the paint and wax undergo over a period of about 21-30 days. During that time, the various ingredients and vapors or being released and the paint finish is becoming more durable. That being said, you want to be gentle while it’s curing. There is no top coat that is impenetrable to the goings on of rough kids, sloppy spouses, house pets and day to day life. BUT, if you allow your piece to fully cure before you use it regularly, the chances of it withstanding all that life throws its way increases dramatically.



Painting is fun and seeing transformation in your house is rewarding. But, it can be stressful amidst the craziness of day-to-day life. Hopefully, these simple tips help you to organize your projects to make the most of your time!

Now, go out and have some fun with the kids! ?

20+ Ways to Use Shelf Brackets That You’ve Never Thought Of

(Image credit: Yellow Brick Home)

Shelf brackets’ primary purpose is well known and documented: prop up and secure boards to create wall storage. But did you know that there’s an entire outlaw gang of brackets that went rogue? They shrugged off society’s expectations about their usefulness and devised entirely new roles for themselves within households and workspaces everywhere.

READ MORE »