The following post was originally featured on The DIY Playbook and written by Casey Finn, who is part of POPSUGAR Select Home.
Does anyone else have an obsession with mason jars? I don’t know what it is about them . . . but they are just so adorable. I suppose I imagine myself with a different life when I hold one. I’m sitting on a porch, drinking sweet tea, and sitting in a rocking chair. #livingthedream
OK, enough daydreaming. Let’s just agree that mason jars are the bomb, and there are so many ways to incorporate them into your home.
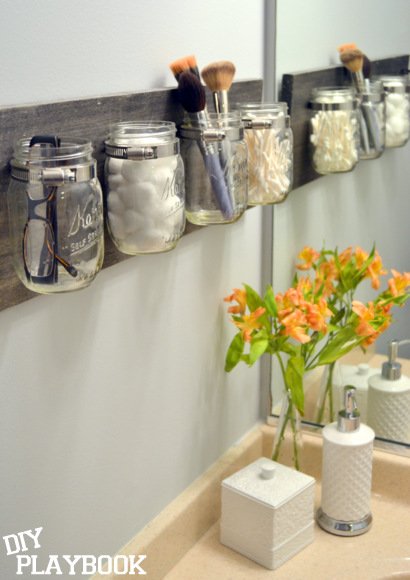
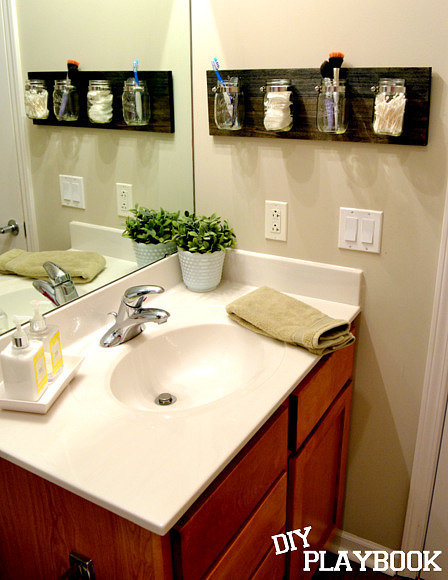
Like perhaps for some unique bathroom storage . . .
You can get a tutorial on how to create your very own mason-jar organizer by reading this post, or you can check out our video tutorial below:
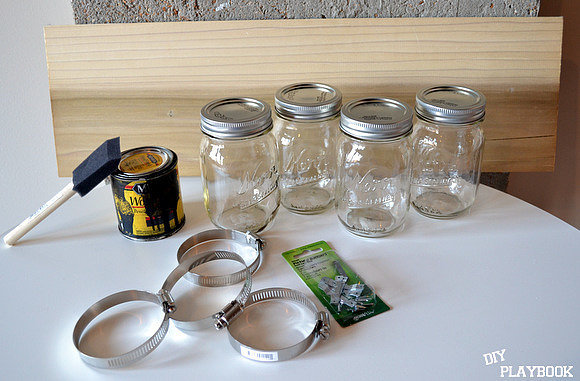
Here’s what you’ll need for this project.
Supplies:
- 8, 12, or 16 oz. mason jars (I found a case of 12 at Walmart. You can order these ones online too.)
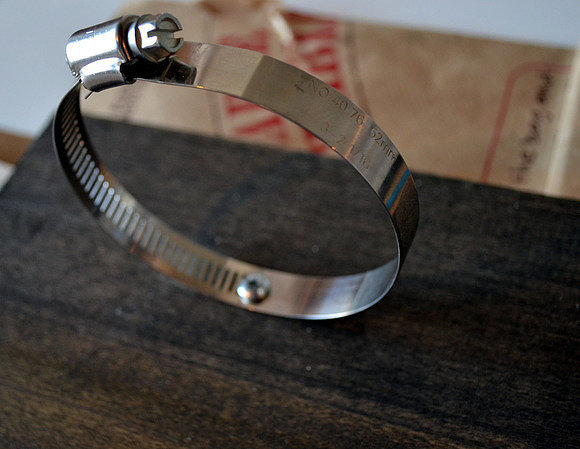
- Hose clamps (found in the plumbing section of any home store)
- Wood (mine is about 2 feet by 7 inches, and I found it in Lowe’s lumber department)
- Wood stain
- Picture-hanging kit
- Drill and screws
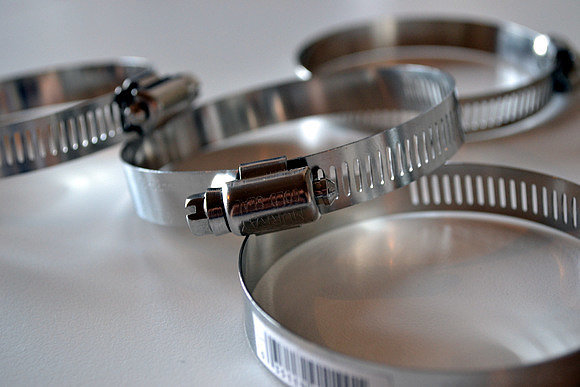
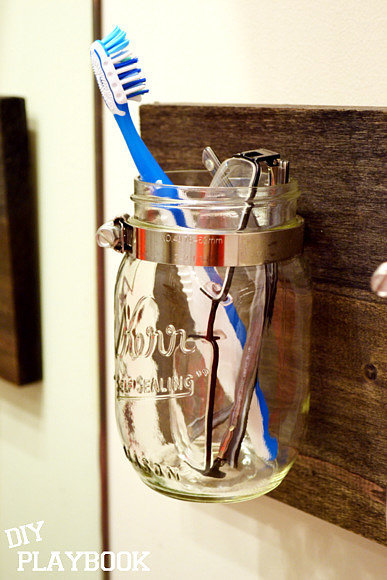
These are the hose clamps. I had never heard of them until this project, so do not be afraid!
Just ask someone at your local home improvement store to point you in the right direction, and buy a size that will fit around your mason jars.
Now that you’ve got all of your supplies, it’s time to stain the wood.
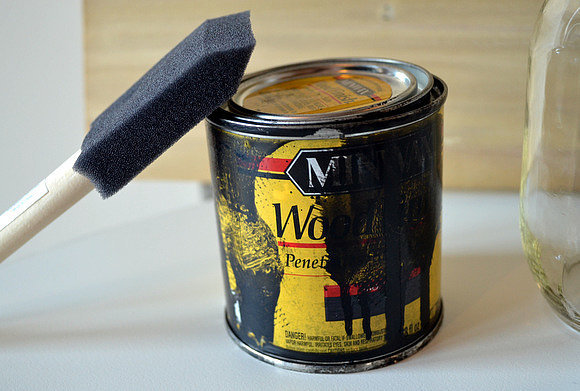
I just used some leftover stain from my coffee table project. You can find that staining tutorial right here.
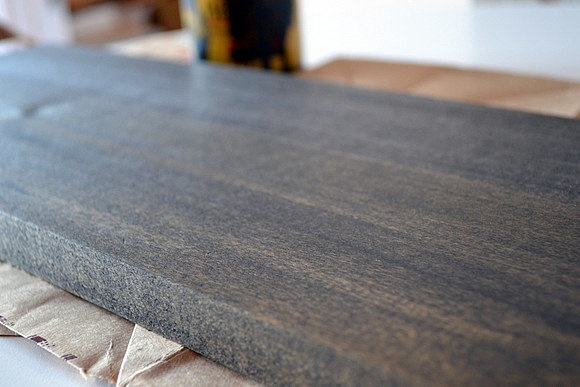
So stain it up and let your wood fully dry.
Then get out that electric drill of yours. OK, I’m not going to lie. At this point I was on a roll, and I was ready to finish this project and get it on the wall. However, I did run into a few troubles. Here are my tips, so you can avoid any mistakes:
Tip 1: Use a drill bit to get a hole started in the wood, where you’ll eventually screw in the hose clamp.
Tip 2: Also use the drill bit to make a hole in the hose clamp. You’ll definitely need to put your back into it because it can be difficult to create a hole in the metal.
After you’ve created the hole in the wood and the hole in the hose clamp, line them up and drill the hose clamp into the wood.
Voilà! Repeat three more times until all hose clamps are attached.
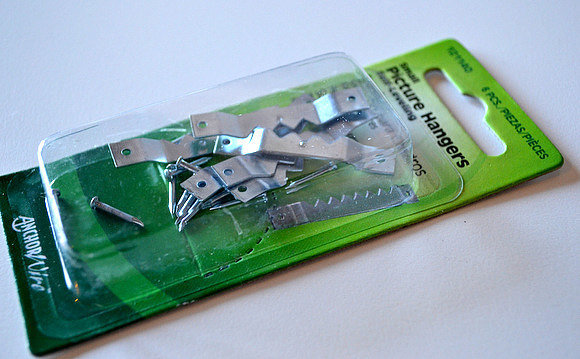
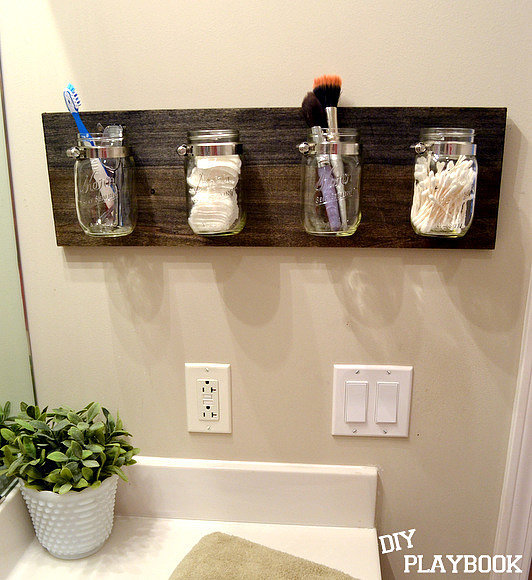
To hang this bad boy, I just nailed in two picture hangers on the backside of the wood.
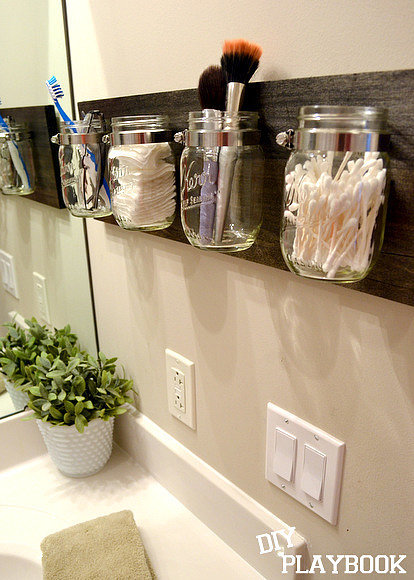
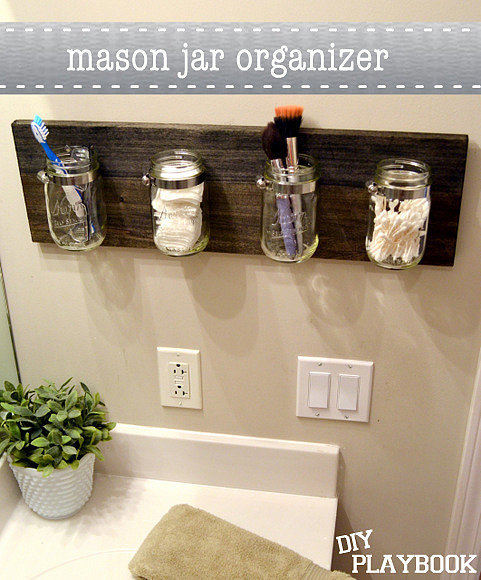
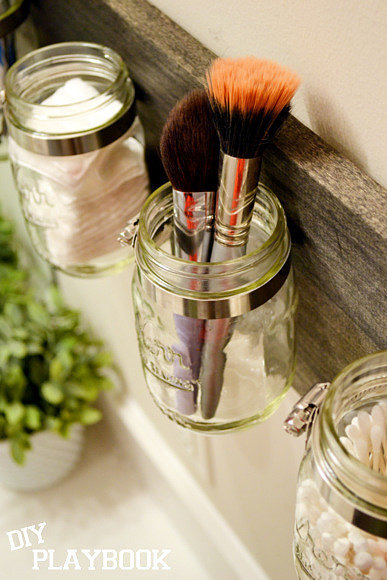
I am loving the way it turned out! It’s farmhouse chic to me, not to mention it stores all kinds of bathroom goodies. (See more pics of the whole bathroom here.)
I think this mason-jar organizer would work great anywhere! Maybe in your kitchen for knives, forks, and spoons? Perhaps in a craft room to hold colored pencils, scissors, and glue? The possibilities really are endless.
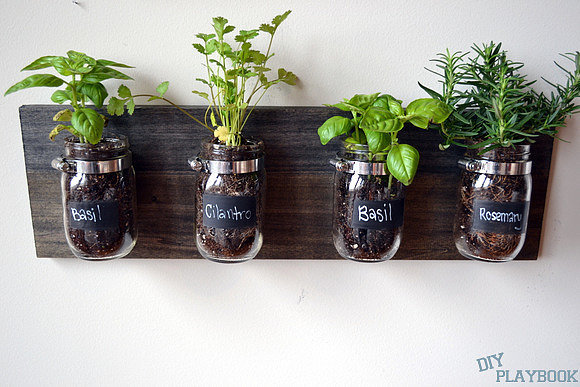
This mason-jar organizer could even add some serious freshness to your kitchen, patio, or city balcony. Who’s cookin’?
Article source: http://www.popsugar.com/smart-living/DIY-Mason-Jar-Organizer-35532719


