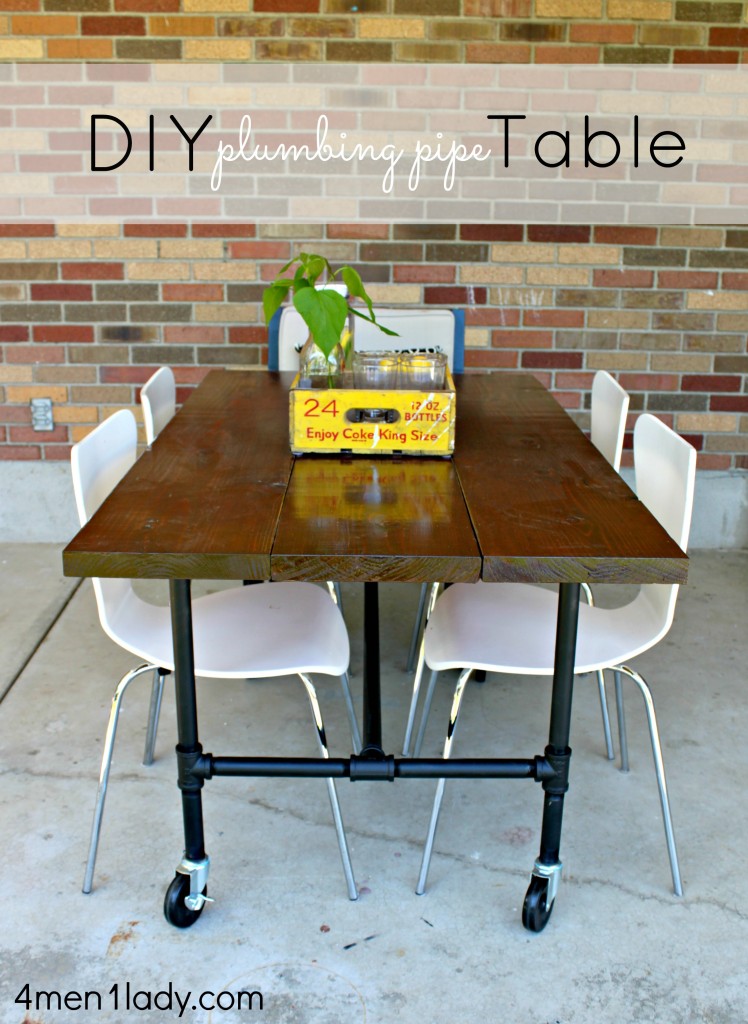
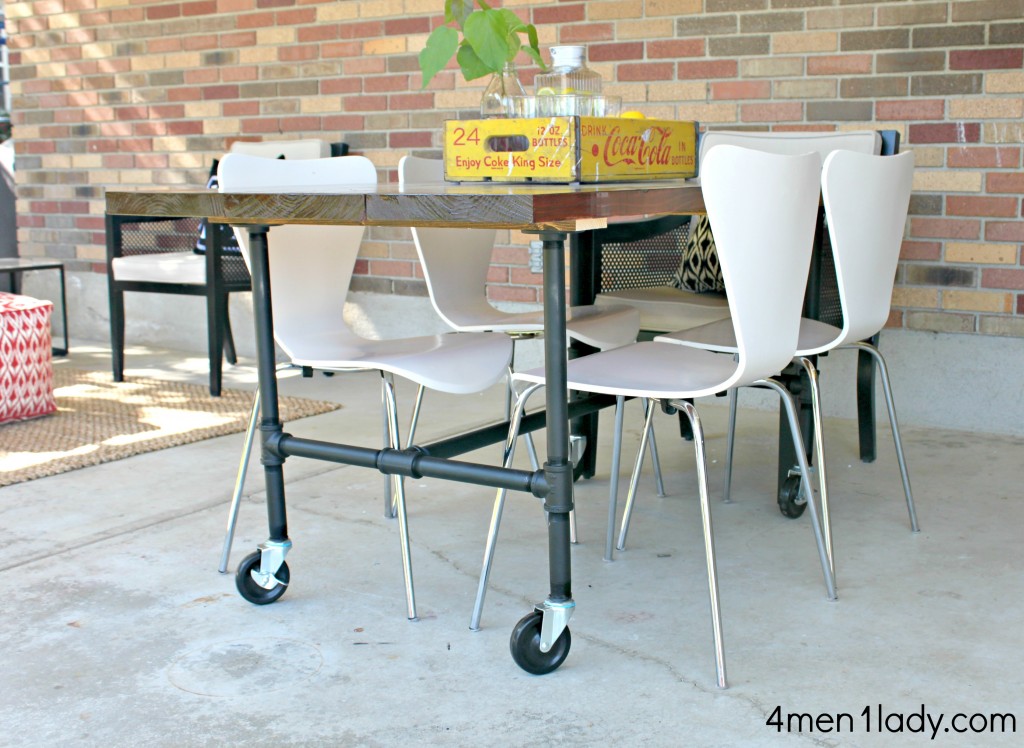
I have actually been shopping around for a patio area table however simply couldn’t appear to find the perfect one. When you can’t find one, make one! As assured I’m back with the tutorial for making your own table made from some boards and plumbing pipe that I included in my current patio transformation . I discovered all my materials (except one little piece) from House Depot . That one little piece was only because I wished to put my table on casters and have it be mobile (completely optional).
I first started by buying 2– 2 x 12 x 10 boards (which if you determine them, they are truly 1-1/2 x 11-1/4). I had a staff member cut the two boards in half (free of charge) so I had 4 boards which determined 60 inches long each. My strategy was to utilize all 4 but the table was unfathomable for my taste so I decided to utilize 3 of the 4 instead.
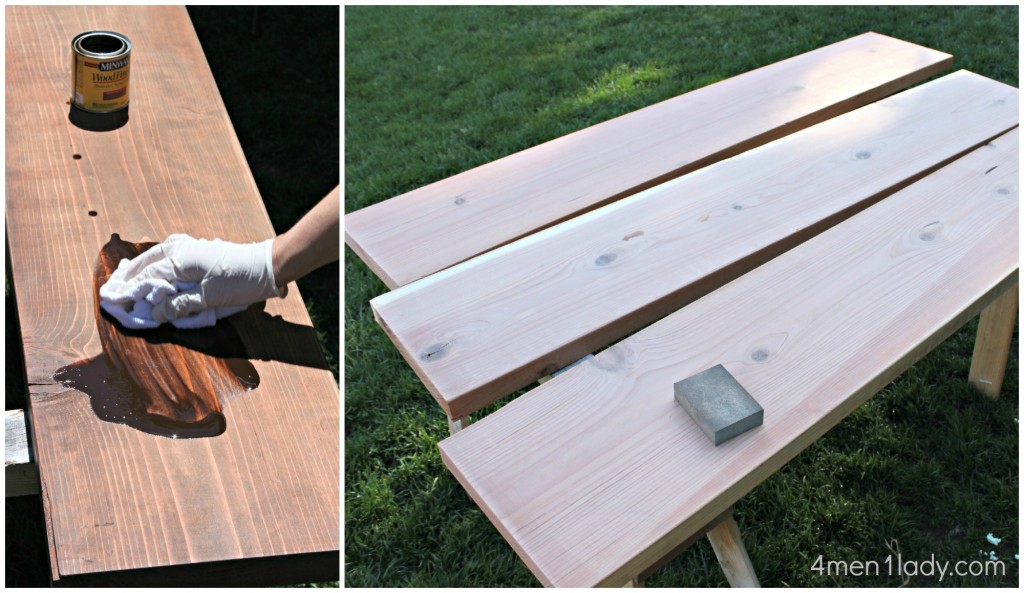
I gave them a light sanding with 220 grit sand paper to make certain my surface area would accept the stain evenly.
Next I applied my stain. My very first coat I applied with a sponge brush ever so thoroughly. It took PERMANENTLY so on the next coat I chose what I call the dump and clean approach. It was much quicker and I learned I didn’t need to be rather so mindful.
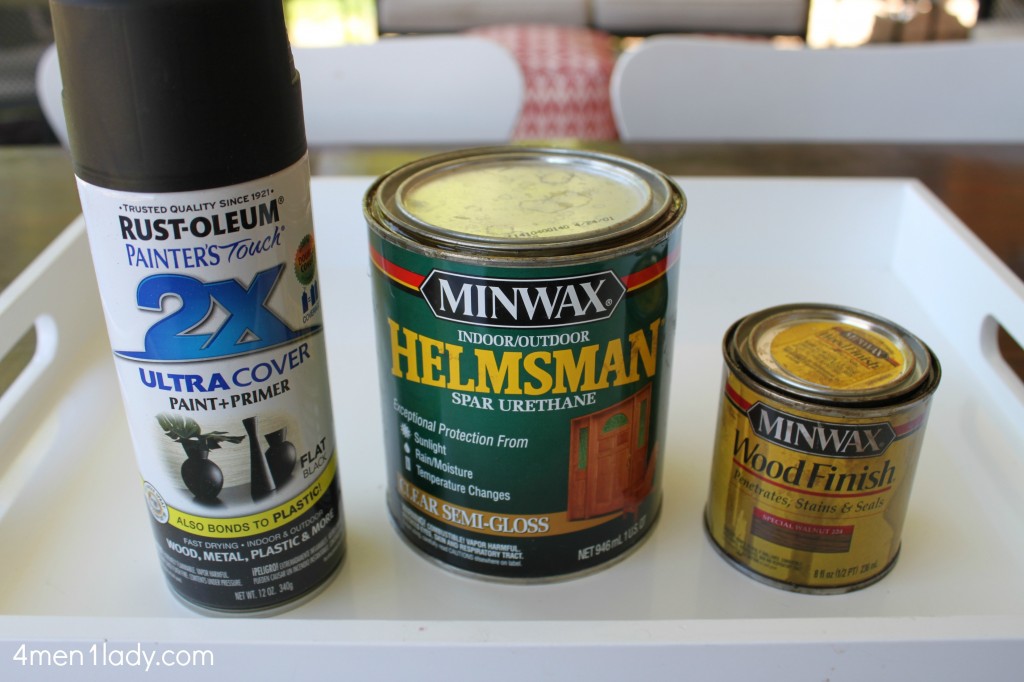
The Products I Used Are Shown Below.
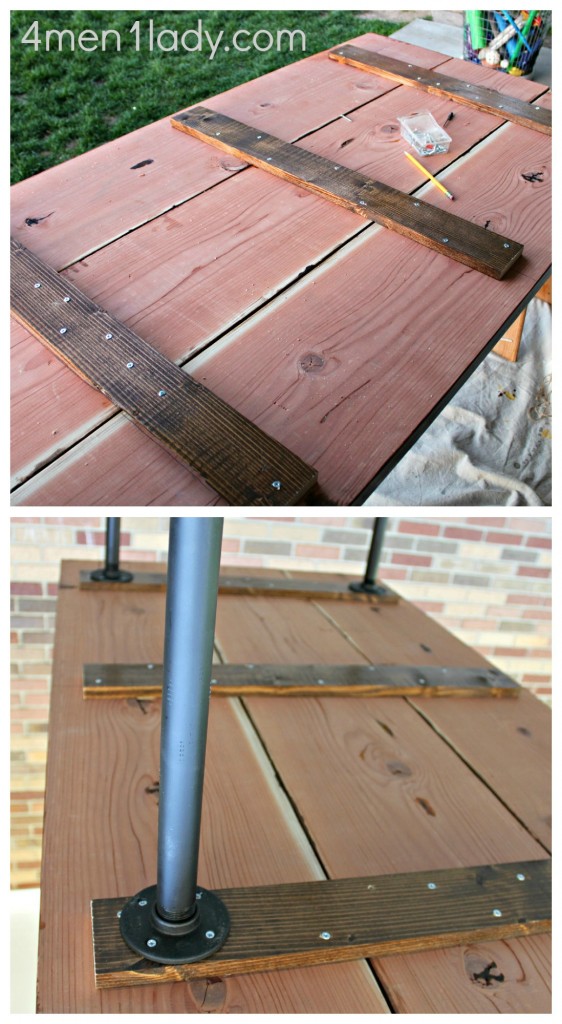
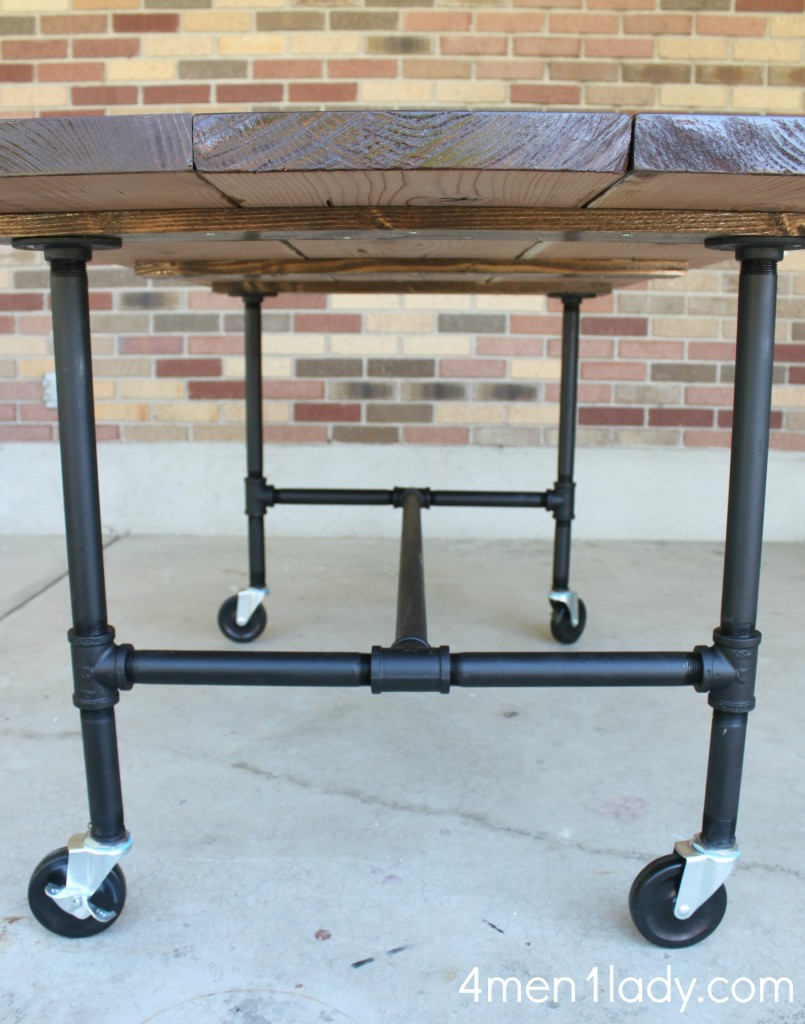
To protect the three boards that would be the table top I (the Mr I imply) attached 1 x 4’s on the underside with screws. The pipeline base was attached to the 1 x 4’s. I also stained and Urethaned the 1 x 4’s on the bottom just because I wanted to make certain if you caught a glance it would be an unsightly, unfinished board that protruded.
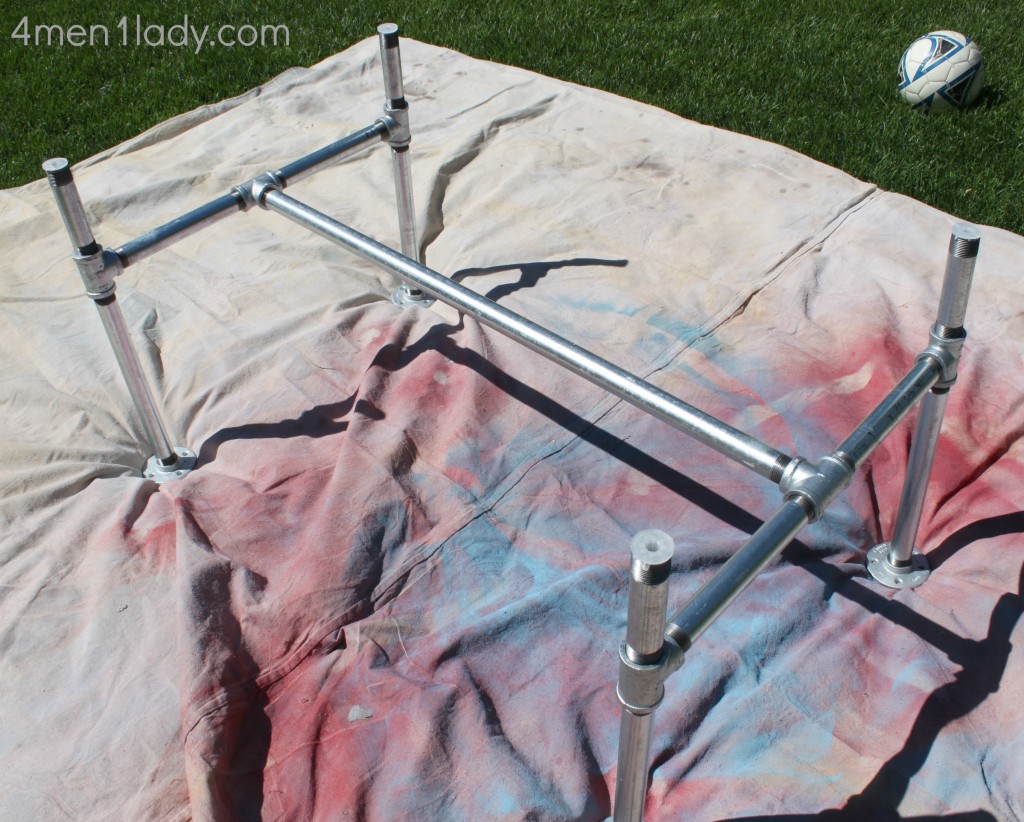
Rather, you need to get the silver pipeline and spray paint it (if you so desire).
Another tip concerning plumbing pipes: Home Depot will cut all your pipes and thread them free of charge. Make certain to check the cut and thread by twisting it into a flange or t-joint. Either have them adjust the cut of the maker or have them re-thread the pipe which ought to also do the technique if it doesn’t twist on easily.
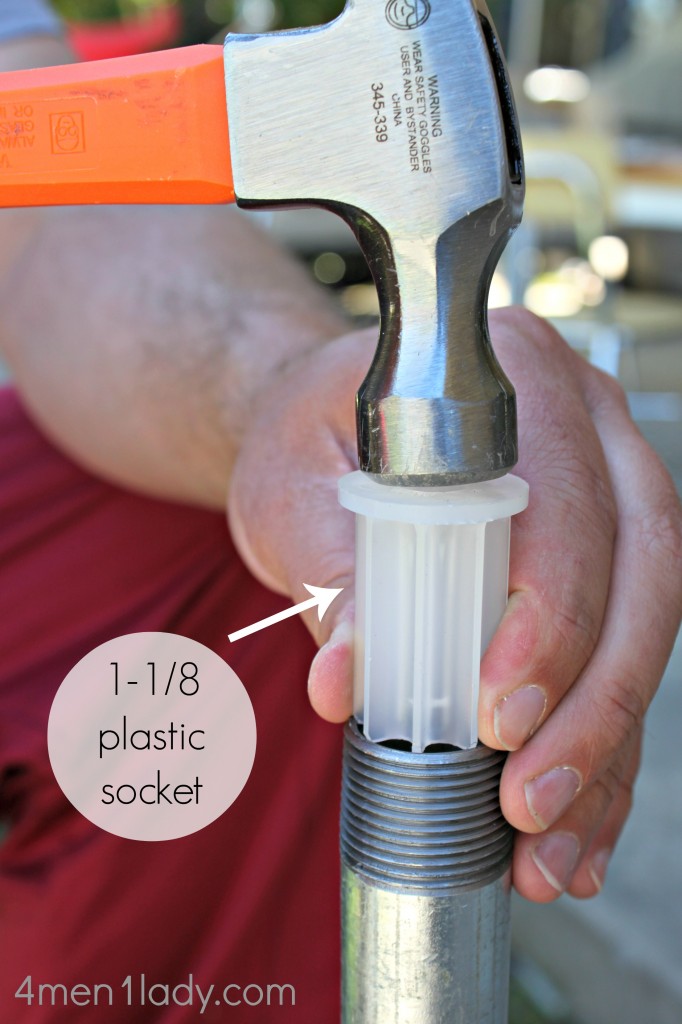
This is the only piece I didn’t receive from Home Depot. Because I put my table on casters I required a fitting that would accept the threaded stem of the wheel. It’s a little plastic
1 -1/ 8 socket that you hammer in to the 4 pipelines. I discovered it at A1 Casters and they were $1.00 each. The casters fit almost perfectly. Absolutely nothing that a little epoxy over night couldn’t best. Casters found here . Plastic socket found here .
TA-DA!
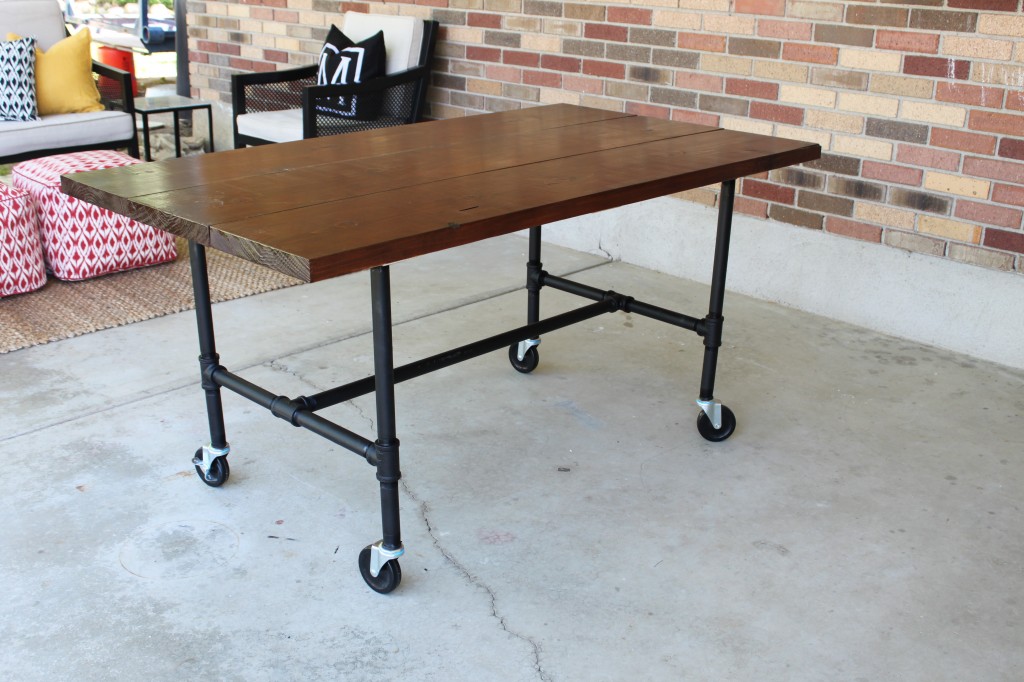
I can’t inform you how much I’m loving this table! We eat ALL our meals on it, roll it to the side when we’re done then spray off the outdoor patio with the tube.

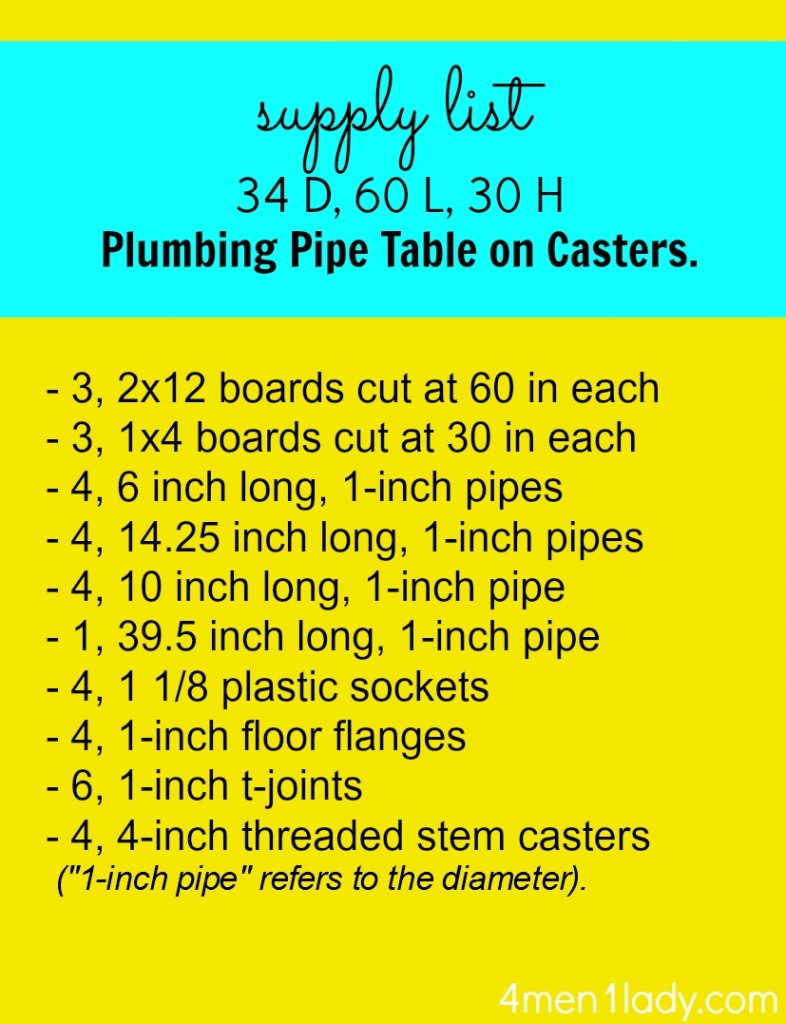
* If you decide not to put your table on casters you’ll need to compensate the height of your pipelines (or whatever you go with table feet) approx 5 inches.
* I made this a 6 person table. I desired a minimum of 6 inches of overhang on both ends of the table to accomodate a chair each. If nevertheless, you simply desire your table to be a 4 individual table you could expand the 39.5 inch long pipe to approx 50 inches, hence offering the 4 more leg and elbow room.
Article source: http://www.4men1lady.com/diy-plumbing-pipe-table-tutorial/


