Ready to go to the store and buy a crapload of studs? And I’m not even talking about those mini John Travolta dolls that I am collecting in my closet 🙂 I’m talking about framing lumber….regular ole 2×4’s….the ones that people put in their walls to support their house. Yup I’m saying those cheap boards that inspired a nation to build their own furniture. Because today, I am gonna show you how we created this beautiful cross cut butcher block-esque countertop with them and you will want these…..check it, don’t wreck it….
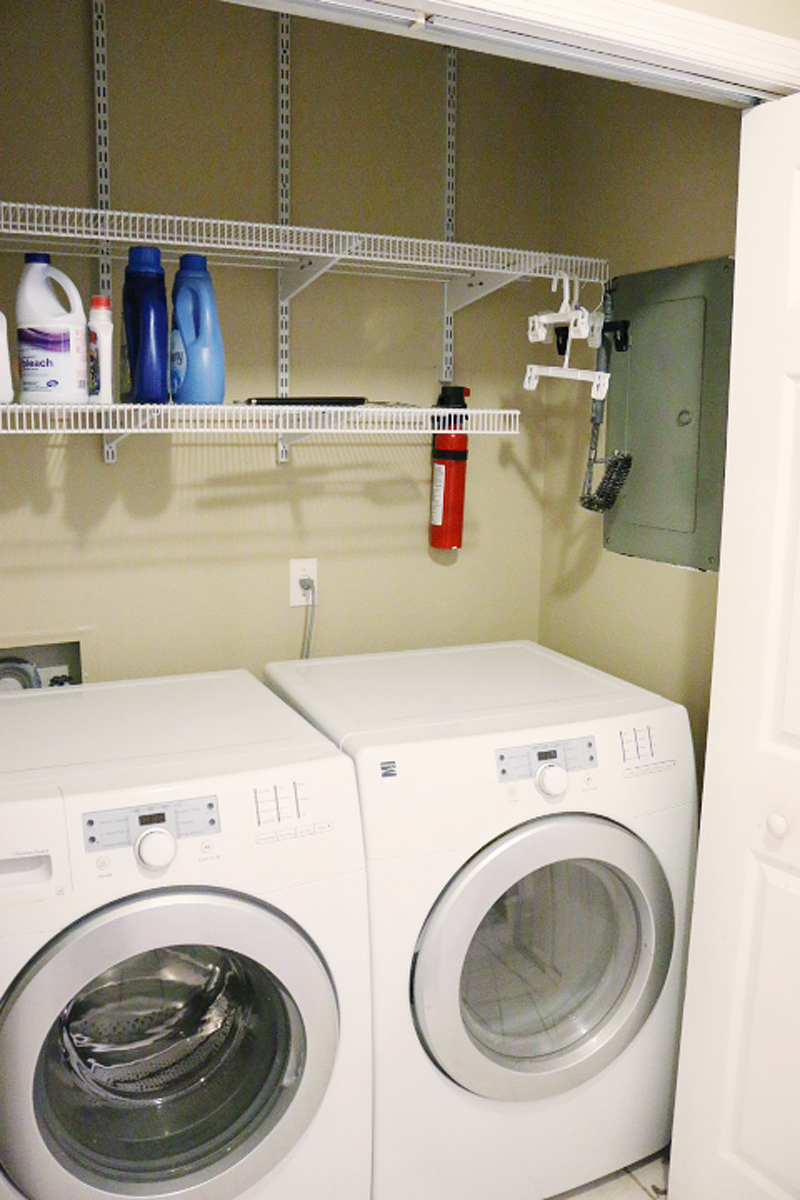
In the Pedraza laundry nook, one of the biggest complaints was the black hole. You know the one. Where things get sucked in but never come out. It’s that zone that surrounds your washer and dryer that drops to oblivion and you might as well chunk the partner sock in the trash because that lost one is like a female actress who got wrinkles….never to be seen again.
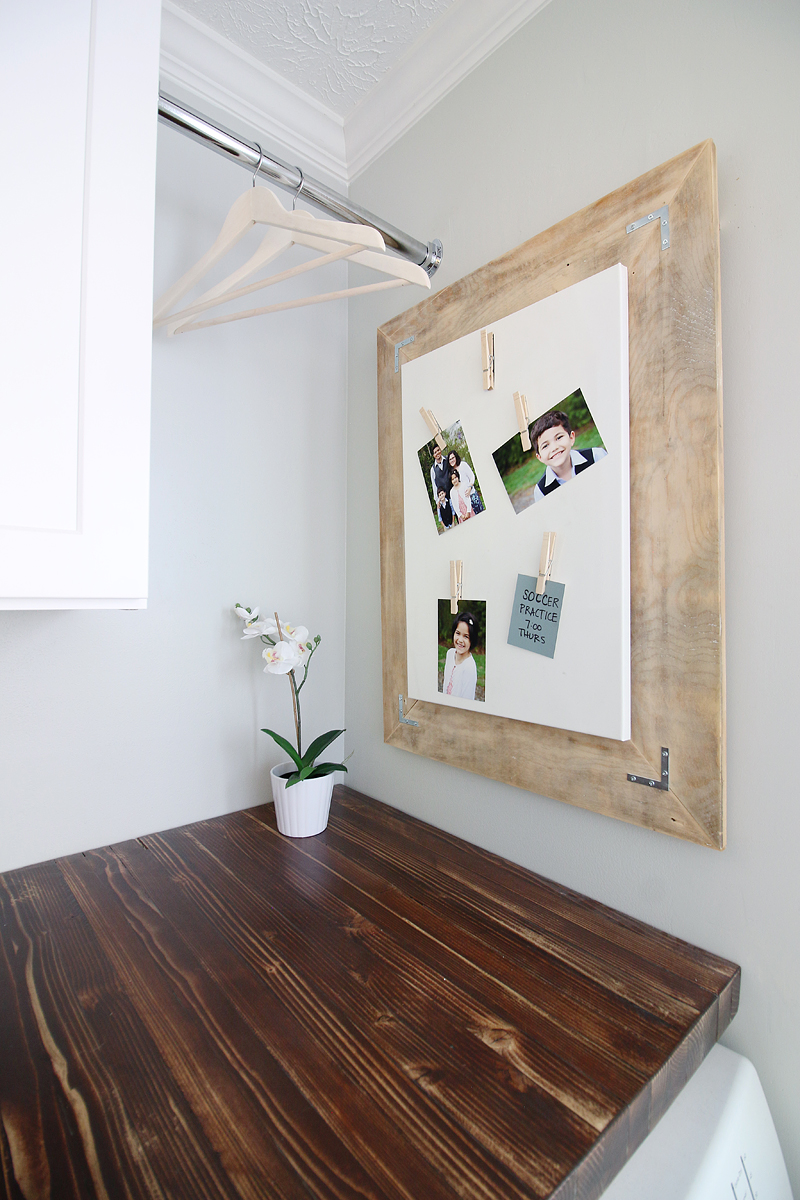
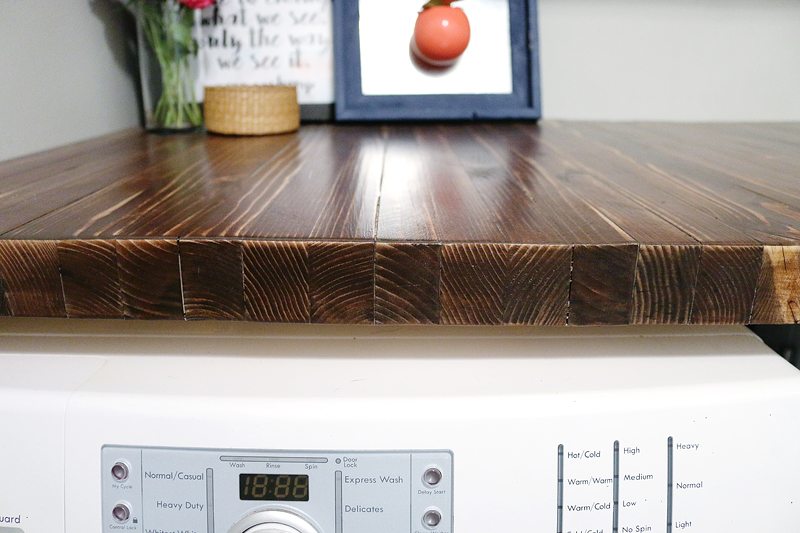
So one of the biggest DIY’s in this small space was to create a countertop. We saw a million DIY’s on regular ole butcher block counters but I wanted something different and special in their home….so we decided to fabricate some cross cut wood counters – to show off that beautiful detail in the end grain and to make it as unique as this family. Also because I am a blogger and we must do things differently or DIE 🙂
Here we go. First the details – because this is going over a washer and dryer, it is going to be 30″ deep. A standard countertop is 25″….so if you want to do this somewhere else, keep that in mind when buying your lumber. We started off by running to the store and bought enough lumber for the width of the room.
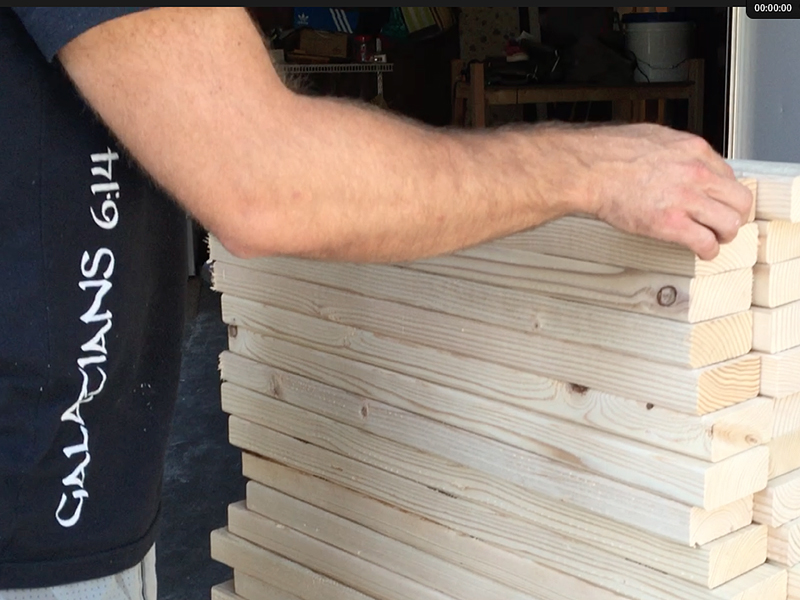
Our room was 67″ wide….so divide that by 1.5″ (the thickness of a 2×4) and we have 45….it will take us 45 boards to get across the entire room. A 2×4 is 96″ long and our counter depth was 30″ so we could get three sticks out of each board. So 45 boards divided by 3 is 15 boards. We bought 17 of the straightest 2×4’s at Home Depot (2 extra just to be safe) and that cost us $45.56. We also used some screws and scrap wood for the supports (already had) and some corner brackets ( this one to be exact ). Overall, our final cost came out to be right around $60….which is a great deal for a counter!
Jeremy started by cutting all the boards to length….30″ to go from the wall to the front of the washer/dryer.
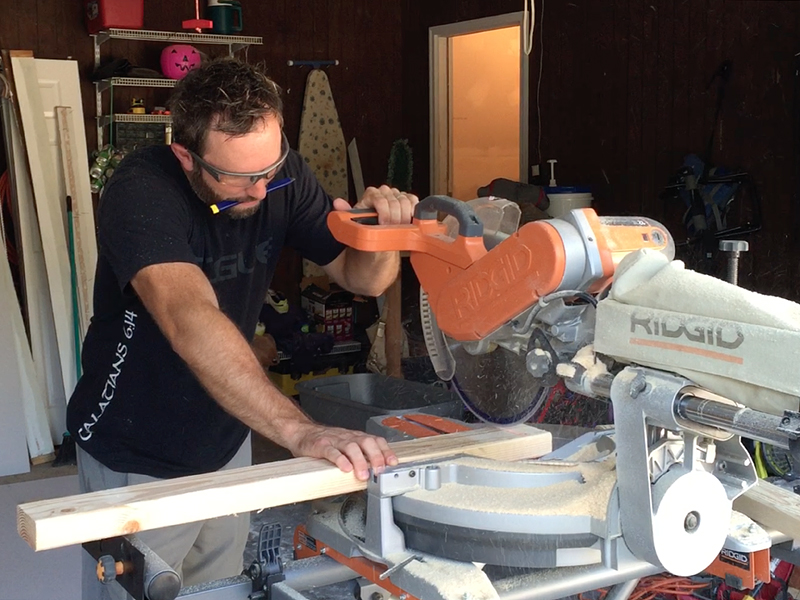
Each of the boards was checked to see if it had big warps or knots that went all the way through. We couldn’t use those ones.
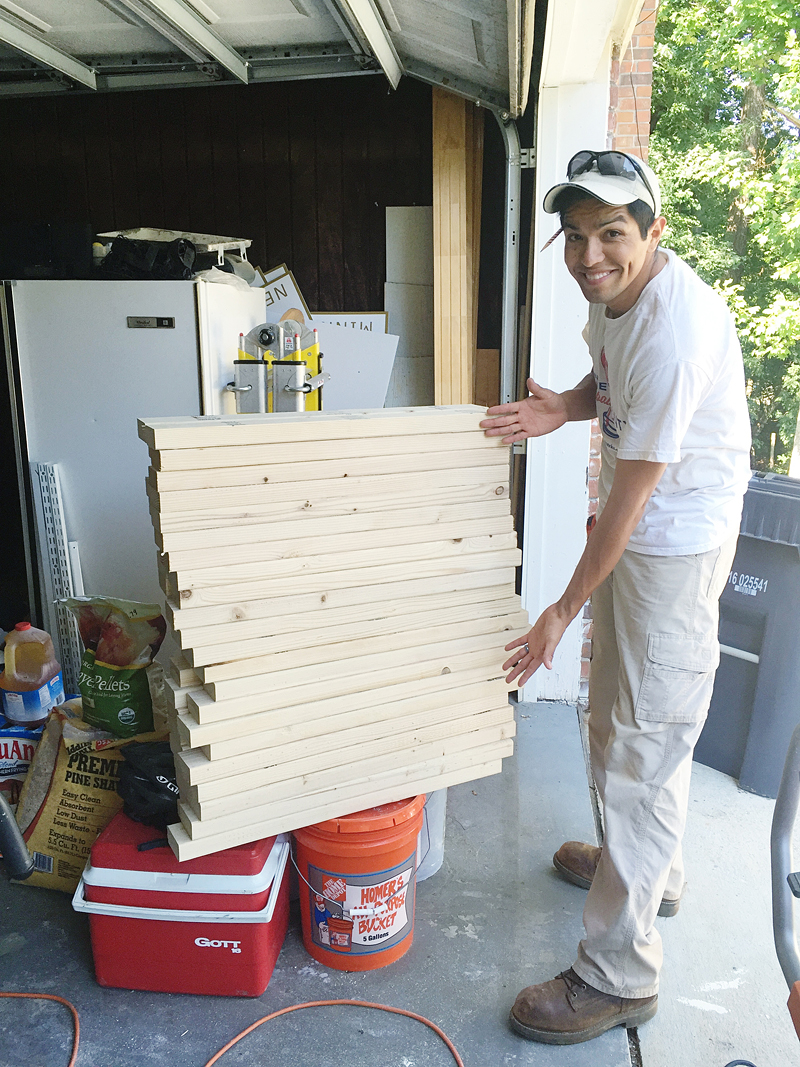
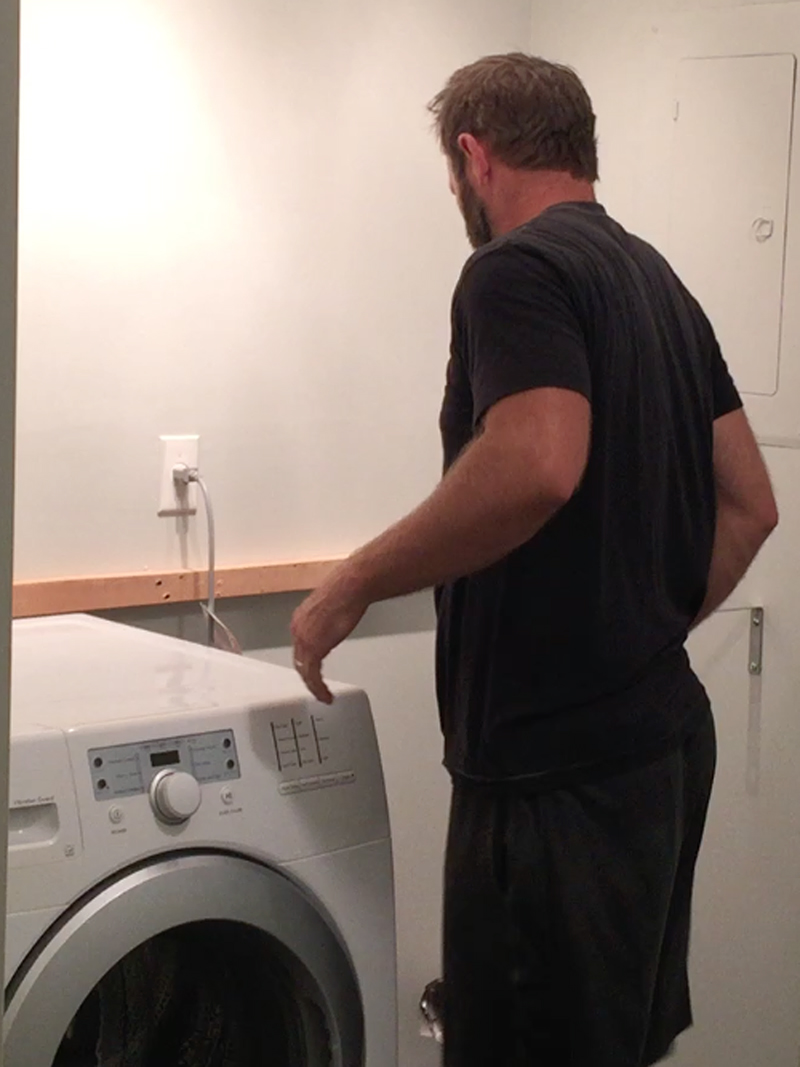
Danny came home from work and was wondering what the heck was going on. We just told him to pose with his new counters….he understands our brand of crazy so he just went with it 🙂
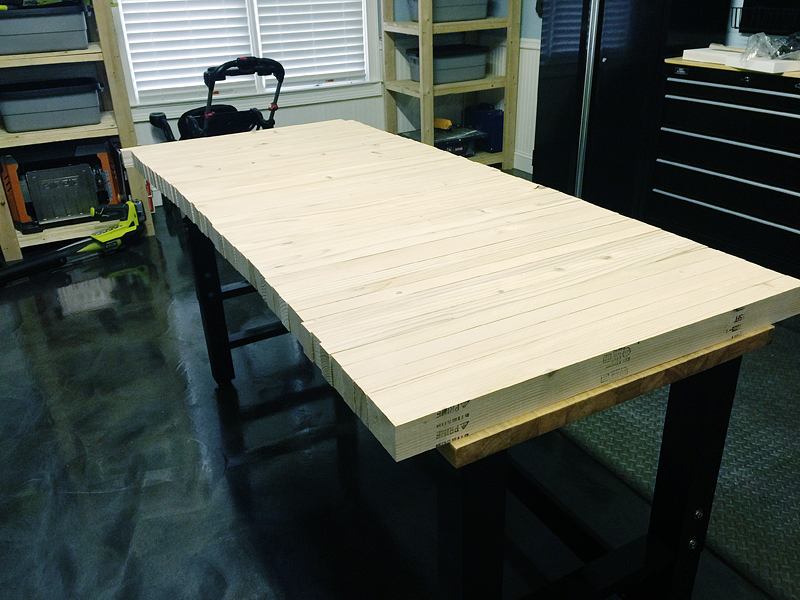
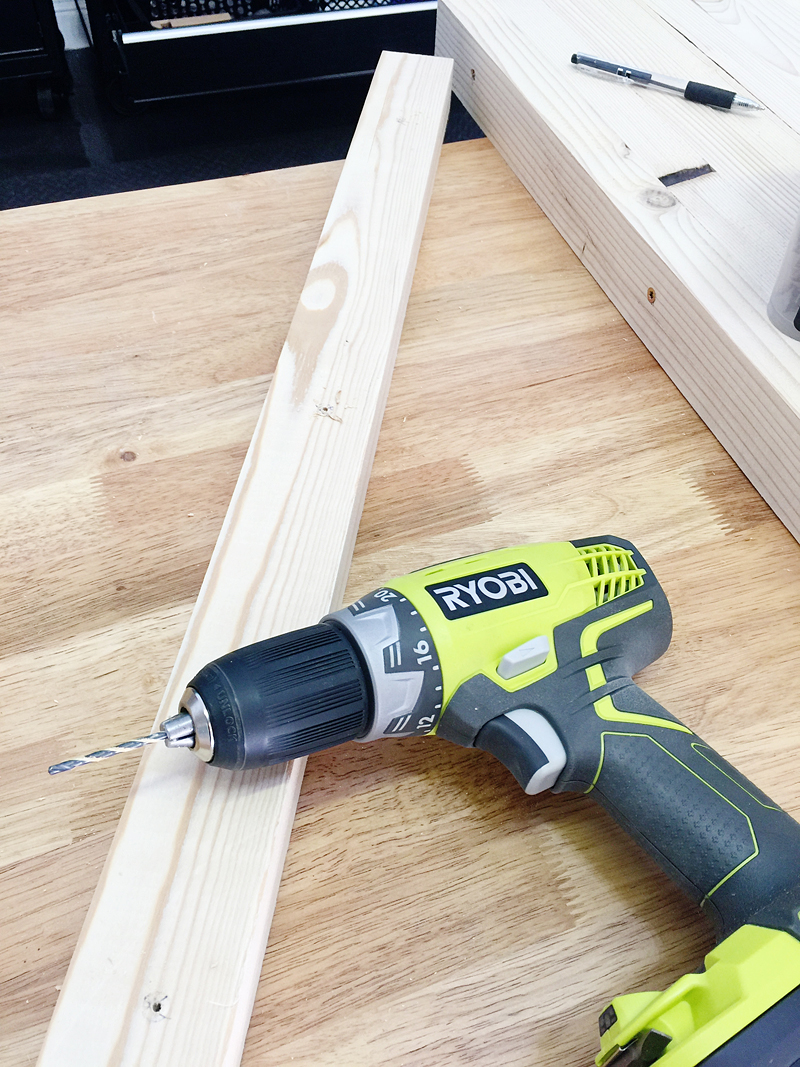
Jeremy then did all the grunt work of ripping each piece down. He had to square cut one side (basically you just take 1/8″ off the side of the board to give the rounded edge a square cut) and then the other side, he cut off a little over 1″….leaving us with a board that was 30″ long, 1.5″ thick and 2″ tall with square edges.

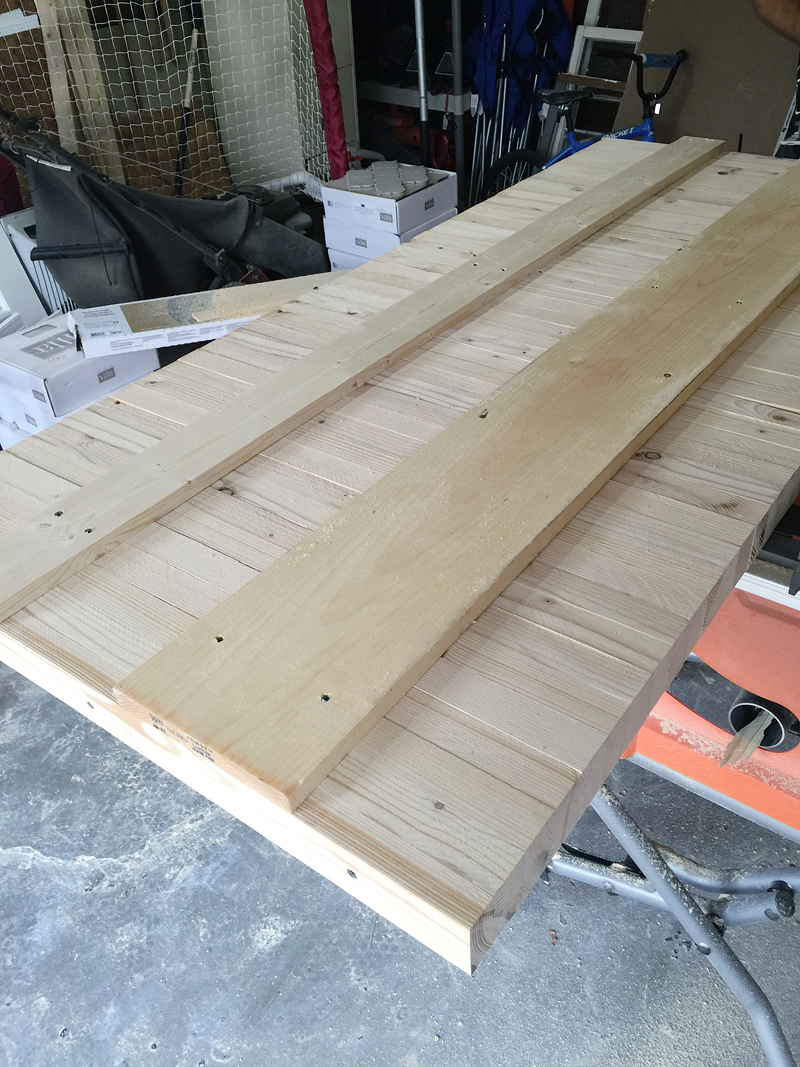
We went back and forth on how to actually make these into a countertop….we could do the whole glue and clamp thing (the traditional way to make butcher block but we don’t have clamps that big) or we could use a biscuit joiner (we don’t have one of those) or we could punch a hole in each board with a drill press (we also don’t have one of those) and run a steel rod through them…..but in the end, we decided to just screw them all together and then reinforce with wood on the bottom that would be hidden. If this was over a cabinet, it wouldn’t need the reinforcement but since it was spanning across a washer and dryer, we wanted it to be strong on it’s own.
Each board was predrilled….
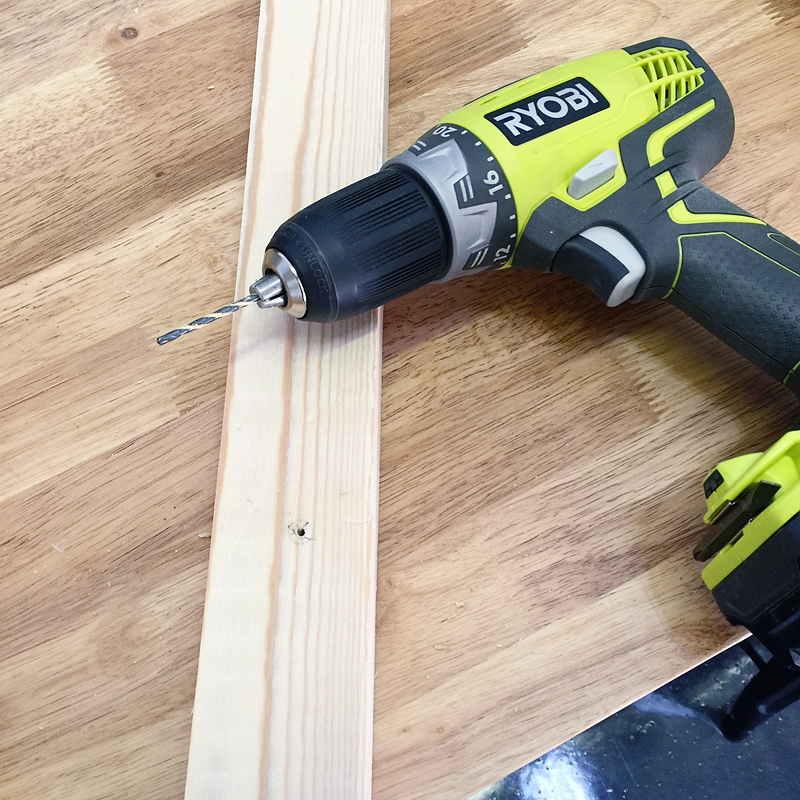
And then we used 3″ construction screws to attach it to the neighbor board.
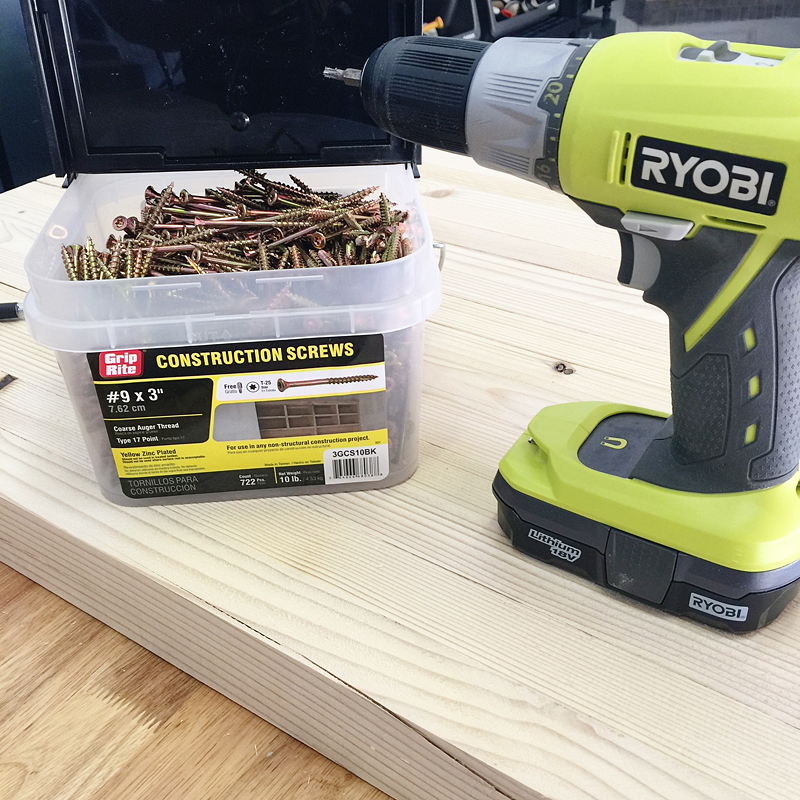
Some I did three screws and some I did two. My brother came over and took over the power tools (like big brothers do!) and that meant I got to sit down and socialize! He did a great job finishing it up and I did a great job sipping my sweet tea 🙂
After they were all attached, we attached the random 1 inch thick boards to the bottom. These would not be seen but add the additional support we needed.
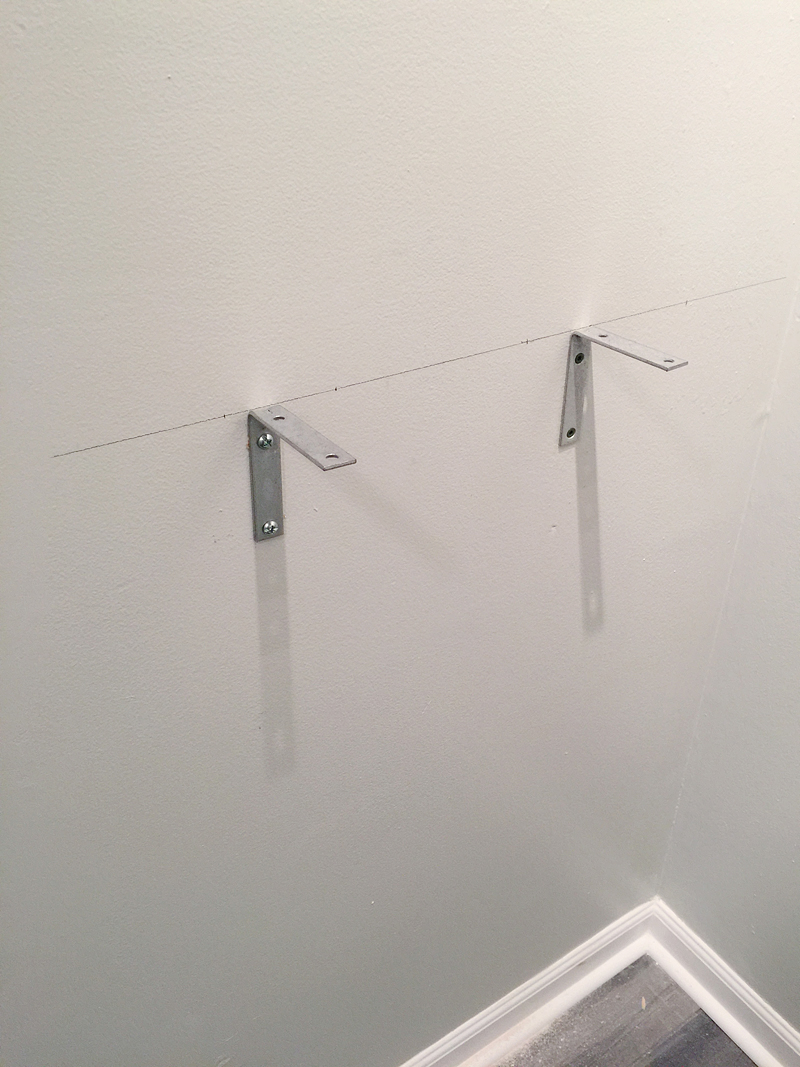
Jeremy installed the wall supports and basically it was a 1×2 that runs across the back wall right above the washer and dryer….this is attached directly to the wall studs….
And those braces also directly into studs on the sides. These would sit right on the support boards that we had perpendicular to the countertop boards.
Dryfit! It works!

I finished this bad boy with a little sanding and some stain. Here is the process to get the exact finish –
- sand with 120 grit till smooth
- sand with 220 grit till smooth
- apply one coat of Varathane American Walnut
- let dry
- sand lightly with 220 grit
- apply one coat of Rust-Oleum Dark Walnut
- sand lightly with 220 grit
- apply two coats of Rust-Oleum Triple Thick poly in semi-gloss
- sand lightly with 440 grit
- apply one coat of Rust-Oleum poly in semi-gloss
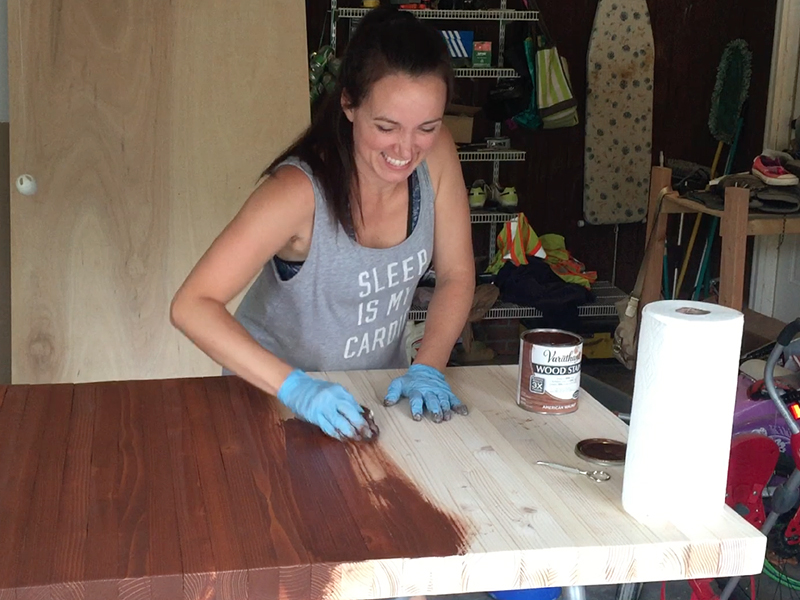
The boys installed it after I did the first stain….

And then I did the rest of the staining and process in place….
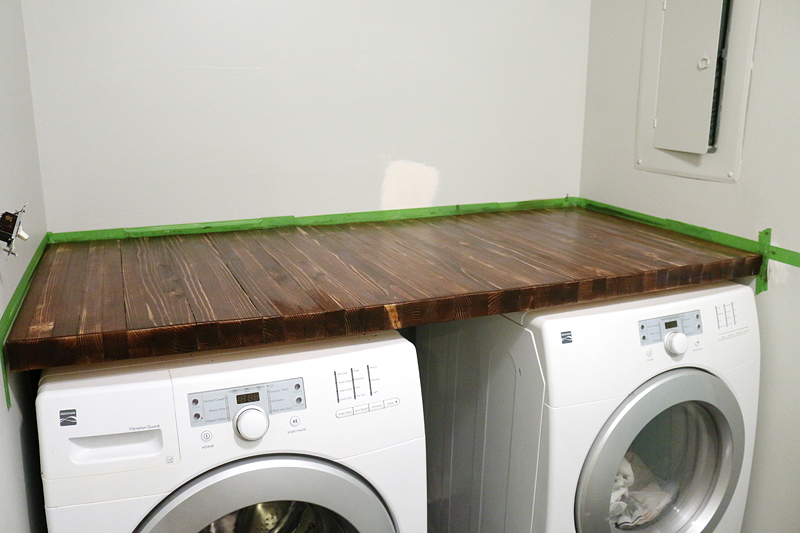
But look how beautiful! Isn’t that wood grain so cool! I love love love how much texture it adds. And the color looks so good as the contrast….and the best part is – NO MORE BLACK HOLE!
I have a little video of the process and when I get around to putting it together, I will let you know! But for now….go get your studs! And then tell your other studs that you are making countertops 🙂


To see more details about this space
Article source: http://www.bowerpowerblog.com/2016/08/diy-cross-cut-countertops/


