Crafts
Fun Stuff
Kitchen
Silhouette
This post may contain affiliate links
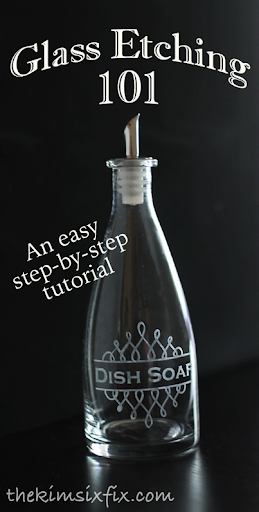
I asked on Facebook what kind of project everyone would like to see. (Therefore if you don’t like this post, and don’t follow me on Facebook you can only blame yourself! *wink* )
The response to my survey was hands down: “Glass Etching” so I quickly whipped up this project to demonstrate how to use the Silhouette for glass etching. (And I included an alternative to cutting a stencil with your Silhouette if you don’t have one yet! Those directions are in RED**)
For my sample project I wanted a prettier way of keeping my dish soap on the counter, the idea of a labeled dish soap bottle came to mind. Obviously, you can etch any glass surface, but a clear glass bottle is a good starter project.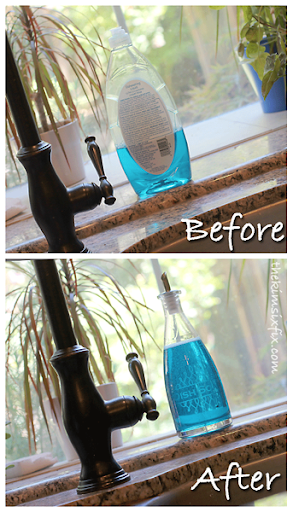
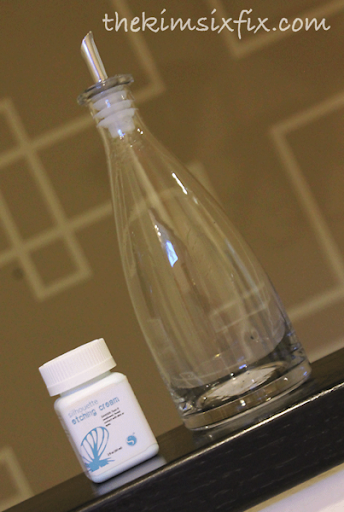
For this sample project I used an olive oil carafe I picked up at Home Goods for $3.99 (these ones on Amazon would work great because the surfaces are flat) and theSilhouette etching kit.
I can’t find the same type I used, but these are a close second:
Other supplies you may need:
Gloves
(I didn’t wear them, but you should if you are nervous)
Cotton swabs
(I thought they worked great and you didn’t risk catching the stencil, but you also could use popsicle sticks)
Newspaper to protect your work surface
(you don’t want to etch your countertops)
Rubbing Alcohol
(to clean your etching surface)
STEP 1: Decide on your Design
The first thing you need to do is decide on how large the design should be. When etching on glass, curved surfaces are difficult because you have to be sure not to get ripples/wrinkles in your stencil. Also, the more complicated the design, the trickier it is. The design I settled on is pretty complex (lots of voids and small cuts.) You may want to start with a simpler design if this is your first experience etching.
This was actually my first experience etching, and you can see I didn’t do anything as complex. Block lettering is very straight forward:
STEP 2: CUT YOUR STENCIL
To cut this design, this is what my Silhouette Studio screen looked like. The final image size was about 3 x 3.5 inches: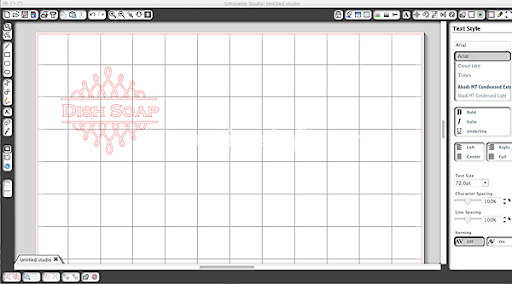
Next I loaded the stencil vinyl (from the kit) into my machine and cut out the pattern using the vinyl setting. (In the etching kit the vinyl is the clear shiny stuff on WHITE paper, you don’t want to get it confused with the transfer tape.)
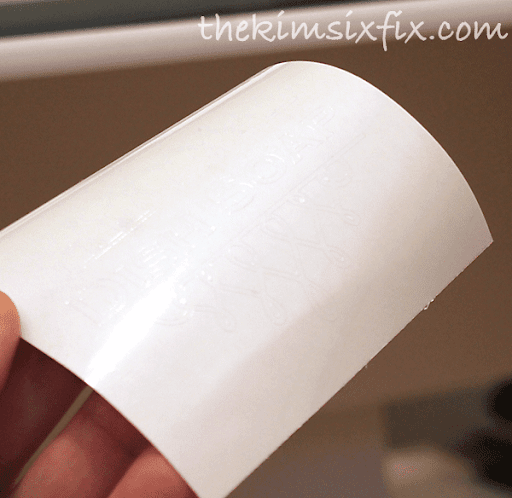
The stencil vinyl isn’t the same stuff as the decorative Silhouette vinyl. It is clear and VERY sticky. I have tried to etch with regular vinyl (Oracal and Silhouette brand) and it does work, but you have to make sure to stick it down a LOT harder and you need to be really careful not to use too much etching cream. I definitely think it is worth investing in stencil vinyl. The only drawback is that because it is clear It is really hard to see the cut lines:
For this design I wanted to etch the words themselves, so I weeded out the positive space and ended up with this:
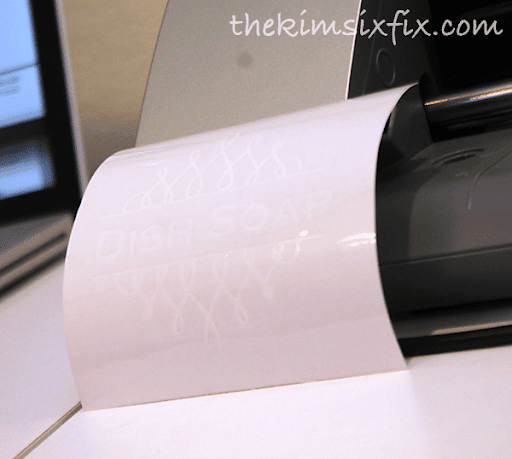
**If you don’t have a silhouette, you could instead cut the vinyl with an exacto knife *OR* use letter stickers and painters tape. You will get a reverse image like this since you are etching the negative space:
STEP 3: TRANSFER YOUR STENCIL
To apply your vinyl you need to first get it onto the transfer tape so that it doesn’t warp or fold. Cut a piece of transfer tape slightly larger than your design (the transfer tape is the slightly “bumpy” non-transparent stuff) and remove it from the brown paper backing:
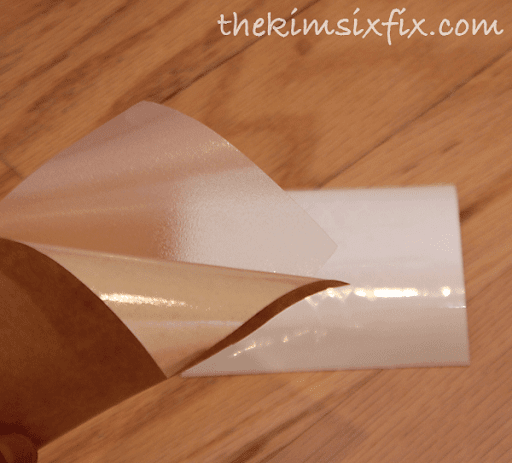
Place it directly on top of you vinyl stencil like so:
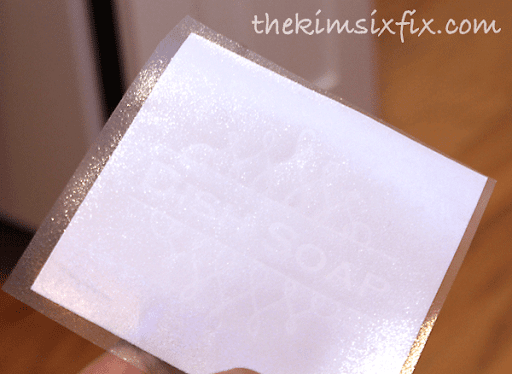
Then remove the white paper backing from the stencil vinyl (so you are left with the sticky part of the stencil vinyl exposed:
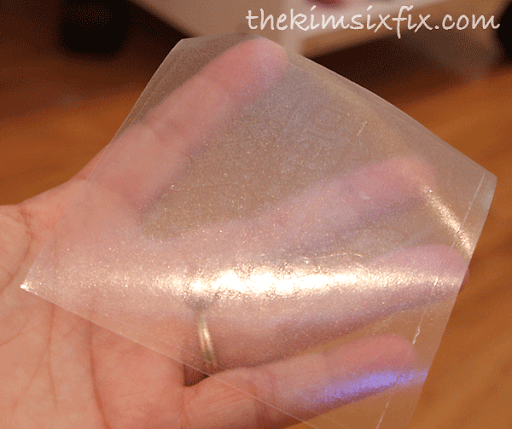
Apply that to the surface you want to etch trying REALLY HARD to not get any wrinkles or bubbles:
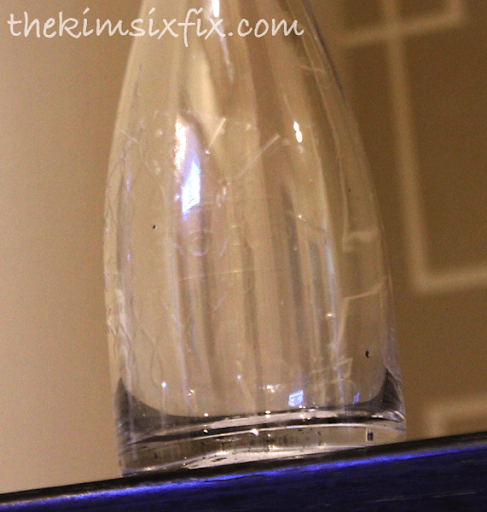
It was really hard to NOT get wrinkles on this curved surface, but I made sure that there were none that came all the way to the open areas of the stencil. Even the teeniest wrinkle will cause the etching cream to bleed under the stencil and leave a stray mark. Make sure you press down firmly around the edges of the stencil.. sealing it up tight is the key here!
STEP 4: APPLY YOUR ETCHING CREAM
I am using the Silhouette brand etching cream. I have had great success with it. I know the other popular brand of etching cream is Armour Etch (especially if you don’t need to buy the vinyl and transfer tape). You may have to experiment with the timing if you use another product since this tutorial is based on the Silhouette brand cream.
I used a cotton swab to apply the cream making sure to not get anywhere close to the edge of stencil. You want to make sure that you smear the cream around a few times and not just let it sit or else you can get bubbles and inconsistent results. You can see I don’t put it on very thick. I know other people really layer it on and then scrape it off in order to save it an use it again. I don’t see the need to do that: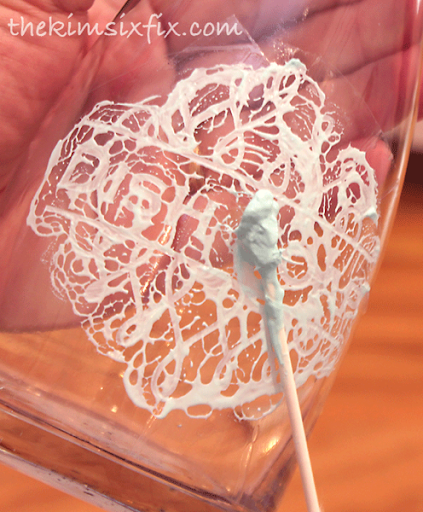
I let the cream sit on for about 4 or 5 minutes, you can leave it longer but I didn’t want the etching to get too deep: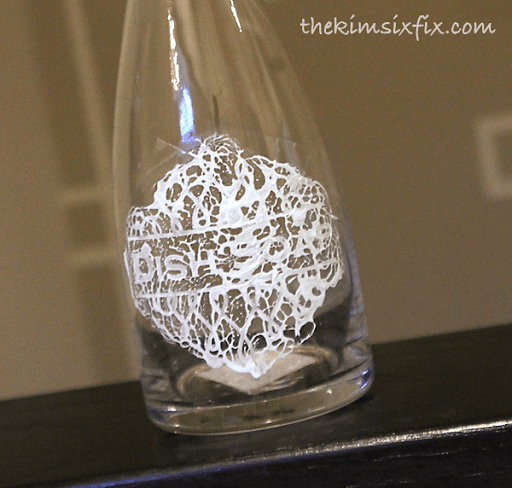
STEP 5: RINSE OFF ETCHING CREAM
To stop the etching reaction, run water over your etching cream (you want to get it off quickly.) Don’t try wiping it off, since that is bound to end in disaster. Make sure you have ALL the cream completely rinsed before attempting to remove the stencil.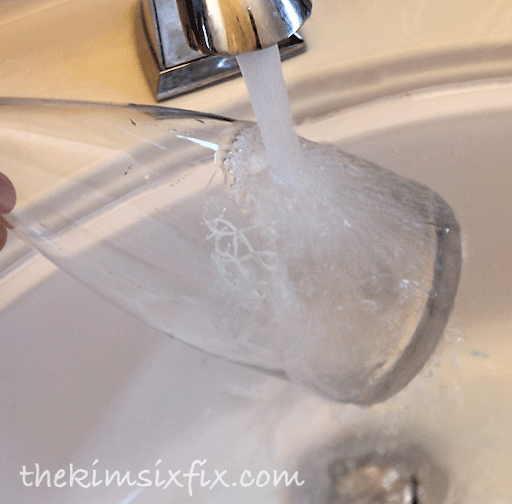
STEP 6: REMOVE STENCIL
Once you are sure you have all the cream off, you can peel off the stencil and get your first look at the final result.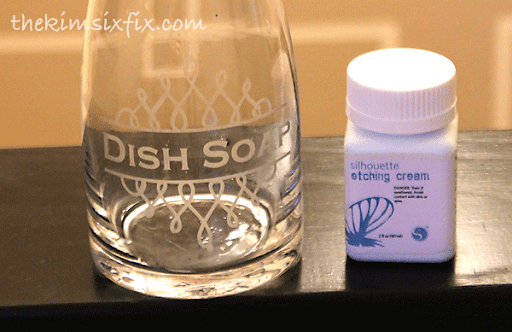
Wasn’t that easy?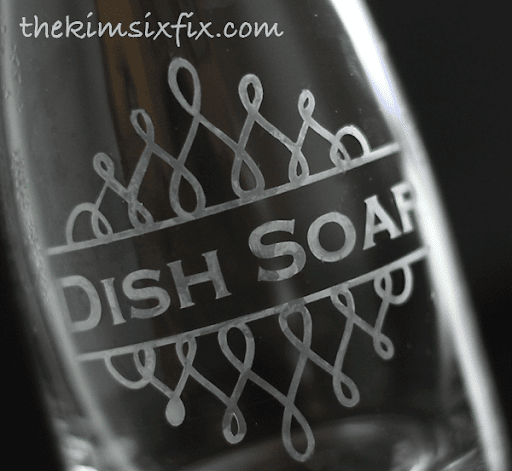
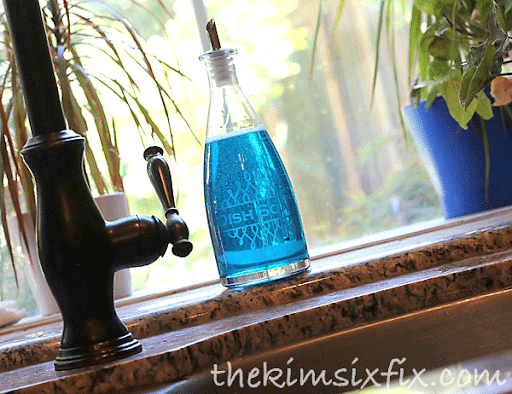
This would be a darling housewarming or bridal shower present (maybe even personalized with a monogram or initials):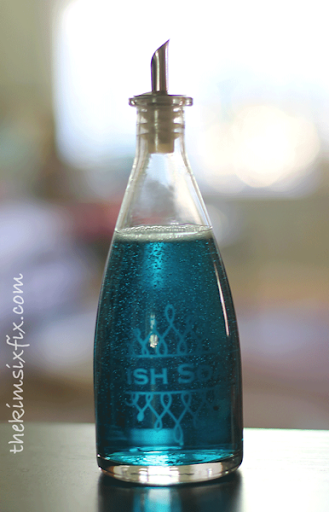 It definitely looks cuter than the bottle of dish soap on the counter:
So are you ready to try Etching!? It really is fun and easy!
SIMILAR ARTICLES
Article source: http://www.thekimsixfix.com/2014/08/how-to-etch-glass.html#_a5y_p=2327680


