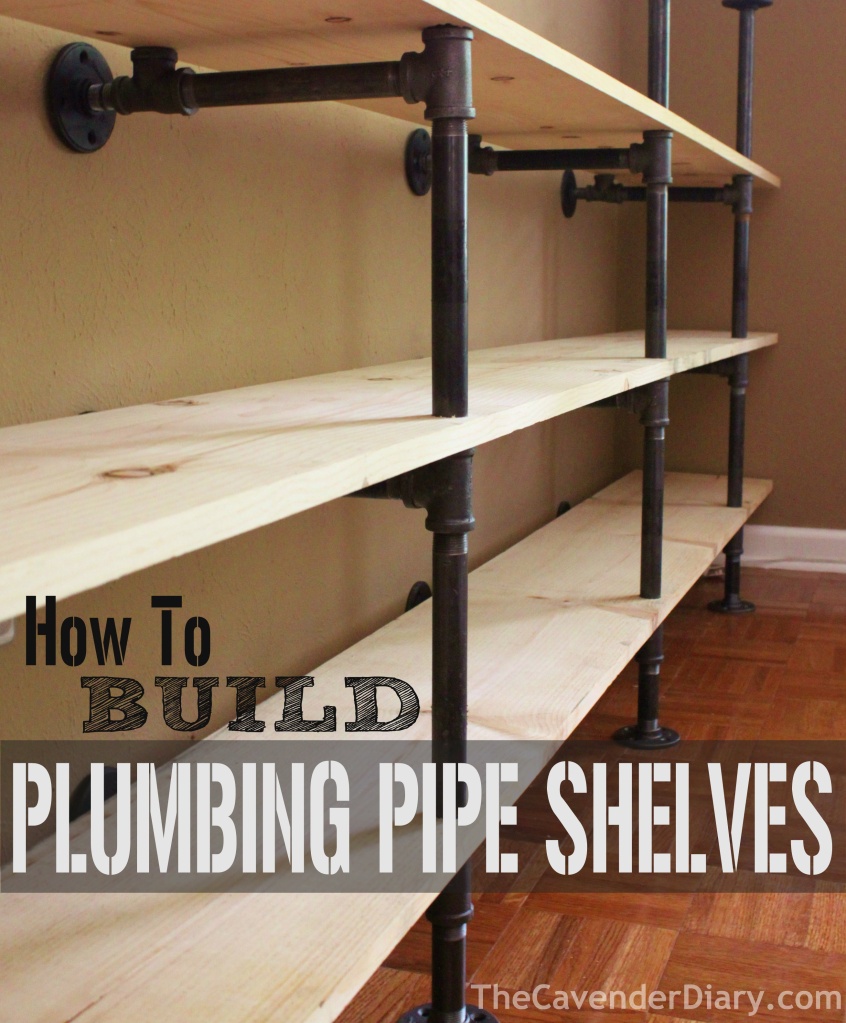
Feast your eyes on these Plumbing Pipe Shelves that may inspire you to do yourself!
The only wall in our living room has been begging for some shelves. Check out some of our inspiration below.
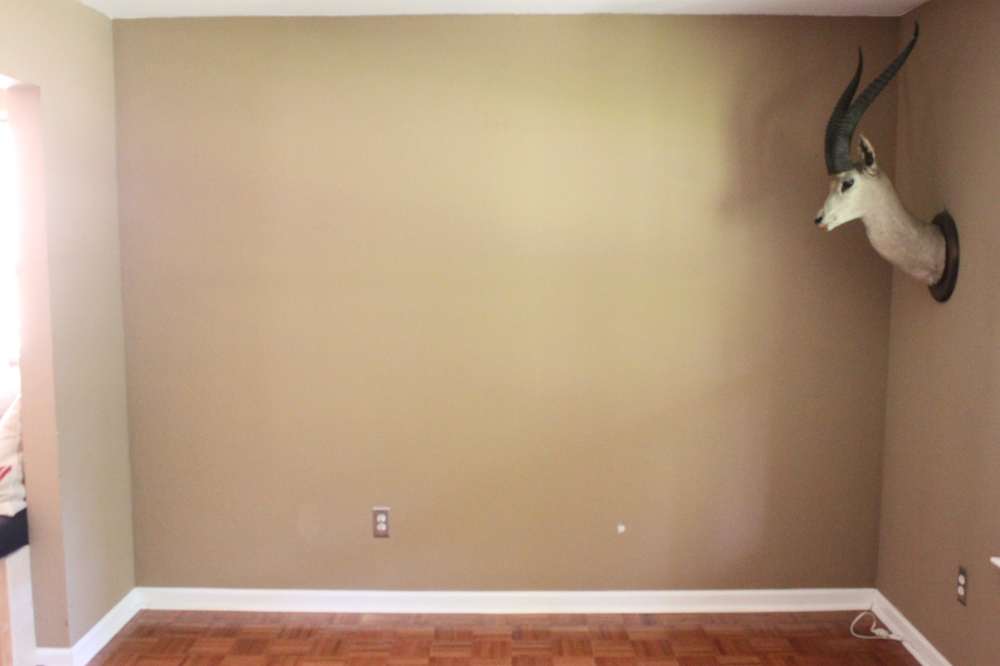
There were some modernish chrome/black glass ones there for a few years. Thought we could live with them, they were so cheap, but I just couldn’t any longer. Black Glass????
We’ve been using plumbing pipe for projects all over the house; like the Rolling Log Holder , our Vintage-Looking Dog Bed , and in the Garage for storage. We’re going to use even more in the closets and maybe even as a shower curtain rod. Stay Tuned
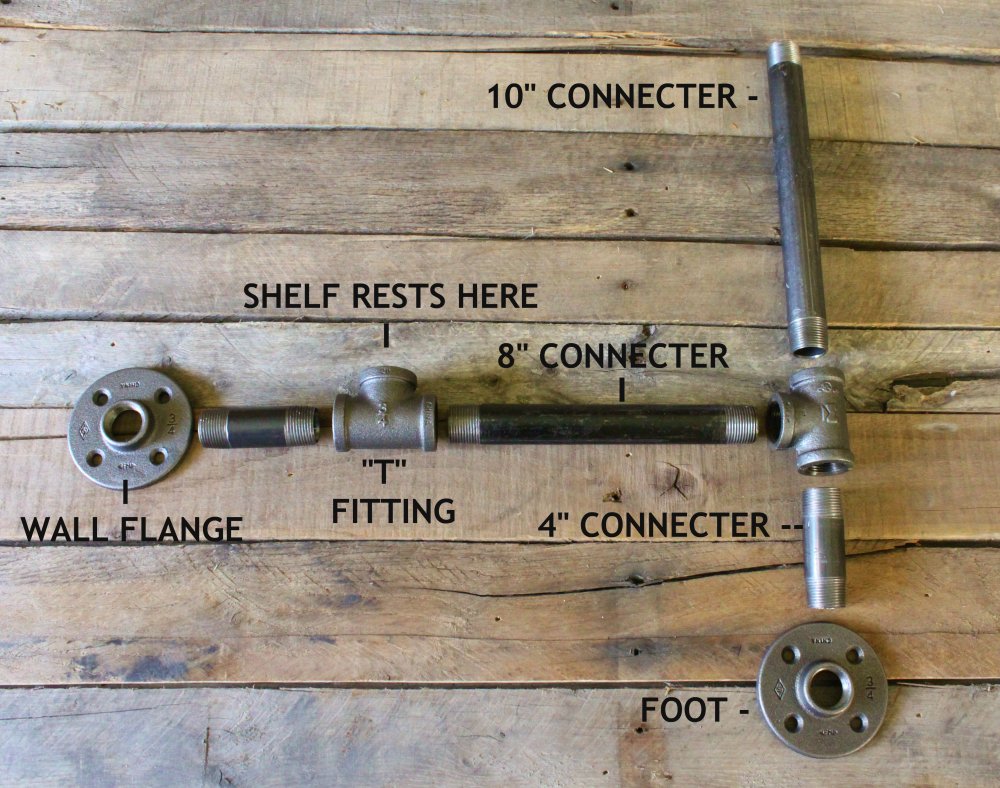
After much rooting around the Home Depot plumbing isle, here’s what we came up with to hold our 10 foot wooden shelves together.
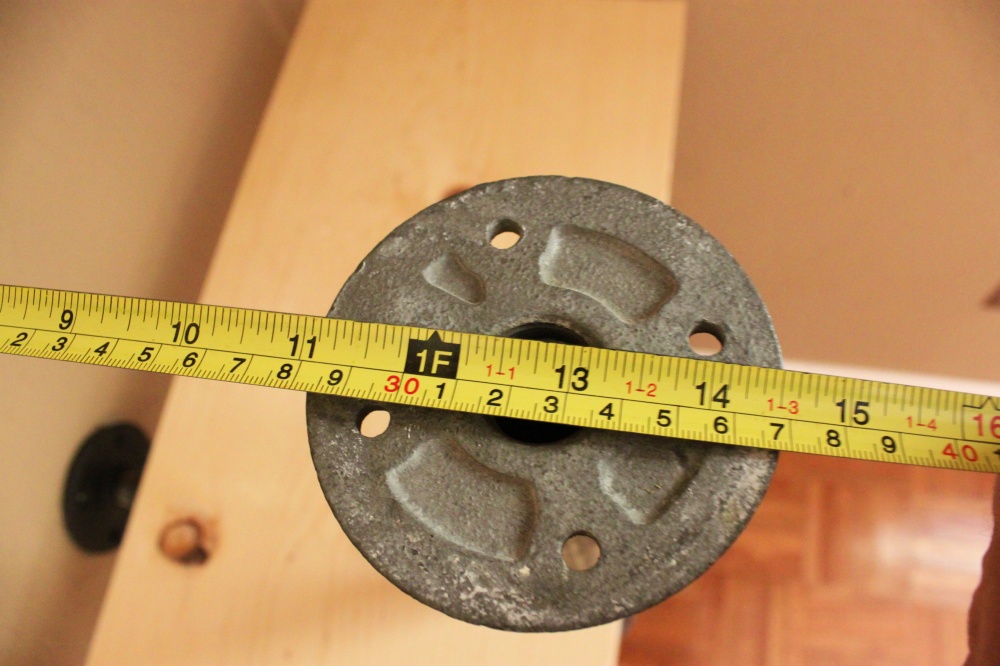
Here’s a footing, completely screwed together….
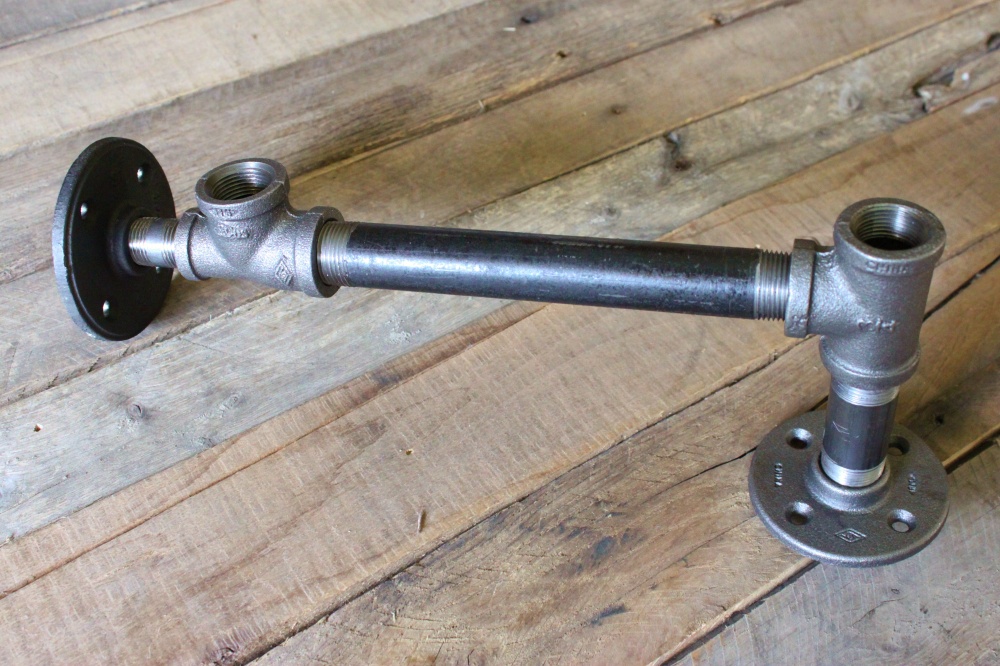
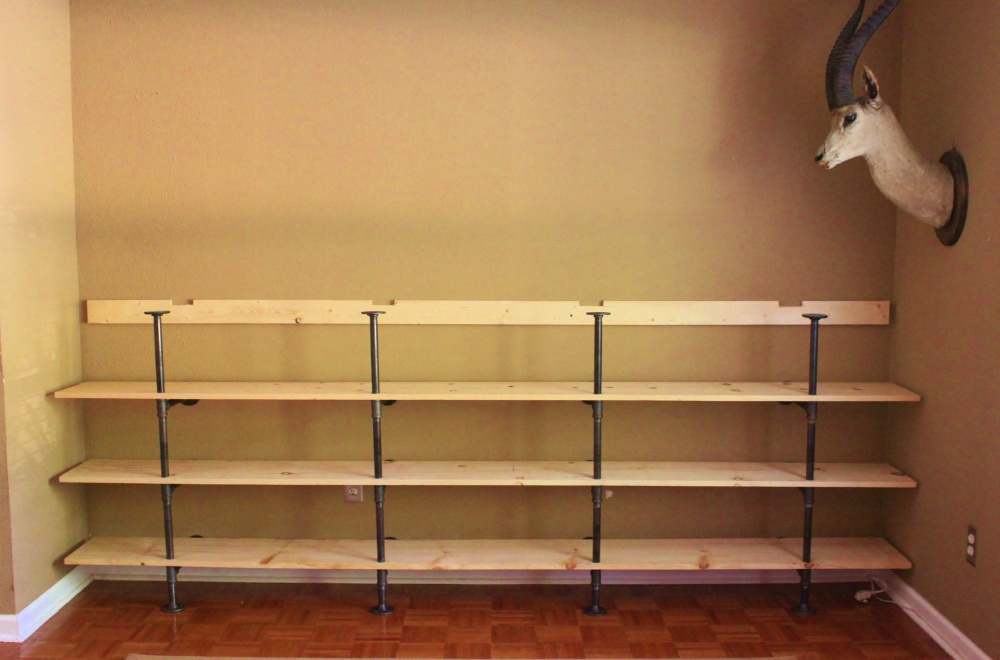
I spaced 4 of these babies across the wall and attaches the back flange to the wall with drywall screws.
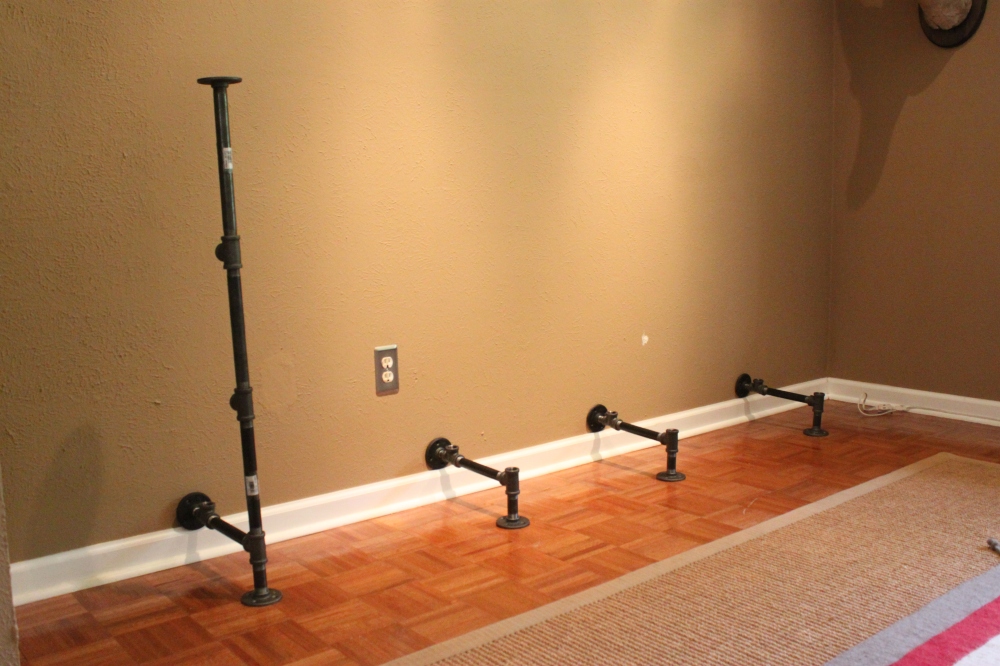
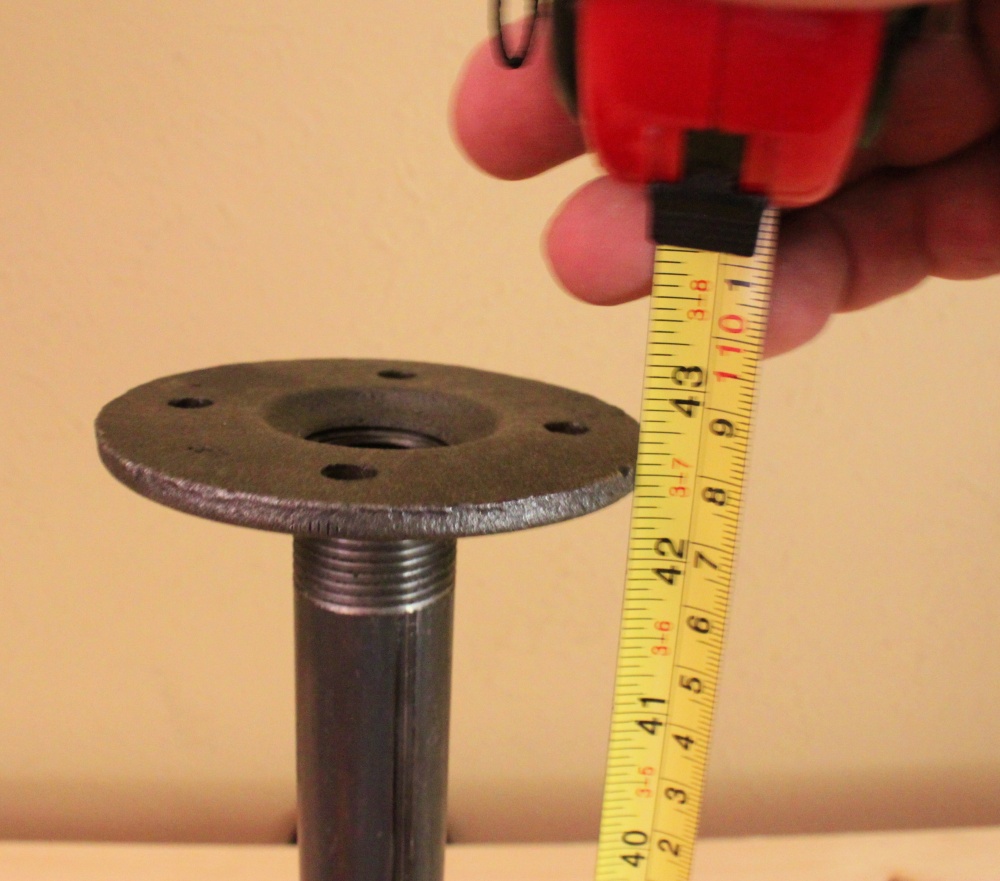
Ignore the tall pipe on the left. I was just getting a feel for how tall I wanted it. 4 shelves including the top…..43 1/2 inches from the floor.
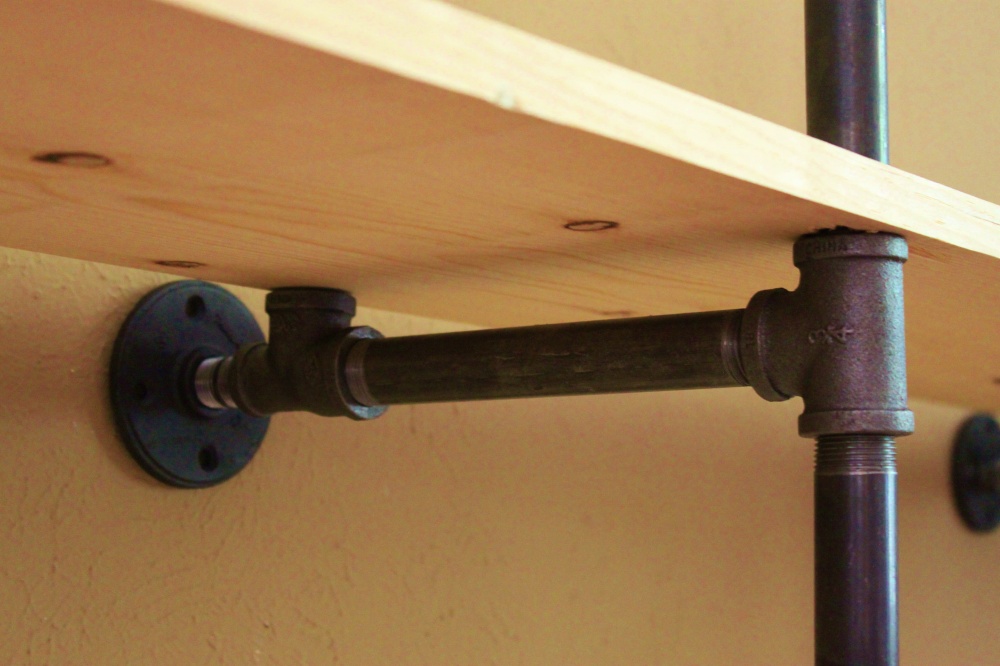
The wood shelves, almost the entire length of the wall, slide down on each pipe and rest on the T joint.
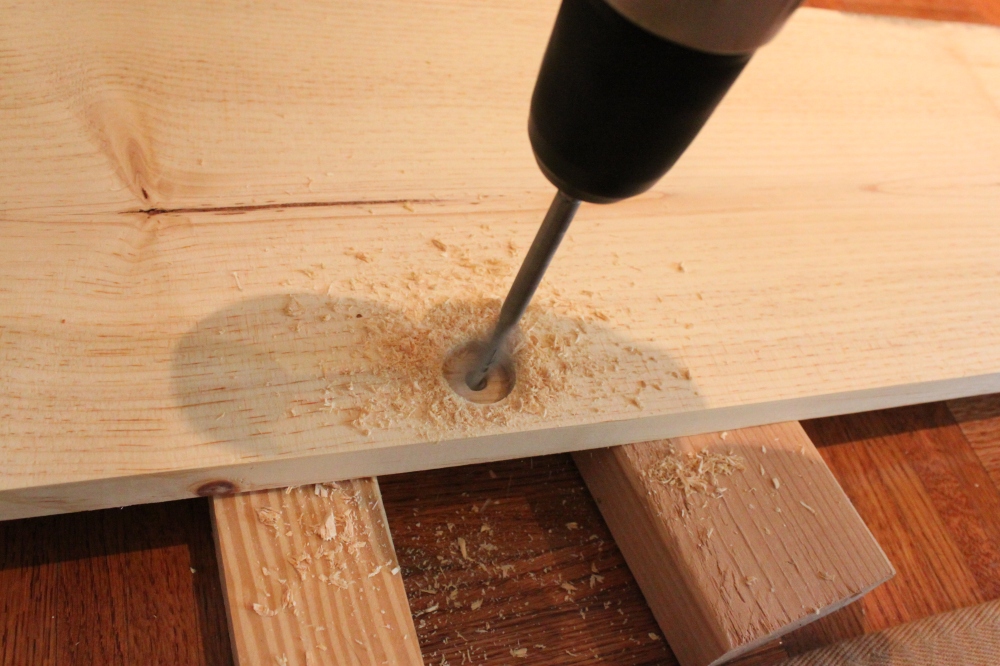
I use a 1 inch paddle bit to make 1 inch holes in my shelf boards for the 3/4 inch pipe. My pipes are set 30 inches apart, and 15 inches from each side of the end of the shelves.
The boards rest perfectly on the T’ connectors. 1 in the front and the second in the back
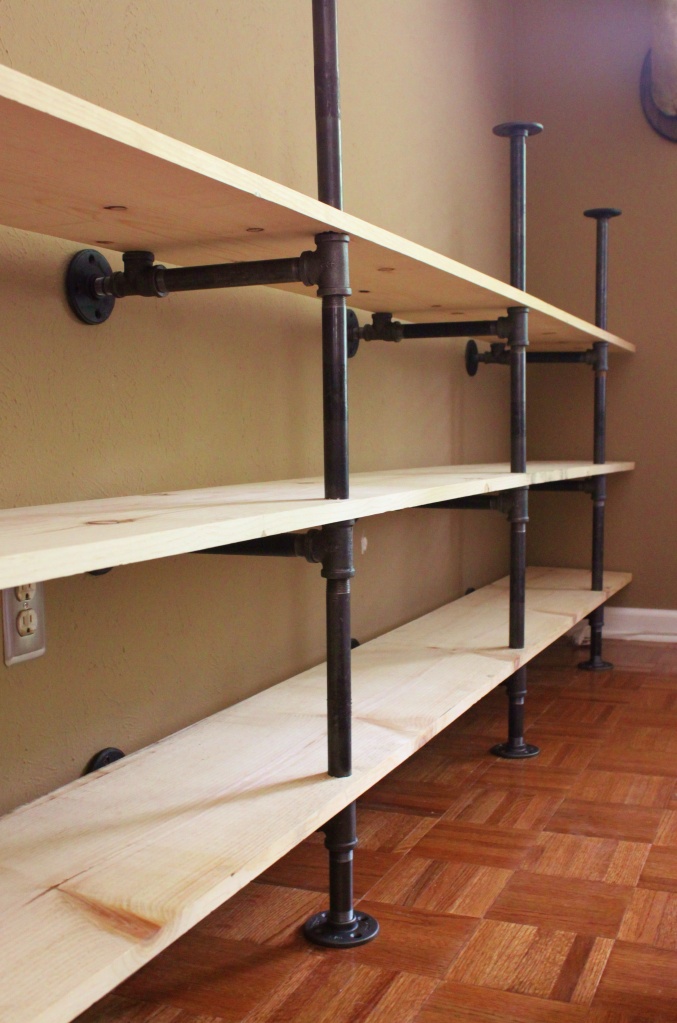
Lots and lots of measuring, but connecting the pipes and sliding on the wood shelves was a pretty easy process.
One shelf at a time, and attaching each back flange to the wall with drywall screws.
Looking good so far.
The final posts are topped with flanges just like the feet.
I carefully measured so that each one is exactly 42 1/2 inches from the floor. They easily twist to adjust the height.
…and 14 1/2 inches from the back wall.
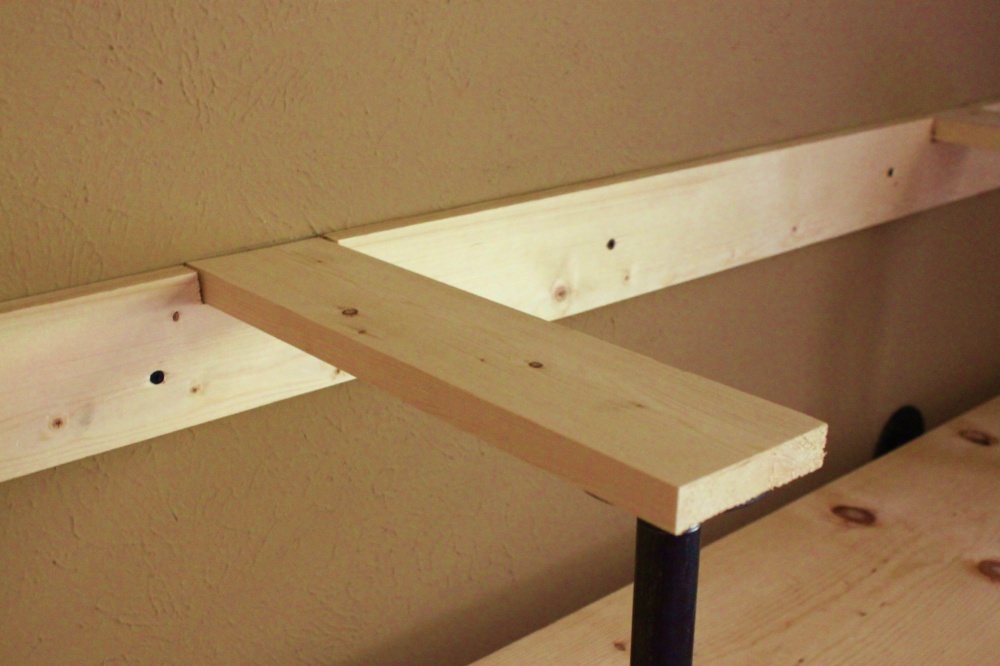
I leveled a 10 foot cleat, made from a 1X4, across the back wall……again, I attached it with drywall screws.
……with 1X4 inch notches cut out and lined up perfectly with my flanges.(See where this is headed yet?)
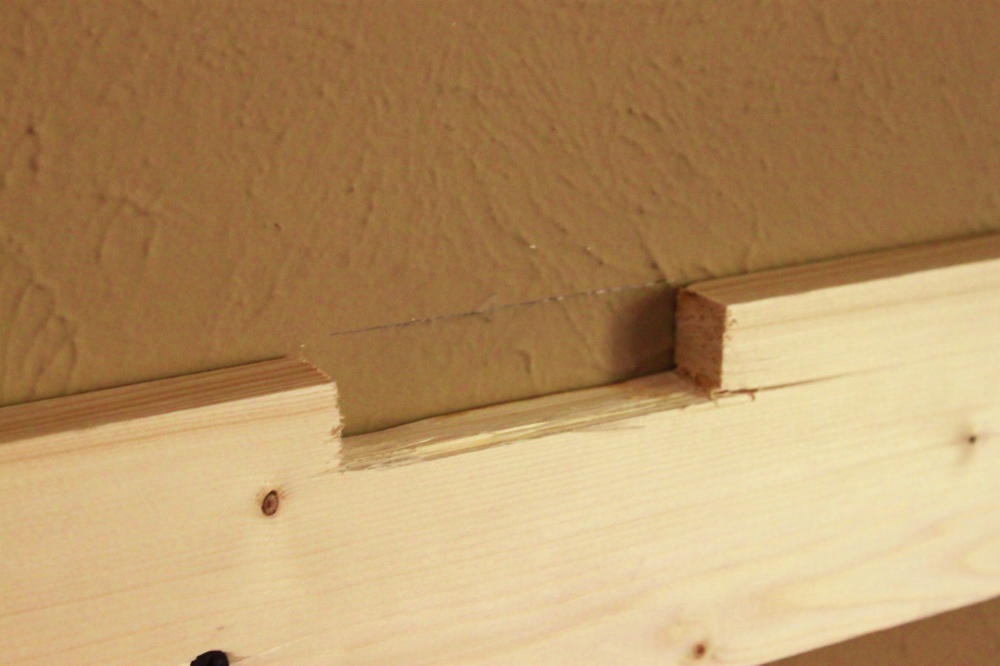
14 1/2 inch supports, cut from a pine 1X4, fit in these notches and rest on the flanges in front.
Like so…..
And the top boards sit on the supports.
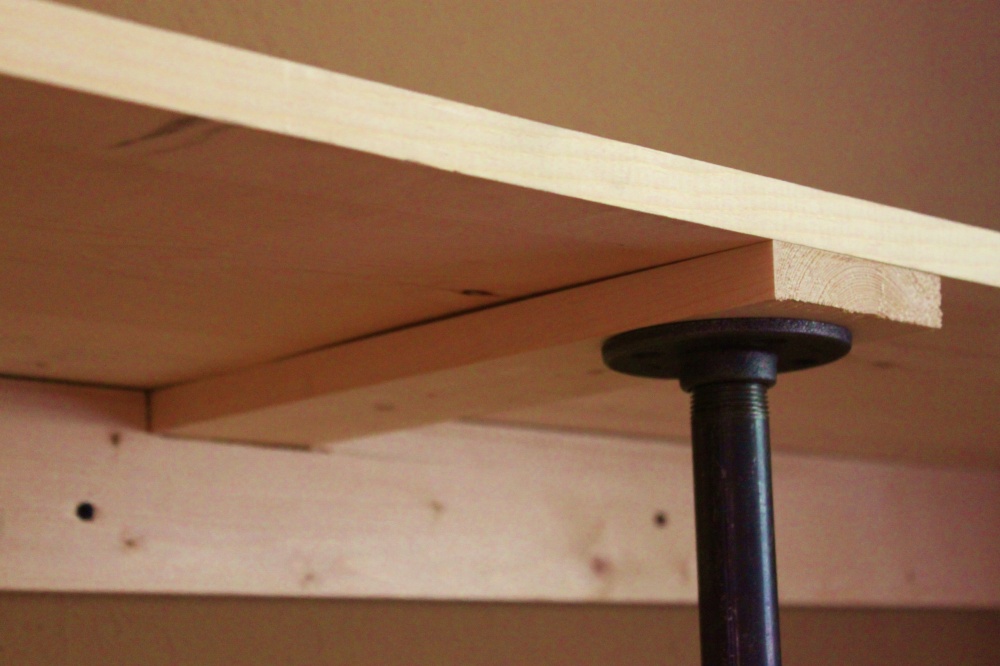
A 1X2 trim piece hides all the ugly and makes my cap shelf look more substantial.

I didn’t want to stain my shelves, so I aged them a little with a mixture of steel wool and vinegar….(More on that to come later)
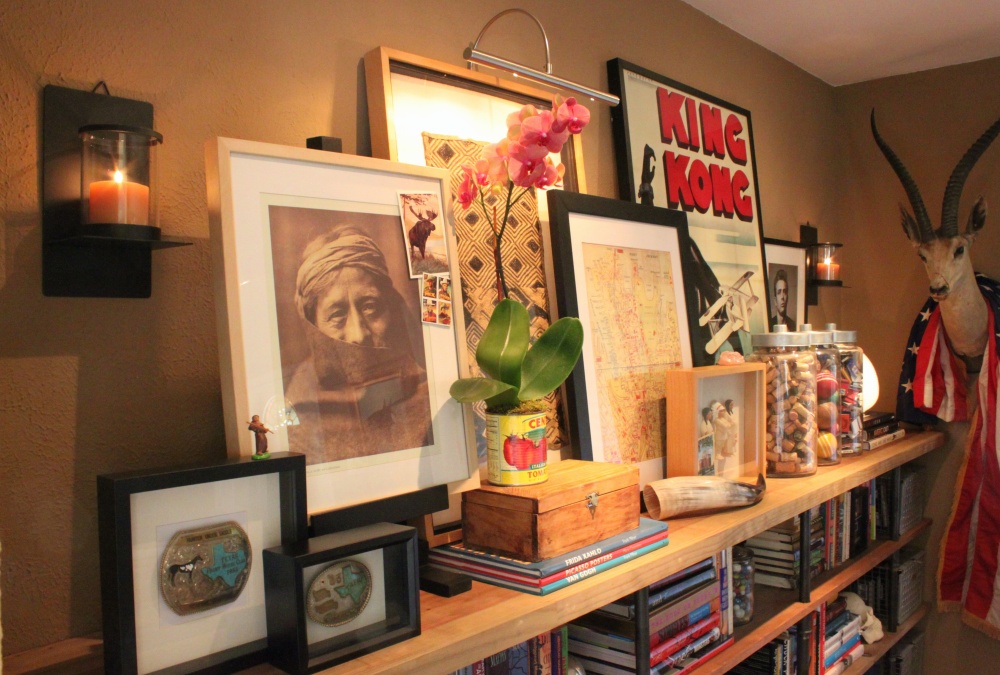
…..and then filled them with crap. Like so…..
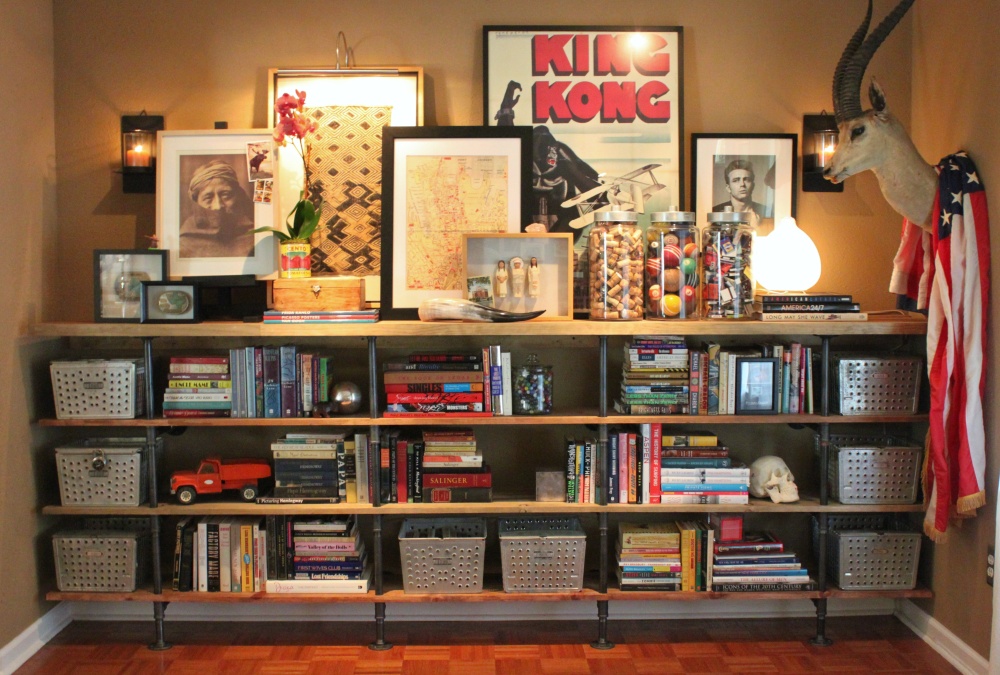
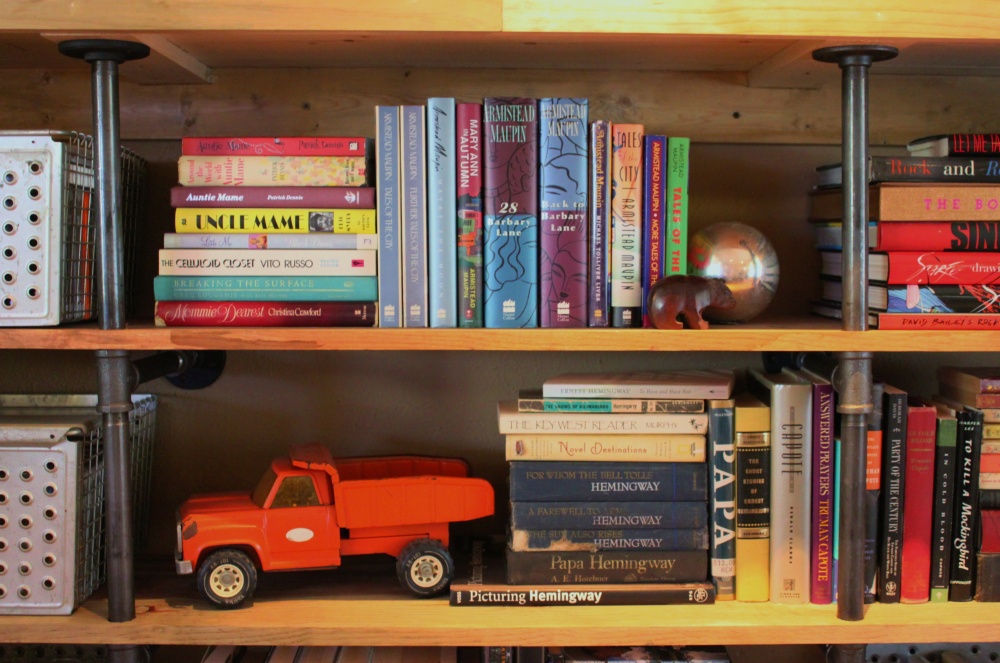
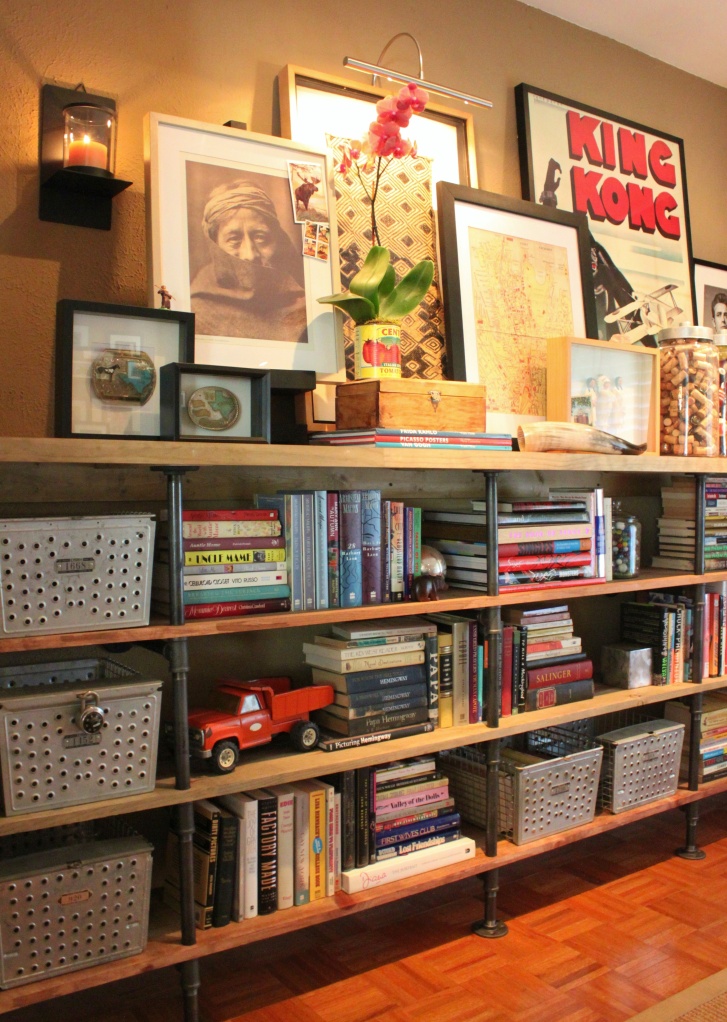
Good place to fit the overflow of books from the den.
Article source: http://thecavenderdiary.com/2014/10/17/how-to-build-plumbing-pipe-shelves/


