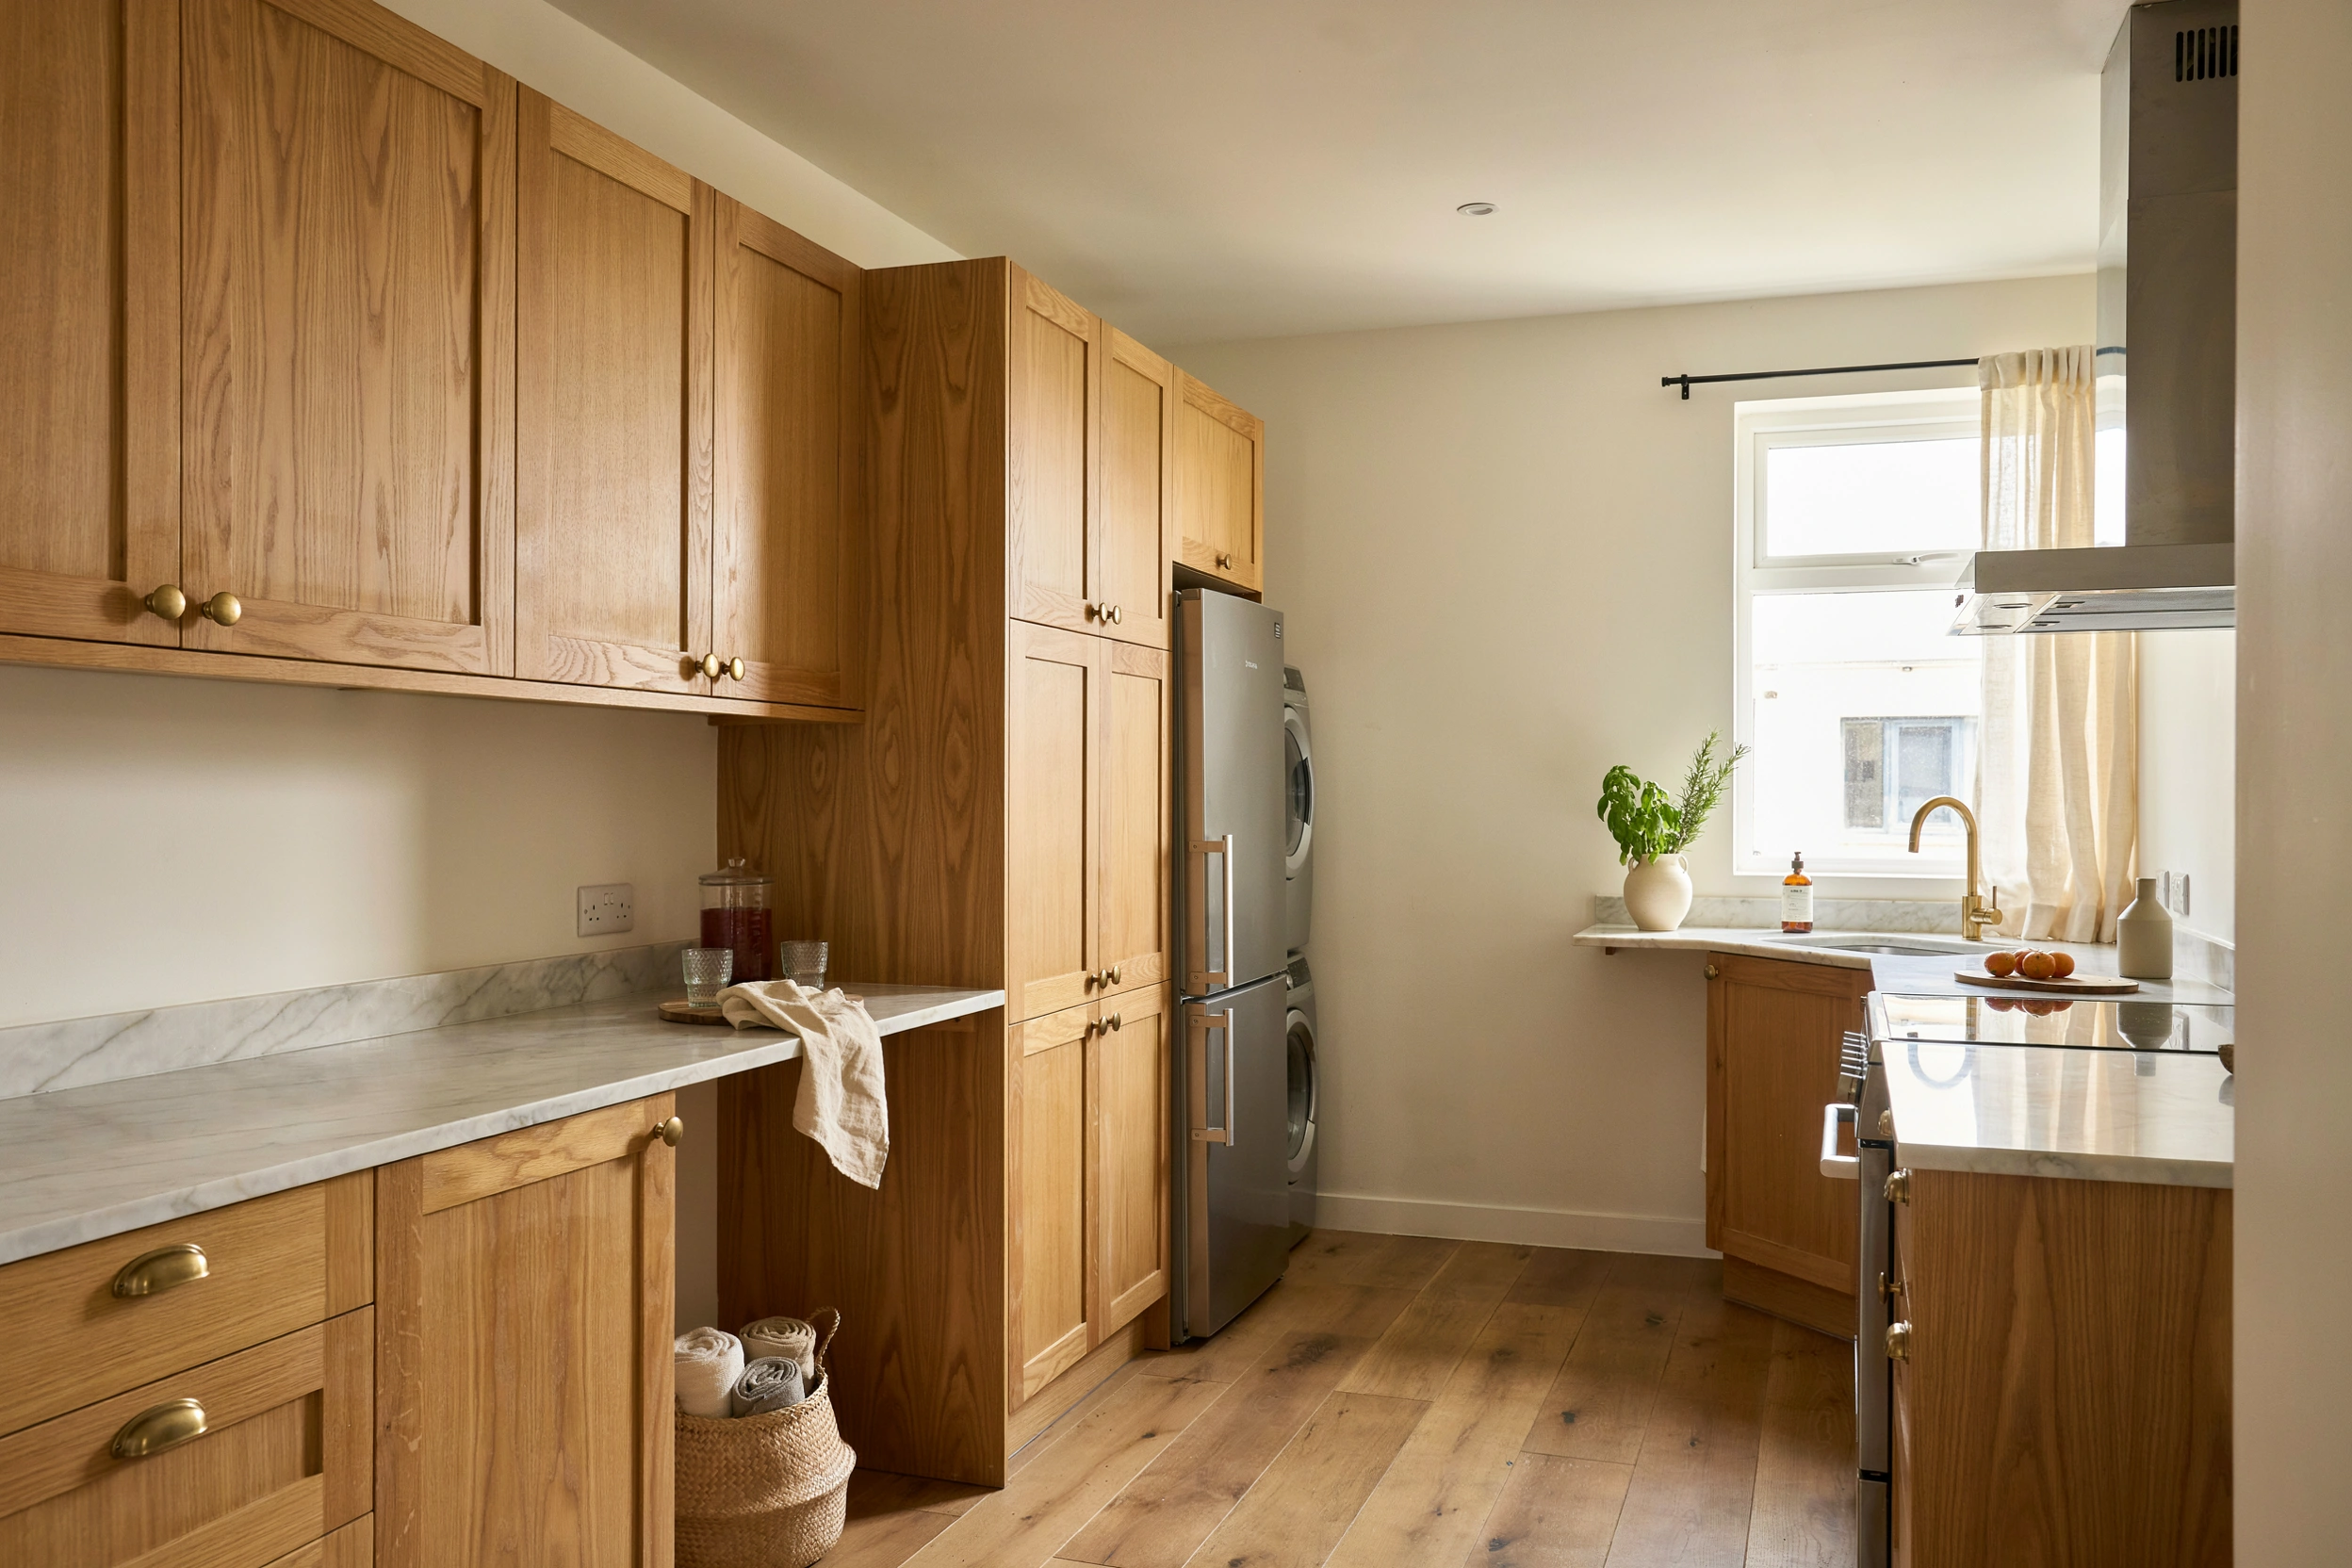
17 Kitchen Laundry Combo Ideas That Actually Look Good
Sharing your kitchen with a washer and dryer is one of the trickiest layout problems in a home. This setup is common in older houses, small apartments, and homes built before dedicated laundry rooms were the norm. The washer often ends up next to the fridge or under a counter, which looks chaotic if you do not plan it right.
Good news is a kitchen laundry combo can actually look beautiful and work smoothly. The trick is treating the machines like part of the cabinet design instead of ugly appliances just plopped in. When they disappear into the cabinet flow, the whole kitchen still feels calm and pretty. These 17 kitchen laundry combo ideas focus on real ways to blend both zones without either one feeling squeezed.
1. Under Counter Front Loader
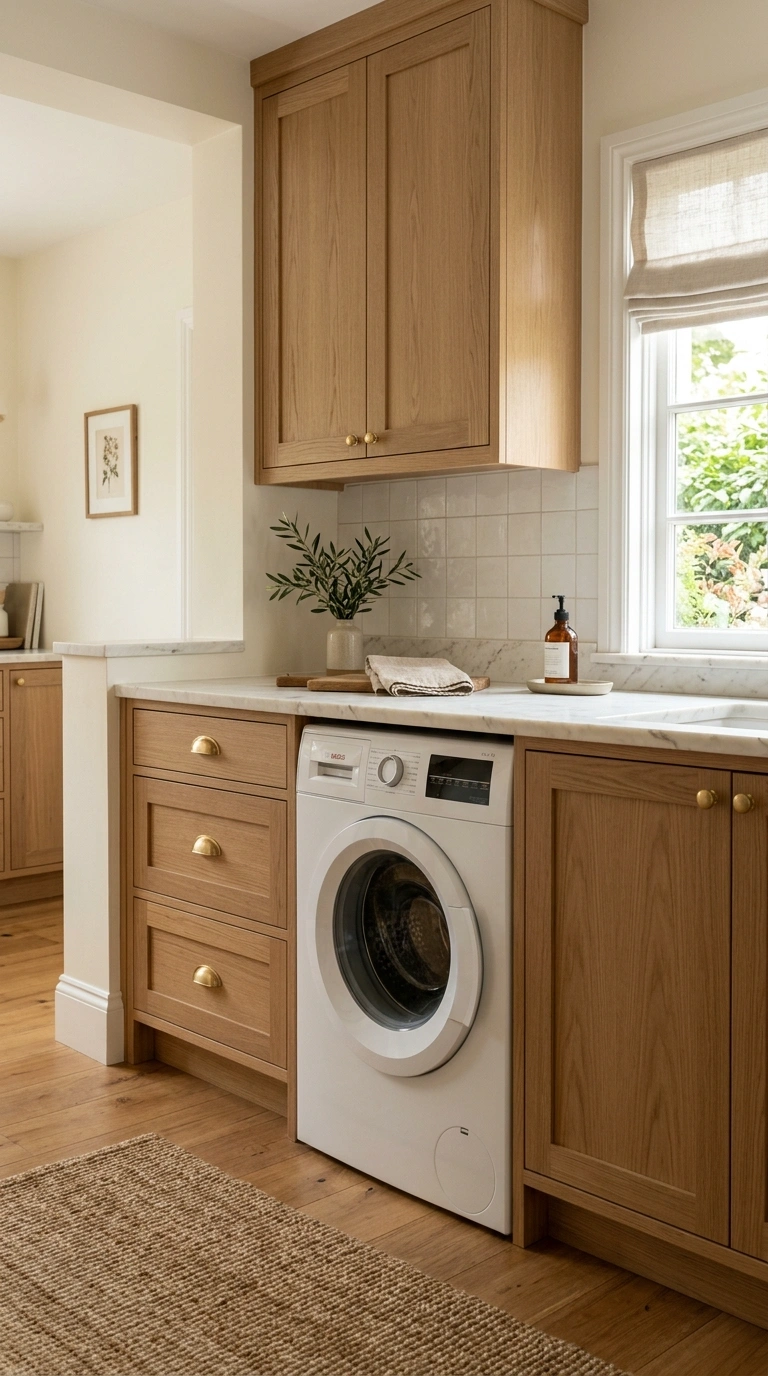
The cleanest kitchen laundry combo tucks a front loading washer under your kitchen counter, right in line with your other cabinets. This makes the machine feel like a built in appliance instead of a random add on.
Most front loading washers measure about thirty three to thirty six inches tall, which matches standard kitchen counter height. Bosch, Miele, and LG all make washers designed to fit under counters. Around eight hundred to fifteen hundred dollars for a good compact model.
Remove the washer’s top panel before installing to shave a few extra inches off the height if needed. Slide it into a cabinet opening that is at least twenty five inches wide.
Avoid installing a top loading washer under a counter since the lid needs to open upward. Also avoid pairing an under counter washer with a stacked dryer, since the vibration from spinning transfers up to the dryer above. Instead put the dryer beside the washer or in a separate cabinet across the kitchen. This keeps both machines running smoothly for years longer.
2. Matching Cabinet Front Panel
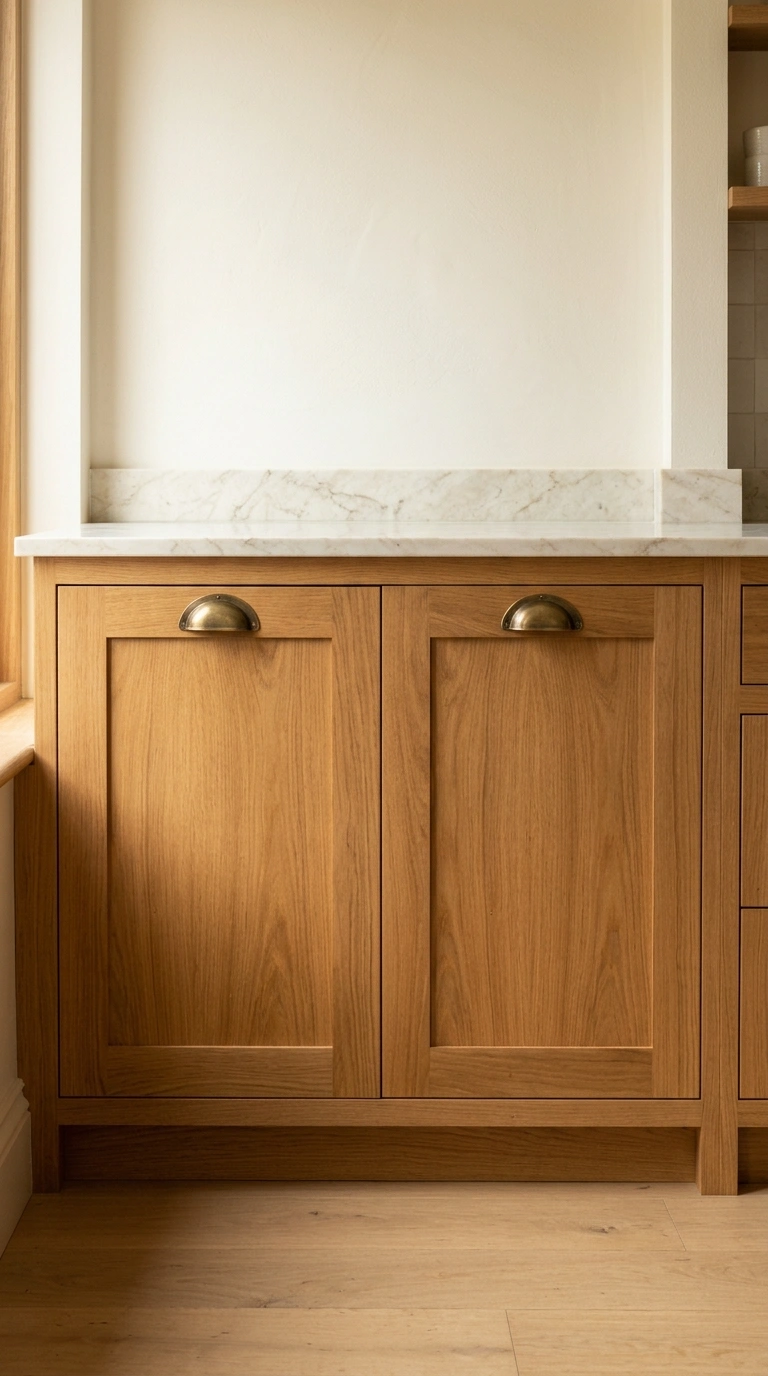
Adding a matching cabinet panel to the front of your washer and dryer makes them completely disappear into your kitchen cabinet design. From across the room, no one can tell there is laundry equipment there.
Most European style washers and dryers accept custom cabinet fronts. Bosch, Fisher and Paykel, and Miele all make these panel ready models. Around fifty to one hundred and fifty dollars extra for a machine that accepts a custom front.
Order the cabinet panel from the same maker as your other kitchen cabinets so the finish, color, and grain all match. Attach the panel using the mounting hardware that comes with the machine.
Avoid trying to attach a custom panel to a machine that was not designed to accept one. The weight of the panel plus the spin cycle vibration will break standard machine handles. Also avoid painting a plain washer to match cabinets, since kitchen chemicals and moisture destroy paint quickly on appliances. Panel ready machines are worth the small upcharge for the seamless look. Total install with matching panel runs around twelve hundred to two thousand dollars.
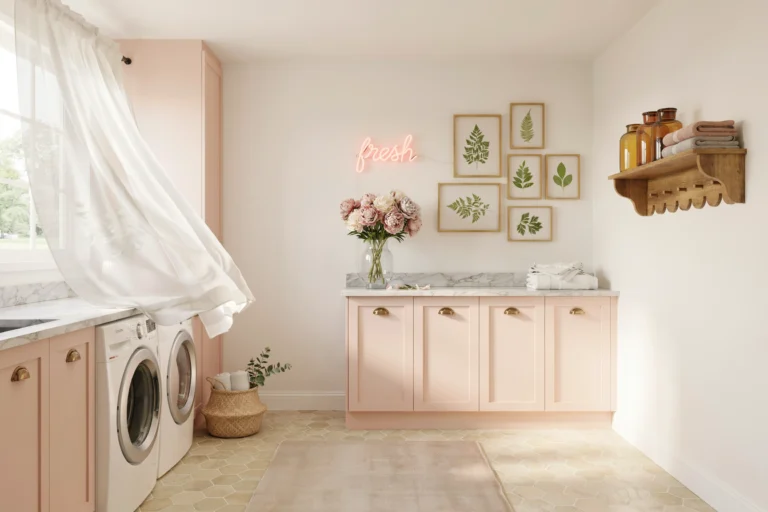
3. Utility Room Off Kitchen
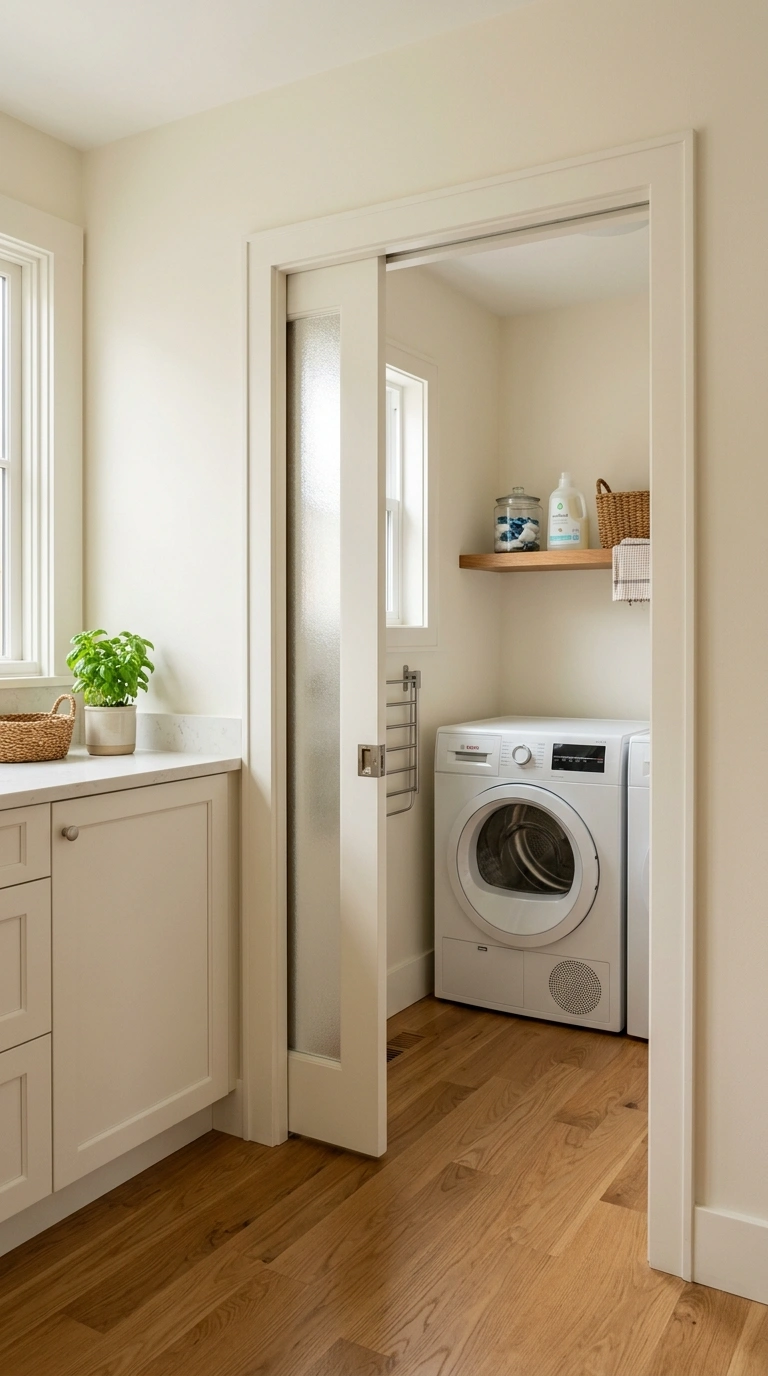
The best kitchen laundry combos actually keep the machines in a small utility room right off the kitchen instead of inside the kitchen itself. This gives you the convenience of nearby laundry without the visual chaos.
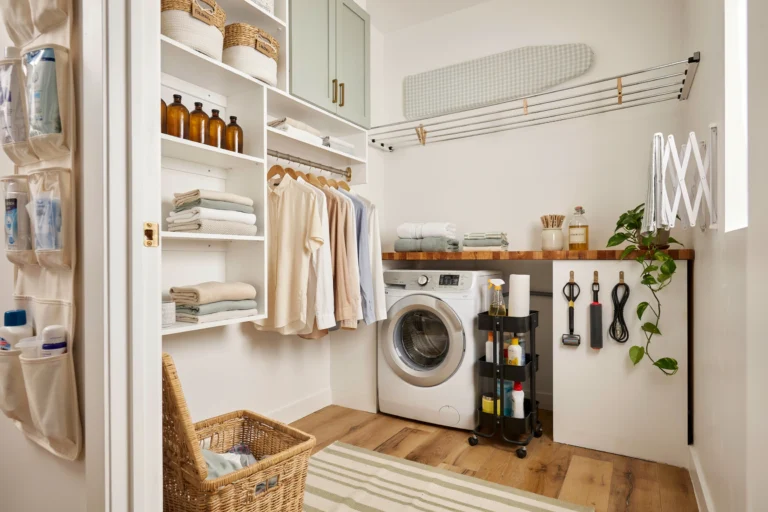
A small utility closet of about three by five feet fits a stacked washer and dryer plus a small shelf. Add a pocket door or bifold door leading from the kitchen. Around eight hundred to two thousand dollars for a proper utility room build out with drywall, door, and finishes.
When the door is closed, the kitchen looks completely normal. When you need to do laundry, walk in and everything you need is right there.
Avoid separating a utility room from the kitchen with a solid door if you want to hear the machines finish. A frosted glass door lets you hear the buzzer but still blocks the visual mess. Also avoid utility rooms with poor ventilation. The dryer needs to vent outside, and the washer needs some air circulation to prevent musty smells from building up in a small closed space.
4. Combined Washer Dryer Unit
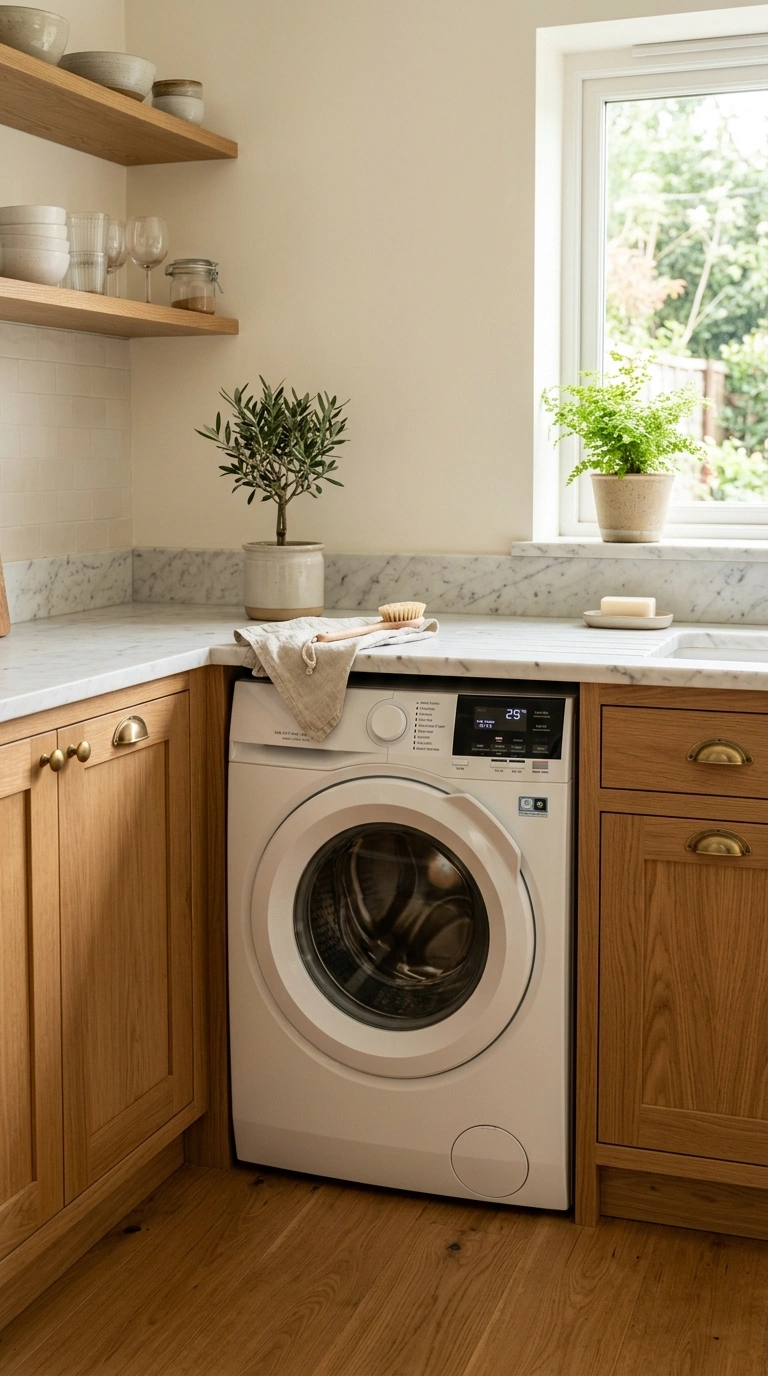
A combined washer dryer unit does both jobs in one appliance, cutting your kitchen laundry footprint in half. This is a great solution for very tight kitchens where separate machines just do not fit.
GE, LG, and Whirlpool all make washer dryer combos. Around one thousand to sixteen hundred dollars for a full size model. These wash and then dry a load in the same drum without you having to move clothes between machines.
Install the combo unit under a counter or inside a cabinet just like a normal front loader. It only needs one cold water hookup, one drain, and one electrical connection, which makes plumbing simpler.
Avoid combined units for large families since drying capacity is limited. These work best for one or two people doing three to four loads per week. Also avoid ventless combo units in humid climates like Florida or the Southeast since these dump moisture back into the room and can lead to mold issues in a kitchen setting. A vented combo unit works better in humid areas. Great pick for apartments and small homes.
5. Slim Pull Out Pantry Nearby
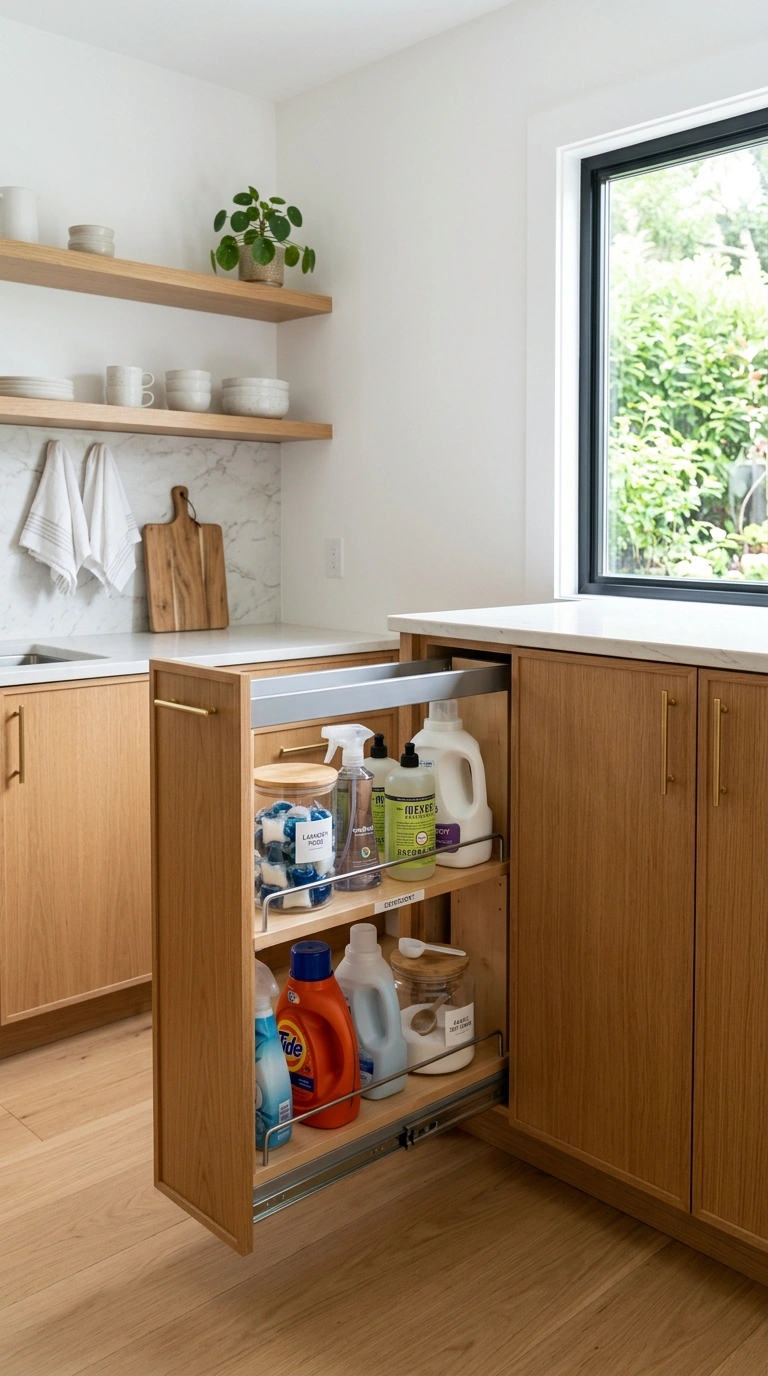
Once your washer and dryer are hidden in kitchen cabinets, you still need somewhere to store detergent, dryer sheets, and stain remover. A slim pull out pantry cabinet next to the machines solves this problem.
Rev A Shelf and Kessebohmer both make pull out pantry inserts that fit inside cabinets as narrow as six inches wide. Around two hundred to four hundred dollars for a full pantry pull out unit.
Install the pantry right next to the washer cabinet so you can grab detergent while loading laundry. Include shelves for tall bottles and small drawers for pods and dryer sheets. Everything stays organized and out of sight when the cabinet is closed.
Avoid storing laundry supplies in the same pantry as food items since detergent smells transfer to cereals, spices, and baked goods over time. Keep them fully separated. Also avoid using open shelving for laundry supplies in a kitchen, since the visual clutter defeats the whole point of hiding the machines behind cabinet fronts. Closed pull out storage keeps the kitchen looking calm and clean.
6. Kitchen Island Machines
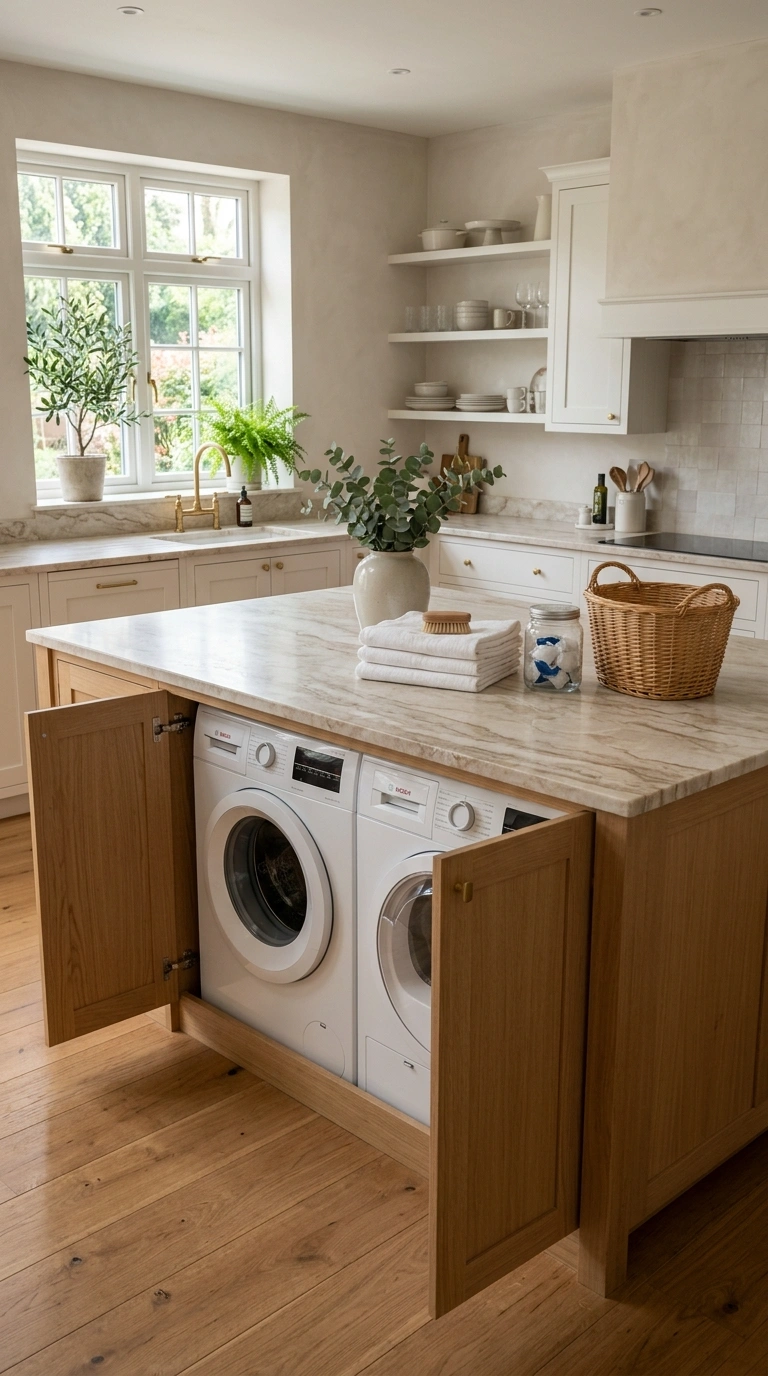
Building your washer and dryer into a kitchen island is one of the most creative kitchen laundry combos. This works if you have a big open island and want a truly hidden laundry setup.
Build a wider than normal island, at least four feet deep, to fit the machines inside. Face them with cabinet doors that match the rest of the island. Around two thousand to four thousand dollars for a custom island build with hidden appliances.
Run plumbing and electrical through the floor into the island. The countertop above becomes an amazing folding surface where you can process laundry as it finishes.
Avoid island laundry setups if your machines are noisy since sound bounces around an open kitchen. Look at Miele or Bosch machines with sound damping if you go this route. Also avoid this setup if your kitchen floor does not have accessible plumbing below. Retrofitting plumbing into an existing slab floor costs three to five thousand dollars just for the pipes. Best suited for new builds or major renovations where the floor is already open.
7. Compact European Stack
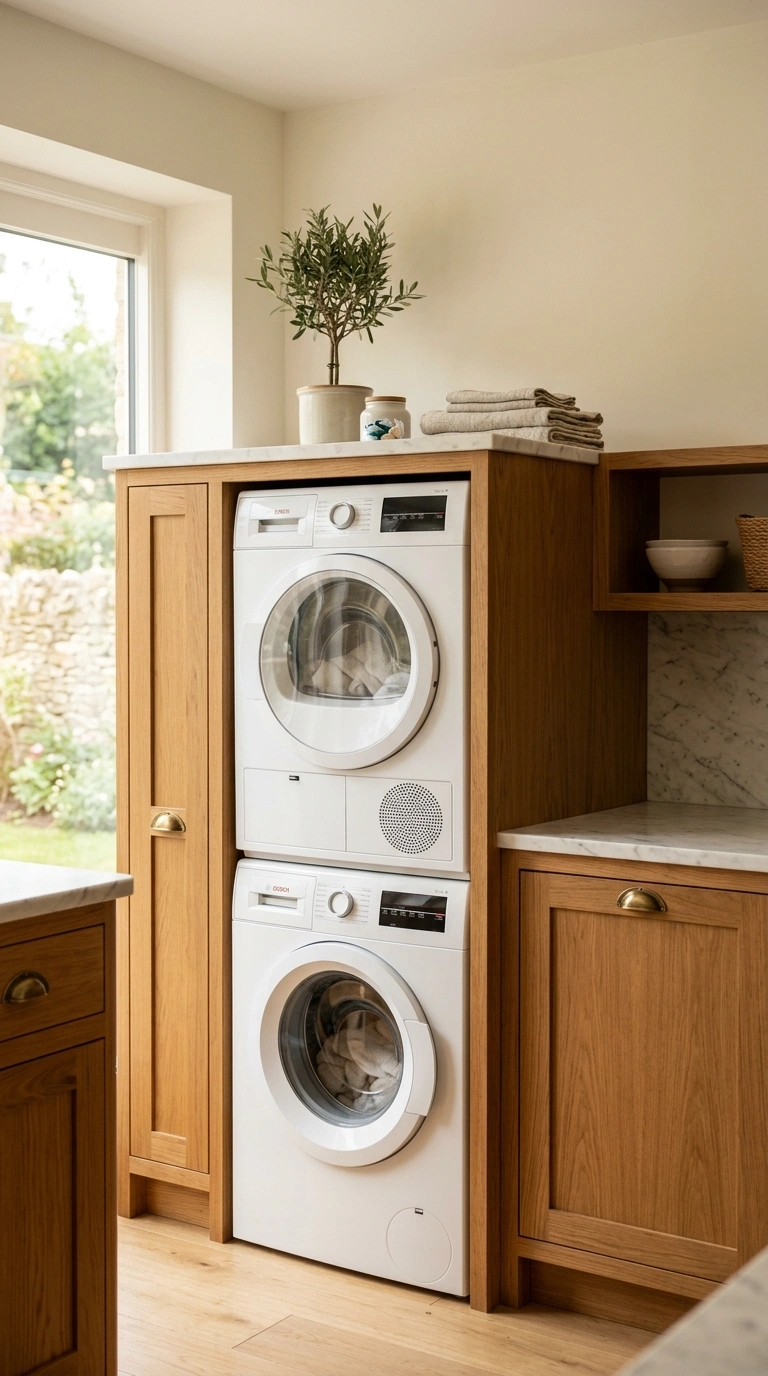
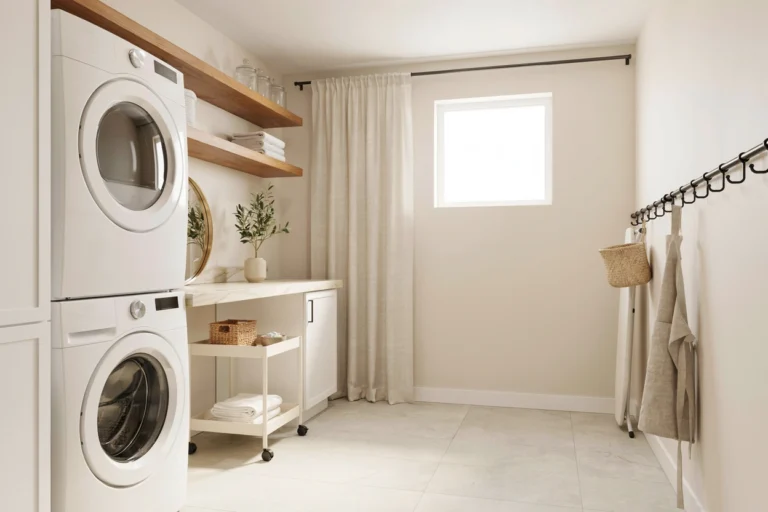
European style washers and dryers run smaller than American ones, usually twenty four inches wide instead of twenty seven inches. This three inch difference matters a lot in a tight kitchen laundry setup.
Bosch, Miele, and Blomberg all make twenty four inch stackable washer dryer pairs. Around fifteen hundred to three thousand dollars for a good matched pair. These stack together for a footprint of about twenty four by twenty five inches total.
The compact size lets you fit a full washer and dryer in cabinet space where an American pair would never work. Perfect for small city kitchens.
Avoid compact European machines for large families with heavy laundry loads. Each machine holds about half of what a full size American machine holds. This means more loads per week, which adds up in time and utility bills. Also avoid mixing brands when stacking since the stack kits usually only work with matched pairs from the same maker. Buy the washer and dryer together as a set for the safest and most stable stack.
8. Bifold Cabinet Doors
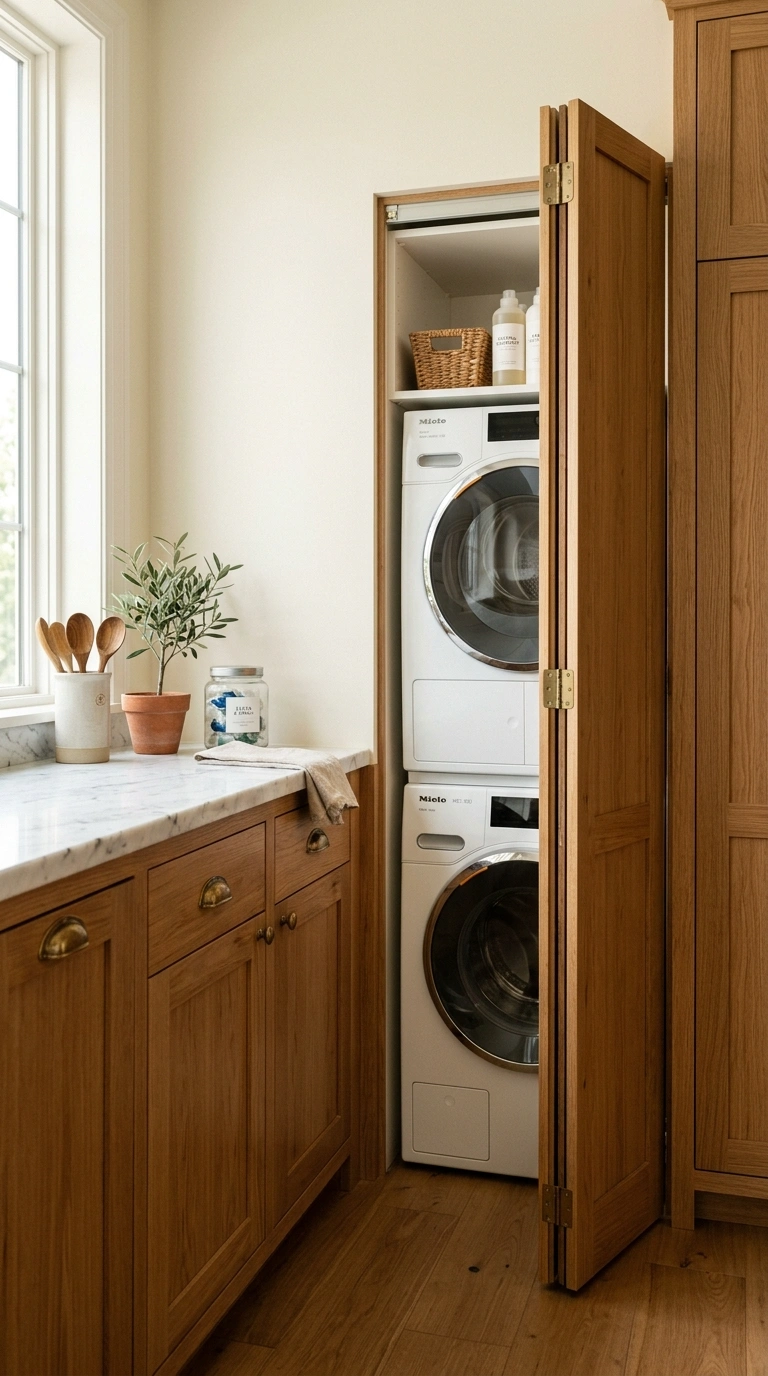
Cabinet doors that fold in half instead of swinging open completely save space in tight kitchen laundry setups. Perfect for machines tucked into cabinets where a full swinging door would hit the fridge or another appliance.
Bifold cabinet doors need special hinges that let each door fold like an accordion. Around sixty to one hundred dollars per door for the hinge hardware. Any local carpenter can install them, or you can DIY with basic tools.
Use bifold doors on cabinets holding the washer and dryer. When you need access, pull the folded doors out to one side. This uses way less clearance than a normal swinging cabinet door.
Avoid bifold doors on cabinets you open constantly, like a spice cabinet or trash cabinet, since the extra motion of unfolding gets annoying over time. Save them for laundry cabinets that you only open once or twice a day. Also avoid heavy solid wood bifold doors, since the folding hinges wear out under too much weight. Choose lighter door materials like plywood or MDF with a nice finish for the longest lasting install.
9. Butcher Block Counter Overlay
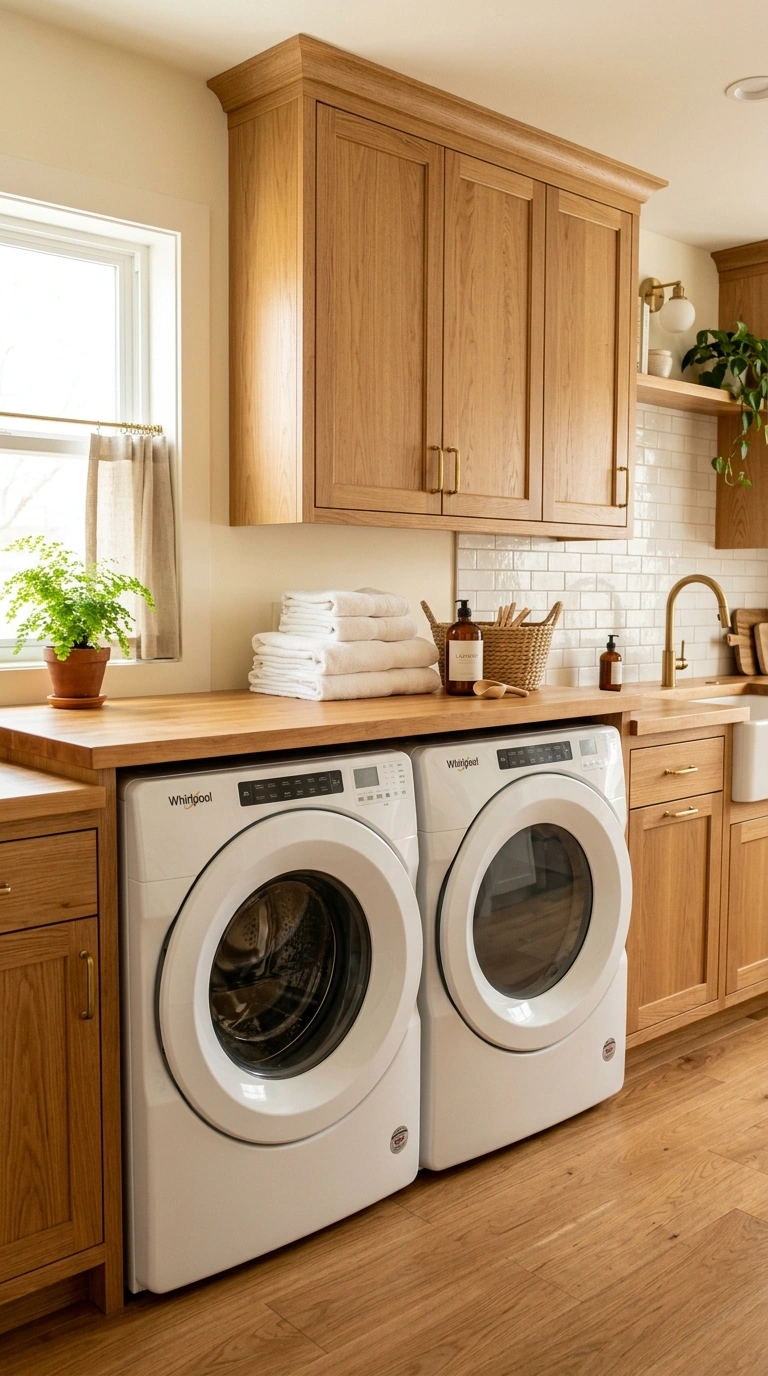
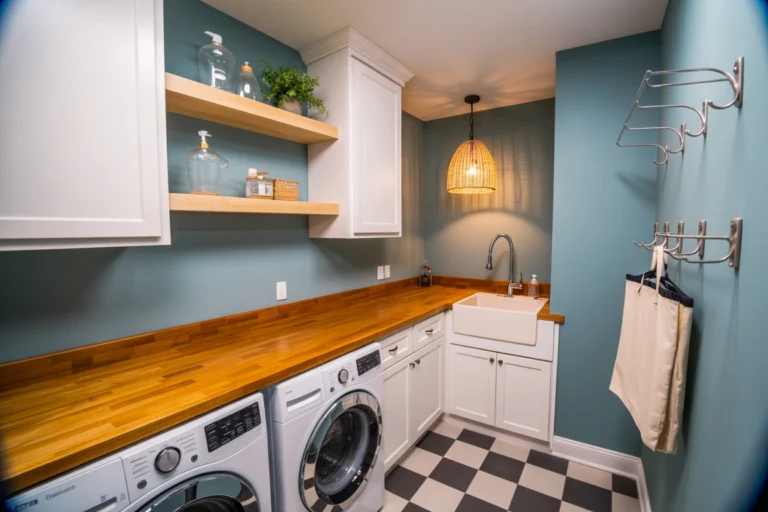
A butcher block counter running across the top of both your washer and dryer creates a beautiful folding surface that also blends the machines into your kitchen cabinets. This is one of the smartest kitchen laundry combo moves.
Use a solid maple or walnut butcher block cut to the exact size of both machines. Around one hundred to three hundred dollars for a butcher block slab at IKEA, Home Depot, or Lumber Liquidators. Attach it with L brackets to the wall behind for extra stability.
The warm wood surface pairs beautifully with any cabinet color and adds real workspace to both the kitchen and the laundry zone. Perfect for folding clothes right where they come out of the dryer.
Avoid installing butcher block over a top loading washer since the lid needs to open. Only use over front loading machines. Also avoid using butcher block near a stove without proper heat protection. Kitchen laundry combos sometimes have the range close by, and hot pans can burn the wood. Add a metal or stone heat guard between the range and the wood butcher block for safety and longevity.
10. Toe Kick Drawer Storage
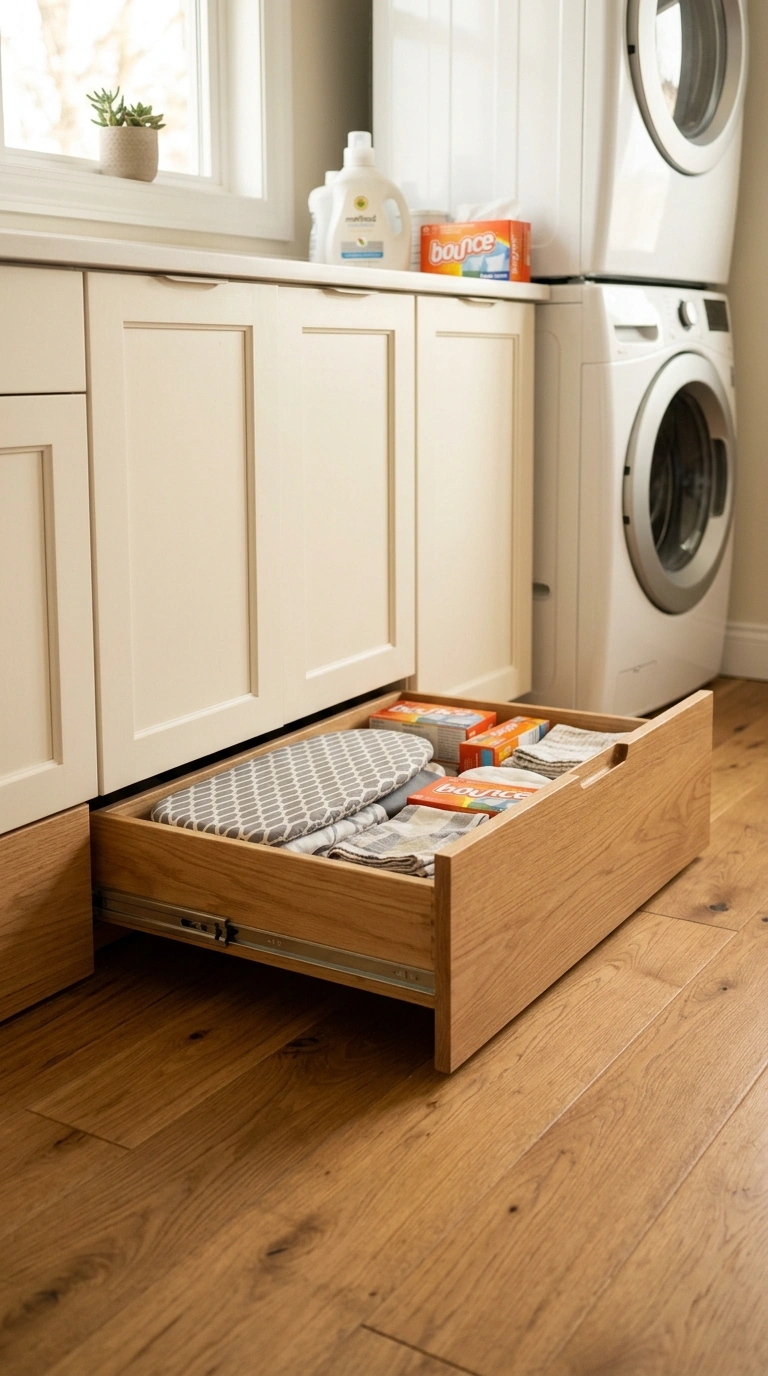
The toe kick under your kitchen cabinets, that four inch space at the bottom, is usually wasted. Adding pull out toe kick drawers here creates hidden storage for flat laundry items and small tools.
Toe kick drawer inserts from Rev A Shelf run about eighty to one hundred and fifty dollars each. They install into the existing toe kick with basic tools. Each drawer holds a surprising amount of flat items.
Store folded ironing board covers, dryer sheets, spare hangers, and lint rollers in these drawers. Everything stays out of sight but easy to grab when needed.
Avoid using toe kick drawers for heavy items since the low profile drawer slides are not rated for high weight. Stick with lightweight flat items. Also avoid installing toe kick drawers in kitchens with pets who might paw at them. The drawers can be pulled open by curious dogs or cats, and small items inside can become a mess or a choking hazard. Use standard toe kick panels in pet heavy homes instead. A quick kitchen laundry upgrade for around one hundred dollars per drawer.
11. Above Cabinet Ventilation
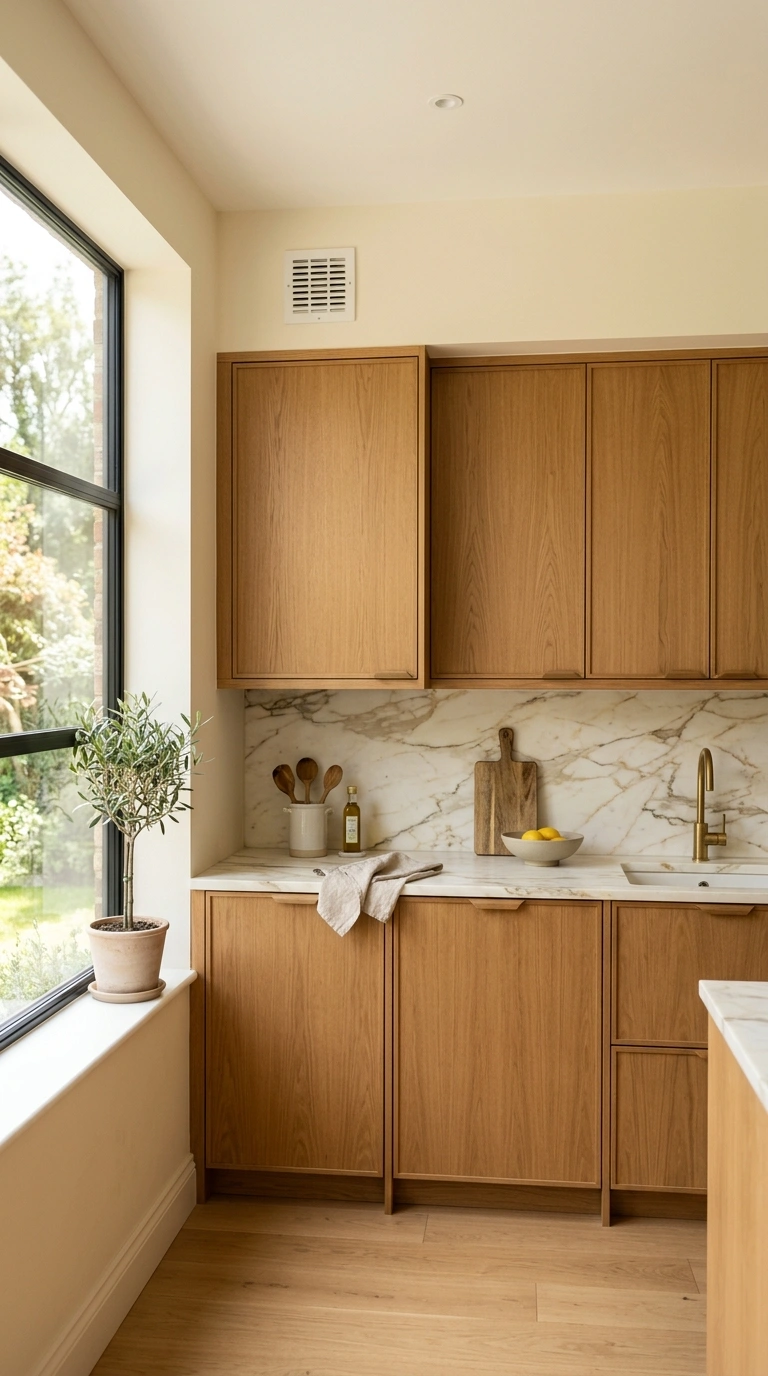
Kitchen laundry combos face a real humidity problem. The washer adds moisture to a kitchen that already has cooking steam from the stove. Adding a small ventilation fan above the laundry cabinets clears this out.
A quiet inline fan from Panasonic or Broan runs around one hundred and fifty to three hundred dollars. These mount above the cabinet or inside the cabinet with a duct that runs to an exterior wall vent.
Run the fan on a timer or humidity sensor so it turns on automatically when moisture spikes. This keeps your cabinets from warping and prevents mold from growing behind the machines.
Avoid skipping ventilation in kitchen laundry combos even if your washer is properly vented outside. Every time you open the washer door with wet clothes inside, moisture spills into the room. Also avoid using cheap bathroom fans in a kitchen laundry setup, since these are not rated for constant moisture and grease exposure. Kitchen rated inline fans handle both cooking steam and laundry moisture better. Worth the extra cost for long term appliance and cabinet protection.
12. Corner Machine Setup
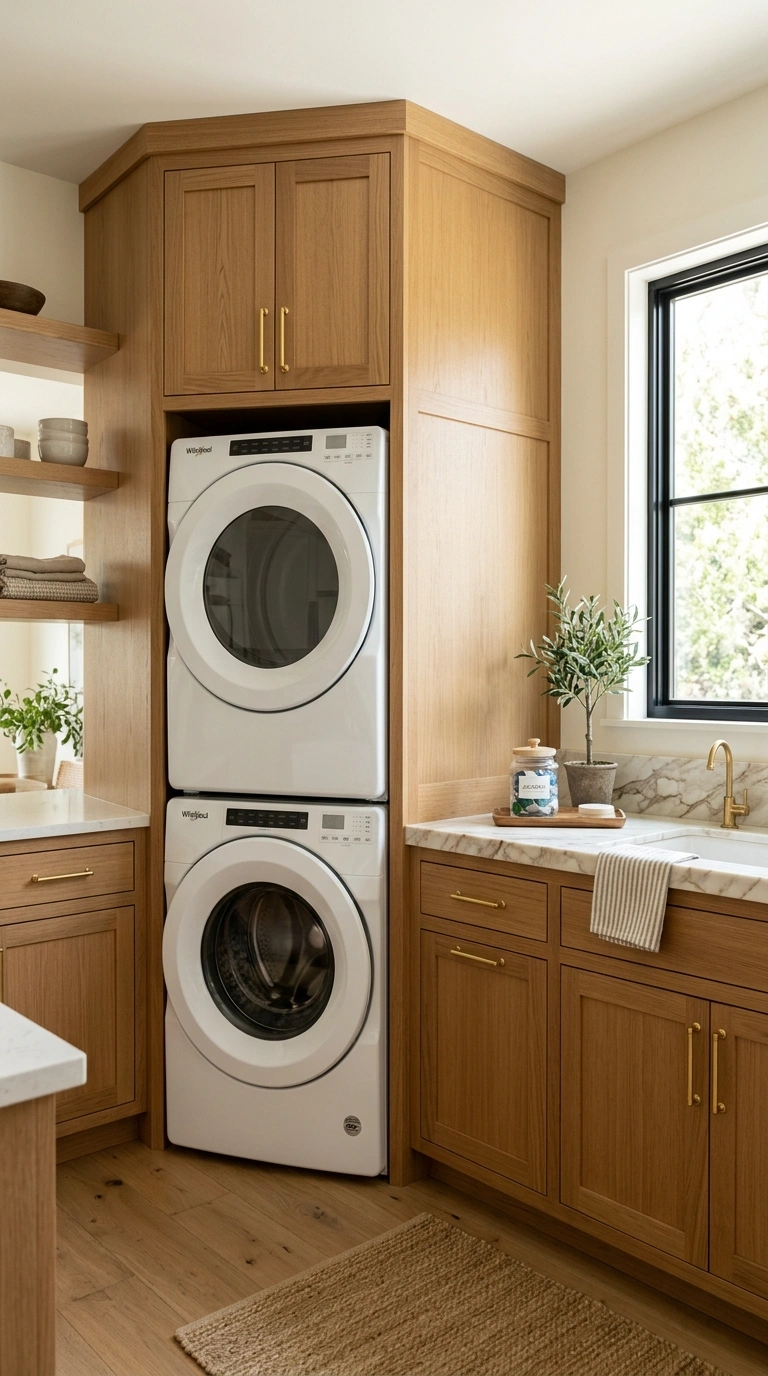
Kitchen corners are often awkward spots where standard appliances do not fit well. Slotting a stacked washer dryer into a kitchen corner uses this dead space and frees up main wall room for cooking.
Corner setups need at least twenty seven inches of clearance in both directions from the corner. Measure carefully before ordering machines. A compact European pair usually works better than American machines in a corner spot due to the smaller footprint.
Build custom corner cabinet doors that swing open to reveal the machines. The corner also gets natural interest from the angled cabinet fronts that break up a long straight kitchen wall.
Avoid corner laundry setups without proper plumbing planning. Running water and drain lines to a corner is more complex than a straight wall install, and often costs an extra three hundred to six hundred dollars in plumber time. Also avoid corner setups in kitchens where the corner is near a doorway, since you need swing room for the cabinet doors that hide the machines. A dead corner away from doorways works best for this hidden laundry approach.
13. Same Handle Style
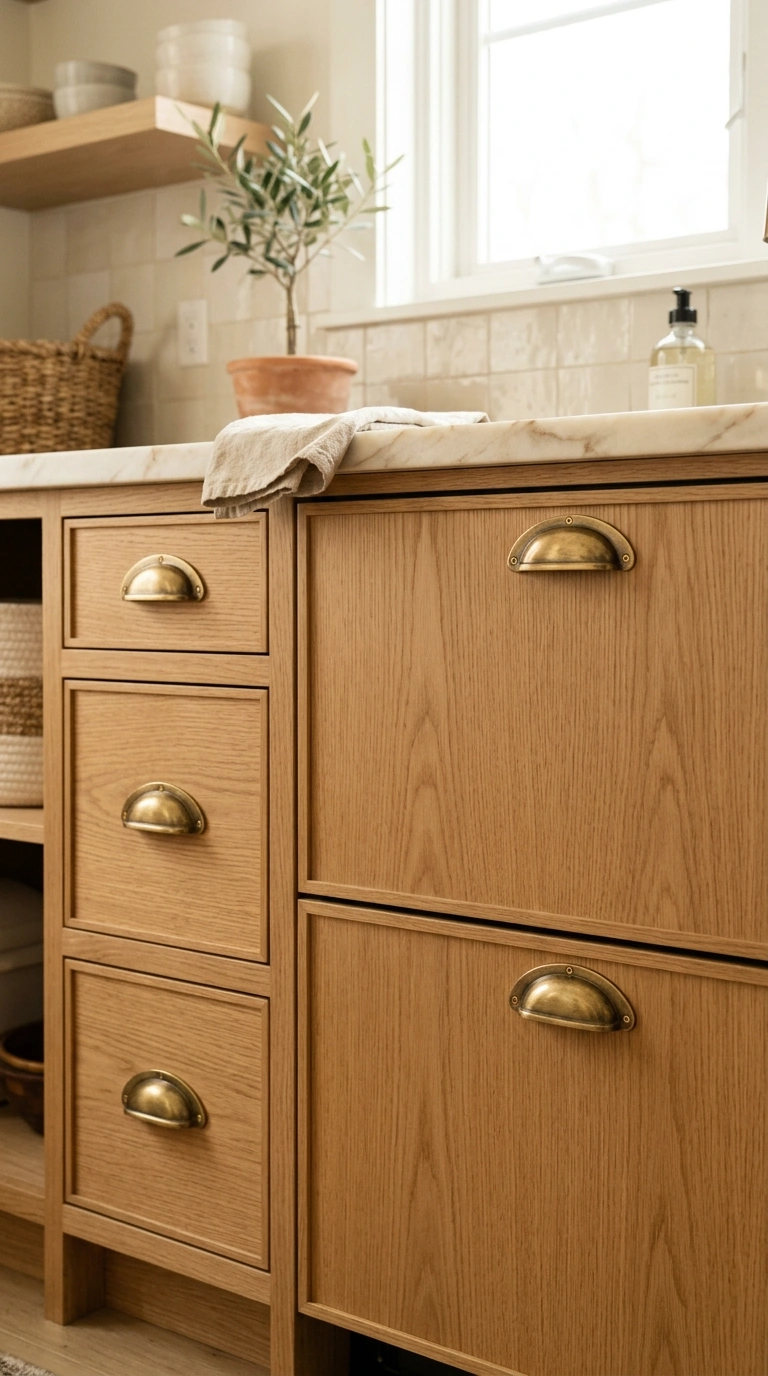
One of the easiest ways to make your washer and dryer blend into your kitchen cabinets is to match the hardware. Using the same drawer pulls and knobs on the machine cabinet fronts as your kitchen cabinets ties everything together visually.
Order extra drawer pulls in the same finish and style when you buy your kitchen cabinet hardware. Around five to fifteen dollars per pull at Home Depot or Amazon. Attach them to the panel ready washer and dryer fronts.
Brass, matte black, or brushed nickel all work depending on your kitchen style. The matching hardware makes people assume the machines are just regular cabinets when they walk through the kitchen.
Avoid mixing hardware finishes in a small kitchen laundry combo, since mismatched pulls draw the eye and highlight the machines instead of hiding them. Also avoid super ornate or bold hardware on the machine fronts, since these attract attention. Simple bar pulls or classic cup pulls disappear best. This tiny detail is one of the smartest small upgrades that separates a beautiful kitchen laundry combo from a random appliance corner.
14. Under Stairs Adjacent
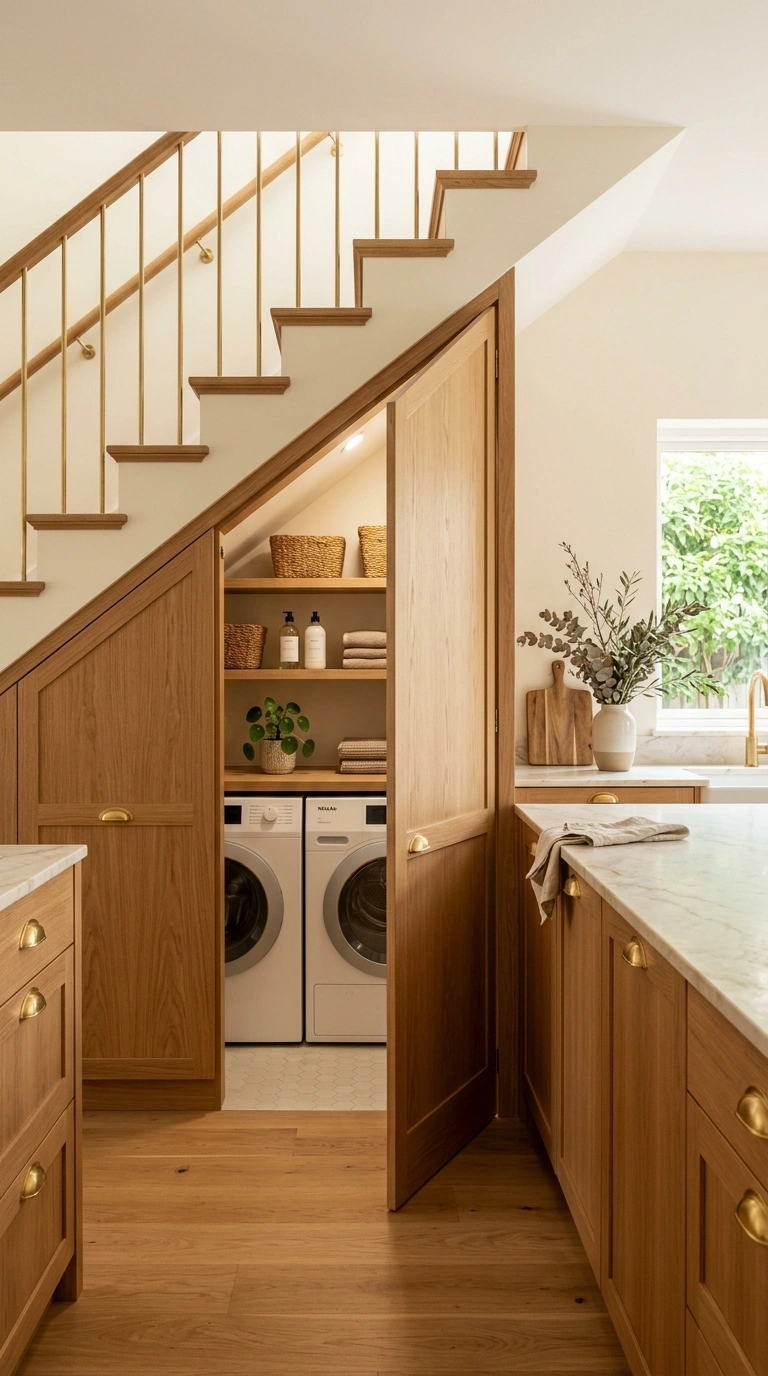
If your kitchen sits right next to the staircase, tucking the washer and dryer into an under stair space adjacent to the kitchen gives you the best of both worlds. Kitchen convenience without the laundry actually being in the kitchen.
Most kitchens in two story homes share a wall with the staircase. Running plumbing and electrical from the kitchen side into the under stair space is usually straightforward for a plumber and electrician. Around eight hundred to fifteen hundred dollars for the utility hookups.
Add a matching cabinet door leading from the kitchen into the under stair laundry so it looks like a normal pantry from the kitchen side.
Avoid this setup if the under stair space has active foot traffic above from people using the stairs. The vibration from footsteps transfers down and can be annoying while trying to hear the washer buzzer. Also avoid running the dryer vent through interior walls since dryer vents need direct paths to the outside. Confirm the vent path before committing to this layout. A great option when the geography works.
15. Broom Cabinet Beside Machines
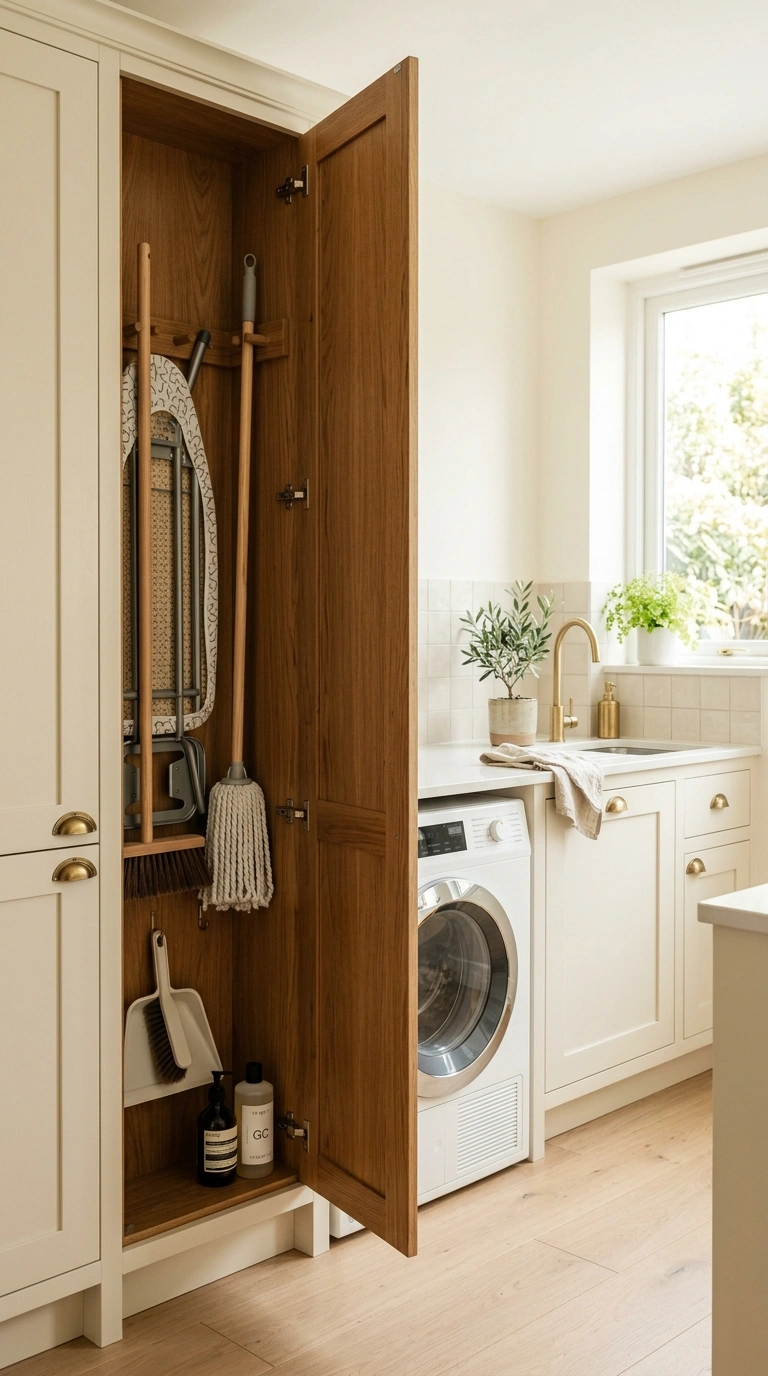
A tall skinny broom cabinet next to your kitchen laundry combo holds the tall stuff that always ends up leaning in a corner: brooms, mops, vacuum cleaner attachments, and the ironing board.
Build or buy a broom cabinet about twelve to fifteen inches wide and full ceiling height. Around three hundred to six hundred dollars at IKEA or Home Depot. Match the finish to your kitchen cabinets so the broom cabinet blends into the wall.
Inside, install a broom holder clip along the back wall and a shelf near the top for smaller items. Hang the ironing board sideways using a wall clip for easy access.
Avoid broom cabinets narrower than twelve inches since brooms and mop handles will not fit at an angle. Also avoid storing wet mop heads inside without drying them first, since trapped moisture leads to mildew smells that spread throughout the kitchen. Install a small ventilation grille in the cabinet door if you plan to store damp cleaning tools. This one small addition solves a huge storage problem in almost every kitchen laundry combo setup.
16. Peninsula End Housing
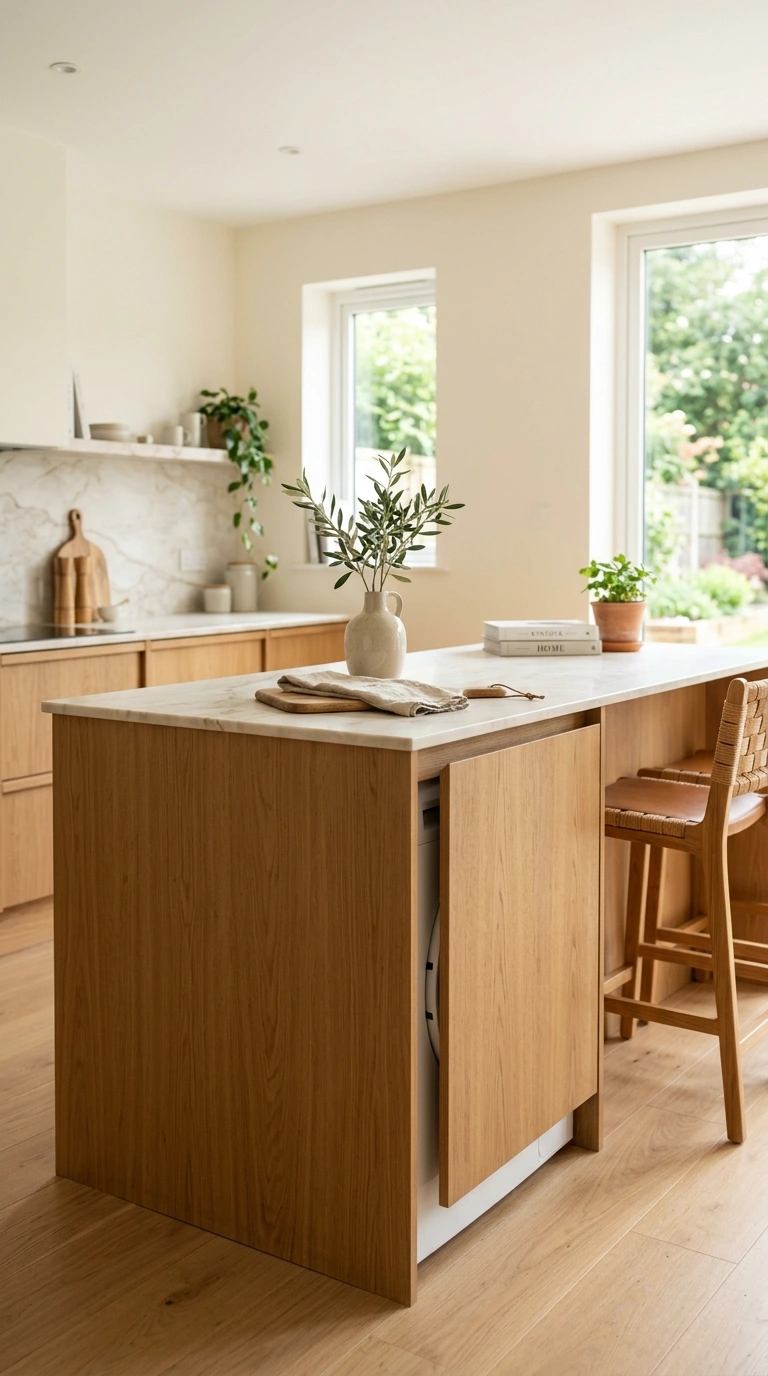
The end of a kitchen peninsula is often just a wasted flat wall. Turning this end into a hidden washer or dryer housing gives you laundry appliances without taking up main cabinet space.
Most kitchen peninsulas end at least twenty four to twenty seven inches from the wall, enough space for a front loading washer or dryer inside. Face the end with a matching cabinet panel so the peninsula still looks like a normal counter from every angle.
Add a small pull out drawer above or below the machine for detergent storage. The peninsula counter above serves as extra folding space.
Avoid peninsula laundry setups in kitchens with really open flow, since the machine vibration can rattle nearby dishes on countertops. Look at machines with anti vibration technology like Bosch WGA models. Also avoid this setup if your peninsula does not have plumbing accessible below. Running new lines under existing floors is expensive and messy. This works best in kitchens being remodeled from scratch or peninsulas already sitting near a water line.
17. Retractable Drying Line
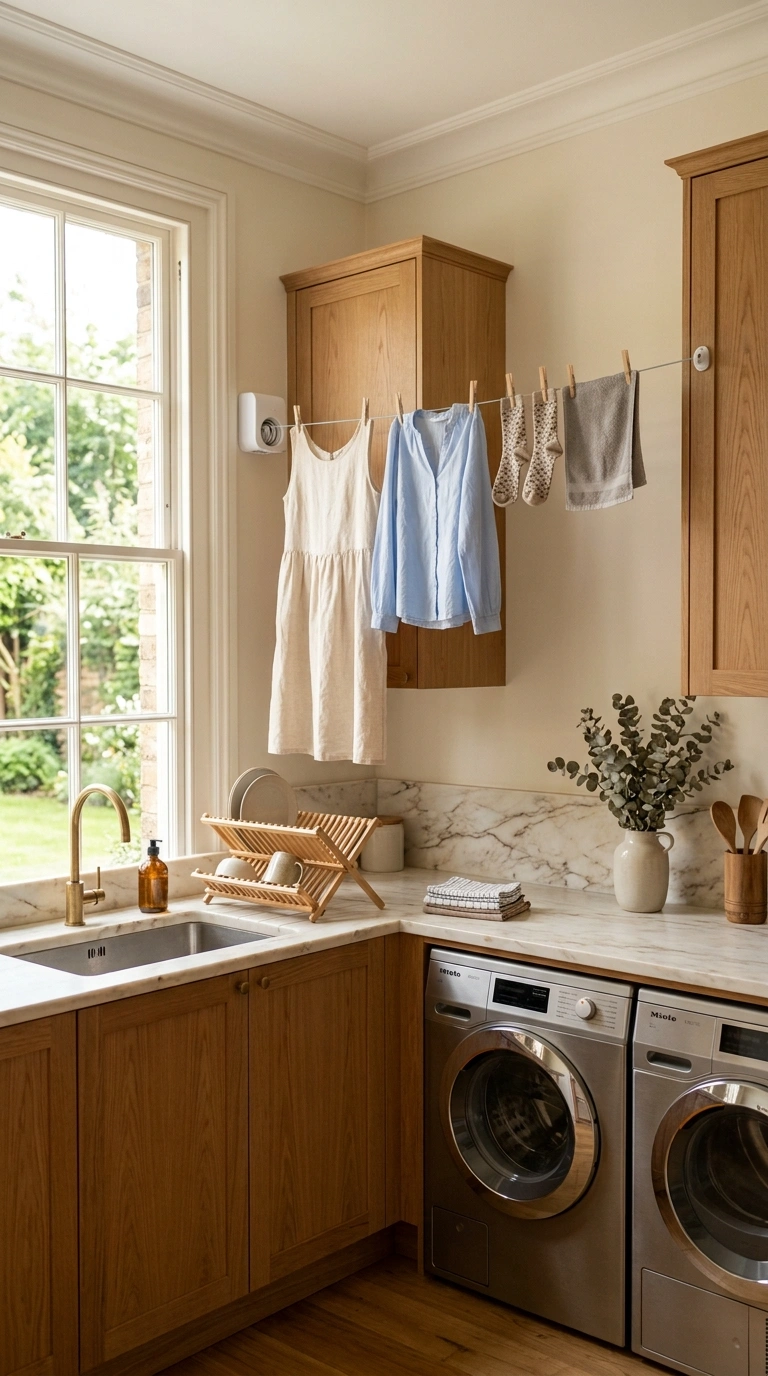
A retractable clothesline mounted between two kitchen cabinets gives you air drying space without visual clutter. This is basically a small clothesline in a housing that extends when needed and retracts flat when done.
Hills and Whirlpool both make retractable clotheslines for indoor use. Around thirty to sixty dollars at Amazon or Home Depot. Choose one that extends at least twelve feet when fully pulled out.
Mount the housing on one wall or cabinet side. Attach the pull hook to the opposite wall or cabinet. When you have wet delicates that cannot go in the dryer, extend the line across your kitchen laundry area.
Avoid retractable clotheslines mounted directly over cooking areas or the range, since grease and food splatter will land on drying clothes. Also avoid using retractable lines over hardwood floors without protection, since dripping water can damage wood finish over time. Add a small tray or towel on the floor when clothes are drying, or extend the line over tile flooring instead. Perfect for saving delicates from dryer damage.
Final Thoughts
A well designed kitchen laundry combo can look better than a lot of dedicated laundry rooms. The secret is treating the washer and dryer as part of the kitchen cabinet design instead of appliances you tolerate. Match cabinet fronts, plan storage nearby, and pay attention to ventilation. When done right, guests should never even notice that there is a full laundry setup inside the kitchen. The result is a small home that lives much bigger than its actual square footage.