17 Under Stair Laundry Room Ideas That Actually Work in Real Homes
The area under your staircase is one of the sneakiest spots to add a laundry room. Most under stair spaces sit unused, holding random Christmas decorations or nothing at all. But this tucked away corner is actually the perfect size for a stacked washer and dryer plus some smart storage. Adding a laundry here saves your main floor from having a work zone and turns wasted space into something useful every day.
This setup does come with real limits though. Most under stair areas have sloped ceilings that drop as they go, tight width, and no natural light. Good news is these limits also give you a chance to build something really custom. These 17 ideas work with real under stair dimensions and show what looks great and actually works day to day.
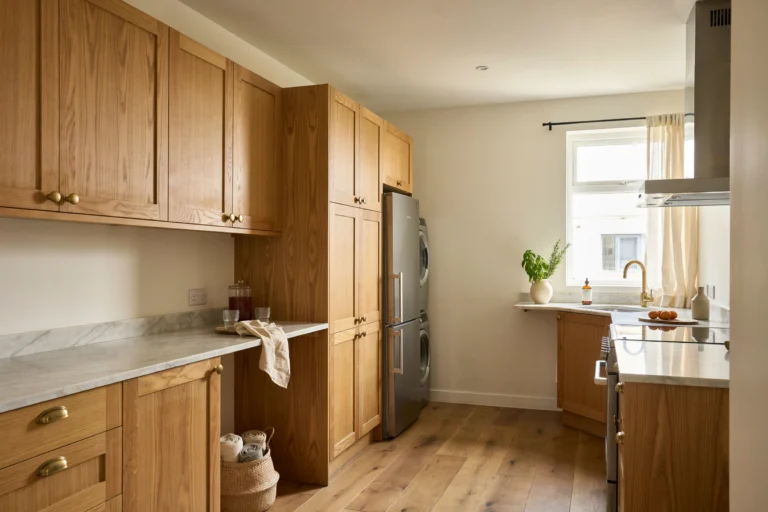
1. Compact Stackable Setup
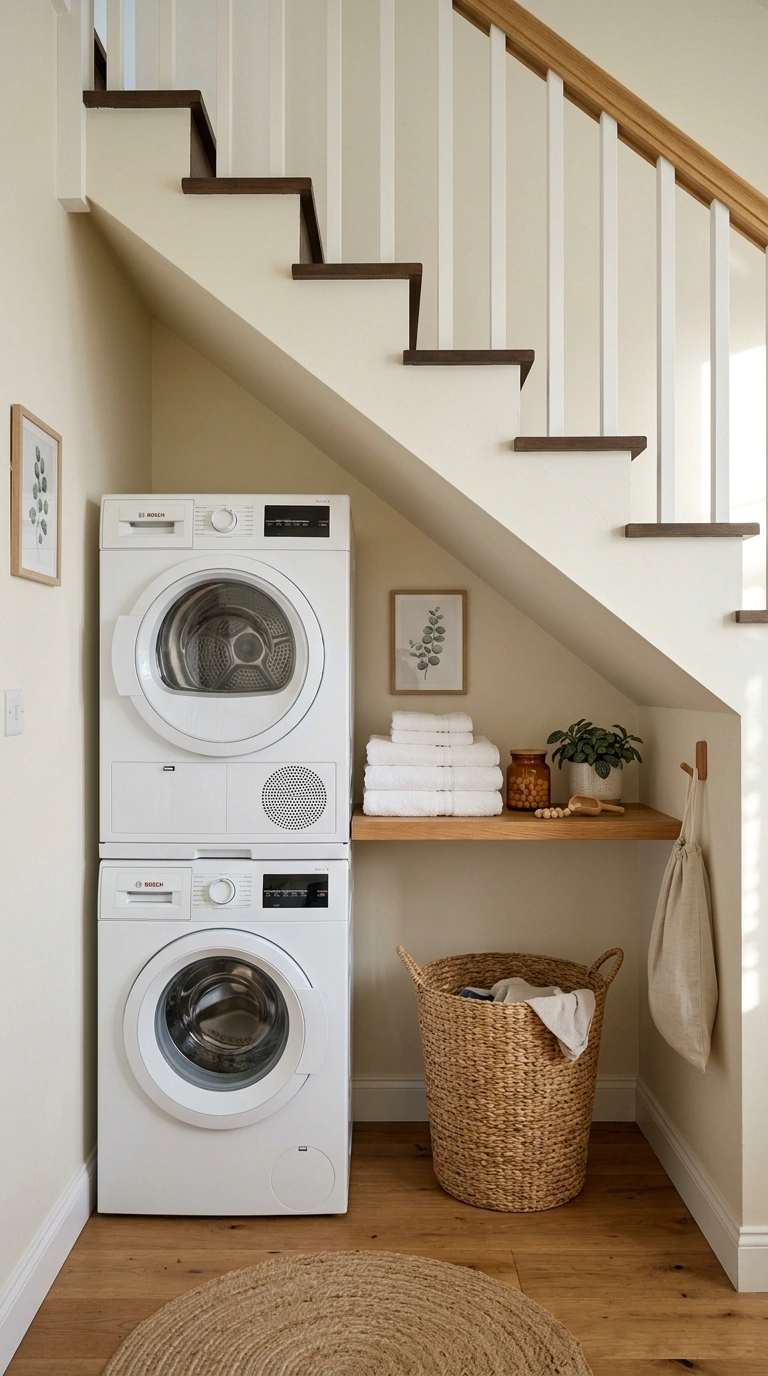
The most common under stair laundry starts with a stackable full size washer and dryer. Front loading machines are the only type that stack safely, and matching stack kits cost around fifty dollars. Together the stack fits into about twenty seven inches wide by thirty three inches deep.
This setup needs at least seventy inches of ceiling height at the machine spot so the top dryer door opens comfortably. Measure the tallest point of your under stair space before ordering machines.
Pair the stack with a narrow open shelf above the machines and a slim countertop across the front for folding. Best paired with LG WashTower or Samsung stackable pairs since these are built with the top controls facing forward instead of up.
Avoid regular top load machines here since the ceiling slope will hit the lifted lid. If your space is under sixty six inches tall at the machine spot, look at compact twenty four inch European style machines from Bosch or Miele instead. These fit in tighter corners but hold smaller loads, about half of a full size machine.
2. Sliding Barn Door Front
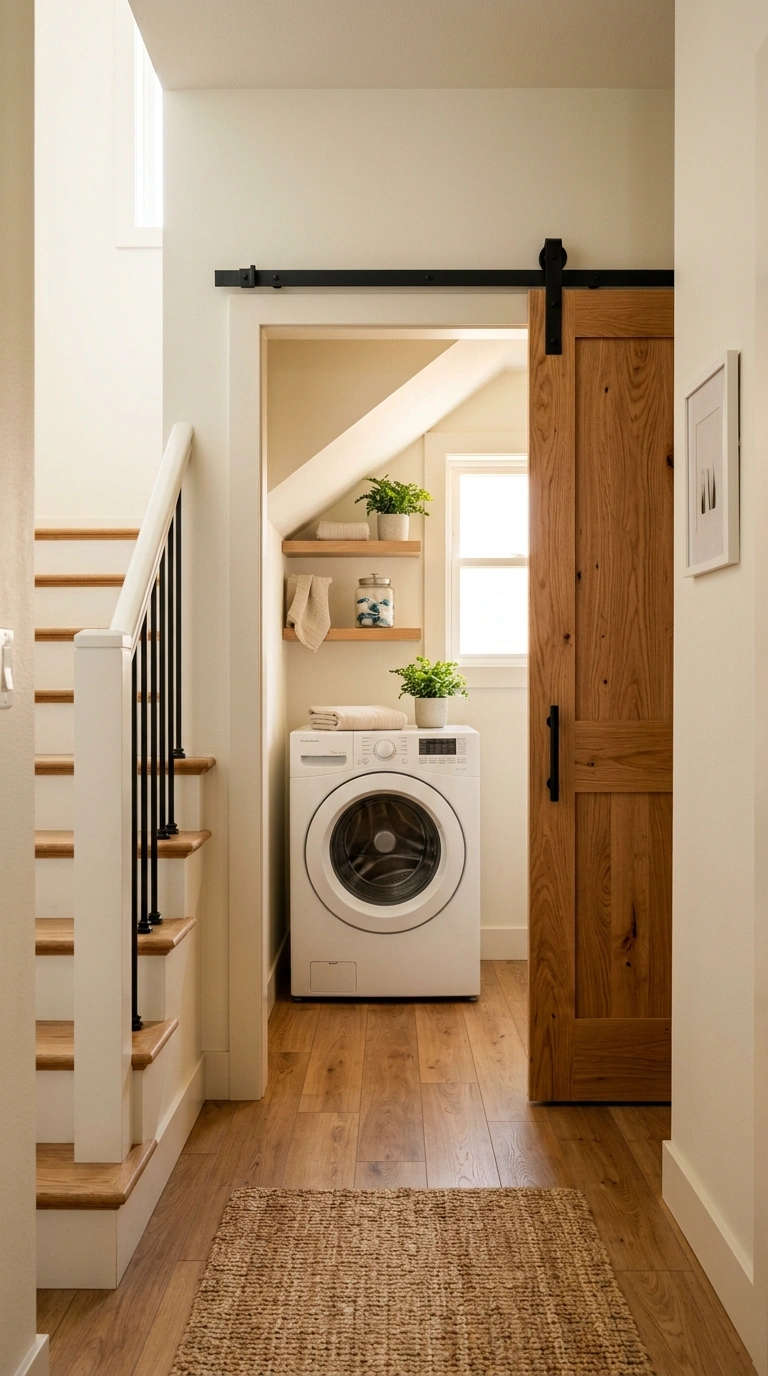
A sliding barn door is one of the smartest picks for closing off an under stair laundry. Regular doors need swing clearance, which is space you usually do not have in tight under stair layouts. Barn doors slide flat along the wall next to the opening, freeing up every inch.
Choose a solid wood or MDF door in warm oak, sage green, or soft cream finish. The door should be about six inches wider and taller than your opening so it fully covers the space when closed.
Barn door hardware kits cost around eighty to one hundred and fifty dollars at Amazon or Home Depot. The track mounts directly into wall studs above the opening. A soft close kit is worth the extra twenty dollars since it stops the door from banging.
Avoid barn doors if your under stair area is directly next to bedrooms. Even soft close kits let sound through, so a regular pocket door works better for noise blocking in that setup. Also avoid barn doors under seven feet wide since the tracks need overhang space.
3. Custom Angled Cabinets
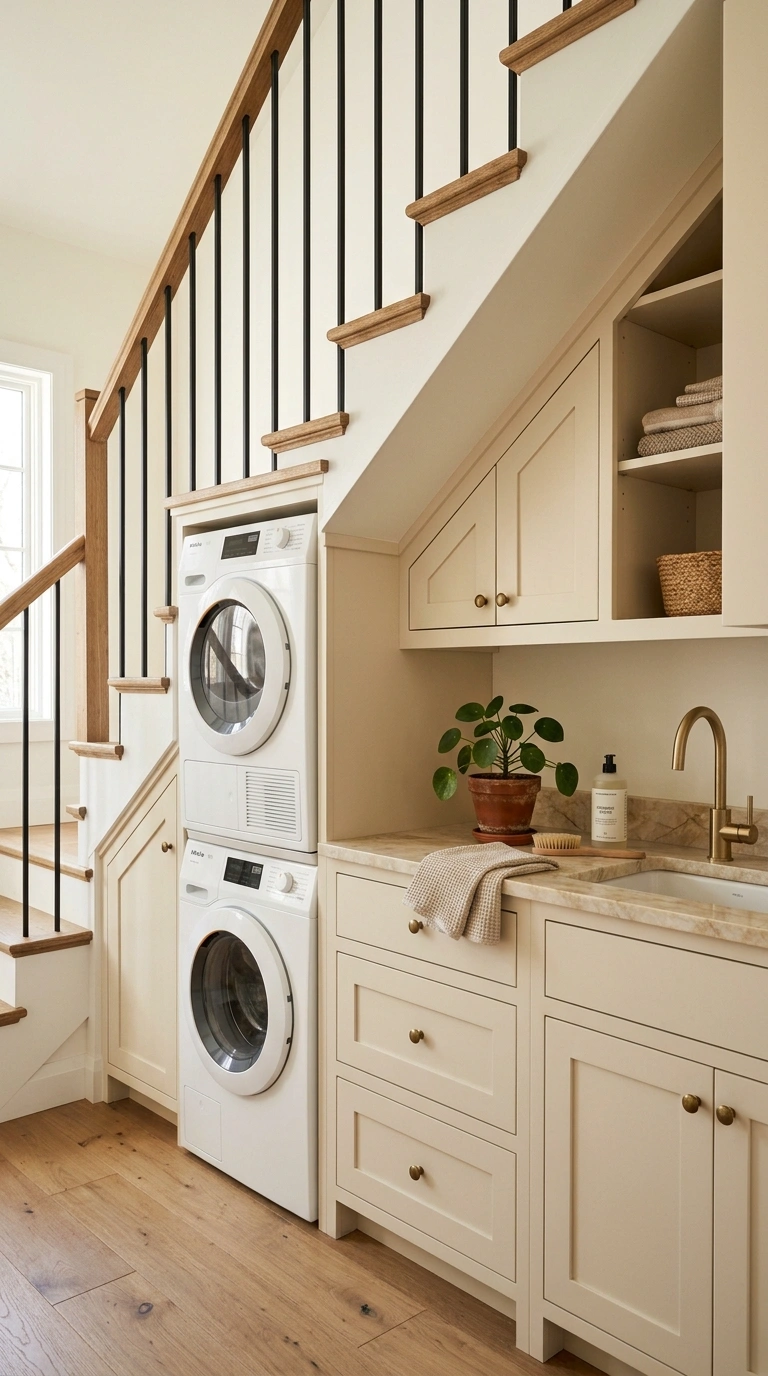
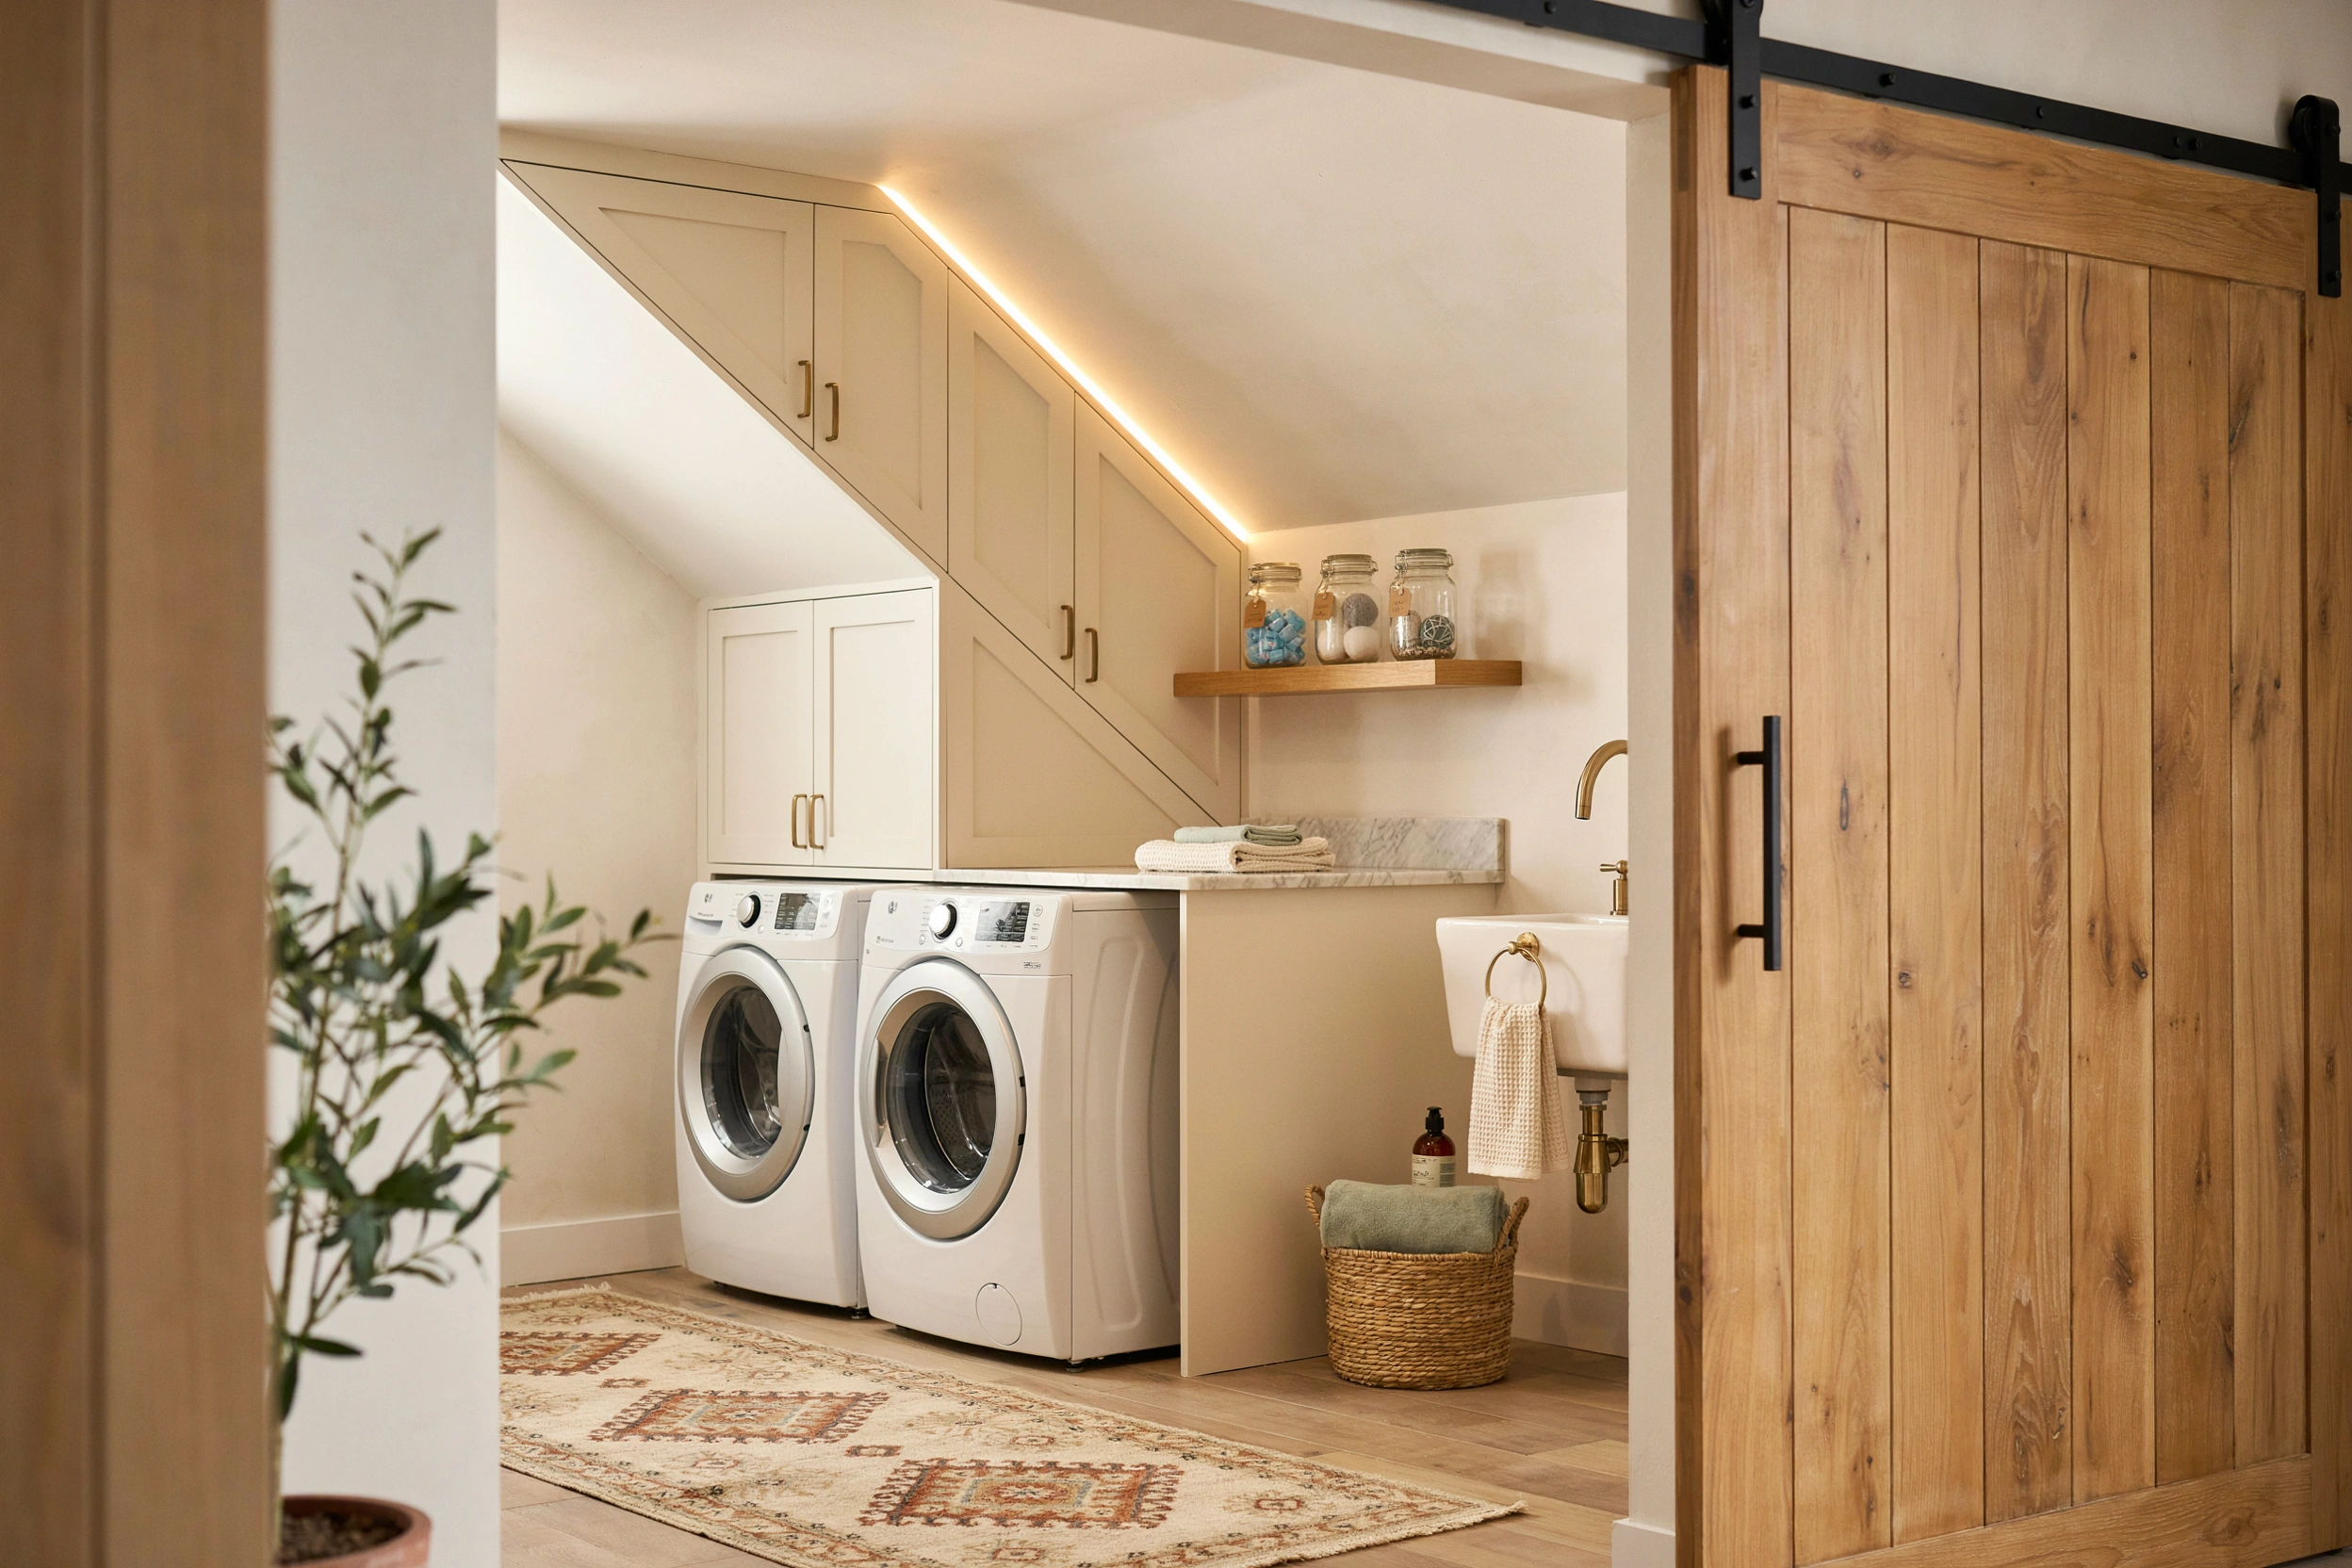
Under stair cabinets that follow the slope of the staircase above use every inch of the awkward space. Standard rectangular cabinets waste the tall areas and cannot fit the short areas at all. Custom angled cabinets solve both problems.
Get these built by a local carpenter or through an online custom cabinet maker like Barker Cabinets. The cost runs around eight hundred to two thousand dollars depending on size. More than off the shelf cabinets but the perfect fit is worth it.
Use the tall side of the cabinets for hanging space for clothes or tall detergent bottles. Use the short side for pull out drawers holding folded towels or laundry supplies. Face the drawer fronts in white shaker style for the cleanest look.
Avoid trying to force IKEA or box store cabinets into an angled space. The awkward gaps at the top always look off, and you lose the storage you were trying to gain. Also skip cheap MDF for the sloped panels since these warp over time in humid laundry conditions.
4. Deep Storage Wall
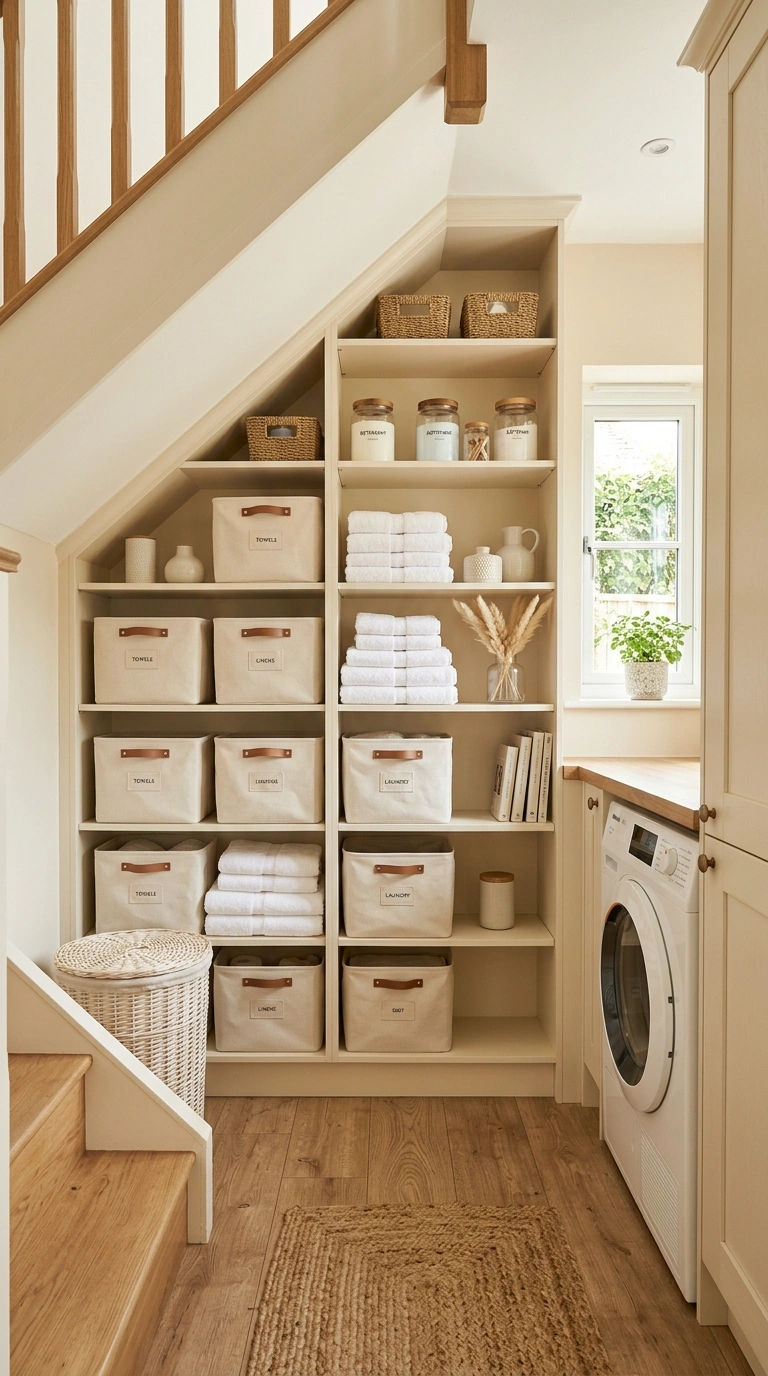
The deepest part of your under stair space, usually the tallest end, works beautifully as a full height storage wall. This is often around thirty six to forty two inches deep and up to seven feet tall, way bigger than most people realize.
Build floor to ceiling open shelving here using solid pine or oak boards. Around one hundred and fifty dollars for materials at Home Depot. Space shelves about fourteen inches apart to fit tall detergent jugs.
Organize with matching cream or grey fabric bins for a clean look. Label each bin so you and family members can find things fast. The Container Store sells nice fabric bins for around fifteen dollars each.
Avoid painting these shelves a dark color since under stair spaces already lack natural light. Also avoid deep shelves over eighteen inches, which make items in the back impossible to reach. If your under stair space is more than eighteen inches deep, add pull out drawers on the lower half instead of fixed shelves.
5. Pull Out Ironing Board
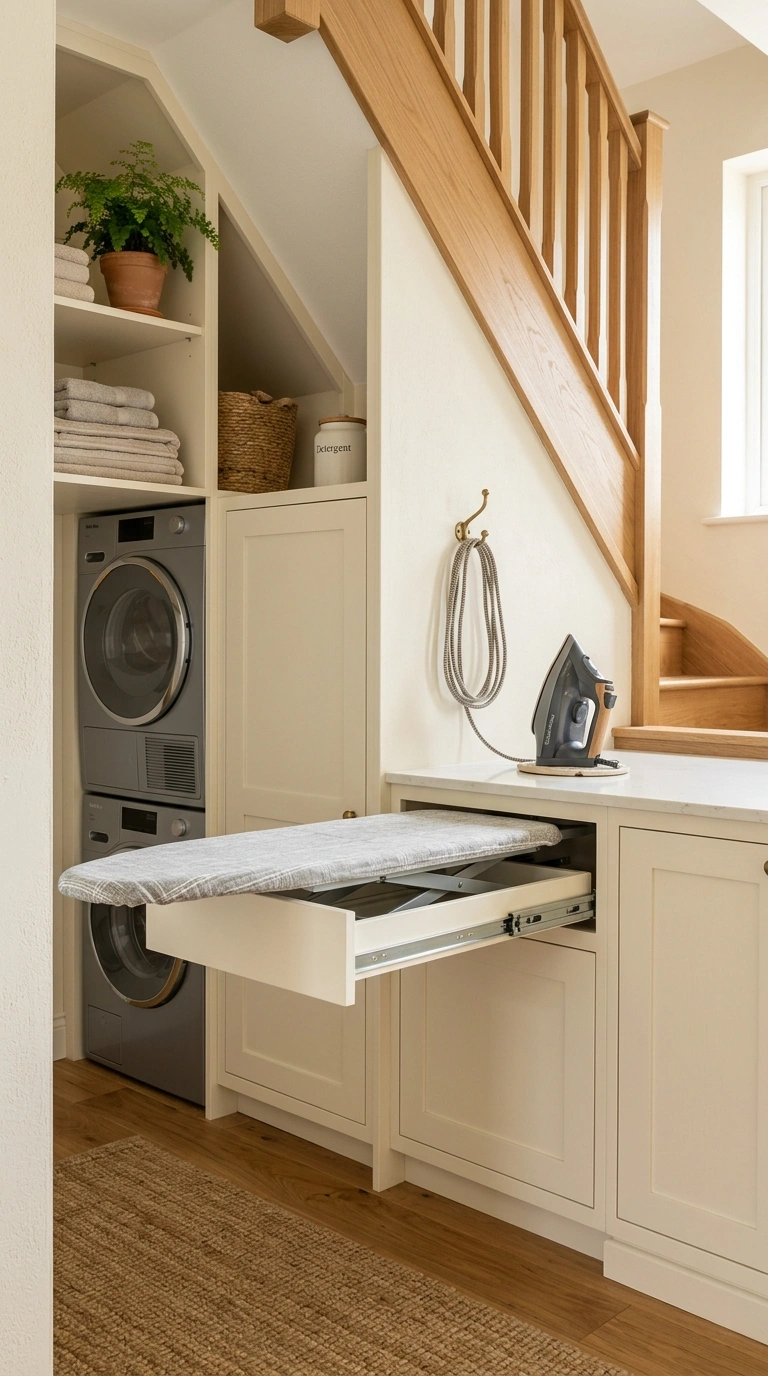
A pull out ironing board built into your under stair laundry drawer saves floor space and gives you a real ironing station without cluttering the tight room. This is a drawer style board that slides out flat when needed and tucks away completely when done.
Hafele and Rev A Shelf both make these units for about one hundred and fifty to two hundred and fifty dollars. They fit inside a drawer opening of about fifteen inches wide and twenty inches deep.
Mount the board at elbow height, usually around thirty six inches from the floor. Right beside or above the washer works well since you can iron clothes right after they come out.
Avoid installing this too close to the sloped part of the ceiling since you need standing room to iron. Also avoid pull out boards in under stair setups shorter than seventy inches ceiling height at the ironing spot, since you cannot stand up straight to work. In that case go with a wall mount fold down board instead, which needs less clearance.
6. Curved LED Strip Light
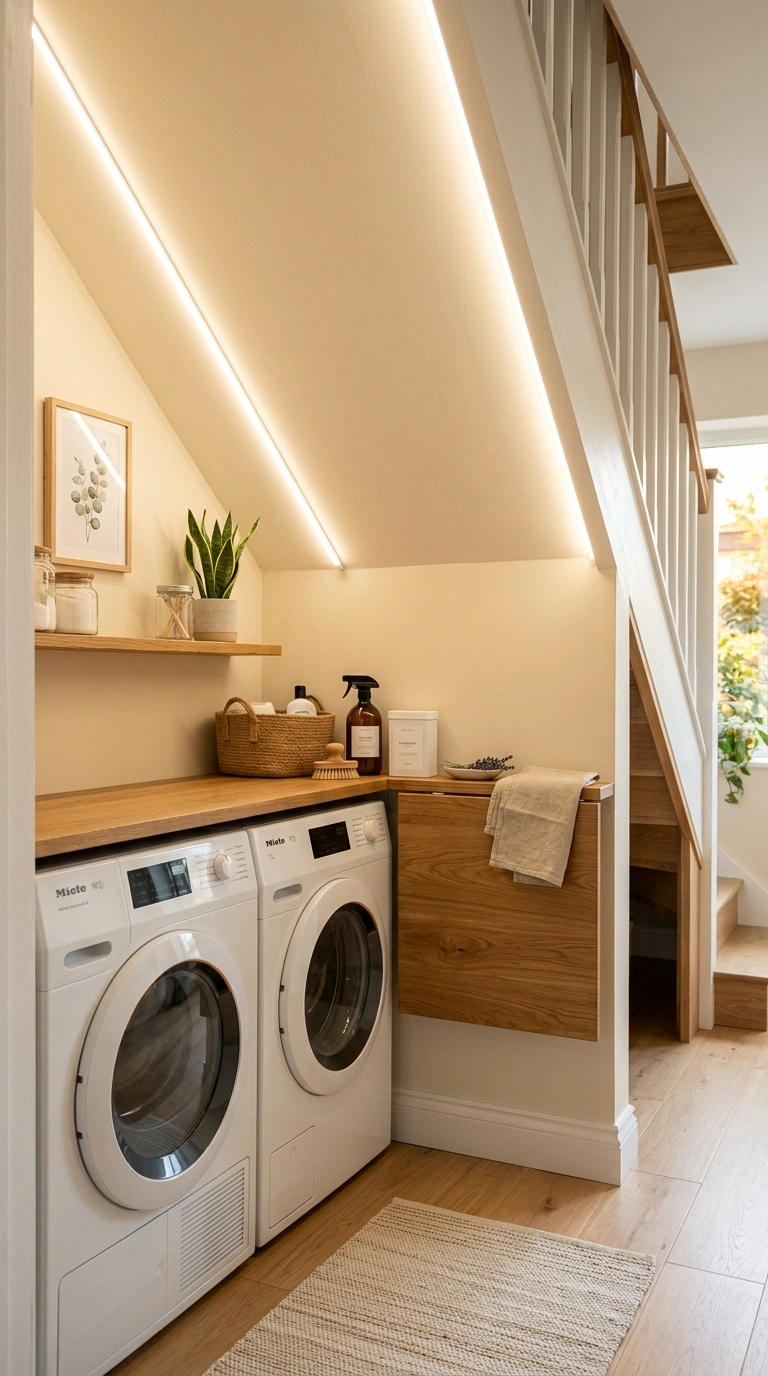
Under stair spaces usually have no natural light, so lighting design matters more than in normal rooms. A flexible LED strip light mounted along the underside of the stair slope gives you soft even lighting that follows the shape of the space.
Buy LED strip lights that come with adhesive backing and a plug in transformer. Around twenty five to fifty dollars for a good quality warm white strip on Amazon. Warm white at 2700K to 3000K feels much cozier than cool white.
Mount the strip along the top of the highest wall or right where the sloped ceiling meets the vertical wall. The soft glow bounces off the sloped surface and lights the whole space without harsh shadows.
Avoid cheap LED strips with cool blue light since they make the tight space feel like a garage instead of a room. Also avoid a single overhead bulb, which creates dark corners in the sloped areas. Add one more small warm sconce on the deepest wall for even more balanced light.
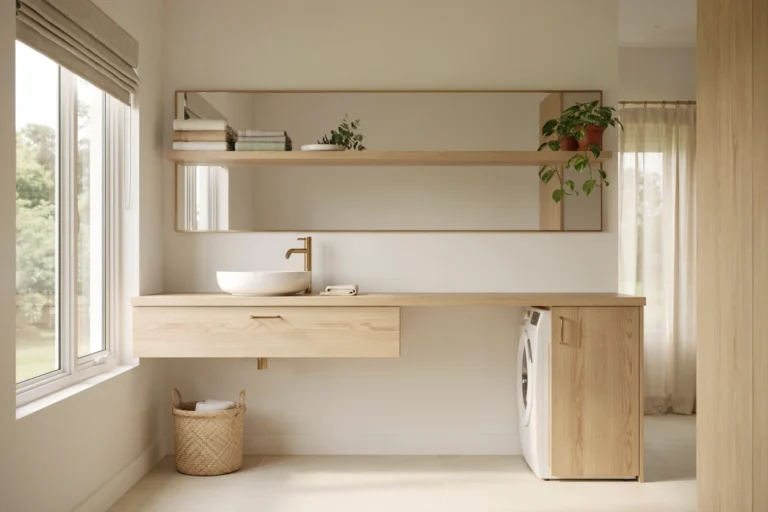
7. Small Sink Corner
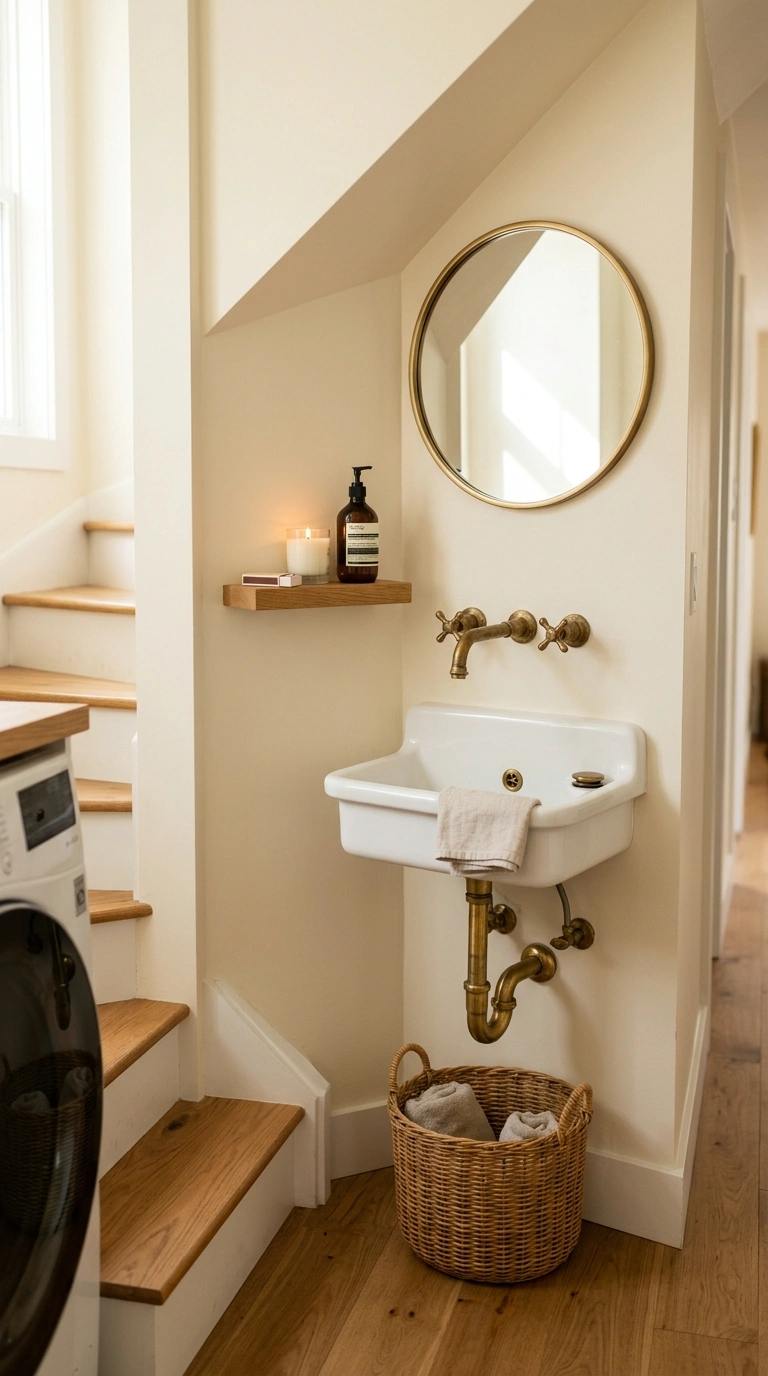
Adding a small sink to your under stair laundry gives you a spot to soak stains, hand wash delicates, and rinse dirty rags without running to another room. Corner sinks work best here since they use awkward angles most people ignore.
Look for a compact utility sink about eighteen inches across from a brand like Mustee or Fiat. Around one hundred and twenty to two hundred dollars at Home Depot. Choose a wall mount faucet with a pull out sprayer for filling buckets.
Pair the sink with a small mirror above it and a shallow shelf for hand soap and a candle. This one small addition really elevates the space from a work zone to a real room.
Avoid adding a sink if your under stair area does not already have plumbing nearby. Running new water and drain lines under stairs is expensive, often two to four thousand dollars. Check if the space shares a wall with a kitchen or bathroom first since that makes plumbing much cheaper.
8. Ventilation Fan Install
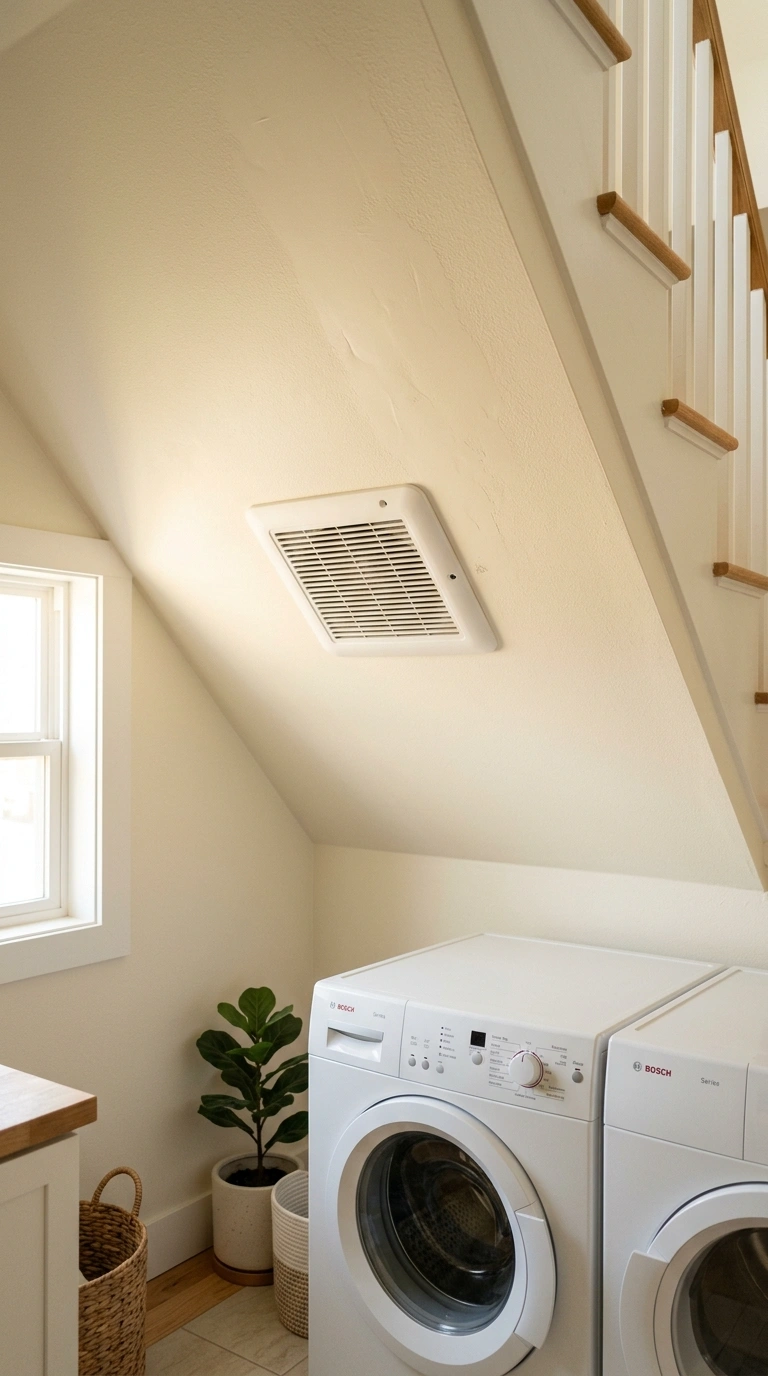
Under stair laundries have poor airflow, which leads to humidity, musty smells, and even mold over time. A small exhaust fan solves this problem and keeps the space fresh.
Install a ducted bathroom style fan rated for around eighty to one hundred CFM. Around fifty to one hundred and fifty dollars at Home Depot. The duct needs to vent outside, not into an attic or wall cavity, or you just move moisture somewhere else.
Run the fan on a timer switch that keeps it going for twenty to thirty minutes after each laundry load. This clears out most of the humidity the dryer venting misses.
Avoid skipping this step even if your dryer is properly vented outside. Front loading washers still add moisture to the room every time you open the door with wet clothes inside. Also avoid installing a fan without checking your local building code, since some areas require a licensed electrician for the electrical connection.
9. Wall Mounted Detergent
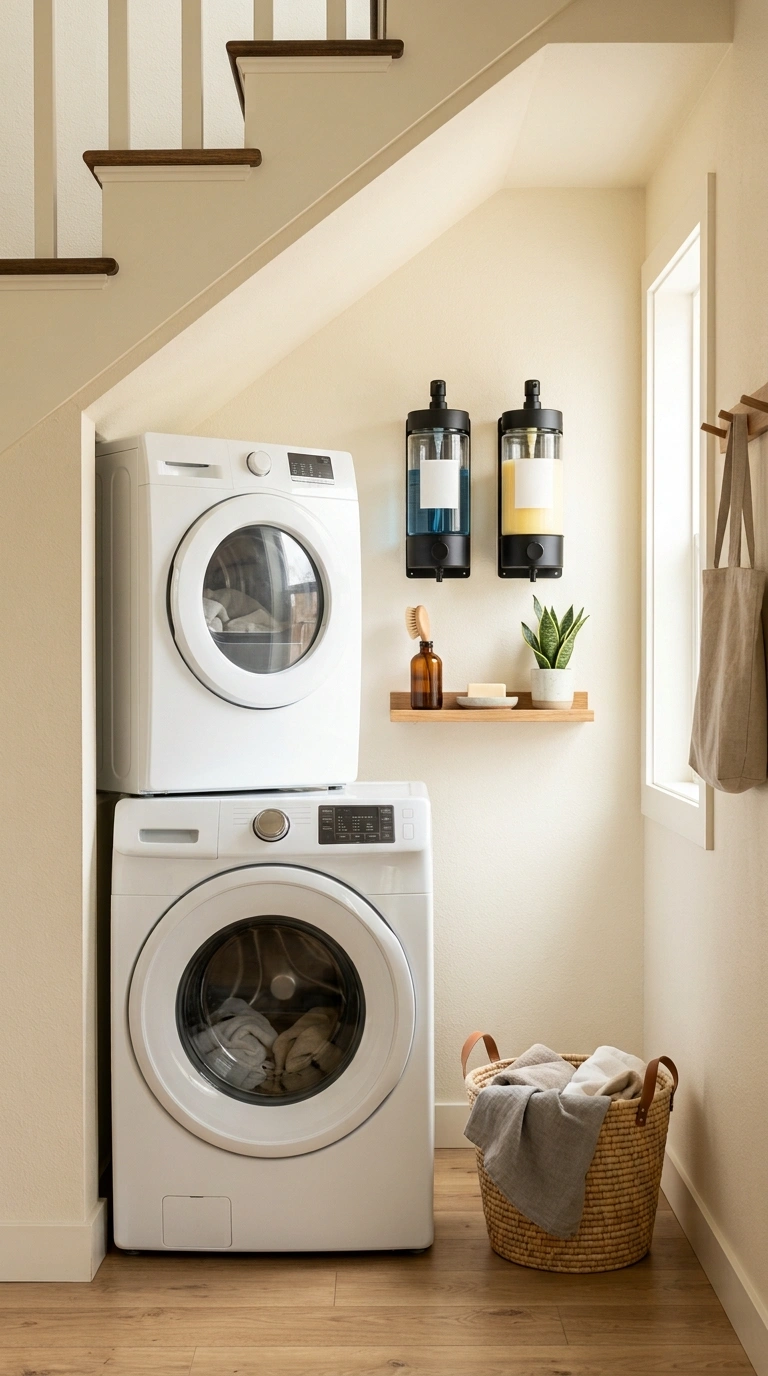
Wall mounted detergent dispensers save huge amounts of counter space and look way cleaner than a row of plastic bottles. This is basically a set of pumps mounted on the wall with clear containers you fill with your favorite detergent.
Brass or matte black wall dispenser sets cost around thirty to sixty dollars for a pair on Amazon. Look for ones with a clear tank so you can see when it is time to refill.
Mount them at eye level, right above the washer, so you can pump detergent straight into the machine. This saves you from lifting heavy jugs every time you do laundry, which matters when the tight space limits your arm room.
Avoid mounting dispensers on drywall alone since full tanks are heavy. Always screw into a wall stud or use heavy duty drywall anchors rated for at least fifty pounds. Also avoid transferring detergent pods into these dispensers since they need to stay in their original packaging to work right.
10. Slim Pull Out Hamper
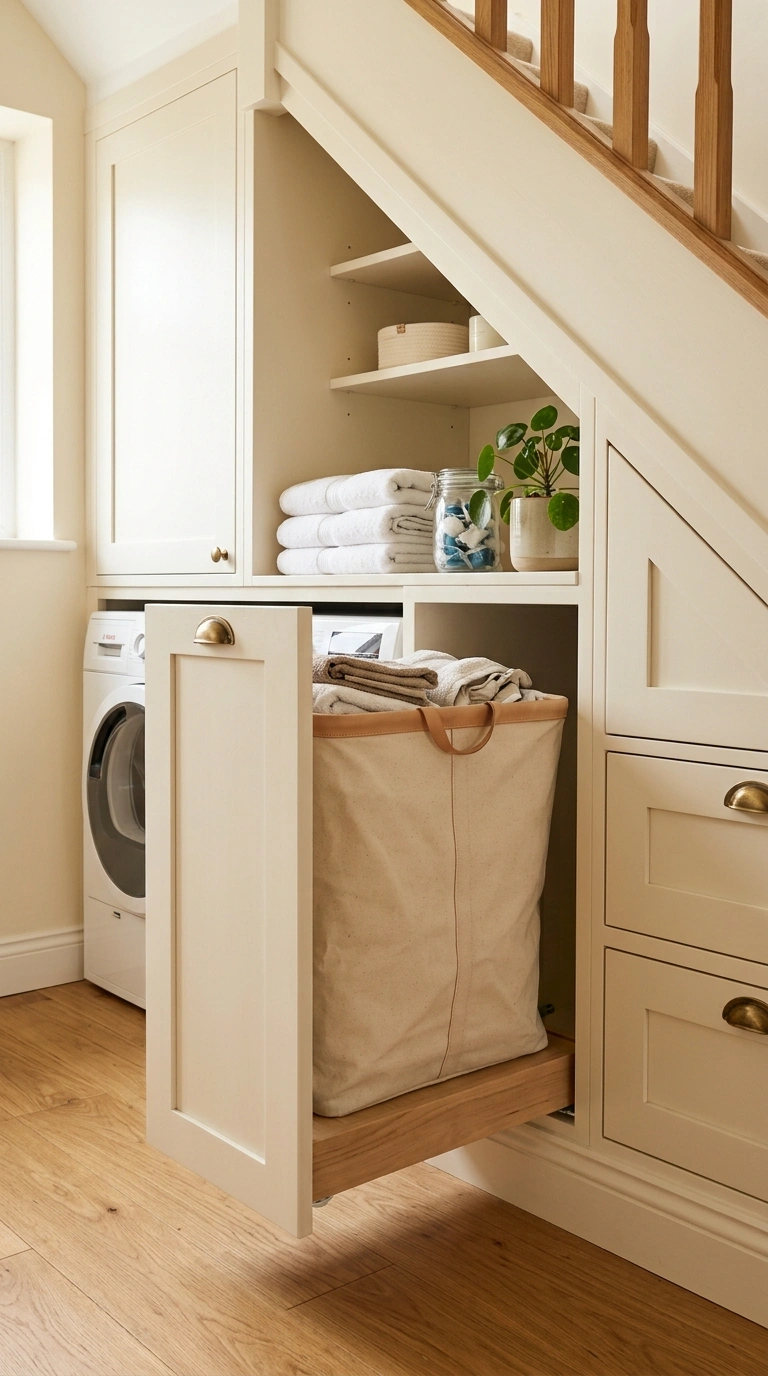
A slim pull out hamper cabinet fits into narrow gaps under stairs where a regular basket would not work. This is a cabinet with a hidden hamper bag inside that slides out like a drawer.
Rev A Shelf sells nice pull out hamper units for about one hundred and fifty dollars, in widths starting at twelve inches. Match the cabinet front to your other cabinet finishes so it disappears into the design.
Use a canvas laundry bag insert that you can lift out and carry to the washer. This is way easier than dragging a heavy round basket across a tight space.
Avoid installing pull out hampers in cabinets shallower than twenty inches deep, since the bag will not have room to hold much. Also avoid hamper cabinets with solid metal walls since air cannot flow through them, which leads to smells building up. Choose ones with slotted or wire sides so wet clothes can dry a little while waiting to be washed.
11. Peel Stick Backsplash
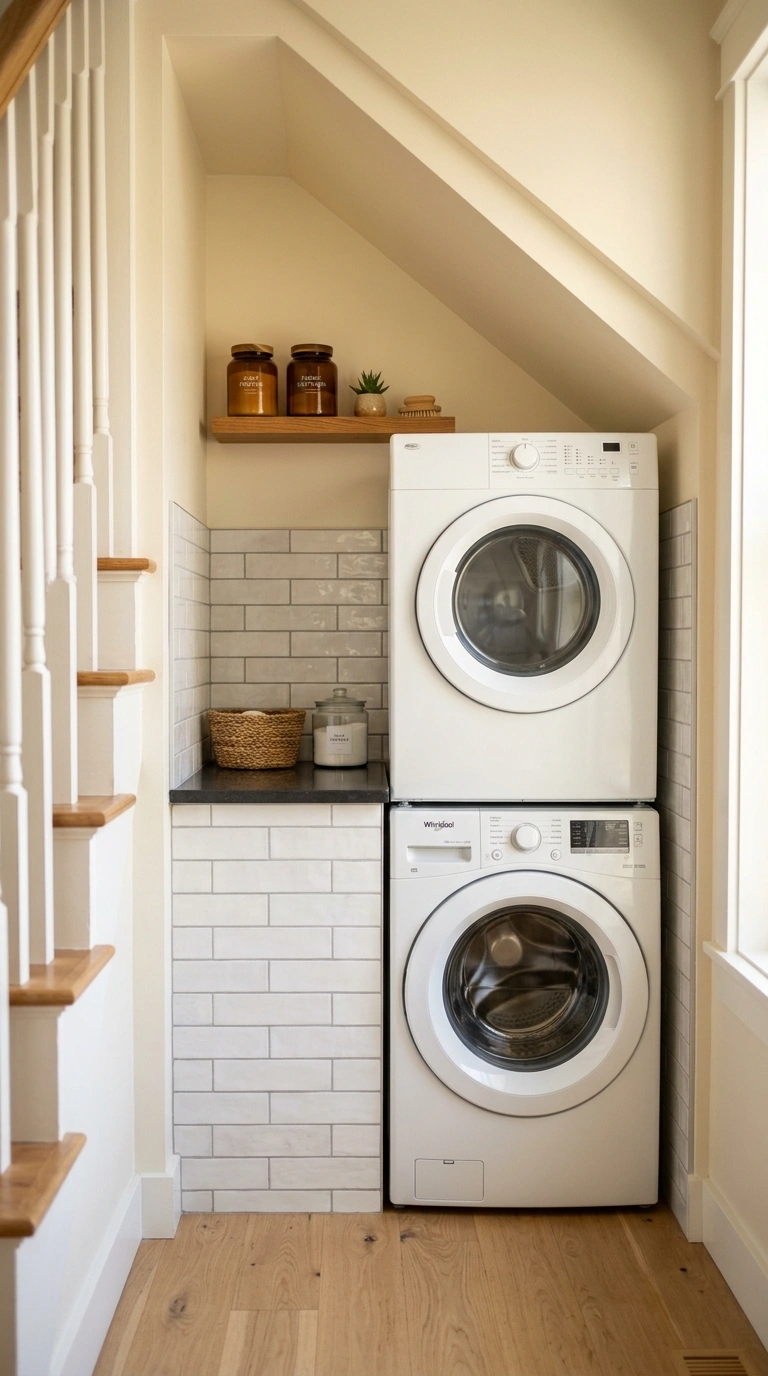
A pretty peel and stick backsplash gives your under stair laundry personality without needing tile work. This works great since under stair spaces are usually too tight for a tile installer to work comfortably.
Smart Tiles and StickTiles both make good quality peel and stick tiles for about six to twelve dollars per sheet. White subway, warm marble look, or soft green geometric patterns all work beautifully.
Apply the tiles to the wall behind the machines or above the folding counter. Clean the wall well first with a degreaser so the adhesive sticks properly. Use a plastic smoothing tool to press out air bubbles as you go.
Avoid peel and stick tiles in places that get direct water spray, since the edges can lift over time. Also avoid dark bold patterns in already tight under stair spaces, which make the room feel more closed in. Stick with light colors and simple patterns for the best look. Around fifty dollars total for a small backsplash area.
12. Fold Down Counter
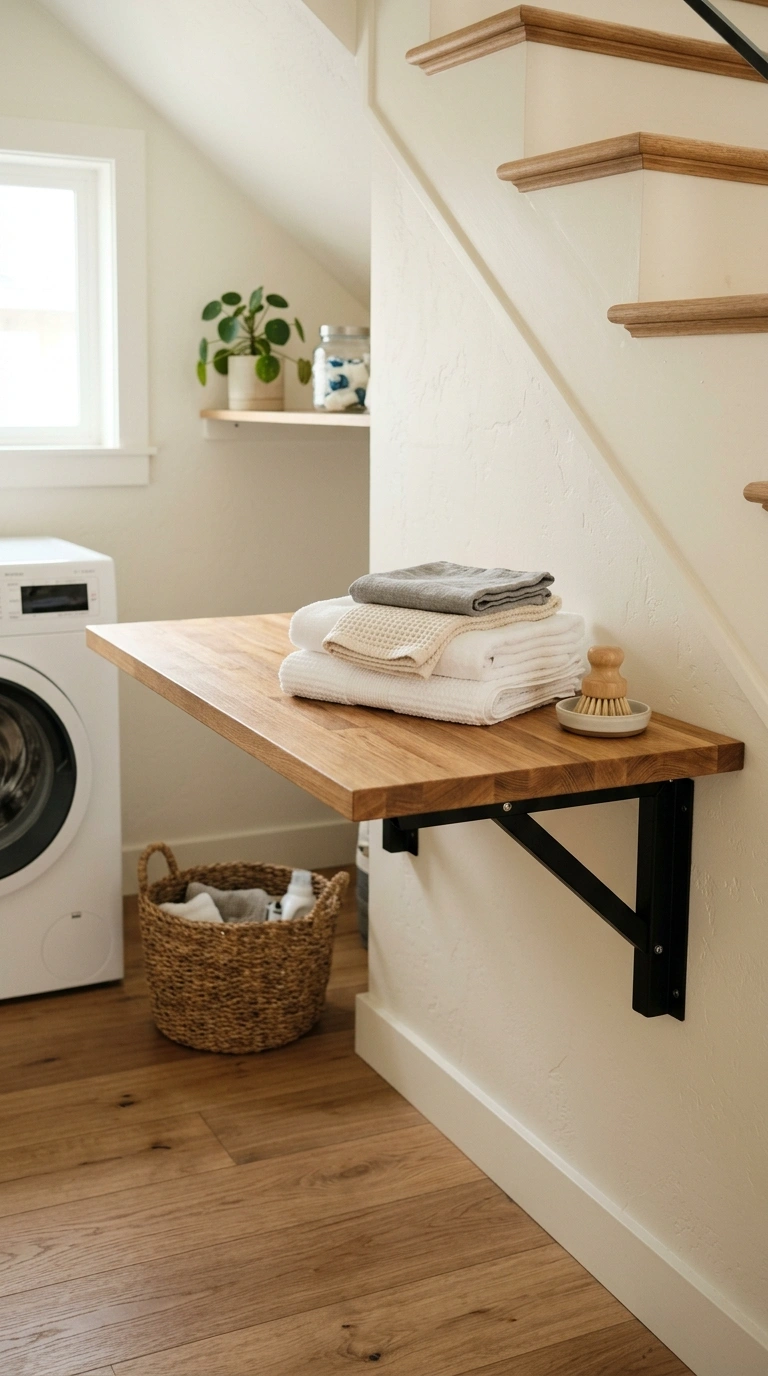
A fold down counter mounted on the wall gives you a folding surface that disappears when not in use. Perfect for under stair spaces where you cannot spare permanent counter room.
Look for hinged wall mount folding brackets that hold up to seventy five pounds. About thirty to fifty dollars for a good pair at Amazon or Home Depot. Pair with a butcher block or laminate board cut to fit your space.
Install the counter at hip height, around thirty six inches from the floor. When you need it, pull it down. When you are done, push it back up flush against the wall.
Avoid installing this over a stackable machine setup, since the fold down counter can hit the top machine door. Instead mount it on the wall next to the machines. Also avoid MDF board for the fold down surface since it warps in humid laundry rooms. Solid wood or butcher block holds up much better for around forty extra dollars in materials.
13. Recessed Wall Nook
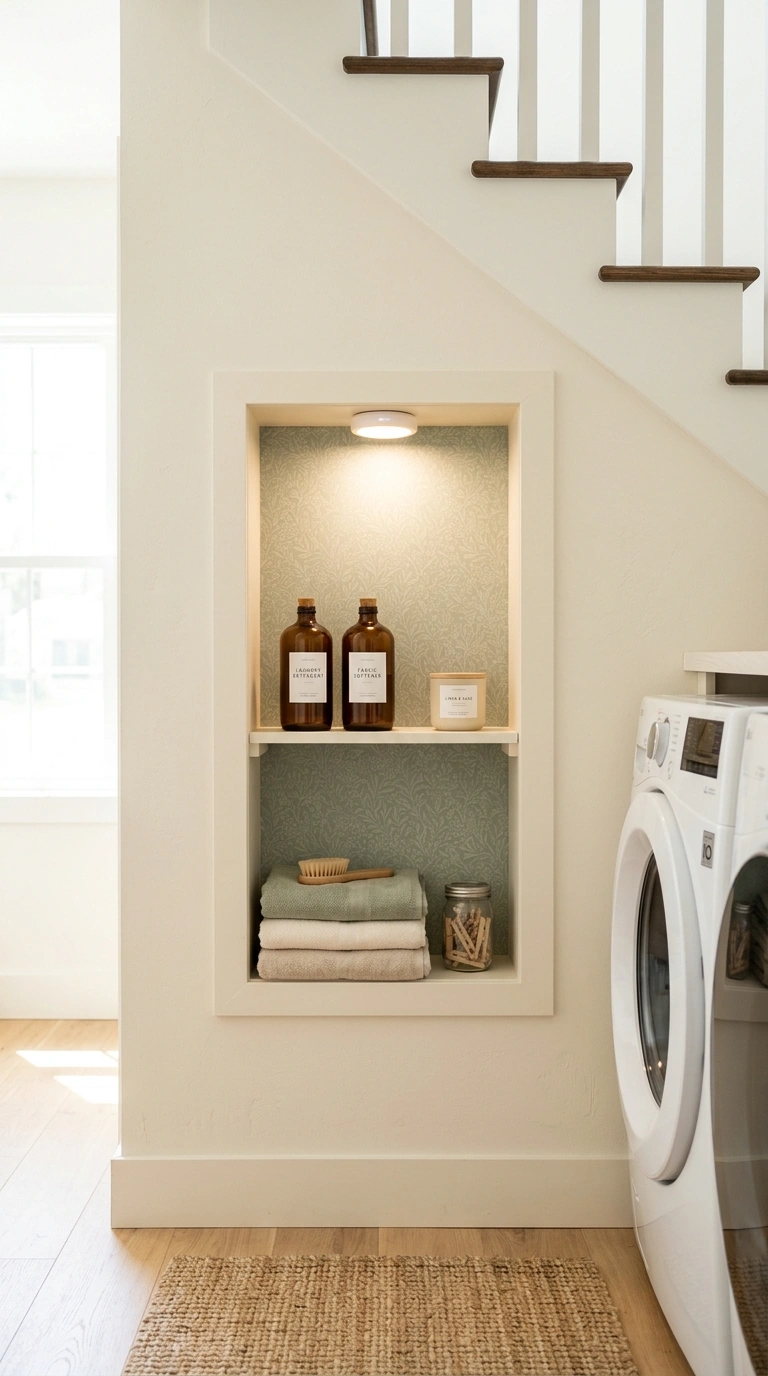
A recessed shelf built into the wall of your under stair laundry gives you storage without eating into the tight floor space. This works by cutting into the space between wall studs and adding a small built in shelf.
Most interior walls have four to five inches of usable depth between studs. Enough for detergent bottles, small baskets, or a candle. A basic recessed shelf install runs around one hundred to two hundred dollars if a handyman does it.
Line the inside of the nook with peel and stick wallpaper or a soft accent paint color for a custom feel. Add a small LED puck light at the top of the nook for a soft glow.
Avoid cutting into a wall shared with plumbing or electrical without checking first. Use a stud finder that also detects pipes and wires. Also avoid making the nook too tall since bigger openings weaken the wall structure. Stay under three feet tall and three feet wide for a safe DIY project. Great for older homes with thicker walls.
14. Cutout Ceiling Access
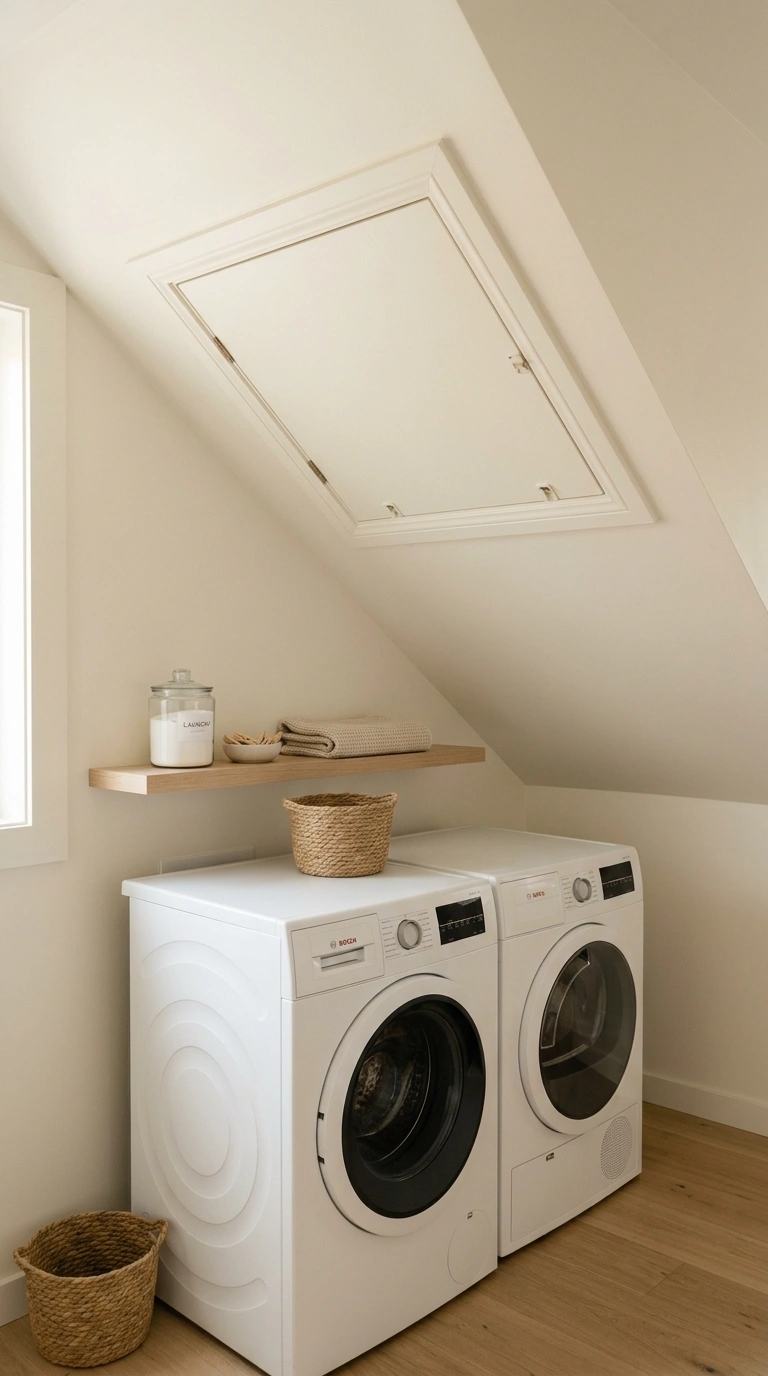
The sloped ceiling above your under stair laundry is often perfect for adding a small access panel to reach the plumbing or electrical behind it. This is not just useful, it also looks intentional when done right.
Use a wood framed access panel about twelve by twelve inches. Around thirty dollars at Home Depot. Paint it the same color as the ceiling so it blends in until you need it.
Why this matters: under stair laundries are notorious for plumbing issues since pipes often run behind the sloped ceiling. Being able to reach them without cutting drywall saves hours if a leak happens.
Avoid using a metal access panel since it looks industrial and takes away from the room feel. Also avoid installing the panel directly above the machines, where a water leak would drip right on top of them. Instead put it a few feet away on the ceiling so leaks fall on the floor where they are easier to catch. Simple safety trick most people miss.
15. Under Stair Curtain
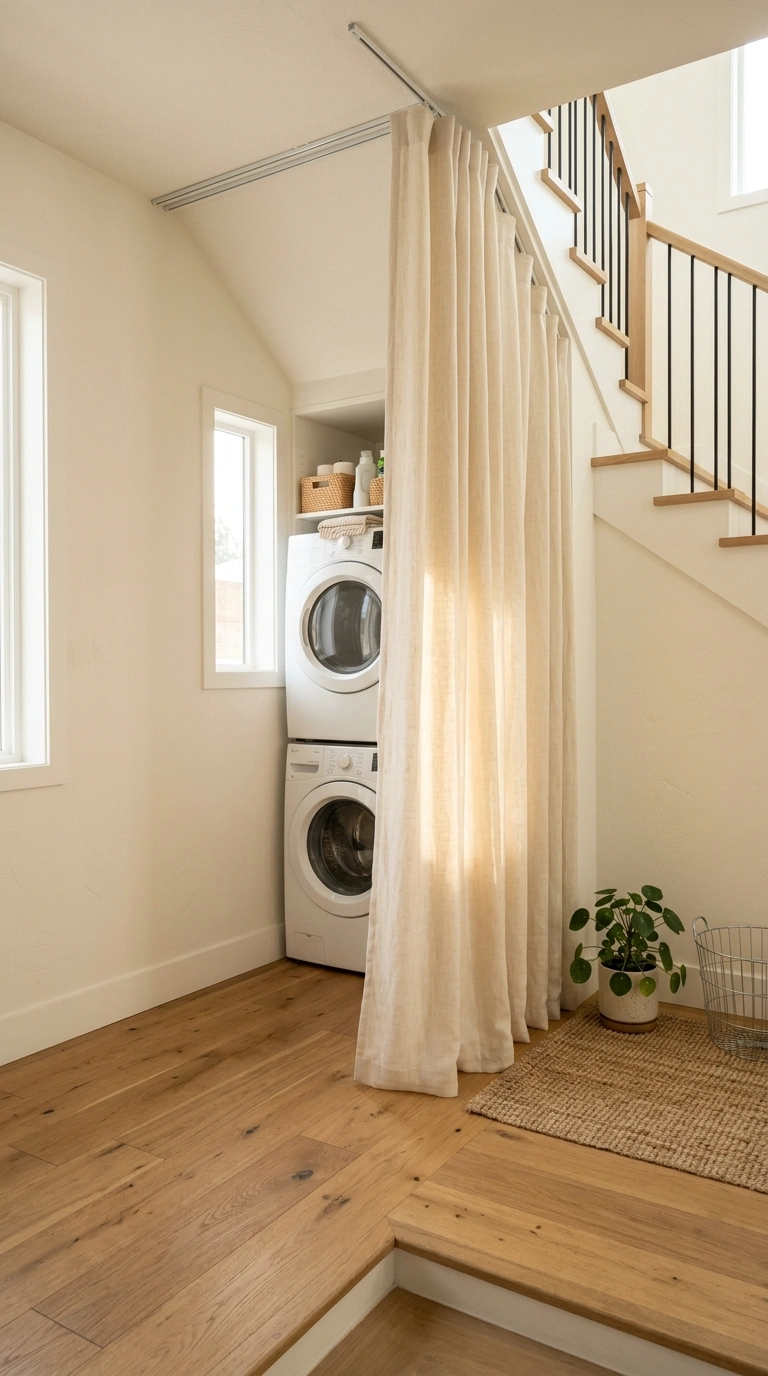
Instead of a door or barn door, a floor to ceiling curtain closes off your under stair laundry with a soft touch. This is one of the cheapest and most renter friendly ways to hide the space.
Install a ceiling mount curtain track along the top of the opening. Around forty to seventy dollars for a good track at Amazon. Use a heavy cotton or linen curtain in cream, warm sage, or dusty rose for the softest feel.
A curtain also lets air circulate better than a solid door, which helps with humidity issues in tight spaces. When you need privacy or want to hide the machines, pull it across. When you want the room open, slide it fully to one side.
Avoid using thin sheer curtains here since they do not really hide anything. Also avoid short curtains that stop above the floor since they look unfinished. Choose curtains that just brush the floor for the most polished look. Wash the curtain every few months since laundry room curtains pick up lint and dust faster than other window treatments.
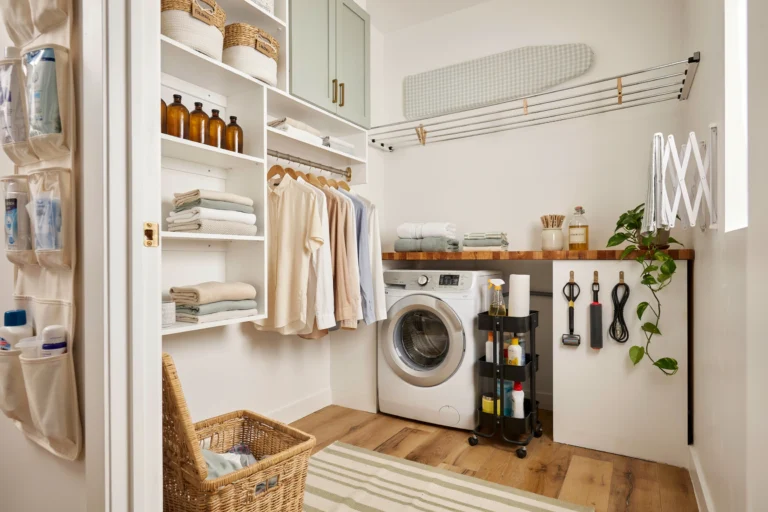
16. Wall Hooks Bar
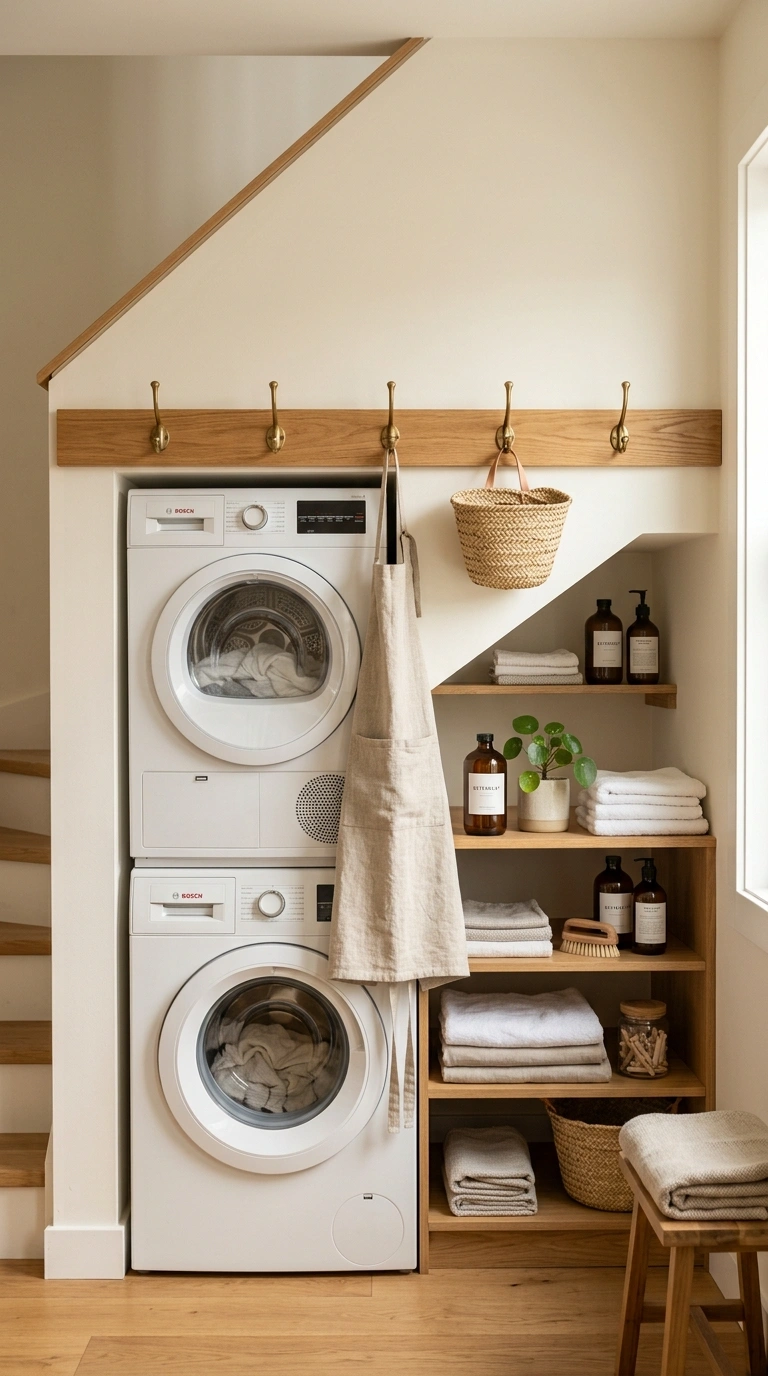
A long wooden bar with hooks mounted across one wall of your under stair laundry gives you vertical hanging storage for air drying clothes, aprons, or bags. This uses wall space that would otherwise sit empty.
Use a solid oak board about three inches wide and as long as your wall allows. Add five to eight brass or matte black hooks spaced about six inches apart. Around forty dollars total for the wood, hooks, and mounting hardware.
Mount the bar at about sixty inches from the floor so long dresses can hang without dragging. Right behind the folding counter is the ideal spot since air drying clothes hang right where you sort them.
Avoid using cheap plastic or thin metal hooks since these bend under wet clothes. Also avoid mounting a bar with hooks directly above the dryer, since heat and lint buildup from below can affect the wood over time. Keep at least twelve inches of clearance between the top of your dryer and the bottom of the hook bar for safety and longevity.
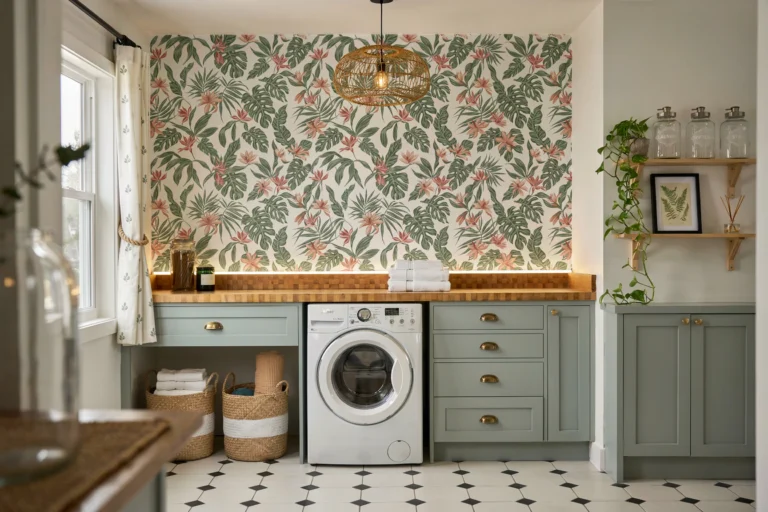
17. Tile Floor Pattern
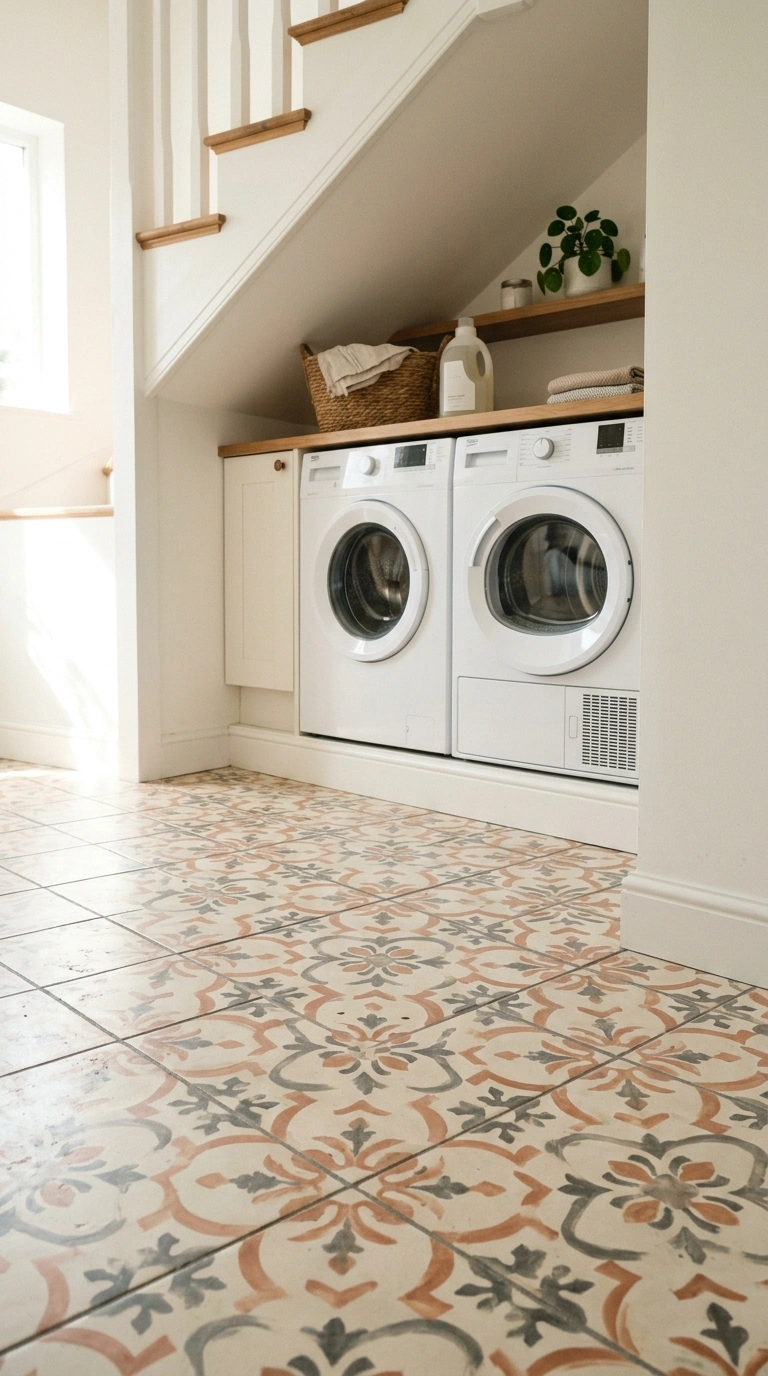
A patterned tile floor is one of the biggest visual moves you can make in an under stair laundry. Since the floor space is small, a bold pattern feels like a design choice instead of overwhelming.
Moroccan encaustic tiles, black and white checker, or geometric hex patterns all look stunning in tight under stair spaces. Around fifteen to thirty dollars per square foot for real ceramic tiles. Peel and stick vinyl versions cost around three dollars per square foot for renters.
A pretty floor also draws attention downward, which distracts from the sloped ceiling that can feel low. This makes the whole space feel more balanced.
Avoid dark grout in a laundry room since it shows every lint fleck and water mark. Use a mid tone grey grout instead, which hides marks between cleanings. Also avoid installing tile without a proper subfloor prep, since under stair floors often sit directly over concrete slabs that can crack and take the tile with them. Add cement backer board first for insurance.
Final Thoughts
An under stair laundry works best when you accept the constraints of the space instead of trying to fight them. Sloped ceilings, tight width, and no windows all shape what fits. But these same limits also give you the chance to build something really custom that a normal square laundry room could never match. Measure carefully, plan for ventilation, and start with the pieces that solve the biggest daily annoyances first.