 Hi friends! I hope you had a wonderful weekend. It was sooo cold here in Columbus; I’m anxiously awaiting the real arrival of spring, although at this rate I’m thinking we may skip spring and go right into summer!
When it’s cold out, I have the perfect excuse to do crafts, while staying warm and cozy in the house! I’ve seen a variety of painted kitchen utensils on Pinterest through the years and making my own has been on my project list for ages. Well, this chilly weekend I am finally able to check them off of my to-make list.
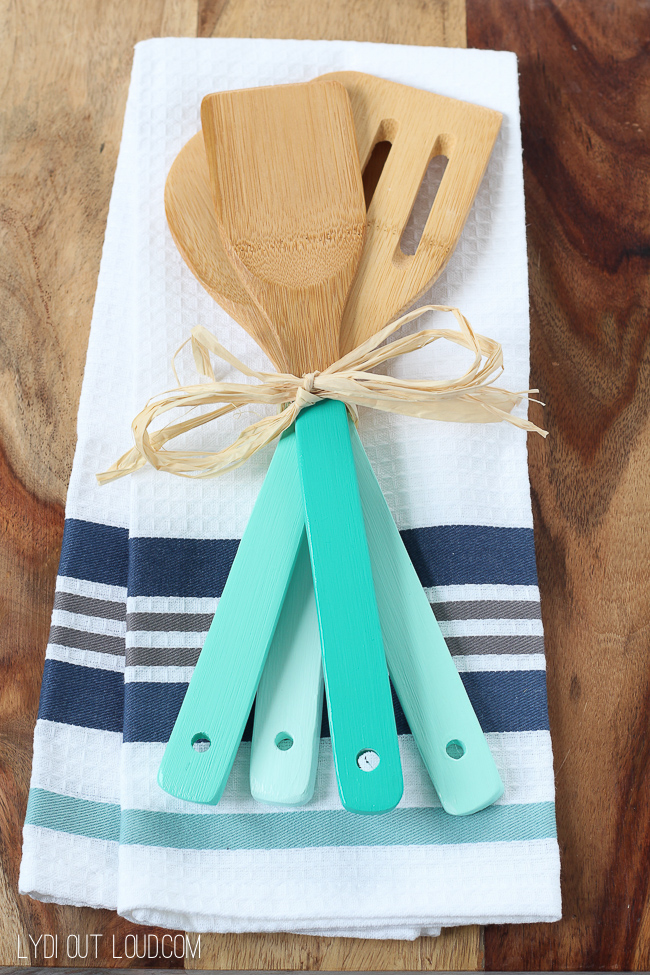
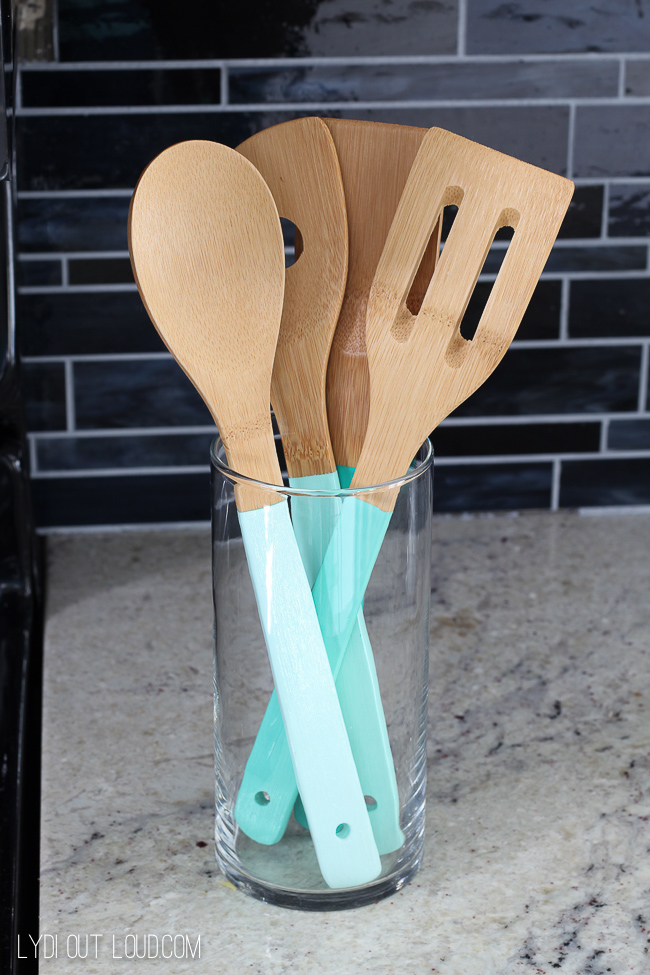
I’ve been adding aqua and teal accents to my kitchen over the last few months so I decided to go with that color scheme for my kitchen utensils with an ombre flair (I’m an ombre fanatic!) These were so easy to do and I love the pop of color they add to my kitchen. Let’s get you set up so you can make your own!
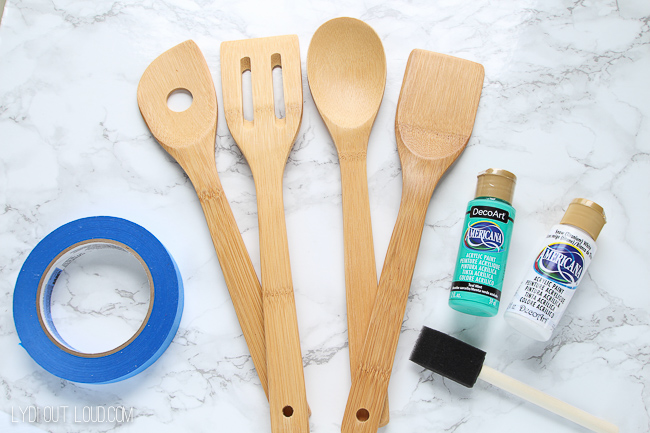
Supplies:
Directions:
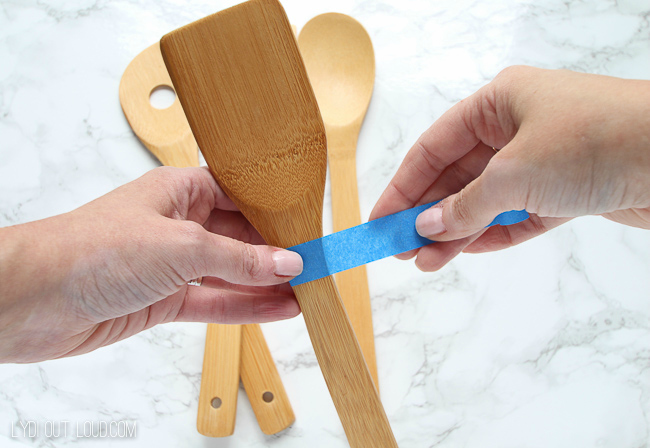
Start by taping the kitchen utensils. Tape just below the head of each utensil, ensuring that the tape is tightly wrapped so that no paint seeps underneath.
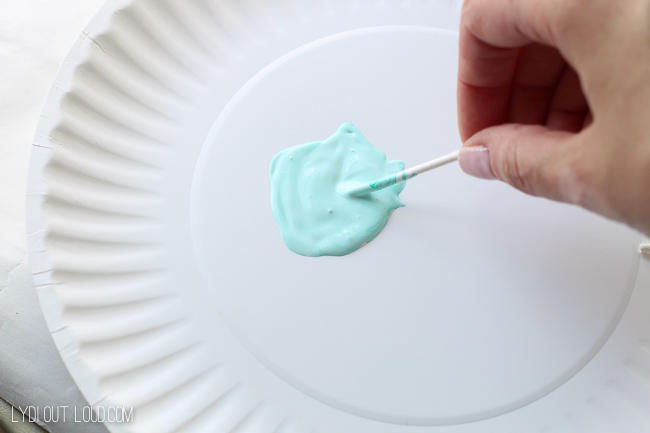
I’ve done ombre projects several times and I find it easiest to start with the lightest color of the ombre spectrum. For the first utensil, I used around tablespoon of white paint with just a drop of the teal mint paint (or whatever color you choose). No fear, we’re not baking so no need to do precise measurements, you can just eyeball it.
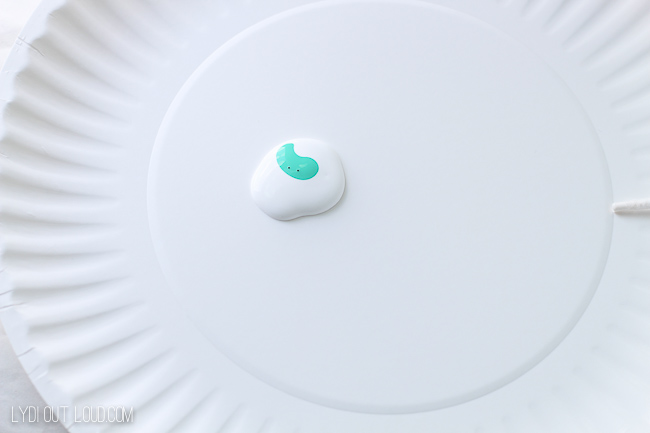
I snapped off the end of a cotton swab to mix the colors together.
Using a foam brush, paint the sides and top of the utensil handle.

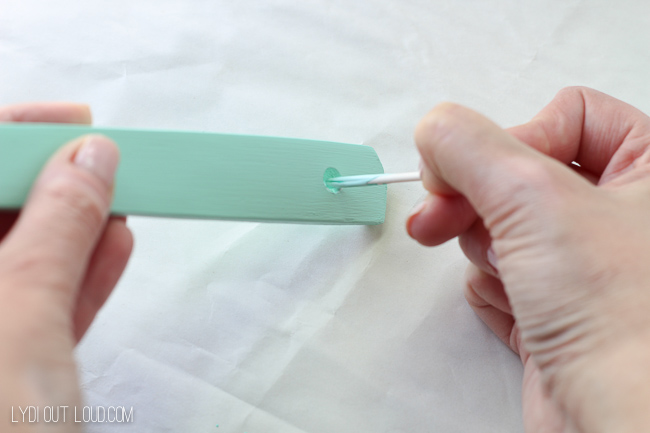
Use the cotton swab stick to rim the inside of the utensil hole with paint.
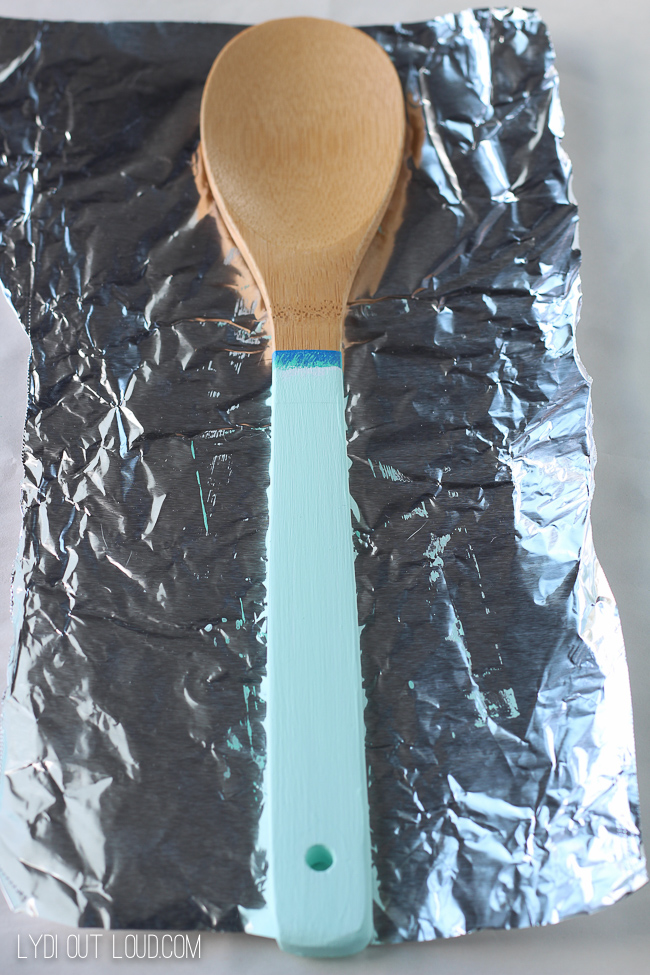
I like to set my painting projects on aluminum foil to dry, that way the paint doesn’t adhere to any pieces of paper. Allow to dry for 30 minutes, then paint the bottom of the handle. Allow to dry for another 30 minutes and then repeat the same steps for the second coat.
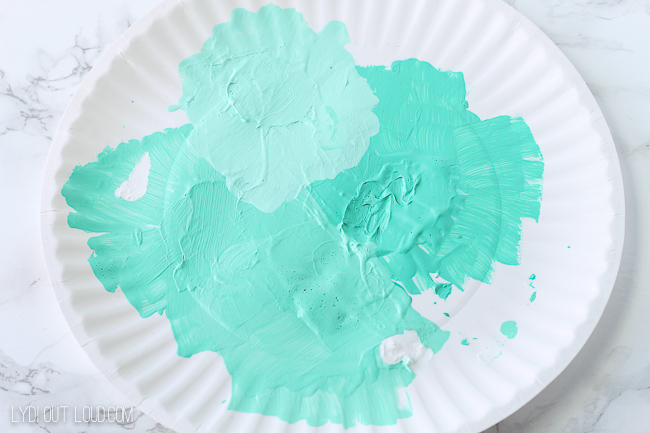
For the second utensil, I used about a 2:1 ratio of teal mint to white, for the third I used equal parts teal mint and white and for the fourth I used straight teal mint.
I find it helpful to continue to mix your paint colors on the same plate, that way you can really get a true idea of the shade range of your ombre.
Once the brushes are dry, coat with 2 coats of sealer (wait an hour between coats) so that you can cook with and wash your kitchen utensils. I ditched my stainless steel utensil holder in favor of a clear glass vase so that my ombre utensils are in full view!
These would make a great hostess or housewarming gift as well, tied with some raffia and paired with a kitchen towel or maybe a favorite recipe.
Are you an ombre fanatic like me? What colors would you choose for your ombre kitchen utensils?
Thanks for stopping by and I hope you have a fantastic week!
Affiliate links provided.
Linked up at The Creative Gallery!

Article source: http://lydioutloud.com/2016/05/16/diy-ombre-kitchen-utensils/


